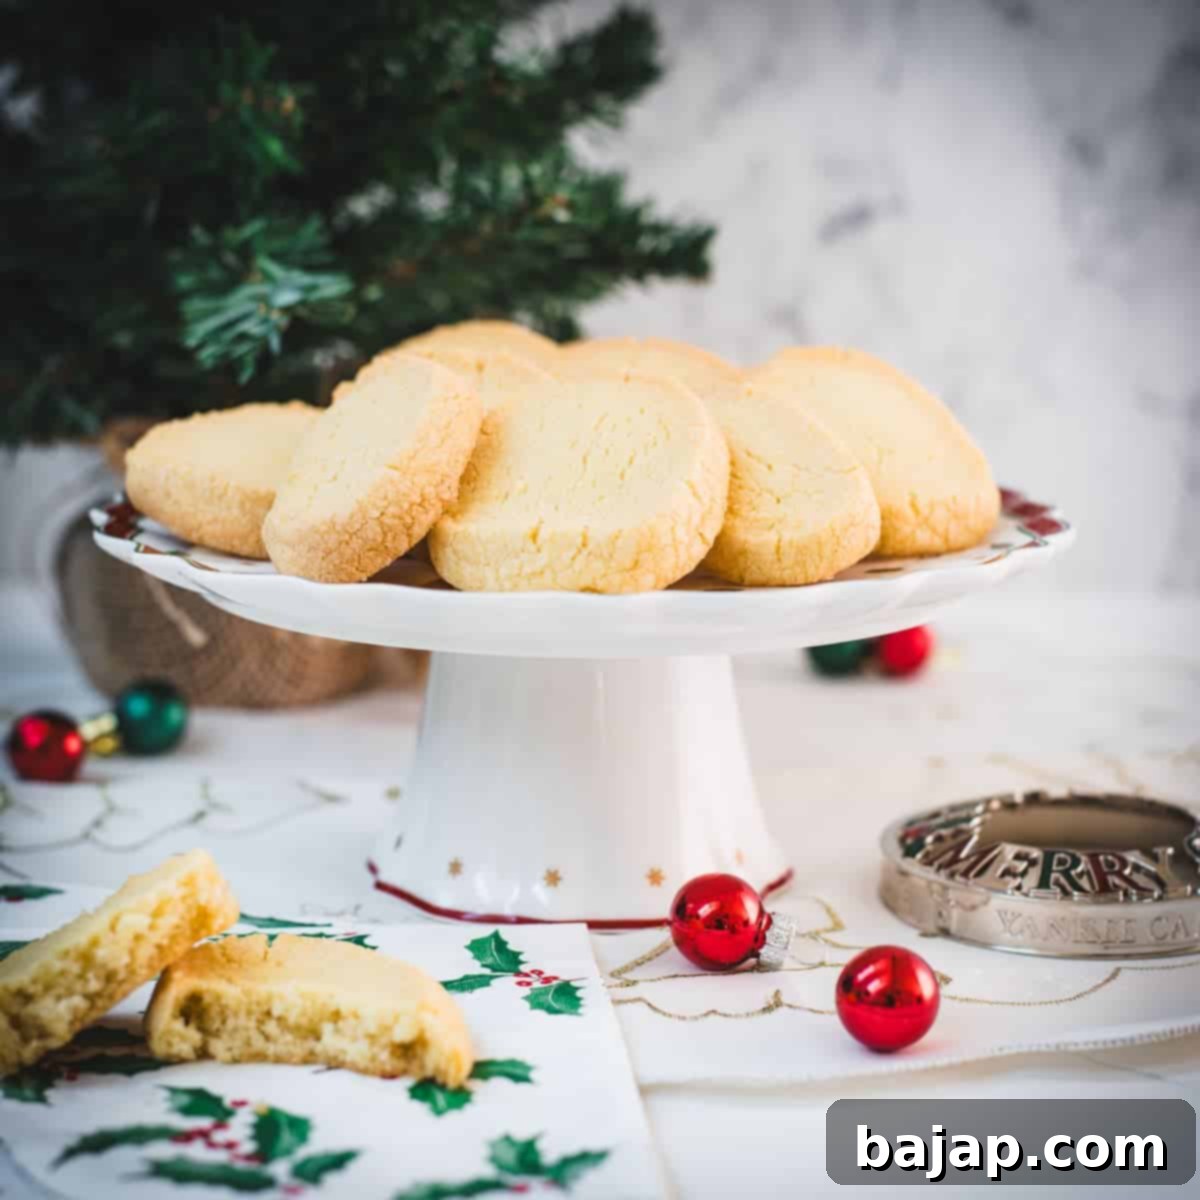
Heidesand Cookies: Authentic Brown Butter Shortbread for Your Austrian Christmas
The festive cheer of Christmas is truly in the air, and my home is already brimming with twinkling lights and a heartwarming, cozy atmosphere. I’ve been delighting in decorating since early November, transforming every corner into a holiday haven. Now, it’s time to infuse my kitchen with that same seasonal magic, and I couldn’t be more excited to share a treasured tradition with you.
Today, we’re diving into one of my most beloved traditional Austrian recipes: Heidesand cookies. These aren’t just any cookies; they’re a melt-in-your-mouth brown butter shortbread that evokes the comforting feeling of a warm embrace on a chilly, snowy day. For me, these cookies represent more than just a sweet treat—they are a cherished piece of my heritage, a culinary legacy passed down through generations, and a tradition I am thrilled to share from my family to yours.
Are you ready to uncover the secrets behind these irresistible cookies and understand why they are an absolute must-bake for your upcoming holiday season? Let’s embark on this delicious journey together!
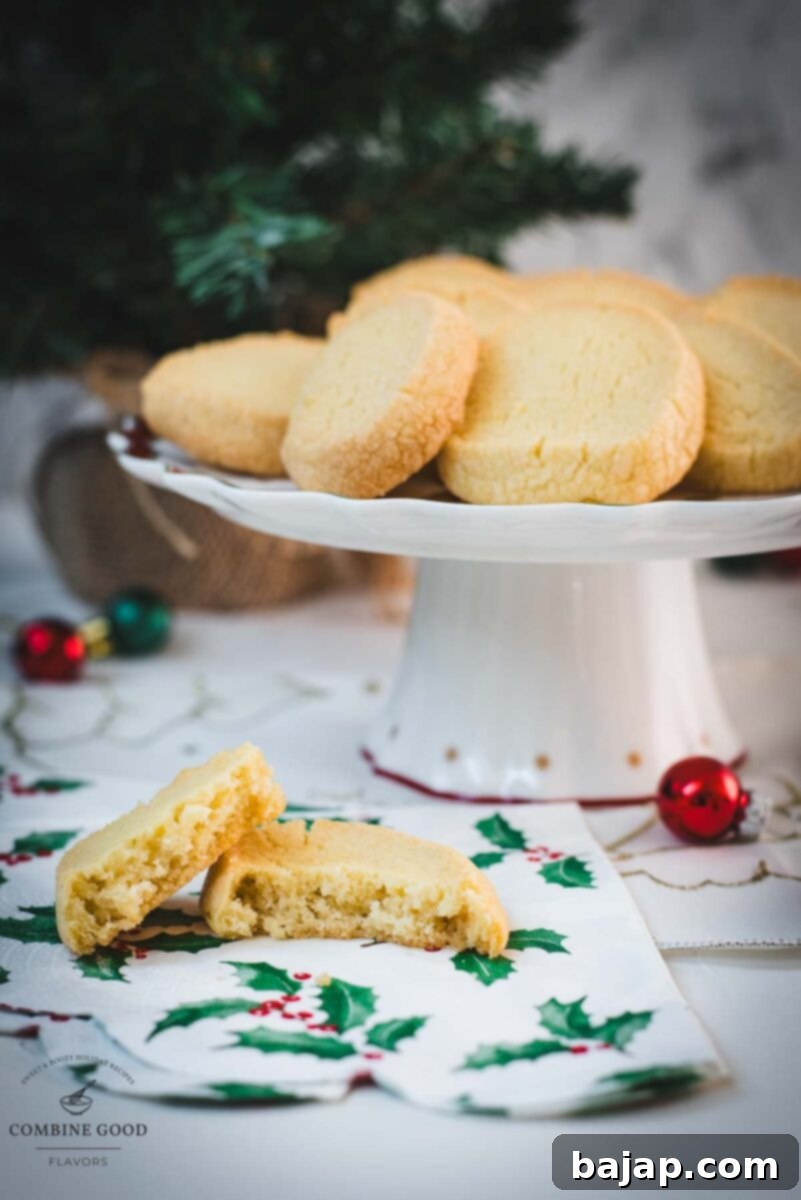
Why Heidesand Cookies Are a Holiday Must-Have
This post is your ultimate guide to Heidesand cookies—from understanding their cultural significance during Advent in Austria to mastering the simple steps to create them in your own kitchen. These buttery delights, made with just four essential ingredients, are destined to become the shining star of your Christmas cookie lineup. Their delicate crumb and rich, nutty brown butter flavor make them perfect for thoughtful holiday gifting, exciting cookie swaps, or simply savoring alongside your favorite festive drink. Imagine the pure holiday magic of pairing these golden, crumbly treasures with a steaming cup of homemade mulled wine or a decadent eggnog latte. It’s an experience that truly captures the spirit of the season.
As the winter wonderland unfolds outside your window, picture yourself comfortably wrapped in a cozy blanket, a warm beverage in hand, with a plate of these exquisite Heidesand cookies by your side. They are far more than just cookies; they are an experience, a tangible slice of Christmas joy, and a heartfelt gift from my Austrian kitchen to yours. Whether you’re searching for an effortlessly elegant recipe to impress your loved ones or a cherished new tradition to weave into your holiday celebrations, these remarkable brown butter shortbread cookies are absolutely ideal. Their delightful simplicity and profound flavor speak volumes about the beauty of homemade holiday treats.
So, tie on your apron, turn up your favorite Christmas carols, and join me in baking a batch of pure holiday cheer! Are you ready to fall deeply in love with the rich, distinctively nutty flavor of Heidesand? Let’s embark on this delightful baking adventure and fill our homes with irresistible aromas and unforgettable tastes!
The Magic of Brown Butter: Unlocking Heidesand’s Signature Flavor
At the heart of every exquisite Heidesand cookie lies the transformative power of brown butter, also known as beurre noisette. This simple yet sophisticated technique takes ordinary butter and elevates it into a fragrant, nutty, golden elixir that forms the very soul of these shortbread delights. By gently melting and cooking butter until its milk solids caramelize, we unlock a complex depth of flavor—a rich, toasty, almost toffee-like aroma that is utterly distinct from plain melted butter. This process not only imbues the cookies with an incredible, nuanced taste but also contributes to their signature melt-in-your-mouth texture.
Brown butter adds a layer of sophistication without adding complexity to the recipe itself. It’s a game-changer, turning a simple cookie into something truly extraordinary. The subtle notes of hazelnut and caramel derived from the browned butter perfectly complement the shortbread base, creating a harmonious flavor profile that is both comforting and incredibly addictive. Once you experience the unparalleled taste of cookies made with browned butter, you’ll understand why it’s a secret weapon for so many bakers and a fundamental component of authentic Heidesand.
🥘 Ingredients for Perfect Heidesand Cookies
The beauty of Heidesand cookies lies in their simplicity, requiring just a handful of quality ingredients to achieve an extraordinary taste and texture. Each component plays a crucial role in creating these buttery, crumbly delights. Remember, using high-quality ingredients will always yield the best results for your baking endeavors.
- Butter: This is the star ingredient! Opt for unsalted butter, as it allows you to control the salt content in your cookies. Browning the butter is what gives Heidesand its distinctive nutty, rich flavor and delicate crumb.
- Granulated Sugar: Provides sweetness and helps create that crisp, yet tender texture.
- Vanilla Extract: A touch of vanilla enhances the overall flavor profile, complementing the brown butter beautifully. Use good quality pure vanilla extract for the best aroma.
- Cake Flour: Essential for the signature melt-in-your-mouth texture. Cake flour has a lower protein content than all-purpose flour, resulting in a more tender, less chewy cookie. If you don’t have cake flour, you can approximate it by replacing two tablespoons of all-purpose flour with cornstarch for every cup of flour used.
For precise quantities and a printable recipe, please refer to the recipe card below.
🔪 Step-by-Step Instructions: Crafting Your Heidesand Masterpiece
Baking Heidesand cookies is a straightforward and rewarding process. Follow these detailed steps to ensure your brown butter shortbread turns out perfectly golden, crumbly, and utterly delicious.
- Step 1: Brown the Butter to Perfection
Cut your butter into evenly-sized pieces to ensure it melts uniformly. Place the butter in a light-colored frying pan (this allows you to better monitor the color change) over medium heat. Stir continuously with a wooden spoon as it melts. Initially, it will foam, then the foam will subside, and you’ll see small brown flecks forming at the bottom of the pan. Continue cooking until the butter turns a beautiful golden brown and releases a rich, nutty aroma—reminiscent of toasted hazelnuts. Be careful not to burn it! This process typically takes about 5-7 minutes. - Step 2: Cool the Browned Butter
Immediately pour the browned butter through a fine-mesh sieve into the mixing bowl of your stand mixer. The sieve will catch any burnt solids, ensuring a smooth, clean flavor. Allow the browned butter to cool for several minutes until it’s warm but not hot (about 5-10 minutes). This step is crucial; if the butter is too hot, it will melt the sugar and affect the cookie’s texture. - Step 3: Cream Butter, Sugar, and Vanilla
Add the granulated sugar and vanilla extract to the slightly cooled browned butter. Using the whisk attachment of your stand mixer, beat the mixture on medium-high speed until it becomes light, fluffy, and noticeably frothy. This usually takes about 3-5 minutes, incorporating air and ensuring a tender cookie. - Step 4: Gradually Add Flour to Form Dough
Switch to the flat beater attachment (or continue with the whisk if preferred, just be careful not to overmix). Gradually add the cake flour to the butter mixture, one spoonful at a time, mixing on low speed just until combined. Avoid overmixing once the flour is added, as this can develop the gluten and make the cookies tough. The dough will be soft and somewhat crumbly at first. - Step 5: Knead, Shape, and Chill the Dough
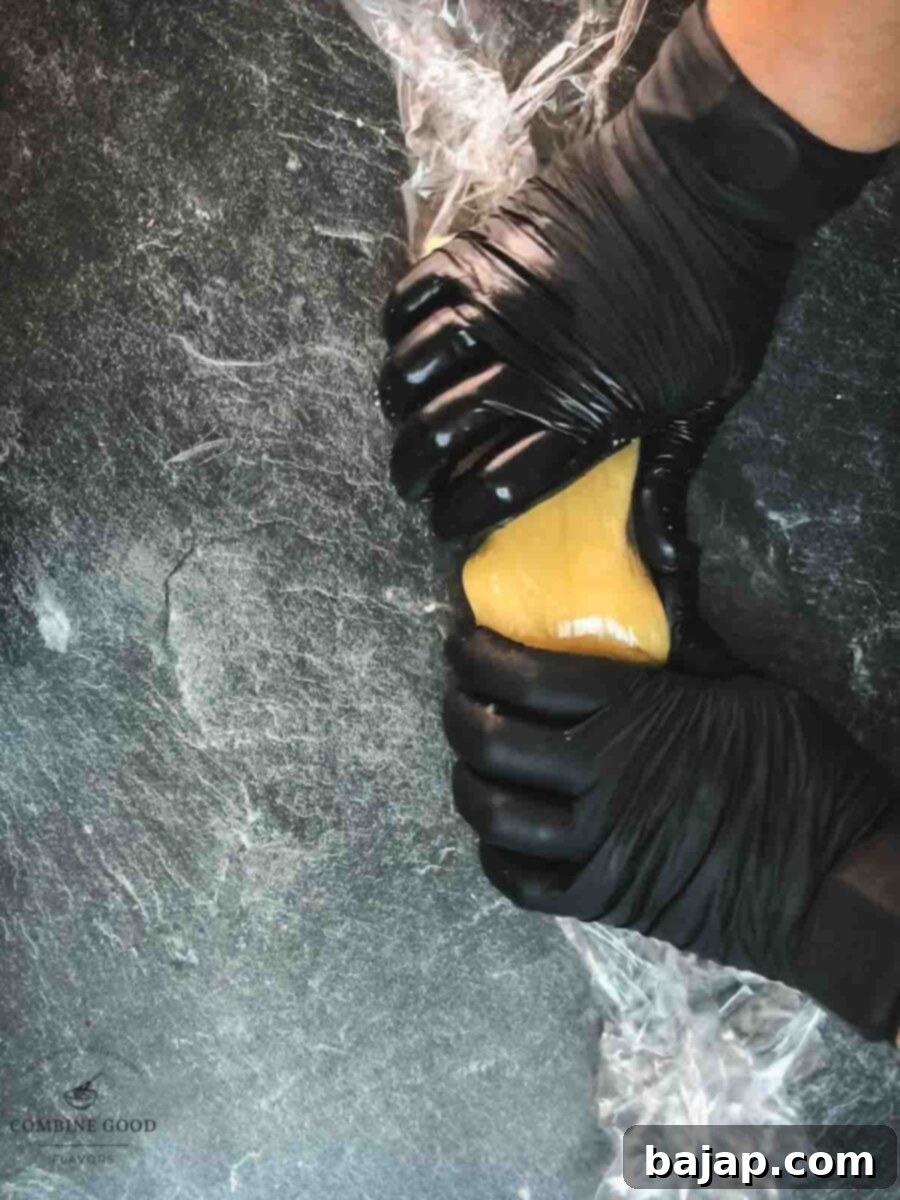
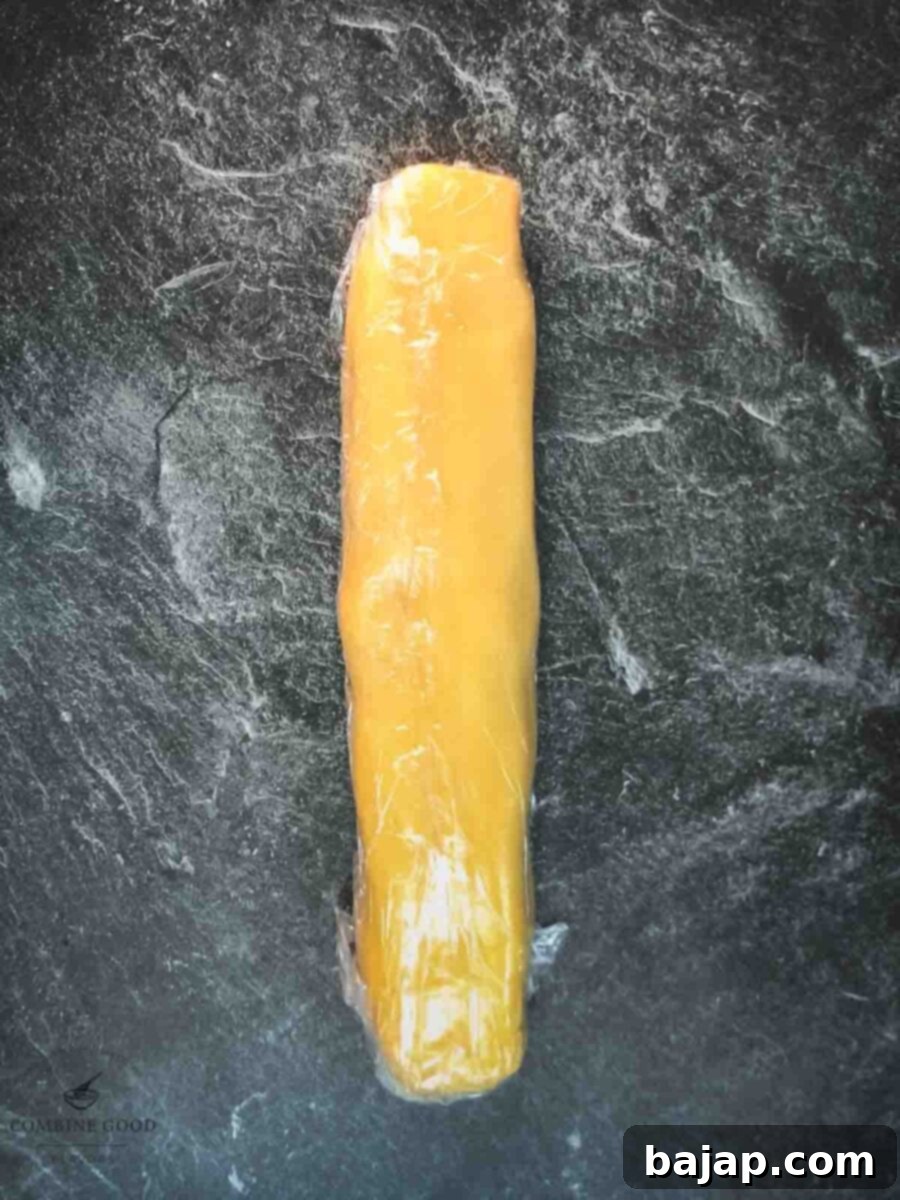
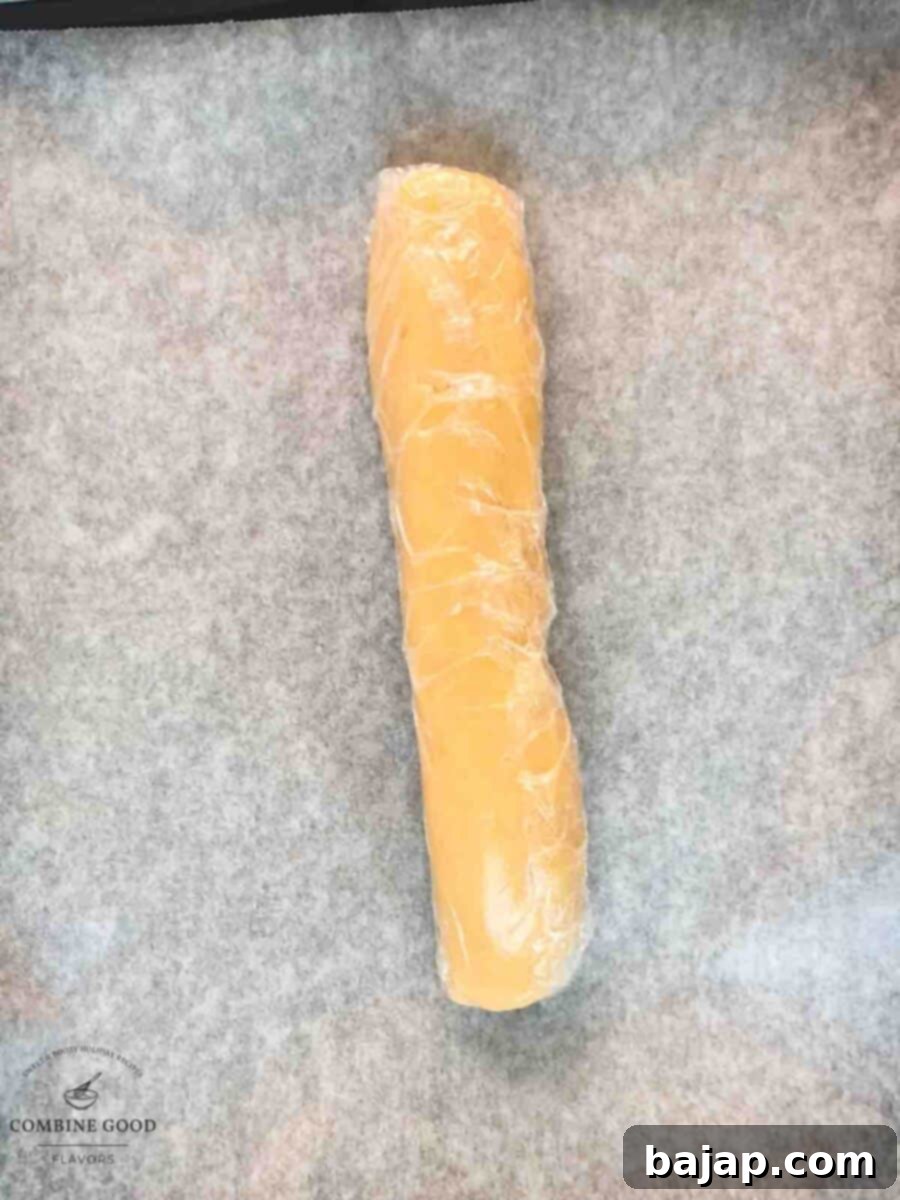
Gently use your hands to briefly knead the dough until it comes together. Avoid excessive kneading. Divide the dough into two equal portions. On a clean surface, roll each portion into a compact log, approximately 1.5 to 2 inches (3-5 cm) in diameter. Wrap each log tightly in cling film, ensuring no air pockets, and refrigerate for a minimum of 2 hours, or ideally overnight. Chilling is essential as it firms up the dough, making it easy to slice and preventing the cookies from spreading too much during baking.
- Step 6: Prepare for Baking
Preheat your oven to 170 °C / 338 °F (using top and bottom heat, if your oven has the setting). While the oven preheats, retrieve the chilled dough logs from the refrigerator. - Step 7: Slice and Arrange
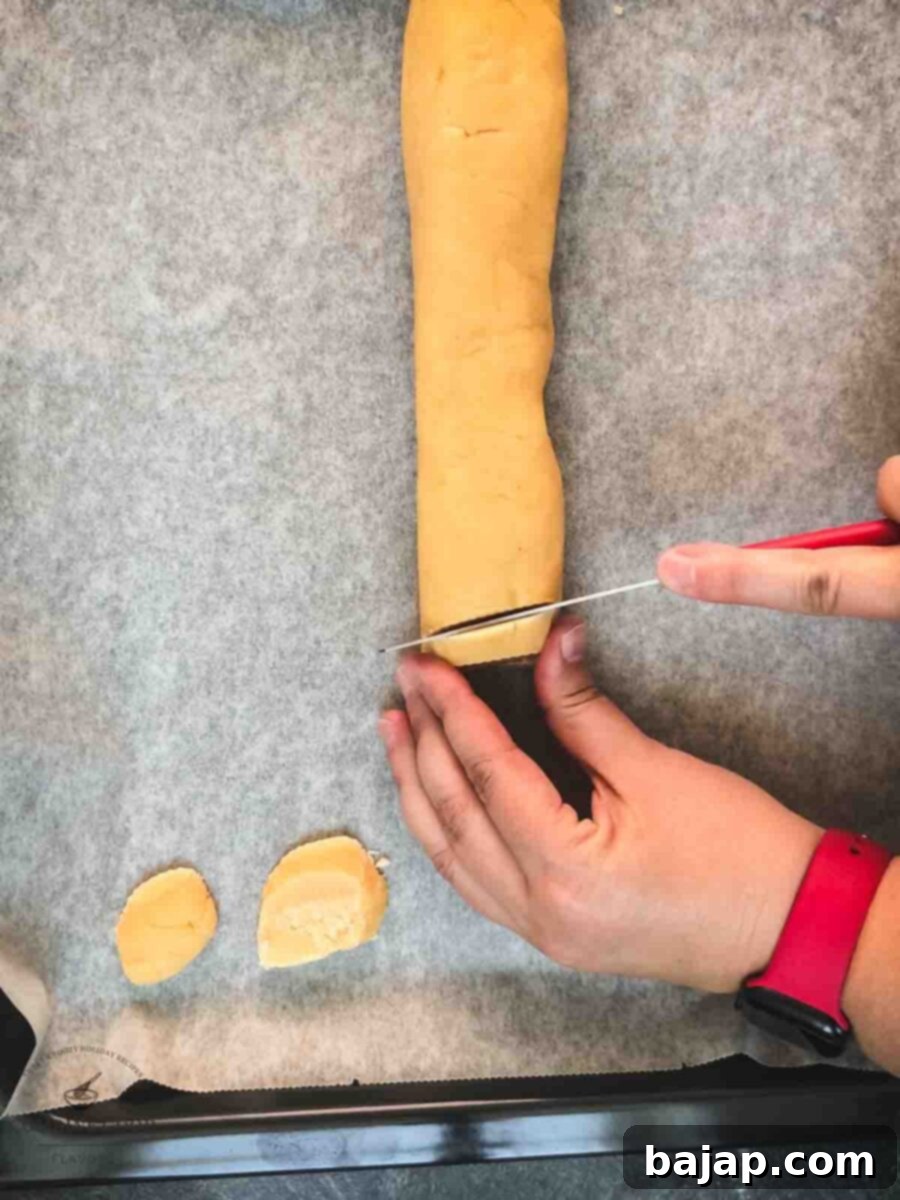
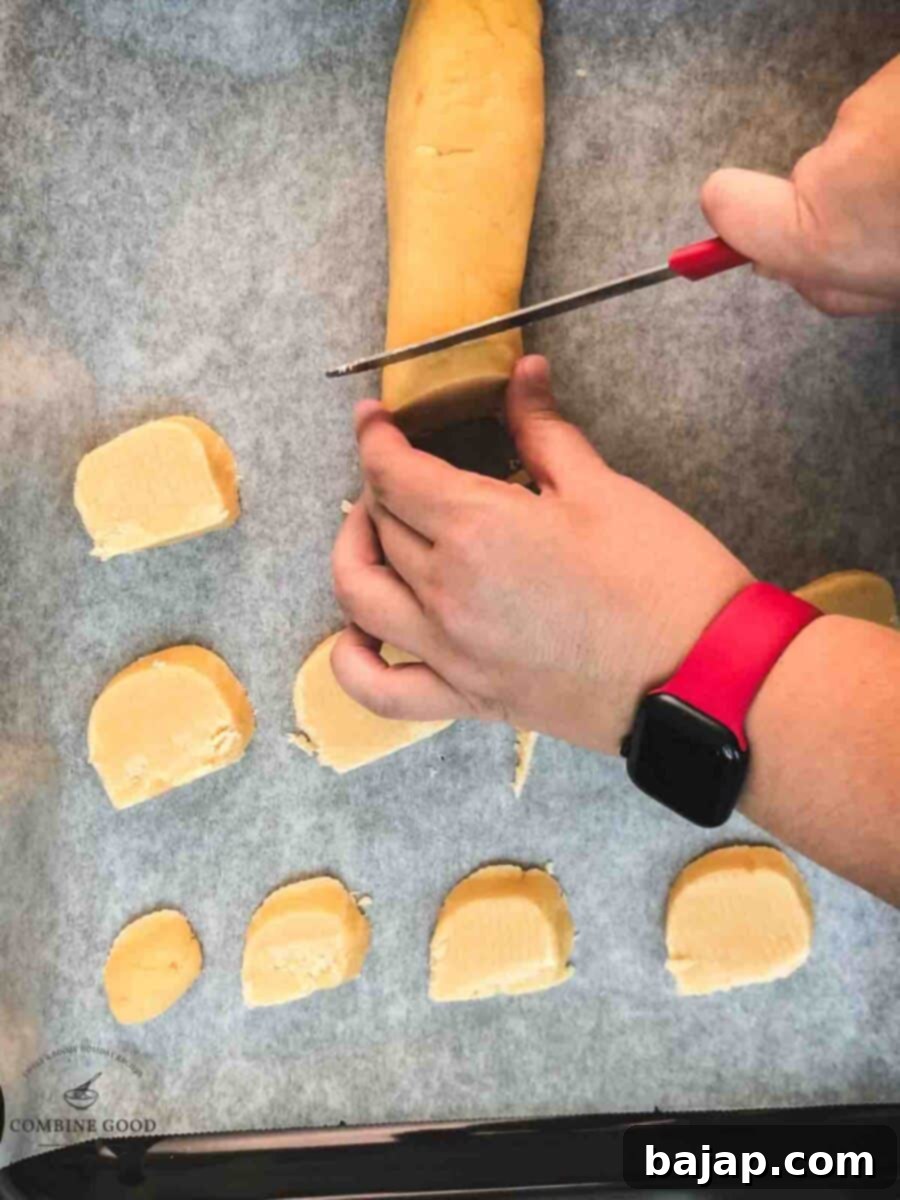
Using a sharp knife, carefully slice each chilled dough log into even rounds, approximately ¼-inch (0.6 cm) thick. Consistency in thickness is key for even baking. Place the sliced cookies on baking trays lined with parchment paper, ensuring a slight space between each cookie to allow for minimal spreading.
- Step 8: Bake Until Golden
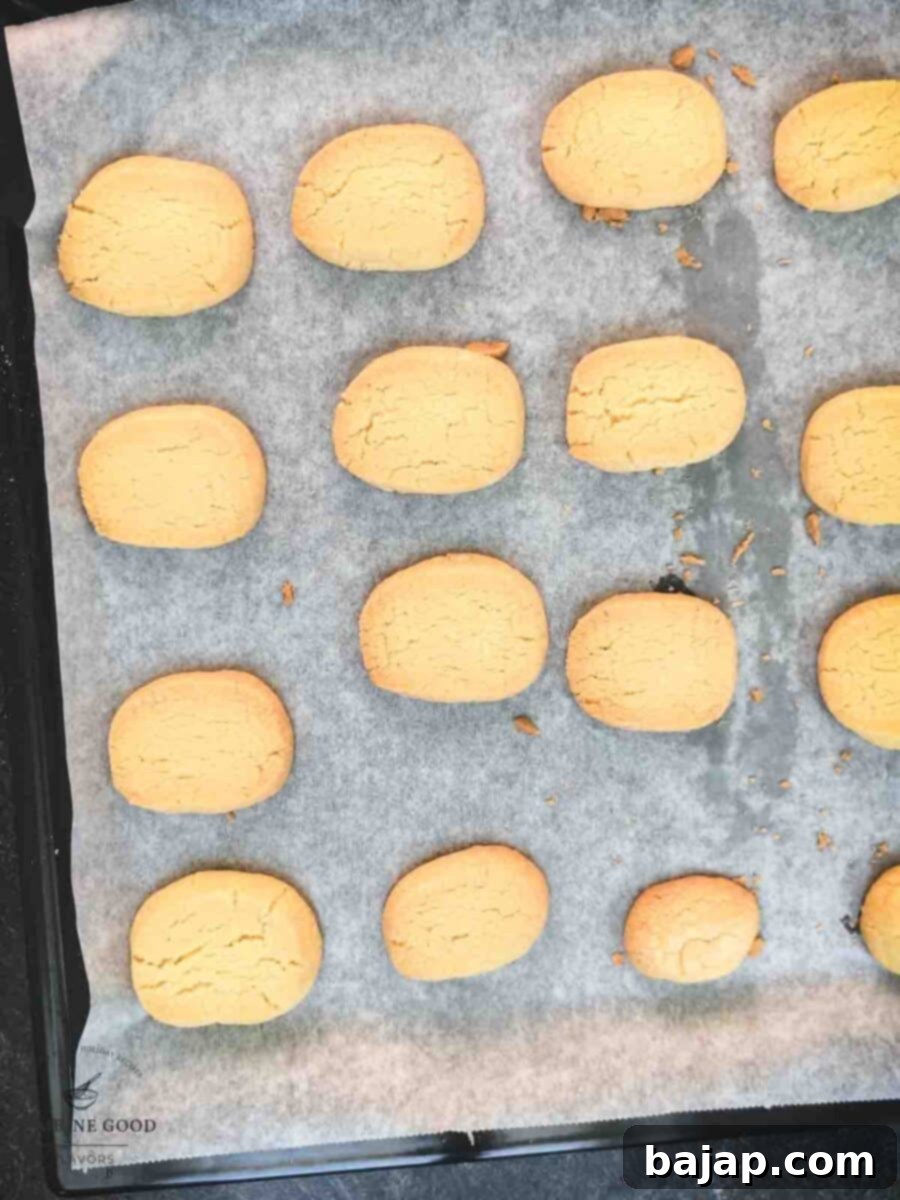
Bake the cookies on the middle rack of your preheated oven for approximately 18-22 minutes. The exact baking time may vary depending on your oven and the thickness of your cookies. Look for them to be lightly golden around the edges and set in the center. Avoid overbaking, as this can make them dry. Once baked, remove the trays from the oven and let the cookies cool completely on the baking sheet. They will be delicate when warm and will firm up as they cool. - Step 9: Store and Enjoy!
Once fully cooled, transfer your delicious Heidesand cookies to an airtight cookie tin or container. Storing them properly will ensure they remain fresh, buttery, and perfectly crumbly for weeks to come, ready to be enjoyed or shared.
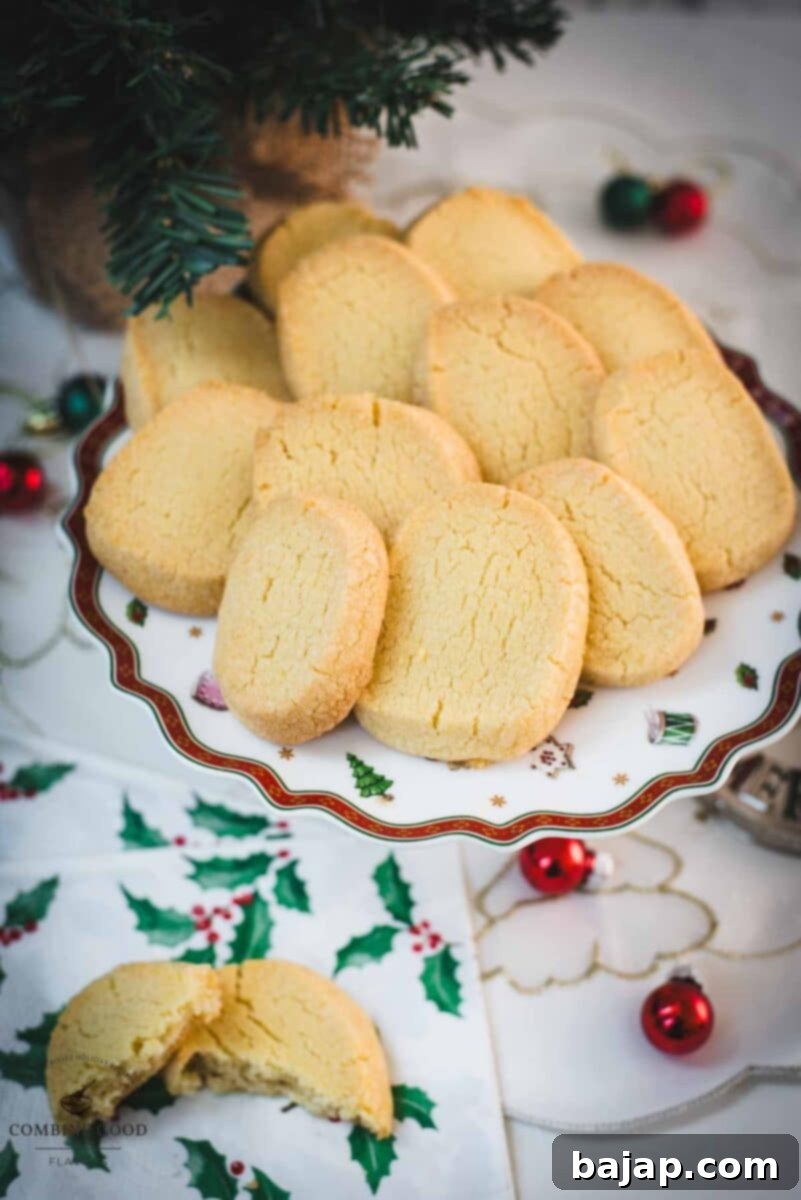
🌡️ Storage Tips for Maximum Freshness and Make-Ahead Convenience
Heidesand cookies are wonderfully forgiving and store exceptionally well, making them an ideal treat for the busy holiday season. To keep them at their peak of deliciousness, store them in an airtight cookie jar or container in a cool, dry place. Thanks to their high butter content, they will remain delightfully rich and crumbly for up to 2-3 weeks. It’s important to keep them away from direct heat or excessive humidity, as these conditions can compromise their perfect delicate texture.
For those who love to get a head start on their holiday baking, Heidesand cookies are also freezer-friendly! You can easily freeze them for up to 3 months. To freeze, arrange the fully cooled cookies in a single layer on a baking sheet and flash freeze them for about an hour until solid. Then, transfer them to a freezer-safe airtight container or a heavy-duty freezer bag, layering them between sheets of parchment paper to prevent sticking. When you’re ready to enjoy, simply thaw them at room temperature. They’ll taste just as fresh and delightful as the day they were baked, making them an ultimate make-ahead treat for all your festive gatherings!
🇦🇹 The Heart of Austrian Christmas: Heidesand and Other Traditional Cookies
Heidesand cookies are not just a recipe; they are a deeply cherished tradition in Austrian households, especially during the festive Advent season. Their appeal lies in their elegant simplicity and profoundly rich, buttery flavor, which has made them a beloved staple on every Christmas cookie platter. The name “Heidesand,” meaning “heath sand” in German, beautifully captures their unique, delicate, and famously crumbly texture that literally melts in your mouth.
These cookies embody the very essence of traditional Austrian baking—transforming a few basic pantry staples into something truly extraordinary. While Heidesand stands out for its browned butter base, Austria boasts a rich tapestry of other traditional Christmas cookies, or Weihnachtskekse. These often include intricately spiced Zimtsterne (cinnamon stars), delicate Vanillekipferl (vanilla crescents), fruit-filled Linzer Augen, and festive Kokosbusserl (coconut macaroons). Each cookie carries its own story and adds to the rich mosaic of Austrian holiday traditions, emphasizing homemade treats, family gatherings, and the joy of sharing. Heidesand’s versatility makes it perfect for holiday gatherings, cookie swaps, or as thoughtful, homemade gifts, solidifying its special place in the hearts and homes of many during this magical time of year.

Discover More Holiday Delights with My
Christmas CookieBook!
Craving more festive inspiration? Dive into my exclusive Christmas CookieBook featuring 20 delicious and diverse Christmas cookie recipes to make your holiday baking truly unforgettable!
Yes, please!
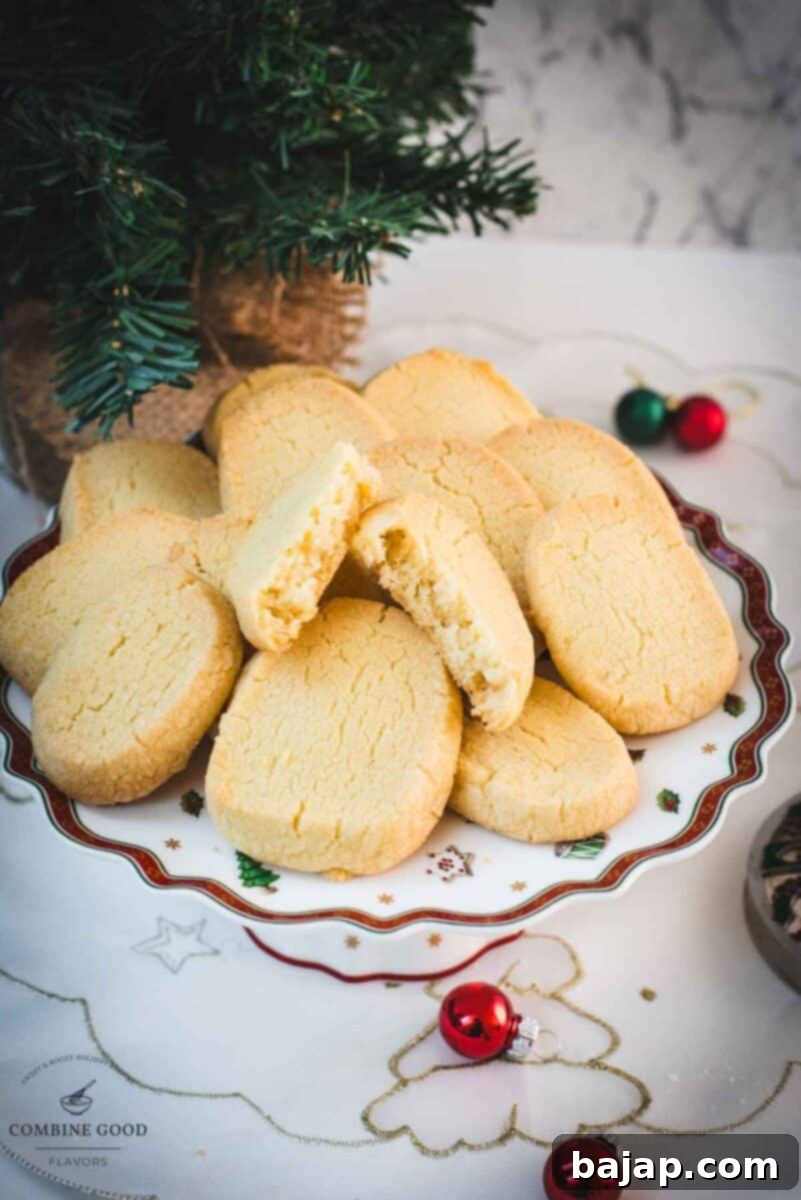
🍽 Essential Equipment for Heidesand Baking
To ensure a smooth and enjoyable baking experience, having the right tools at hand is key. Here’s a list of the essential equipment you’ll need to create your perfect batch of Heidesand cookies:
- Frying Pan: A light-colored pan is best for browning butter, as it allows you to easily observe the color change and prevent burning.
- Wooden Spoon: Ideal for stirring the butter as it browns and for mixing the dough.
- Fine-Mesh Sieve: Crucial for straining the browned butter, ensuring a smooth, clear liquid without any burnt milk solids.
- 2-3 Baking Trays Lined with Parchment Paper: To prevent sticking and ensure even baking. Parchment paper also makes for easy cleanup.
- Hand or Stand Mixer with Whisk Attachment and Flat Beater: A mixer makes creaming the butter and sugar much easier and more efficient. The whisk attachment is perfect for frothing the butter mixture, while the flat beater is good for gently incorporating the flour.
- Cling Film (Plastic Wrap): Essential for wrapping the dough logs tightly for chilling, which helps prevent them from drying out and maintains their shape.
- Sharp Knife: For cleanly slicing the chilled dough into uniform rounds. A good sharp knife ensures neat edges and consistent cookies.
More Delicious Cookie Recipes for Your Holiday Spreads
If you’re expanding your holiday cookie repertoire, be sure to explore some of these other delightful recipes from my kitchen:
- Chocolate Peppermint Crinkle Cookies: A festive classic with a refreshing twist.
- Cinnamon Cookies {Zimtsterne}: Delicate German cinnamon stars, another European Christmas favorite.
- Leftover Egg Yolk Cookies: A clever and delicious way to use up extra egg yolks.
- Butterball Cookies: Also known as Mexican Wedding Cookies, these are incredibly tender and nutty.
- Raspberry Almond Thumbprint Cookies: Sweet and beautiful, perfect for a cookie platter.
–> Discover even more irresistible Cookie Recipes
If you embark on making this wonderful Heidesand recipe, I would absolutely love to hear from you! Please let me know how you liked it by giving it a ★★★★★ star rating and leaving a comment below. Your feedback is truly awesome and incredibly helpful! You can also sign up for our Newsletter to receive delicious recipes straight to your inbox, or follow me on Pinterest or Instagram and share your delightful creation with me. Just tag me @combinegoodflavors and use the hashtag #combinegoodflavors, so I don’t miss your culinary masterpiece!
📖 Recipe: Heidesand – Browned Butter Shortbread Cookies
Heidesand – Browned Butter Shortbread Cookies
Nora
Save RecipeSaved!
Pin Recipe
Equipment
-
Frying Pan
-
Wooden spoon
-
Sieve
-
2-3 Baking trays lined with baking paper
-
Hand or stand mixer with whisk attachment and flat beater
-
Cling film
-
Sharp knife
Equipment
-
Frying Pan
-
Wooden spoon
