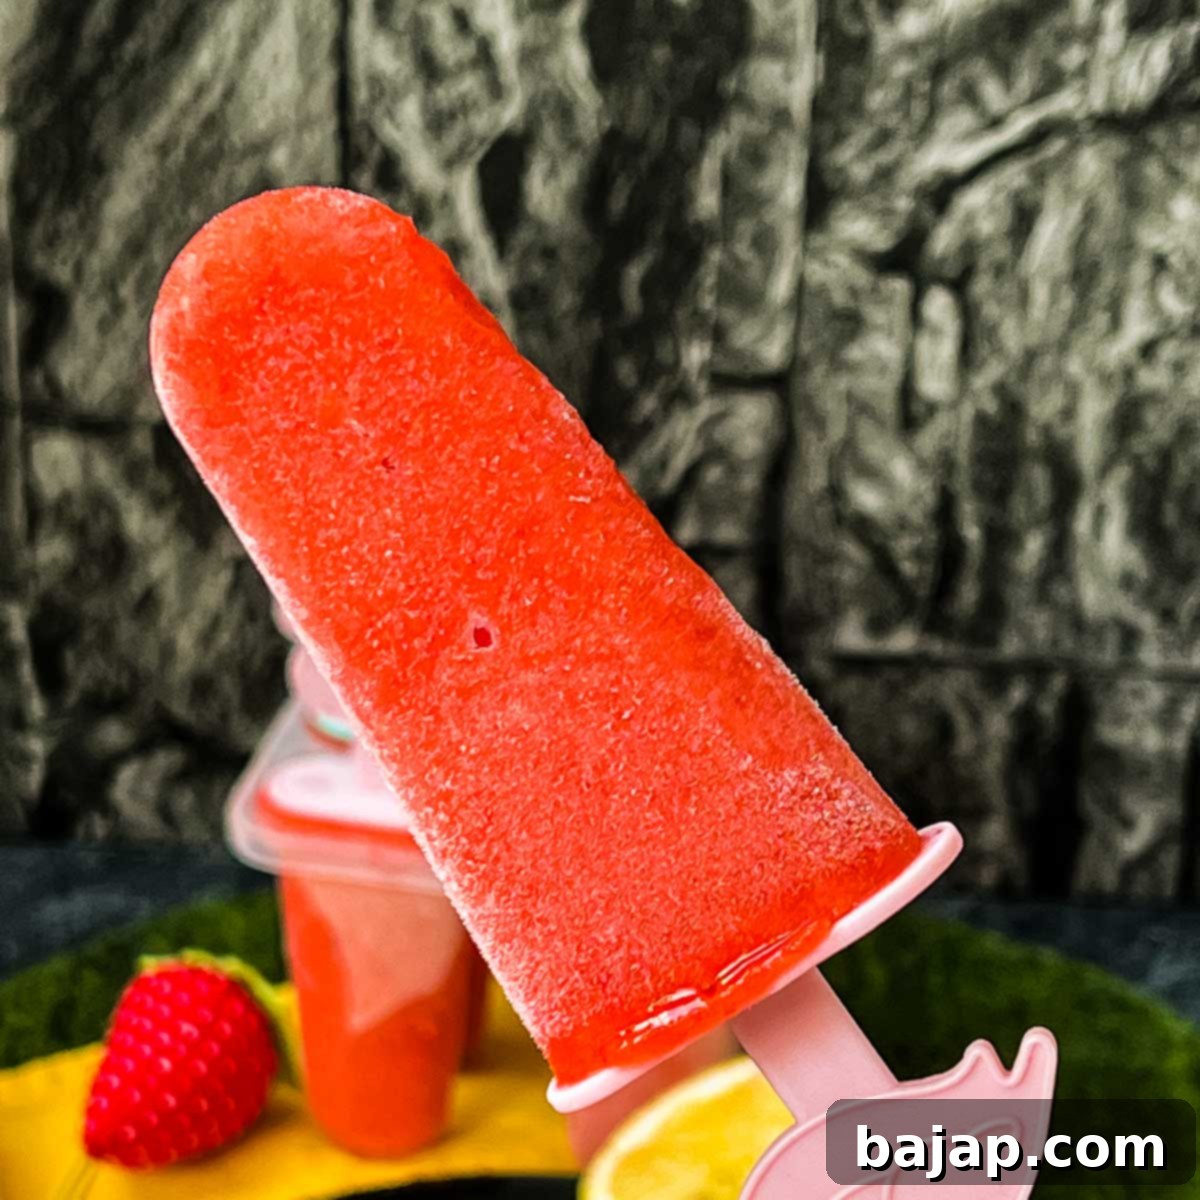
Homemade Strawberry Popsicles: The Best Easy & Refreshing Summer Treat Recipe
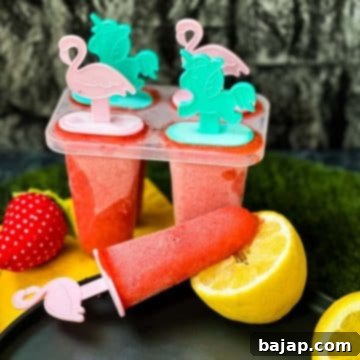
There’s nothing quite like a simple, refreshing frozen treat to beat the summer heat. And when that treat bursts with the vibrant, sweet flavor of fresh strawberries, it becomes an instant classic! These homemade strawberry popsicles are not just incredibly easy to make; they are a delightful taste of summer captured on a stick. Personally, I find immense joy in using fresh, local strawberries – whether that means spending a Saturday morning browsing a bustling farmer’s market for the ripest berries, or, even better, making a memorable family day out of picking them ourselves at a local farm. The sweetness of sun-ripened, hand-picked strawberries truly elevates these popsicles to another level, creating an unparalleled, intense strawberry flavor that store-bought versions simply can’t replicate.
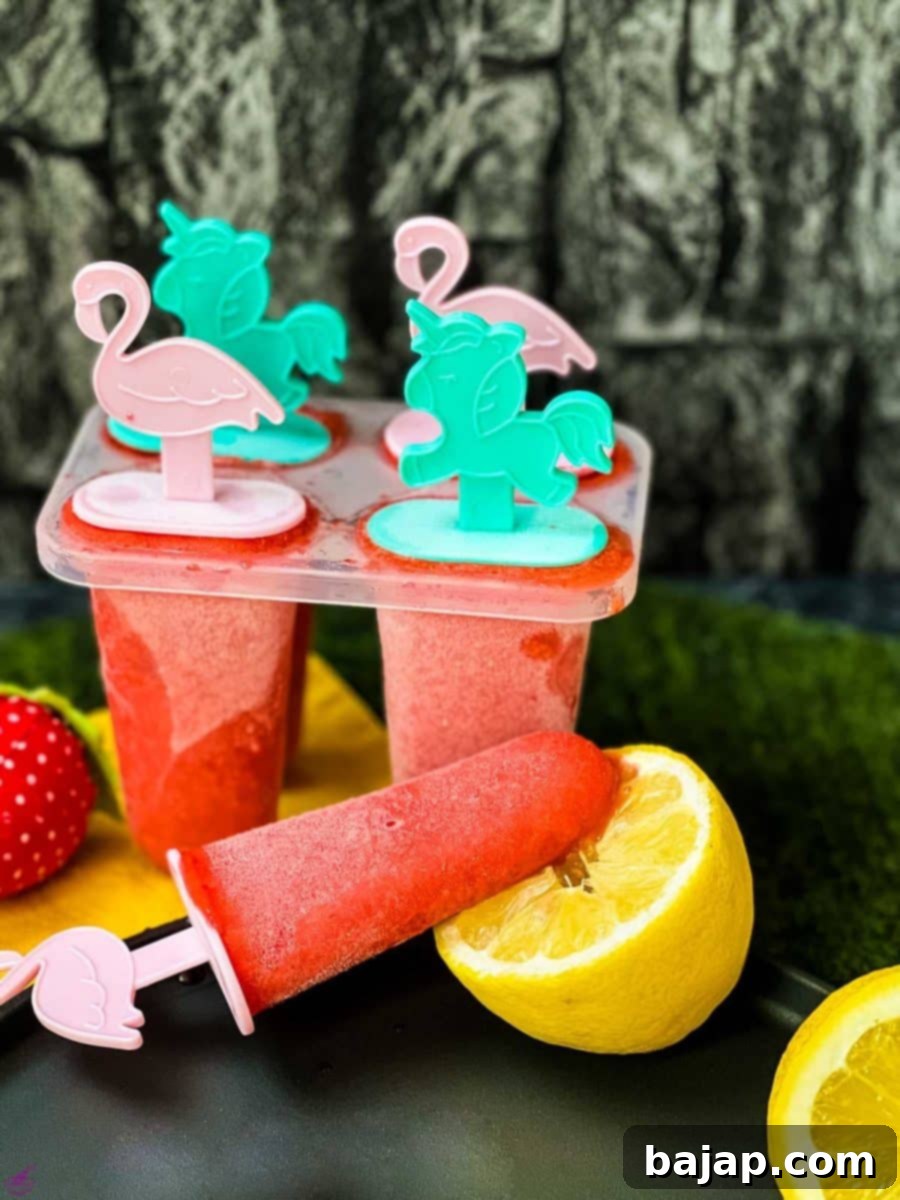
But don’t let the end of summer or the chill of winter deter you from enjoying this sweet delight! If you’re craving that summery taste during colder months, high-quality frozen strawberries work wonderfully as a substitute. Even when it’s frosty outside, these delightful strawberry ice pops remain a perfect, sweet escape, bringing a little ray of sunshine into any day. Their simplicity and pure fruit flavor make them an ideal healthy snack for kids and adults alike, free from artificial colors or preservatives often found in commercial frozen treats.
Why Make Homemade Strawberry Popsicles?
Beyond the sheer joy of a refreshing snack, there are several compelling reasons to whip up a batch of these homemade strawberry popsicles:
- Control Your Ingredients: You decide exactly what goes into your popsicles. No mystery ingredients, no artificial colors or flavors, just pure fruit, a touch of sweetness, and a hint of citrus. This makes them a fantastic healthy treat option.
- Unbeatable Flavor: Fresh, ripe strawberries offer a depth of flavor that is simply unmatched. When pureed and frozen, that natural sweetness and tang are perfectly preserved, resulting in an intense strawberry experience.
- Cost-Effective: Making popsicles at home is significantly cheaper than buying them from the store, especially if you catch strawberries in season or buy them in bulk.
- Fun for the Whole Family: It’s a fantastic kitchen activity to do with kids! From washing and hulling strawberries to pouring the mixture into molds, every step can be a fun, engaging experience for little helpers.
- Customizable: This base recipe is incredibly versatile. You can easily adjust the sweetness, add other fruits, or even sneak in some vegetables (like spinach for color, though perhaps not for a classic strawberry pop!).
I absolutely adore strawberry season, and I’m sure you do too! If you’re like me and can’t get enough of these ruby-red gems, you’ll be thrilled to explore my other beloved strawberry recipes. They’re perfect for showcasing the versatility and deliciousness of fresh strawberries in various forms:
- Austrian Strawberry Sponge Cake: A light, airy cake topped with fresh strawberries.
- Strawberry Cupcakes with Ricotta: Moist cupcakes with a creamy ricotta touch.
- Strawberry Flavored Whipped Cream: A versatile topping for any dessert.
- Strawberry Cobbler: A warm, comforting dessert, perfect with a scoop of vanilla ice cream.
- Strawberry Simple Syrup: Great for cocktails, sodas, or drizzling over pancakes.
- Strawberry Spritz: A refreshing drink for a sunny afternoon.
- No-bake Strawberry Cheesecake: Creamy, dreamy, and no oven required!
- Strawberry Milkshake: A classic, indulgent drink.
- Strawberry Cream: Simple, elegant, and full of strawberry flavor.
- Strawberry Milk: A delightful, kid-friendly beverage.
🥘 Ingredients for Your Perfect Strawberry Popsicles
The beauty of this strawberry popsicle recipe lies in its simplicity. With just three core ingredients, you can create a frozen treat that’s both incredibly delicious and wonderfully natural. Here’s what you’ll need:
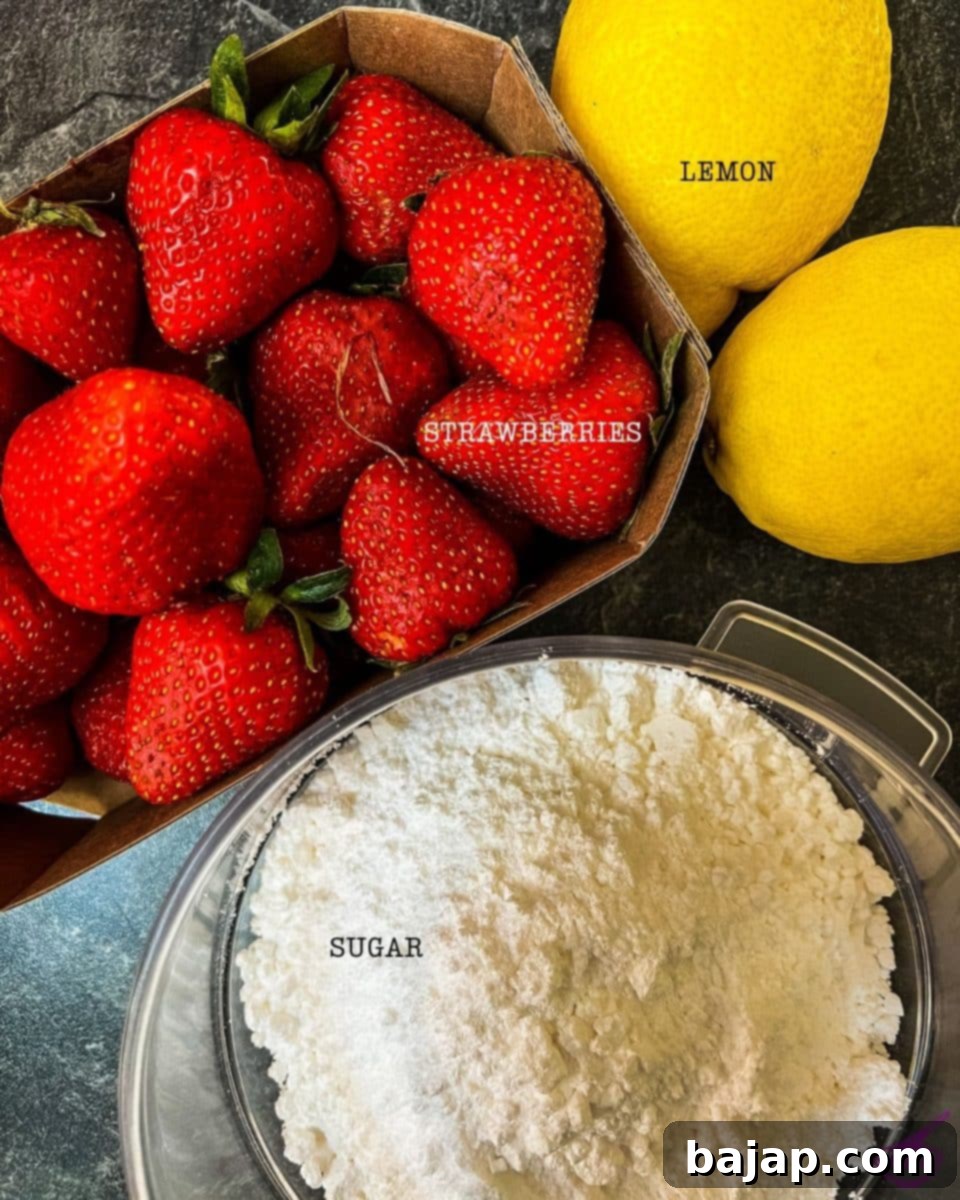
- Fresh Strawberries: These are the star of the show! For the most intense strawberry flavor, opt for ripe, seasonal berries. If fresh aren’t available, quality frozen strawberries (thawed slightly) will also work beautifully, ensuring you can enjoy these pops year-round.
- Powdered Sugar: Also known as confectioners’ sugar. This finely ground sugar dissolves easily and helps create a super smooth popsicle texture without any grittiness. You can adjust the amount to your sweetness preference, depending on how sweet your strawberries are.
- Lemons: Specifically, fresh lemon juice. The tartness of the lemon juice brightens the strawberry flavor and adds a delightful zing that balances the sweetness. It also acts as a natural preservative, helping to maintain the freshness and vibrant color of your homemade ice pops in the freezer.
For precise quantities and measurements, please refer to the detailed recipe card at the bottom of this article.
🔪 Step-by-Step Instructions: Crafting Your Delicious Strawberry Popsicles
Making these homemade strawberry popsicles is a breeze! Follow these simple steps for a truly rewarding and refreshing experience.
A Quick but Crucial Tip Before You Begin: If you’re using an ice cream maker attachment, it’s absolutely vital that the bowl is as cold as possible. This ensures proper freezing and a smooth consistency. The longer you can keep it in the freezer, the better! Ideally, pop the ice cream maker bowl into your freezer for a full 24 hours. If you’re short on time and desperately craving this sweet treat, letting it sit overnight (at least 12 hours) will also work. Don’t skip this step for the best results!
- Prepare the Strawberries: The very first thing you’ll need to do is thoroughly wash and clean your fresh strawberries. Gently rinse them under cool running water, then carefully hull them by removing the green leafy tops and any white core.
- Purée the Berries: Once cleaned, place the fresh strawberries in an electric chopper or a food processor. Blend them until you achieve a beautifully smooth, puréed consistency. You want it completely smooth, with no large chunks remaining.
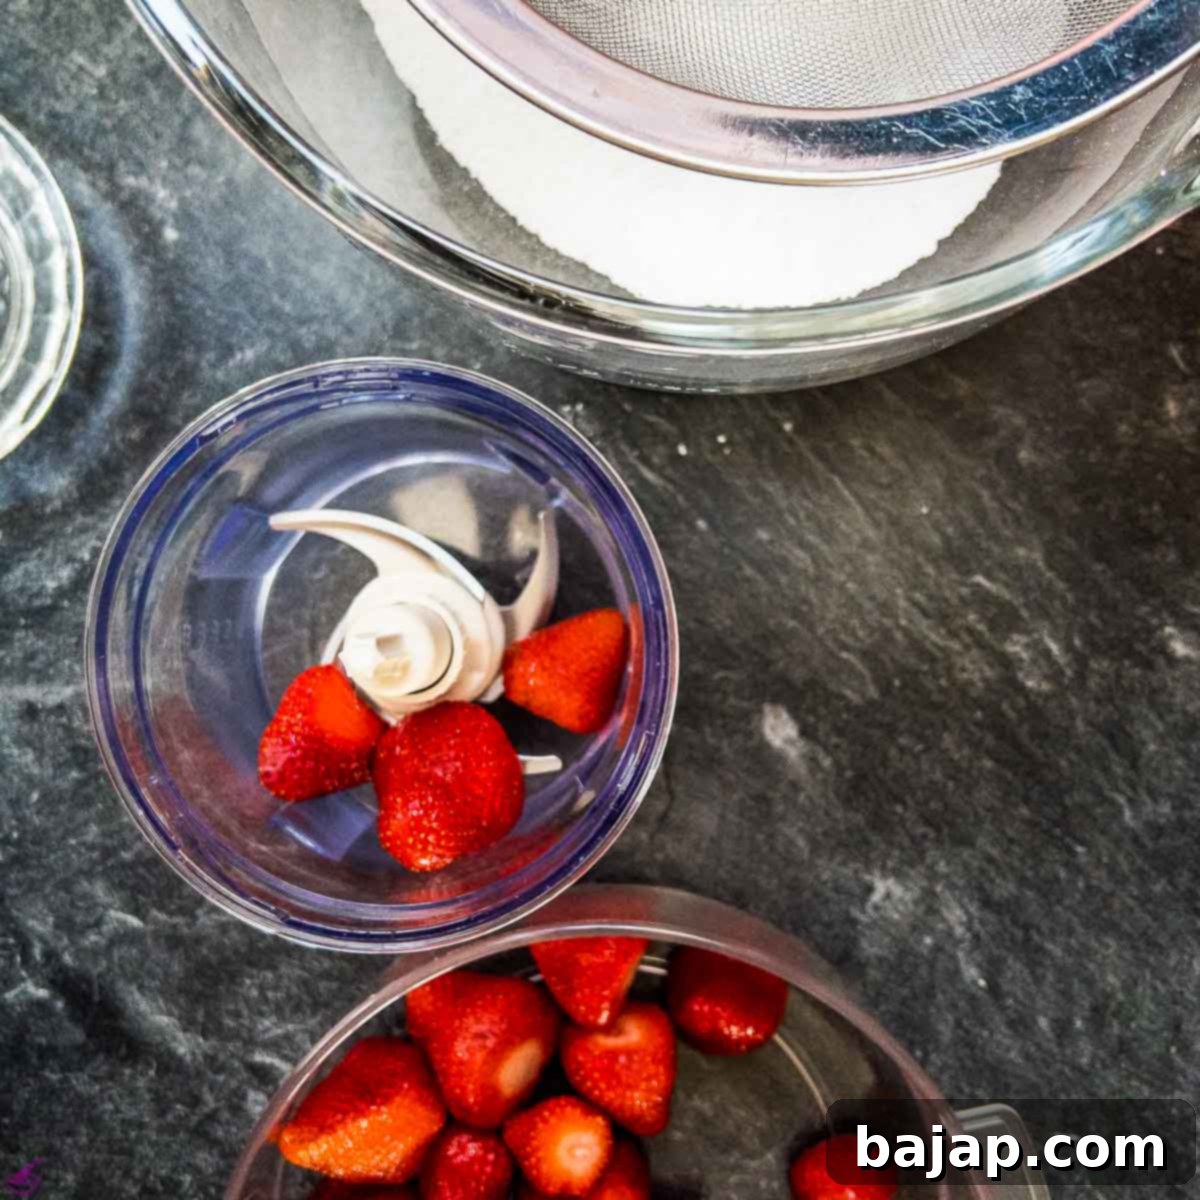
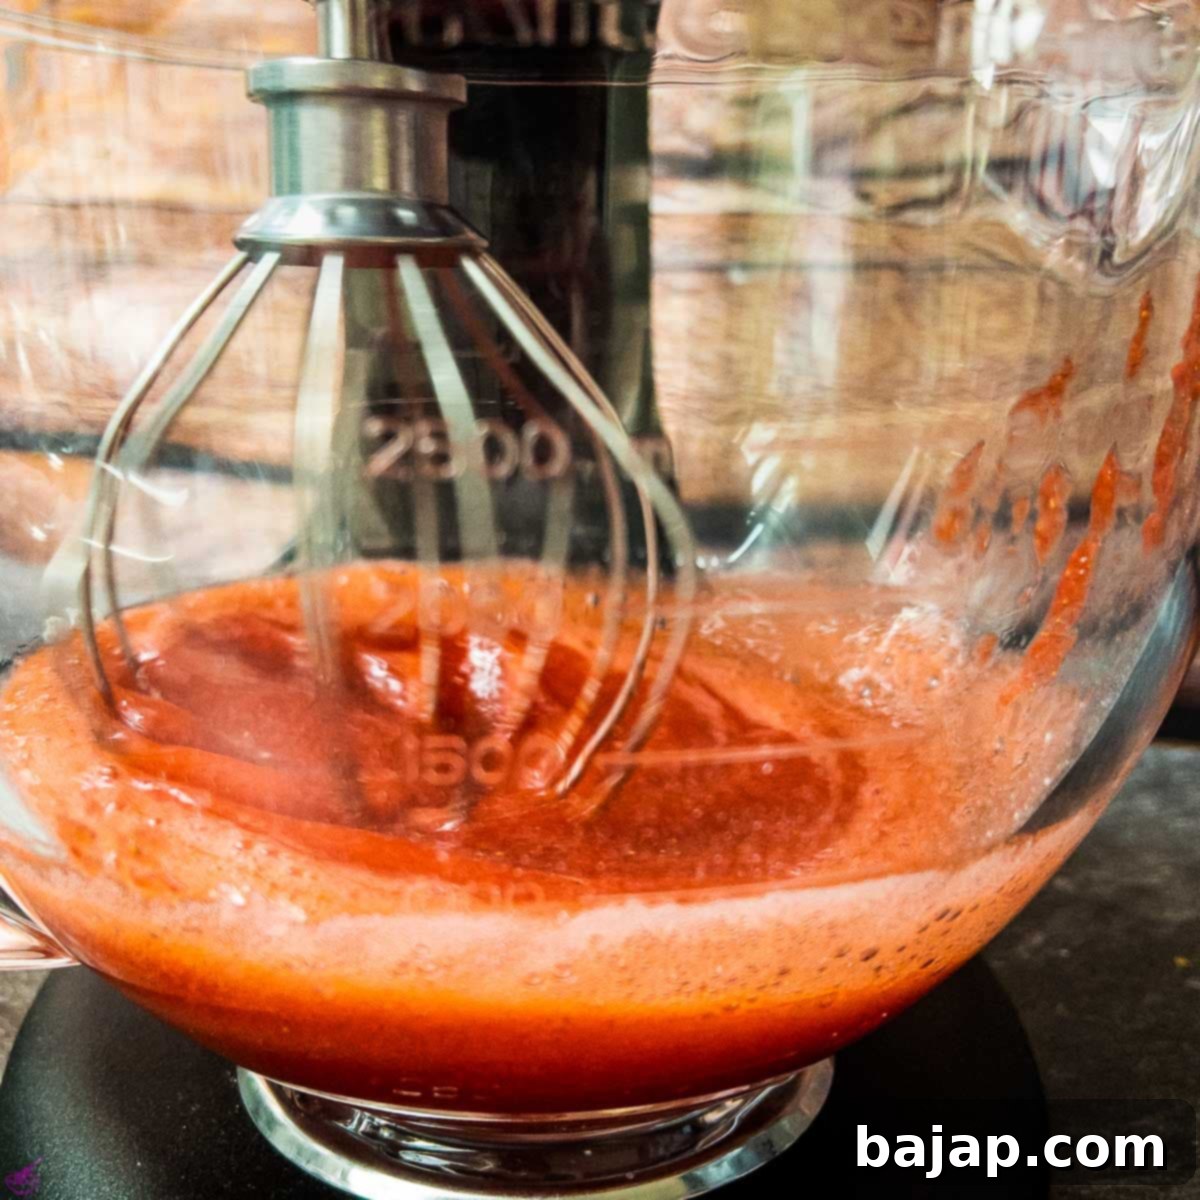
- Combine Dry and Wet Ingredients: Grab a medium-sized mixing bowl. Sift your powdered sugar through a fine-mesh sieve directly into the bowl. This step is key to preventing lumps and ensuring a super smooth popsicle. Next, add the strawberry purée to the sifted powdered sugar. For an even silkier consistency, I highly recommend pushing the strawberry purée through the same sieve as well. This extra step removes any tiny seeds or fibrous bits, resulting in an exceptionally smooth texture.
- Add the Lemon Juice: Now, squeeze the juice from about 1 ½ lemons directly into your strawberry and sugar mixture. This is a really important step! Not only does the fresh lemon juice impart a fantastic, bright flavor that complements the strawberries beautifully, but its acidity also helps prevent the popsicles from becoming too icy and keeps them fresh in the freezer for longer periods.
- Mix Thoroughly: Time to bring out your food processor with the whisk attachment. If you don’t have a food processor, an electric hand mixer will work just as well. Mix all the ingredients together on a medium speed until everything is thoroughly combined and the mixture is smooth and uniform.
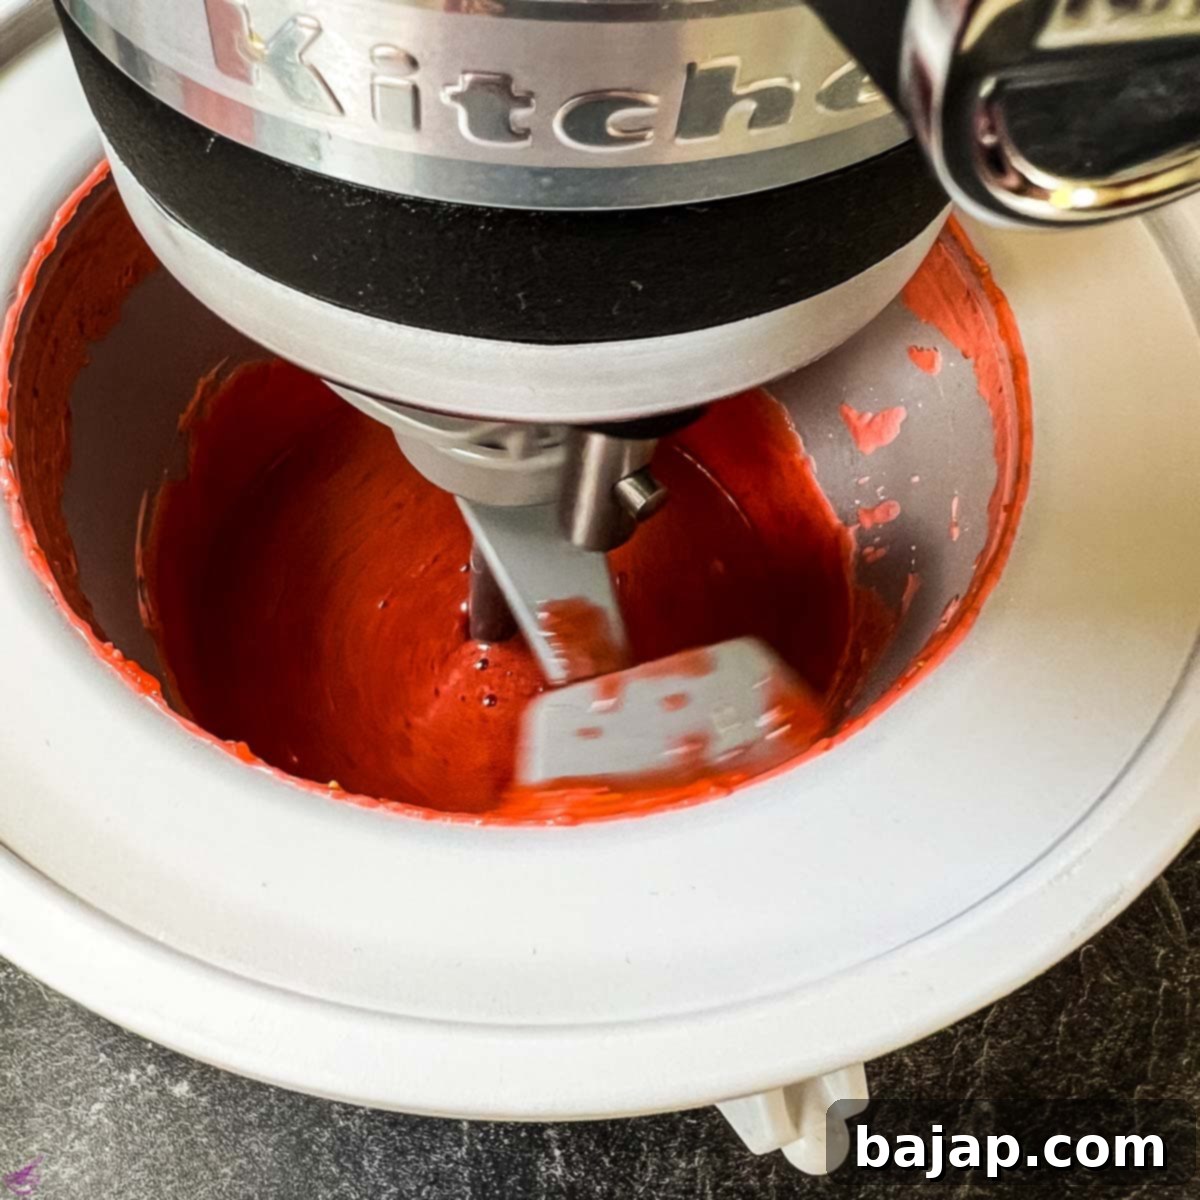
- Prepare the Ice Cream Maker (if using): For this next step, I personally rely on the Kitchen Aid Ice Cream Maker Attachment. If you’re using a different type of ice cream maker, the most critical factor is ensuring its bowl is thoroughly chilled and frozen solid. Remove your ice cream maker bowl from the freezer and securely insert it into your mixer or machine.
- Churn the Mixture: Carefully pour your strawberry mixture into the prepared ice cream maker bowl. After it’s filled, insert the dasher (paddle) and turn your machine on to level two (or the appropriate setting for ice cream/sorbet). Allow the mixture to churn for approximately 5-10 minutes. The mixture should thicken slightly, taking on a soft-serve ice cream consistency.
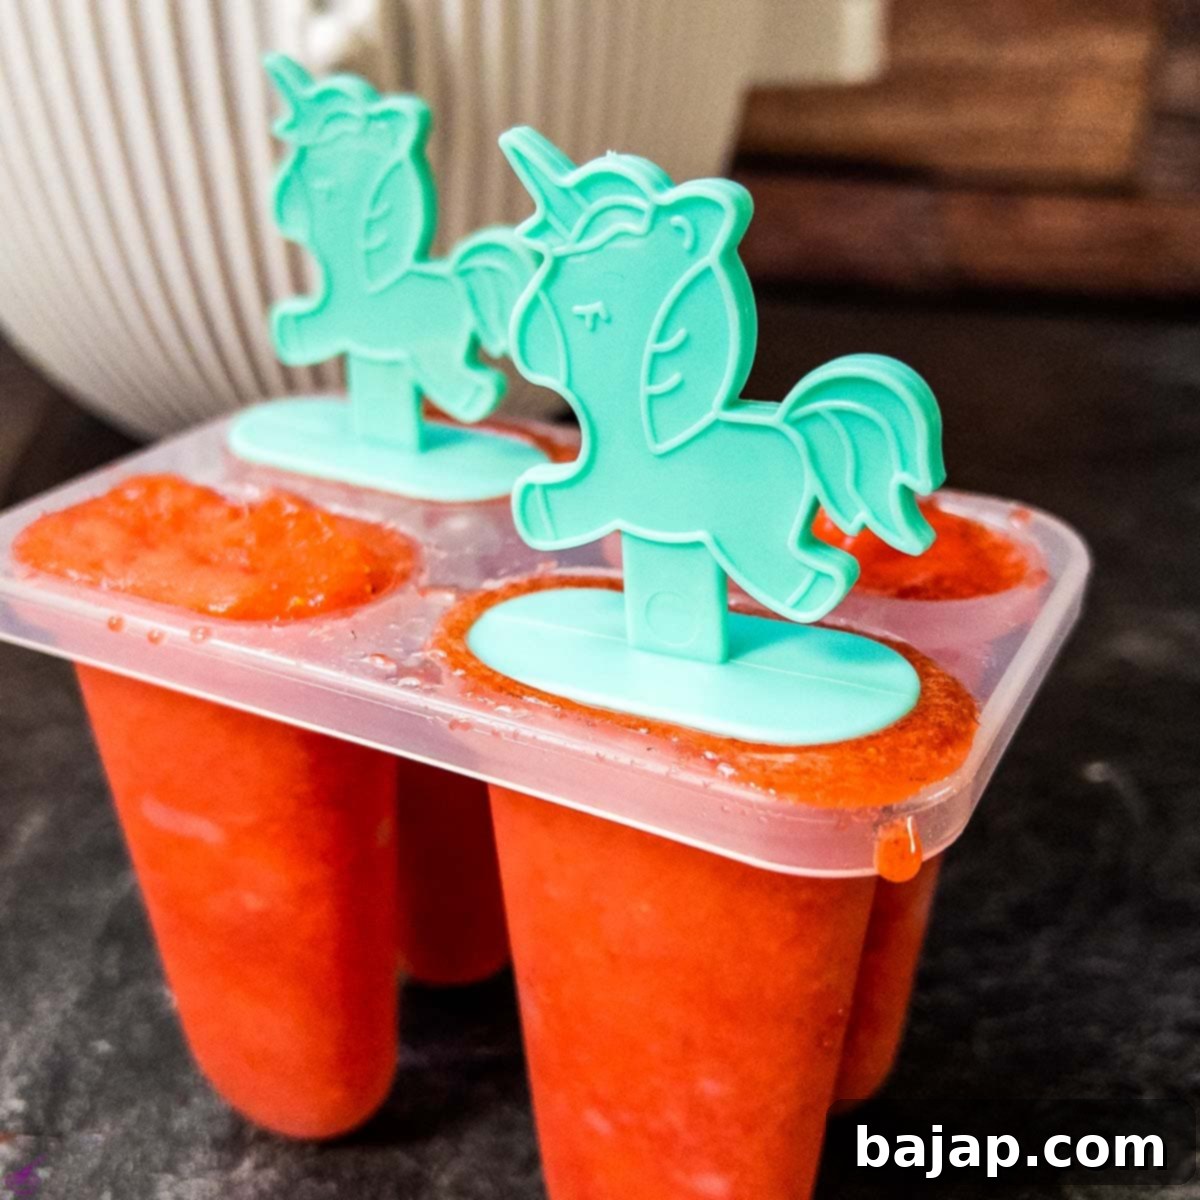
- Fill Molds and Freeze: Once the mixture has churned and achieved the desired soft consistency, it’s ready for its final freeze. Carefully pour the strawberry mixture into your chosen popsicle molds – you might love these cute silicone popsicle molds! Insert popsicle sticks firmly into each mold. If you don’t have traditional popsicle molds on hand, don’t worry! You can easily freeze your sweet treat directly into small dessert bowls, an ice cube tray (for mini pops), or even a loaf pan (then slice into bars once firm).
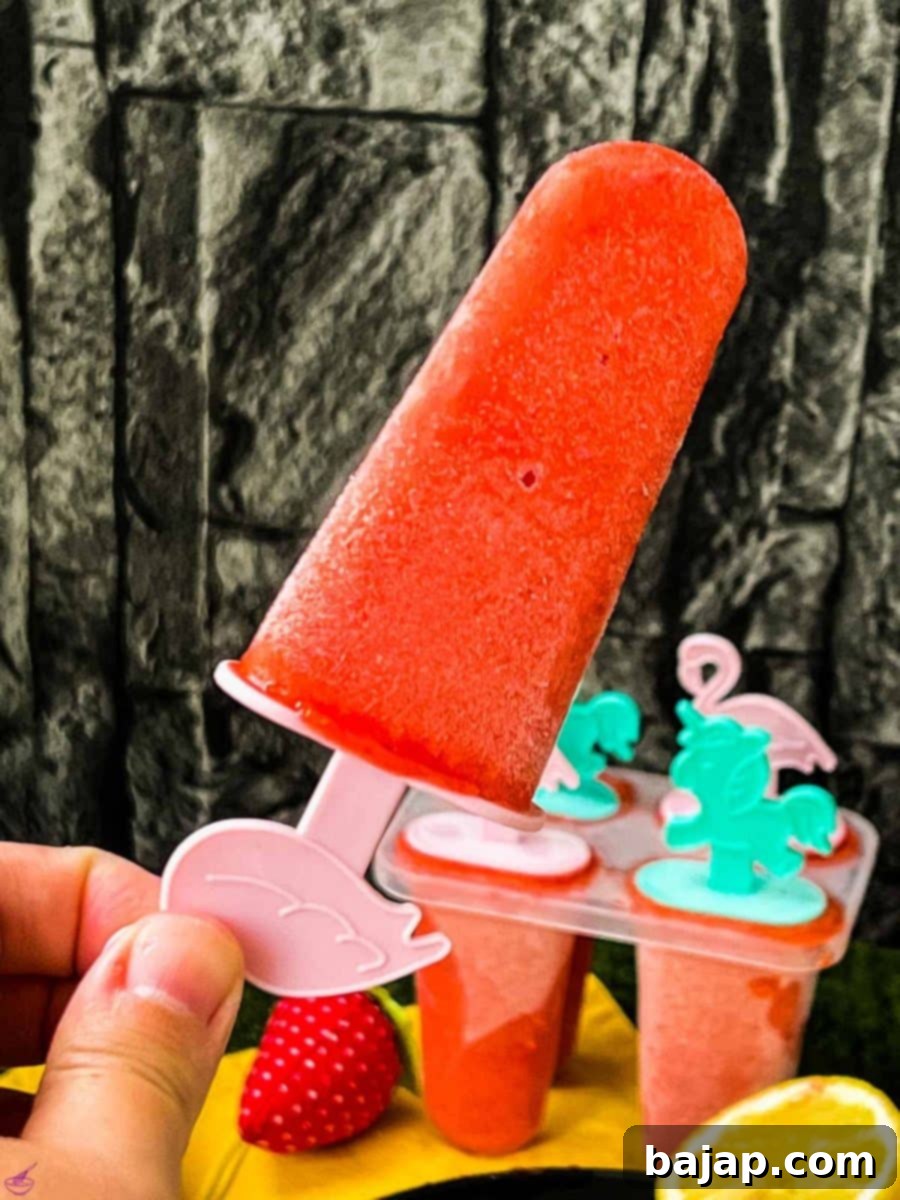
- Final Freeze: Place the filled molds or containers into your freezer and allow them to freeze completely. This typically takes at least 6 hours, but for the best, most solid popsicles, it’s recommended to freeze them overnight.
Tips for Perfect Homemade Popsicles
- Use Ripe Fruit: The riper your strawberries (or any fruit), the sweeter and more flavorful your popsicles will be, potentially reducing the need for added sugar.
- Don’t Overfill Molds: Leave a little space at the top of your molds as the liquid will expand slightly when it freezes.
- Easy Release: If your popsicles are sticking to their molds, run the outside of the mold under warm water for a few seconds. This will gently loosen them for easy removal.
- Add Texture: For a delightful textural contrast, consider adding small chunks of fresh strawberries to the mixture before pouring it into the molds.
- Adjust Sweetness: Taste your purée before freezing. If your fruit isn’t very sweet, you might want to add a little more powdered sugar. Remember, flavors can be slightly muted when frozen.
🍍 Variations: Beyond Strawberry Popsicles
While strawberry popsicles are undoubtedly a classic, this versatile recipe serves as an excellent base for a whole rainbow of fruit-filled frozen treats! Don’t limit yourself to just strawberries; experiment with other fruits to discover new favorite flavors.
- Tropical Pineapple Popsicles: If you’re yearning for a taste of the tropics, this recipe works fantastically with pineapple. While most of us won’t be picking our own pineapples unless we’re in a tropical paradise, perfectly ripe pineapples from your local supermarket or even high-quality canned pineapple (drained) will yield delicious results. Just purée and follow the same steps!
- Mixed Berry Medley: Combine different berries like blueberries, raspberries, and blackberries for a complex and antioxidant-rich popsicle. Adjust sweetness as needed, as some berries can be quite tart.
- Mango Magic: For a creamy, exotic twist, use ripe mangoes. Mango purée creates a wonderfully smooth and intensely flavored popsicle that’s like a mini tropical vacation.
- Peachy Keen: Fresh, ripe peaches, peeled and puréed, make for incredibly sweet and aromatic popsicles.
- Watermelon Wonder: For the ultimate hydrating treat, blend fresh watermelon. You might need less sugar here, depending on the sweetness of your melon.
- Kiwi Zest: Purée peeled kiwi for a bright green, tangy, and slightly sweet popsicle.
The possibilities are endless! Most other fruits, whether enjoyed individually or in creative combinations, will make for great, refreshing popsicle fillings. Just ensure your fruit is ripe and flavorful for the best possible outcome.
🍽 Equipment You’ll Need
To make these delicious homemade strawberry popsicles, you’ll need a few essential kitchen tools:
- Closed Meshed Sieve: Crucial for sifting powdered sugar and ensuring a silky-smooth strawberry purée, free of any small seeds or pulp.
- Electric Chopper/Food Processor: Essential for quickly and efficiently puréeing the strawberries to the perfect consistency.
- Lemon Squeezer: Makes extracting fresh lemon juice quick and easy, ensuring no seeds get into your mixture.
- Kitchen Aid with Ice Cream Maker Attachment: (Optional but recommended) This attachment helps churn the mixture to a soft-serve consistency before freezing, resulting in a creamier popsicle. Remember to pre-freeze the bowl!
- Spatula: Useful for scraping down the sides of bowls and transferring the mixture.
- Your Favorite Popsicle Molds or Loaf Pan: Silicone molds are great for easy release, but any plastic mold or even paper cups with sticks will work. A loaf pan is a good alternative if you plan to cut the frozen mixture into bars.
🌡 Storage: Keeping Your Popsicles Fresh
One of the best things about homemade strawberry popsicles is their fantastic shelf life in the freezer! You can make a large batch and enjoy them for weeks to come. To ensure they remain delicious and free from freezer burn:
- In Molds: If you keep them in their individual popsicle molds, ensure the tops are securely covered, or the entire mold is placed in an airtight freezer bag.
- Out of Molds: Once completely frozen, you can remove the popsicles from their molds. Wrap each popsicle individually in plastic wrap or parchment paper, then place them all into a large freezer-safe bag or an airtight container. This prevents them from sticking together and protects them from freezer odors and ice crystal formation.
Properly stored, these sweet treats will maintain their quality for up to 2-3 months in the freezer. Always make sure they are properly covered before storing them away to enjoy another day!
💭 Top Tip for the Creamiest Popsicles
For the absolute creamiest and most delightful strawberry popsicles, consider an optional step: after puréeing and mixing your ingredients, churn the mixture in an ice cream maker for 5-10 minutes until it reaches a soft-serve consistency. This aeration process introduces tiny air pockets and starts the freezing process, resulting in a smoother, less icy, and more ‘creamy’ texture in your finished popsicles. While not strictly necessary, it truly elevates the experience!
If you fancy a non-fruity popsicle for a change, you absolutely must try these delicious homemade fudgesicles! They are incredibly indulgent and a perfect chocolatey treat.
🙋🏻 FAQ: Your Strawberry Popsicle Questions Answered
If you don’t have traditional popsicle molds, there are plenty of creative ways to freeze, store, and enjoy your sweet treat! You can use an ice cube tray (for bite-sized mini pops), a loaf pan (then slice into bars once firm), or even small plastic cups with a stick inserted once partially frozen. Just ensure whatever container you use is freezer-safe.
For best results and to ensure they are completely solid, a minimum of six hours in the freezer is recommended when freezing strawberry popsicles. Preferably, for optimal firmness and texture, freeze them overnight.
Yes, absolutely! This recipe is incredibly adaptable. Besides strawberries, other fresh berries like blueberries or raspberries, or even tropical fruits like pineapple and mango, are perfect for making various types of delicious homemade popsicles.
Yes, you certainly can! While fresh, in-season strawberries offer the most intense flavor, high-quality frozen strawberries work wonderfully as a substitute. This means you can enjoy this sweet treat even on cold days or when fresh berries are out of season. Just thaw them slightly before puréeing.
Other Delicious Recipes for You to Try
- Fresh Strawberry Sponge Cake
- Mini Blueberry Pavlova
- Easy Pineapple Dessert
- Fig Cheesecake in a Jar {No-Bake}
- Lovely Lavender Spritz Cocktail
If you make this delightful recipe, I would absolutely love to know how you liked it! Please consider giving it a ★★★★★ star rating and leaving a comment below. Your feedback would be awesome and helps others discover these great recipes! You can also sign up for our Newsletter to receive delicious homemade recipes weekly, or follow me on Pinterest or Instagram and share your beautiful creation with me. Just tag me @combinegoodflavors and use the hashtag #combinegoodflavors, so I don’t miss it!
📖 Recipe
Best Strawberry Popsicles Recipe
Nora
Save RecipeSaved!
Pin Recipe
Equipment
-
Closed Meshed Sieve
-
Electric chopper Food Processor or Blender
-
Lemon squeezer
-
Kitchen Aid with Ice Cream Maker Attachment (Optional, for creamier popsicles)
-
Spatula
-
Silicone popsicle mold or other popsicle molds, small cups, or a loaf pan
Ingredients
- 14.1 oz Fresh Strawberries for an intense strawberry flavor, or good quality frozen strawberries
- 1 ¾ cups Powdered Sugar sifted for smoothness, adjust to taste
- 1 ½ Lemons freshly squeezed, for brightness and preservation
Instructions
-
Wash and hull the fresh strawberries thoroughly.14.1 oz Fresh strawberries
-
Place the cleaned strawberries in an electric chopper or food processor and blend until you achieve a smooth purée.
-
Sift the powdered sugar through a fine-mesh sieve into a mixing bowl. Add the strawberry purée, also processing it through the sieve for an even smoother consistency.1 ¾ cups Powdered Sugar
-
Squeeze the juice from 1 ½ lemons directly into the mixture. This adds flavor and helps preserve the popsicles.1 ½ Lemons
-
Using a food processor with the whisk attachment (or an electric hand mixer), mix all the ingredients until they are well blended and smooth.
-
Prepare your ice cream maker (if using): Ensure the ice cream maker bowl has been frozen for at least 12-24 hours. Remove it from the freezer and securely insert it into your machine.
-
Pour the strawberry mixture into the ice cream maker bowl.
-
Insert the dasher (paddle) and turn the machine on to level two (or the recommended setting). Churn for approximately 5-10 minutes until the mixture thickens to a soft-serve consistency.
-
Once the mixture is ready, pour it into your ice cream popsicle molds. Insert a popsicle stick into each mold and place them in the freezer. Freeze for at least 6 hours, preferably overnight, until completely solid.
Nutrition values are estimates only, using online calculators. Please verify using your own data.

🤎 You Might Also Like These Recipes
- Chocolate Chip Vanilla Ice Cream
- Homemade Vanilla Ice Cream Recipe
- Quick Strawberry Cream
- Fresh Strawberry Sponge Cake
⛑️ Food Safety Guidelines
- Always ensure all ingredients, especially fresh produce, are thoroughly washed before use.
- Clean and sanitize your equipment (food processor, bowls, molds, utensils) before and after use to prevent cross-contamination.
- Do not leave prepared food sitting out at room temperature for extended periods. Promptly move your popsicle mixture to the freezer.
- Store popsicles in airtight containers or individually wrapped to prevent freezer burn and absorption of other food odors.
- Practice good personal hygiene, including washing hands thoroughly before and after handling food.
For further comprehensive information on safe food handling practices, please check the official guidelines from Safe Food Handling – FDA.
