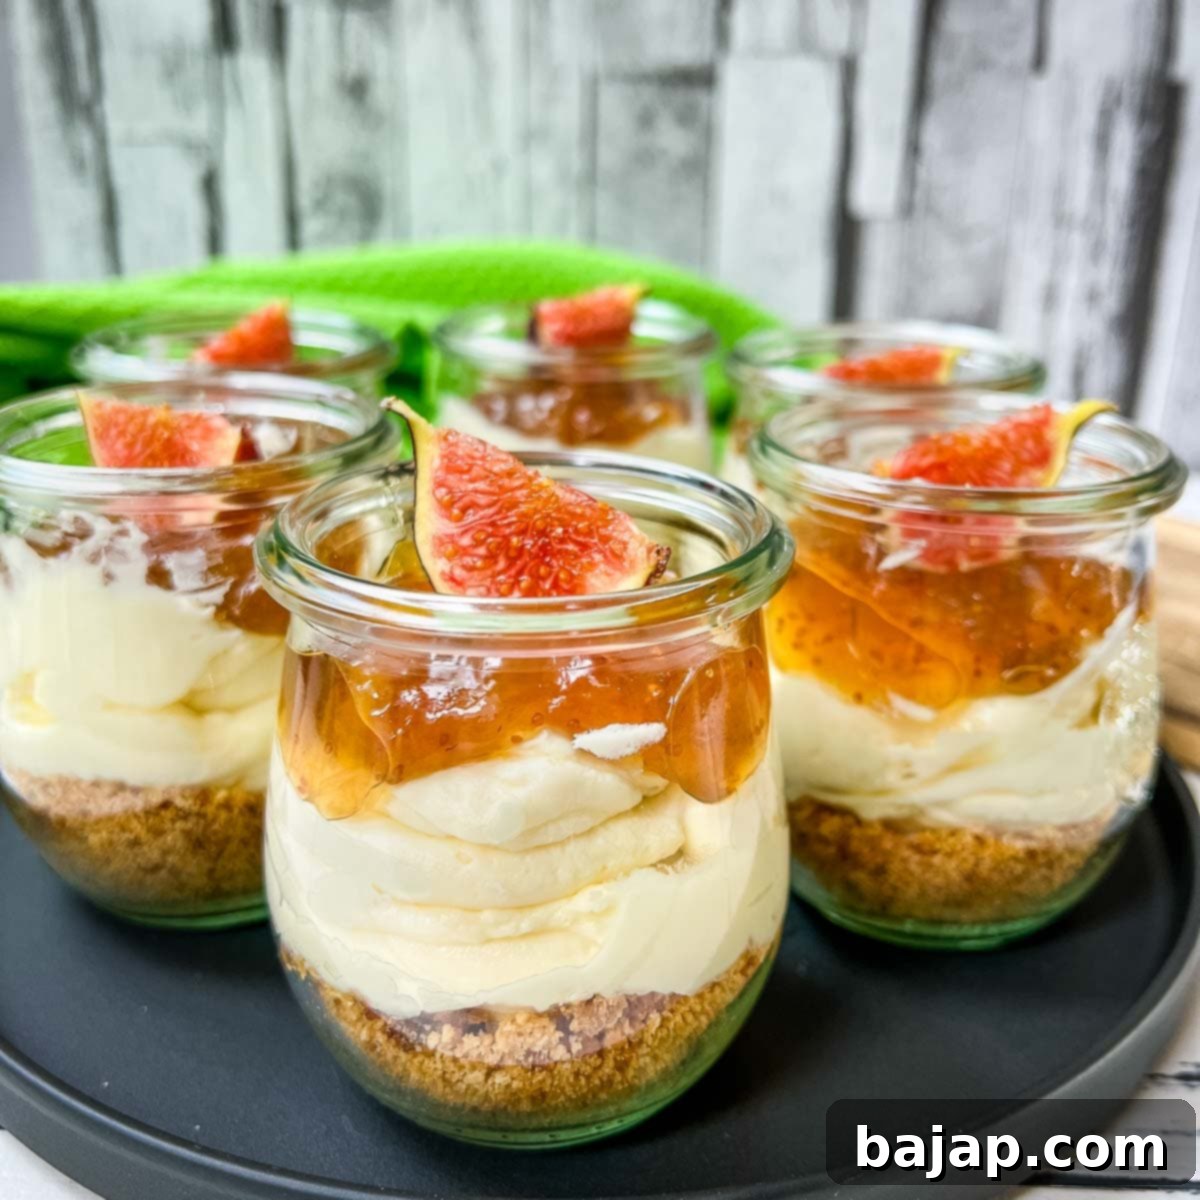
Indulge in Homemade Bliss: Easy No-Bake Fig Cheesecake in a Jar Recipe
Fig cheesecake in a jar is more than just a dessert; it’s a real delicacy among cheesecakes, offering a perfect blend of rich flavors and delightful textures! These charming jar cheesecakes are designed for convenience and maximum flavor. Prepared without baking, they come together quickly, making them an ideal treat for any occasion, and they truly impress with their intense, natural fig flavor.
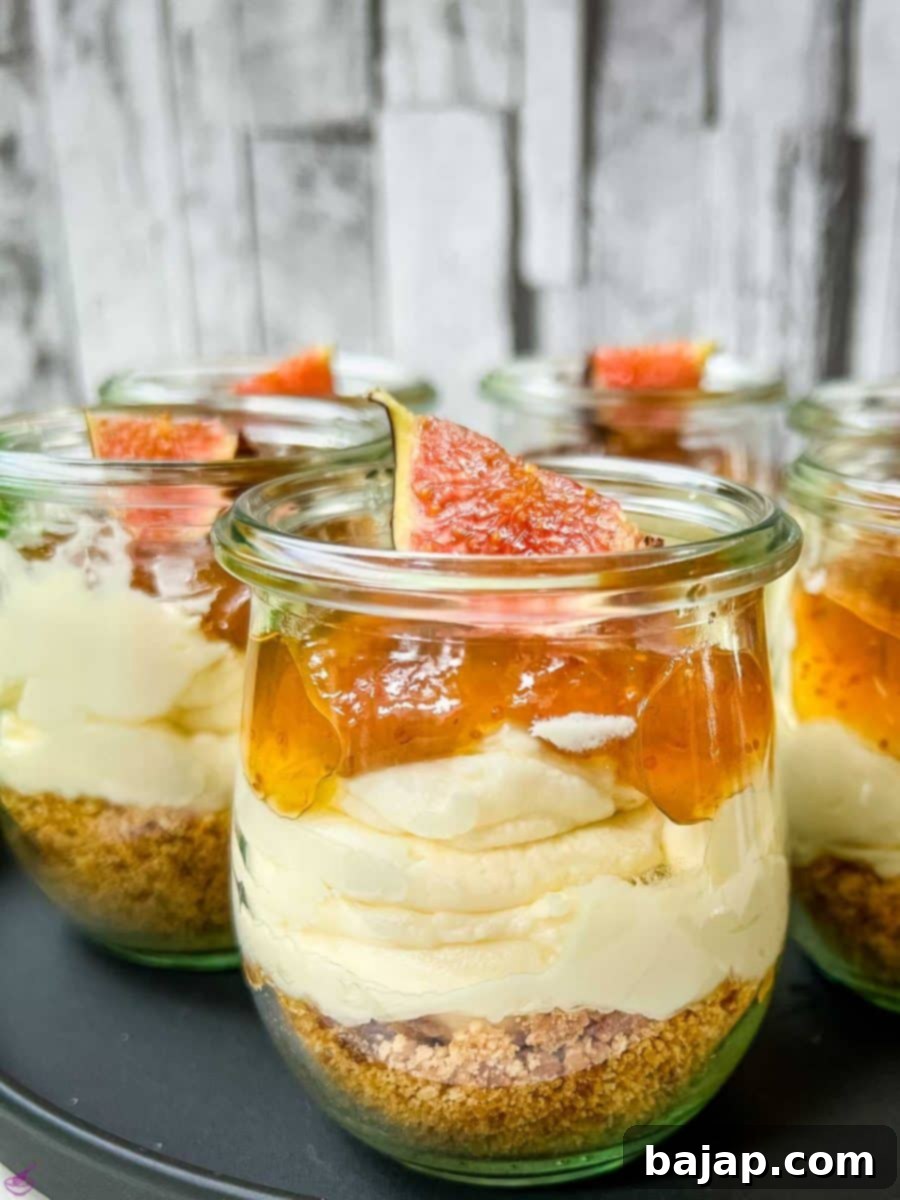
Each individual jar is a symphony of layers. We start with a crisp, flavorful graham cracker base, uniquely enhanced with finely chopped dried figs for an added layer of sweetness and texture. Above this, a smooth and creamy cheesecake layer delights the palate with its sweet vanilla notes, perfectly balancing the fruitiness of the figs. The crowning touch of this simple yet elegant dessert is a generous spoonful of sweet fig jam, beautifully adorned with an additional fresh piece of fig, adding a burst of fresh flavor and vibrant color. These individual portions are not only easy to prepare but also perfect for entertaining, picnics, or simply enjoying a luxurious treat without the fuss of baking.
🎥 Video Guide
Sometimes, seeing is believing! To help you create these delightful treats with ease, we’ve prepared a comprehensive video guide. Watch our step-by-step instructions below to see just how simple it is to assemble these stunning no-bake fig cheesecakes in jars. From preparing the perfect graham cracker crust to piping the luscious cream cheese filling and artfully topping with fig jam and fresh figs, every detail is covered to ensure your dessert turns out perfectly every time. Grab your ingredients and let’s get started!
🥘 Ingredients for No-Bake Fig Cheesecake
Crafting these exquisite no-bake fig cheesecakes in a jar requires just a handful of quality ingredients. Each component plays a crucial role in building the layers of flavor and texture that make this dessert so special. Here’s a closer look at what you’ll need and why:
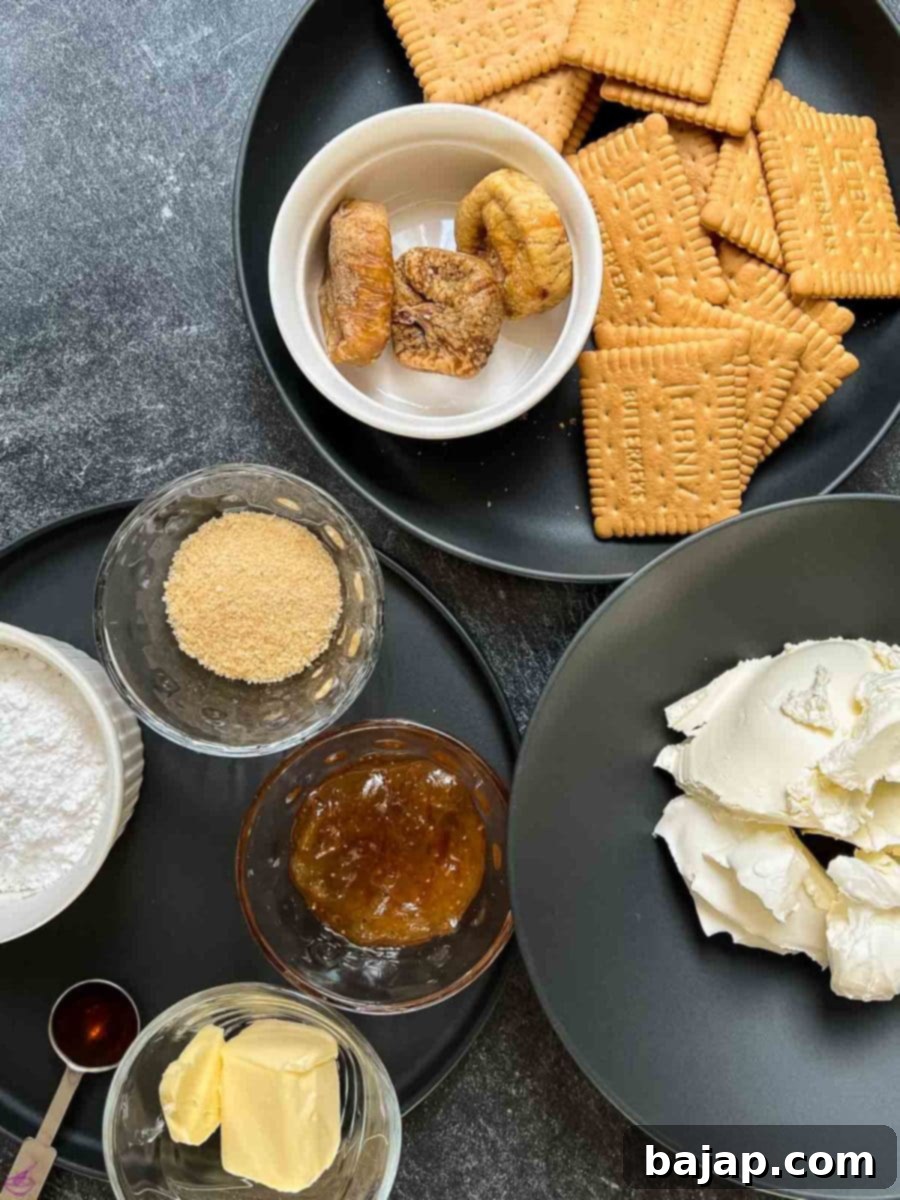
- Graham cracker – Forms the essential crunchy base of our cheesecake. While classic graham crackers are traditional, you can also use Petit Beurre biscuits, which are very common in Europe and offer a similar delicate sweetness. For ultimate convenience, ready-made graham cracker crumbs are a great time-saver. If you’re looking for a gluten-free option, simply substitute with your favorite brand of gluten-free cookies.
- Unsalted butter – This is melted down to bind the cracker crumbs, creating a rich and sturdy crust for your cheesecake. Using unsalted butter allows you to control the overall sodium content of your dessert.
- Dried figs – Adds a concentrated burst of fig flavor and a wonderful chewy texture directly into the cookie base. This enhances the overall fig experience and beautifully complements the fresh figs used later for garnish. Choose soft, pliable dried figs for the best results.
- Cream cheese – The heart of any cheesecake! For the creamiest, most luscious filling, always opt for full-fat cream cheese, softened to room temperature. This ensures a smooth, lump-free mixture that holds its shape beautifully in our no-bake recipe. Avoid low-fat versions, as they can result in a runnier and less rich texture.
- Mascarpone – This Italian cream cheese elevates the richness and silkiness of the cheesecake filling. Mascarpone provides a luxurious mouthfeel and helps to stabilize the no-bake mixture, making it wonderfully dense and decadent. Ensure it’s also at room temperature.
- Icing sugar (Powdered sugar) – Dissolves effortlessly into the cream cheese mixture, ensuring a perfectly smooth and sweet filling without any grainy texture. You can adjust the quantity slightly to suit your preferred sweetness level.
- Vanilla extract – A timeless flavor enhancer that beautifully complements both the creamy cheesecake and the sweet figs. Use a good quality pure vanilla extract for the best aroma and taste, adding a comforting warmth to the dessert.
- Fig preserves (Fig jam) – Provides a burst of sweet, concentrated fig flavor and a beautiful contrasting color for the top layer. Store-bought fig jam works perfectly, but if you have homemade fig jam, it would add an extra special touch.
- Fresh fig – The crowning glory of our cheesecake! Sliced fresh figs add visual appeal, a delicate sweetness, and a lovely textural contrast to the soft cheesecake and jam. Choose ripe, plump figs that are slightly soft to the touch for the best flavor.
See the complete recipe card below for precise quantities and detailed nutritional information.
🔪 Step-by-Step Instructions: Creating Your No-Bake Fig Cheesecake Jars
Follow these easy steps to assemble your stunning no-bake fig cheesecakes. The process is straightforward, ensuring delicious results every time.
Step 1 – Prepare the Graham Cracker and Dried Fig Base
Achieving the perfect crust consistency is absolutely key for this no-bake treat. To ensure a uniform blend and optimal incorporation of the dried figs, we highly recommend using a universal chopper or a food processor rather than a rolling pin, which can leave uneven pieces.
First, take your dried figs and cut them into quarters. This pre-chopping helps them break down evenly with the crackers. Combine the quartered dried figs with the graham crackers in your chopper or food processor and process until you have a fine, consistent crumb mixture. This will create a wonderfully aromatic and slightly chewy base.
Empty the finished crumb mixture into a separate mixing bowl and set it aside. Meanwhile, it’s time to prepare the binder for your crust. Gently melt the unsalted butter. You can do this quickly in a small pan on the stove over low heat or in a microwave-safe bowl in the microwave.
Pour the warm, melted butter over the cracker and fig crumbs. Mix thoroughly until the crumbs are evenly moistened and resemble wet sand. You can achieve this by hand with a sturdy wooden spoon or using your food processor with a flat beater attachment if you prefer.
Now, for the assembly! Take six preserving jars (small Weck jars work beautifully for their aesthetic appeal and functionality) and evenly divide the crumb mixture among them. Use a small tool, like an old-fashioned wooden whisk (a cherished family heirloom for some!), or simply the back of a teaspoon, to firmly press the mixture down into the bottom of each jar. This compression is vital for creating a stable, compact base that won’t crumble when you dig in.
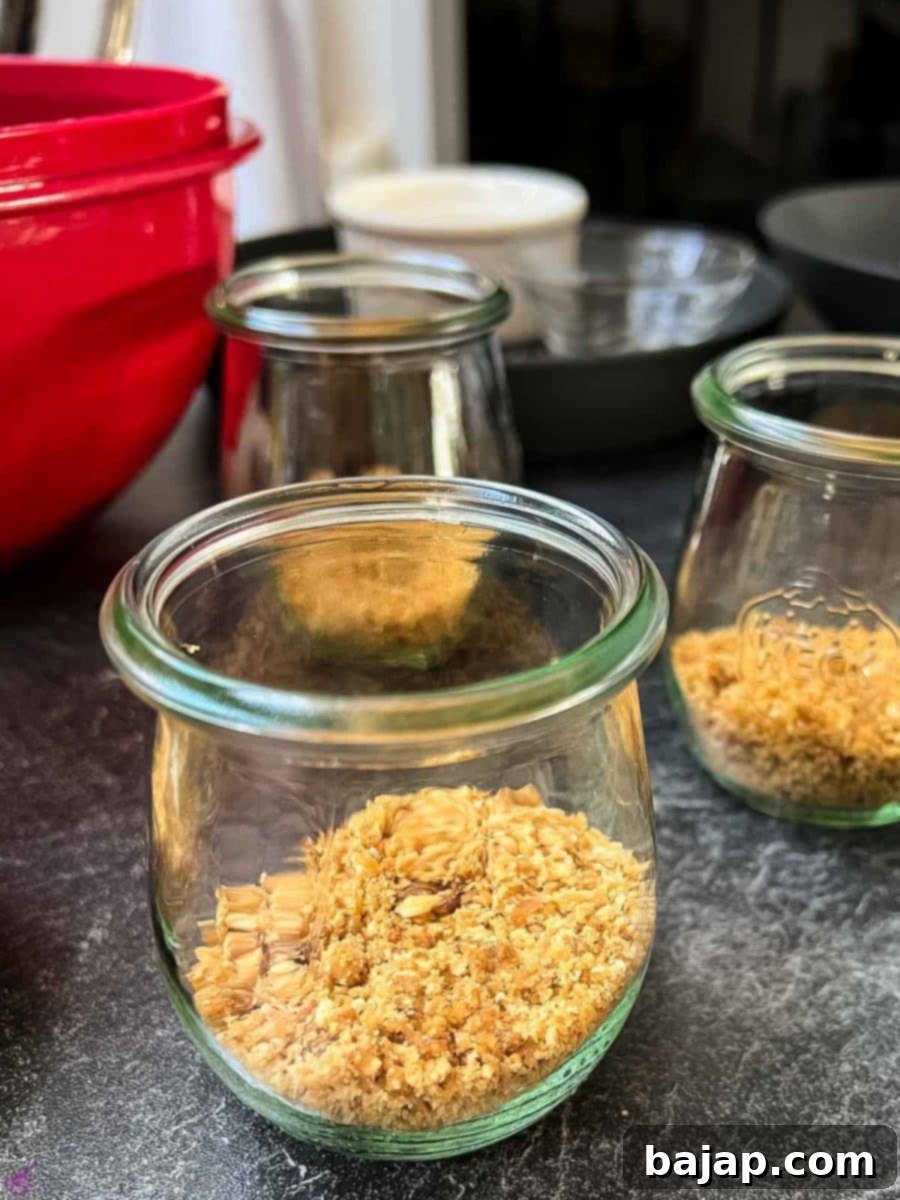
Once you’ve created the fig graham cracker base in all the jars, it’s crucial to place them in the refrigerator for at least 30 minutes. This chilling period allows the butter to solidify, setting the graham cracker and fig mixture into a firm, delicious foundation for your cheesecake layers.
Step 2 – Prepare the Creamy Cheesecake Filling
While your bases are chilling in the fridge, you can prepare the velvety smooth cheesecake cream. In a large mixing bowl (or the bowl of your stand mixer), combine the softened cream cheese, mascarpone, powdered sugar, and vanilla extract. It’s essential that both your cream cheese and mascarpone are at room temperature to ensure a perfectly smooth, lump-free mixture.
Using the whisk attachment of your electric mixer or stand mixer, whip the ingredients together on medium-high speed for two to three minutes. Continue mixing until a light, airy, and creamy mixture forms. Be careful not to overmix, as this can sometimes make the mixture too thin.
For a professional and neat finish, transfer the finished cheesecake cream into a pastry bag. A helpful trick for this is to invert the pastry bag into a tall glass or container; this leaves both hands free to scoop the creamy mixture in without making a mess. Once filled, twist the top of the bag to secure the cream.
Retrieve your chilled jars from the refrigerator. Position the piping bag at a slight angle within each jar and pipe the cheesecake batter in continuous circles. This technique ensures an even distribution of cream, rather than just a central dollop, giving your dessert beautiful, consistent layers. Divide the entire cheesecake batter evenly across your six prepared jars.
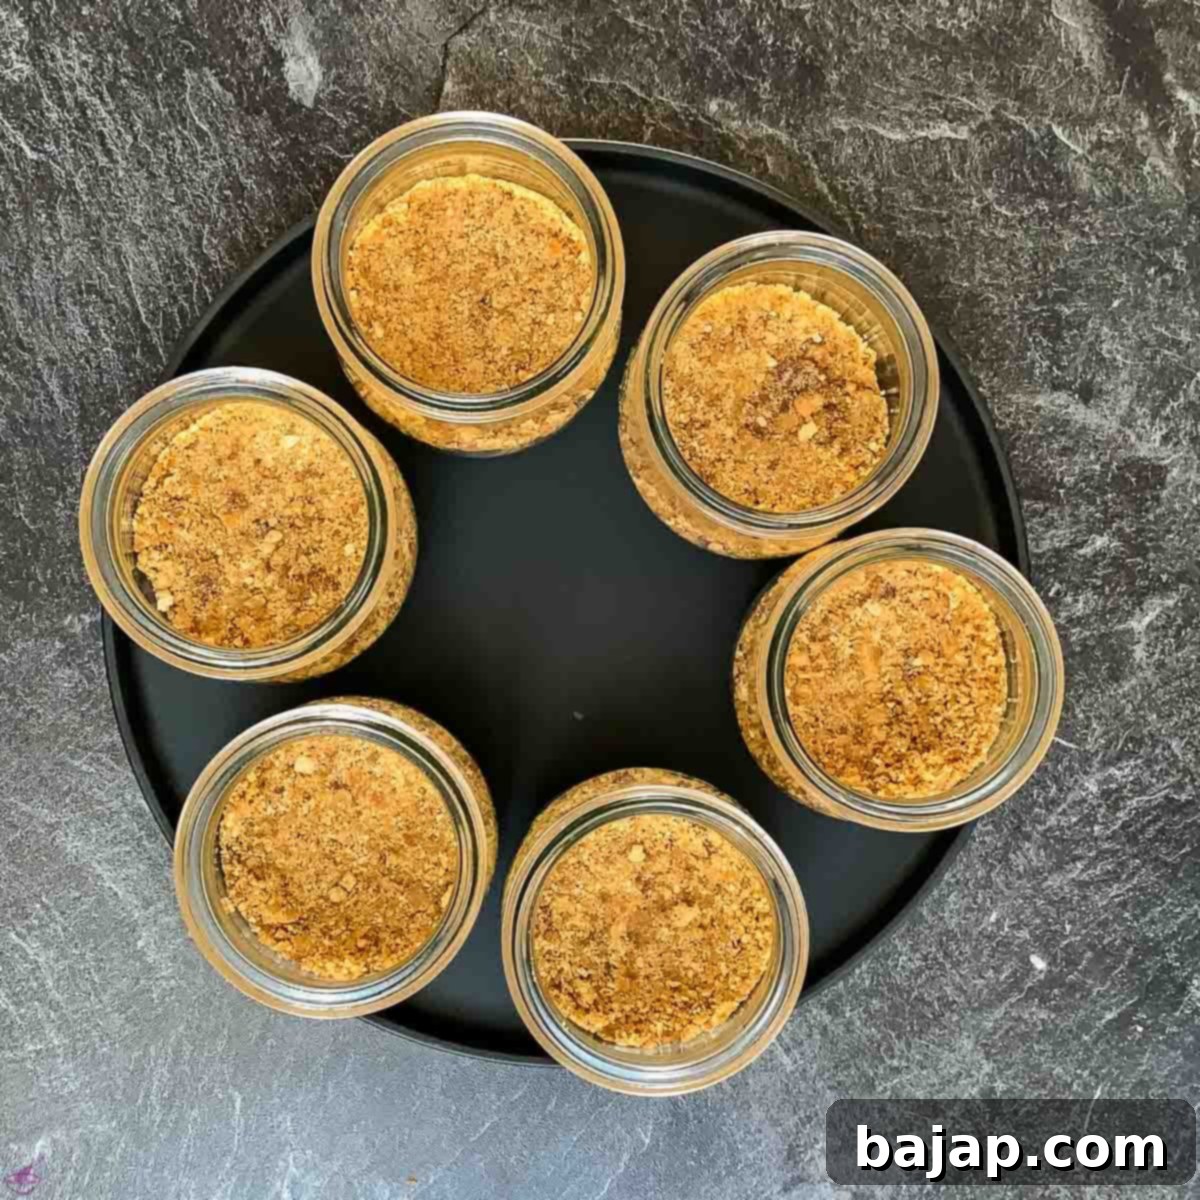
Remove the chilled cookie bases from the fridge.
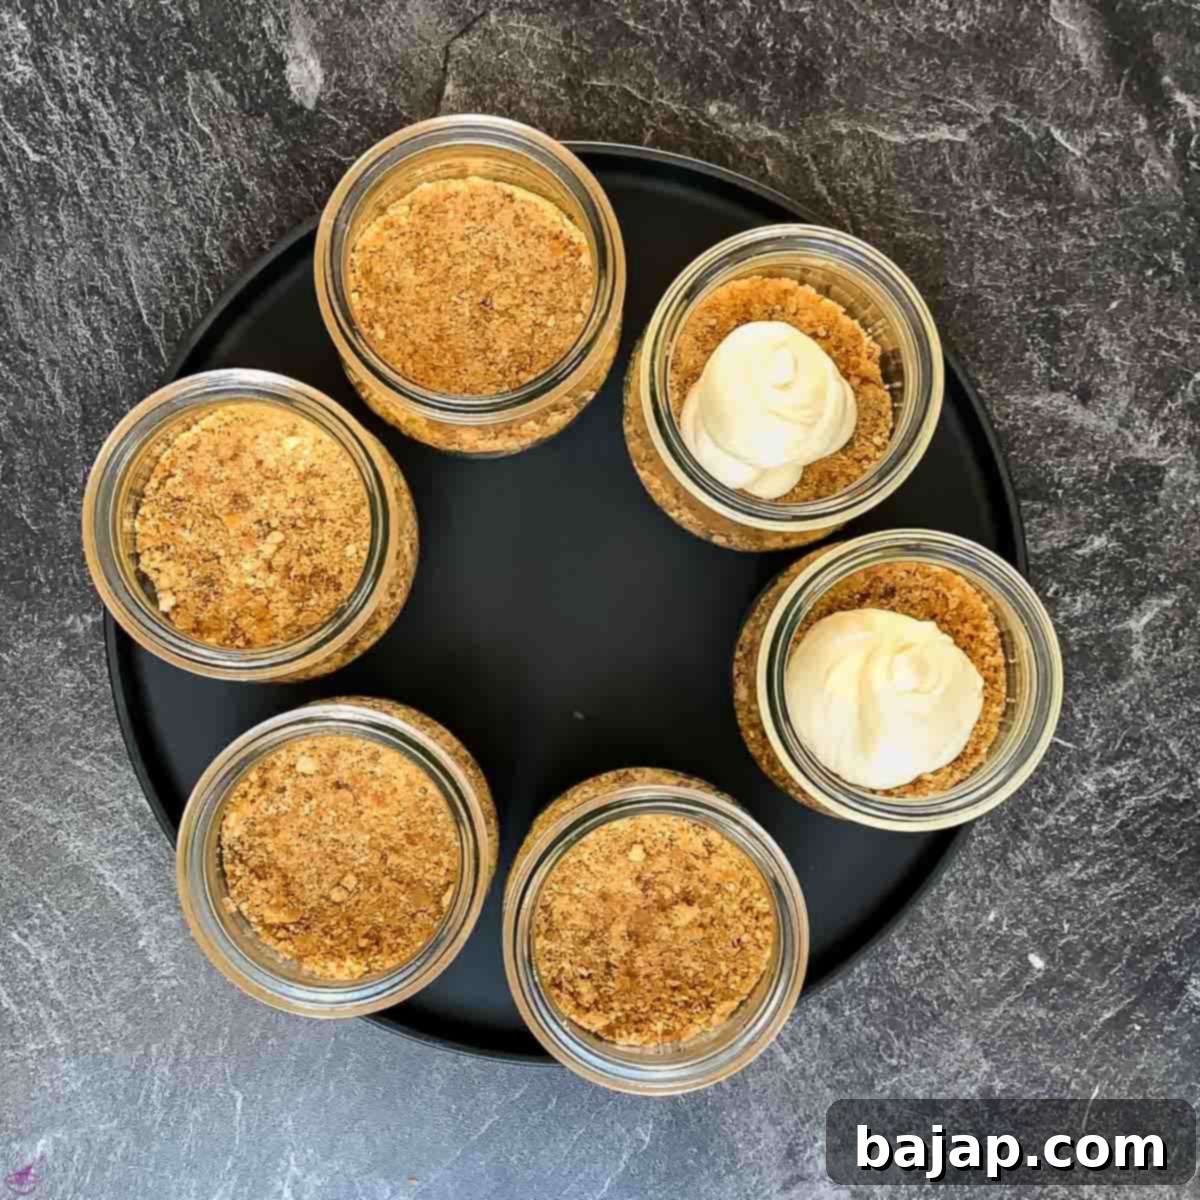
Divide the cream cheese batter between the jars.
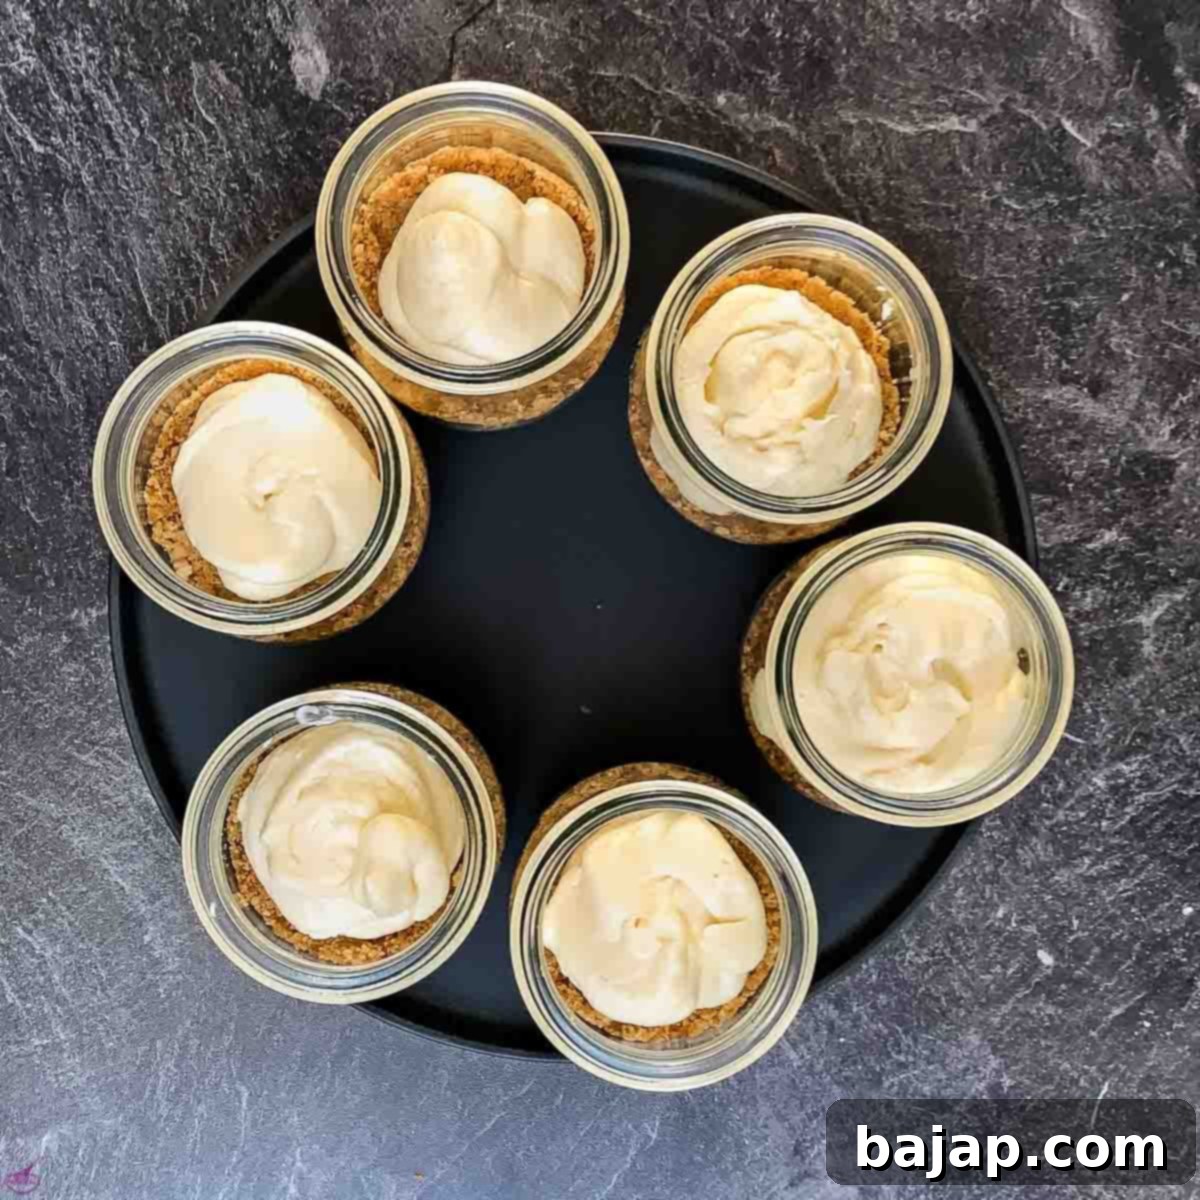
Spread the cream evenly.
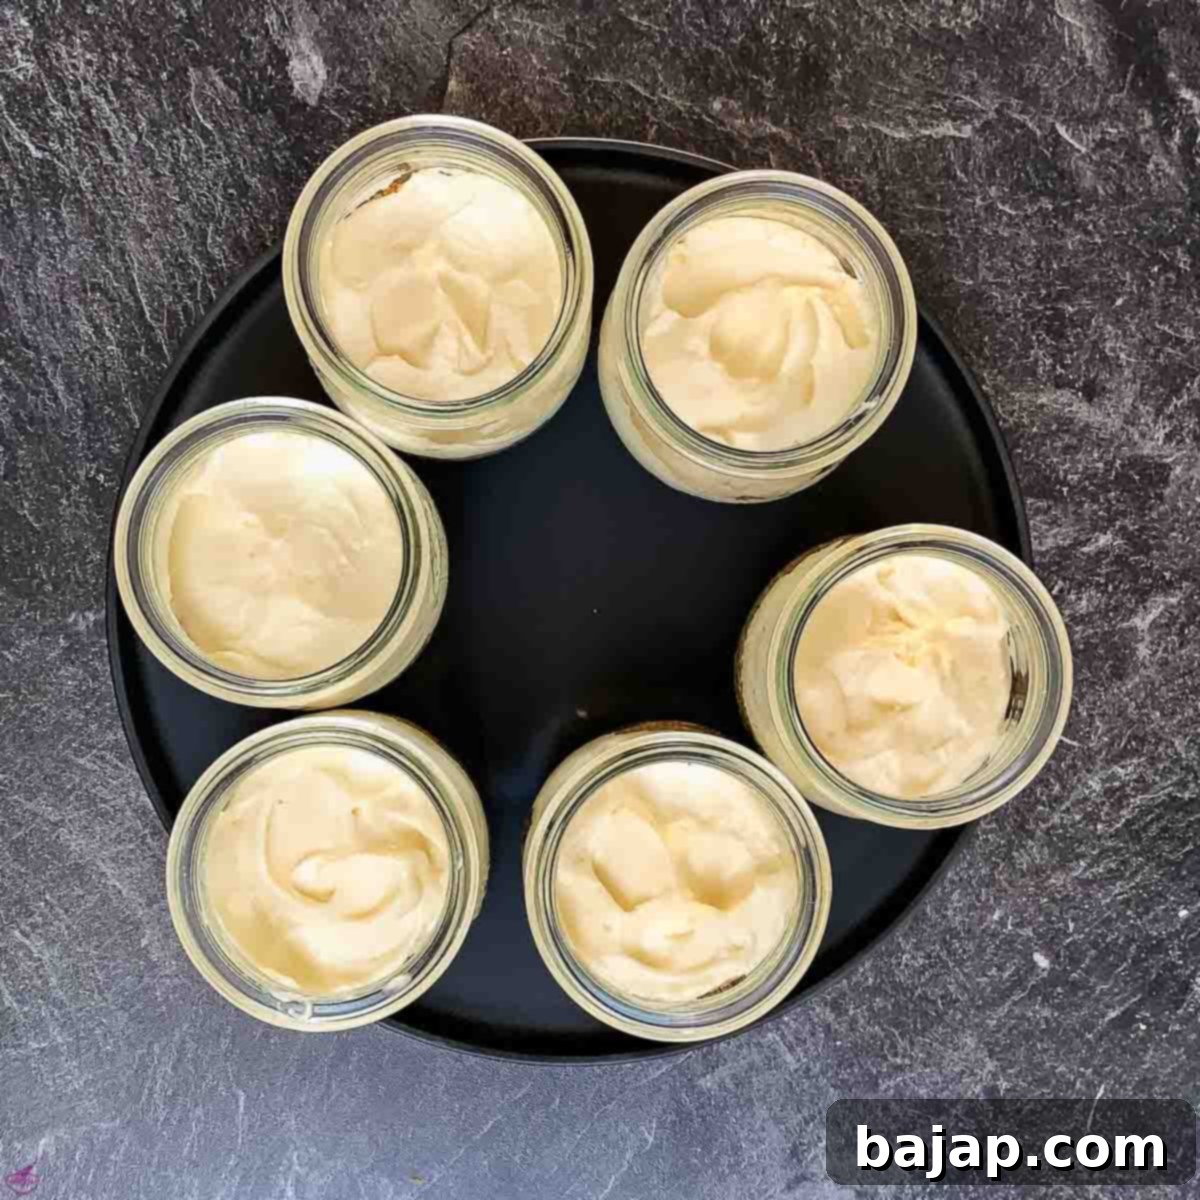
Smooth out if necessary.
Once piped, you can gently tap the jars on the counter or use a small offset spatula to smooth the tops if desired, creating a beautiful, even surface. Return the jars to the refrigerator to chill further while you prepare the final topping.
Step 3 – The Final Fig Decoration
The final touch brings vibrant color and fresh flavor, transforming your cheesecakes into a visually stunning dessert. Take your fresh fig and carefully cut it into six equal halves or elegant wedges. These beautiful pieces will be the adornment for your individual cheesecakes.
Carefully spoon a generous amount of fig jam on top of each creamy cheesecake filling. The rich, deep color and sweet stickiness of the jam create a lovely contrast against the white cream and further enhance the fig flavor profile. Then, delicately place one piece of the freshly cut fig on top of the fig jam in each jar. This adds a final flourish of freshness and natural beauty.
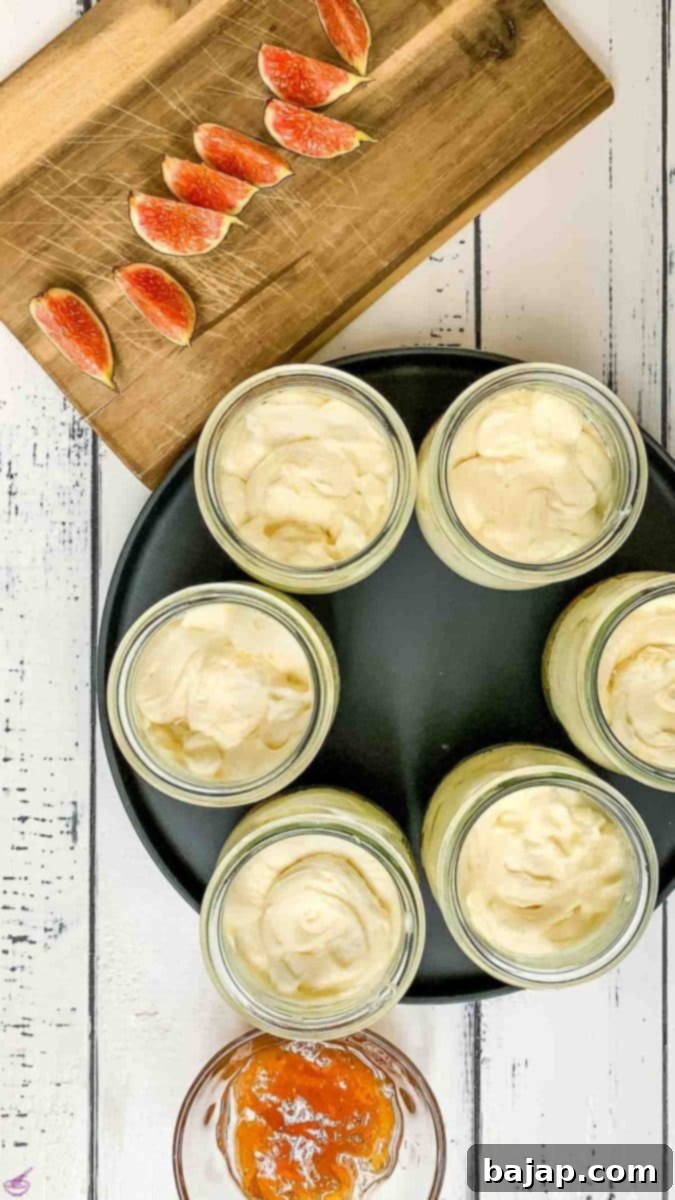
Everything is ready for topping!
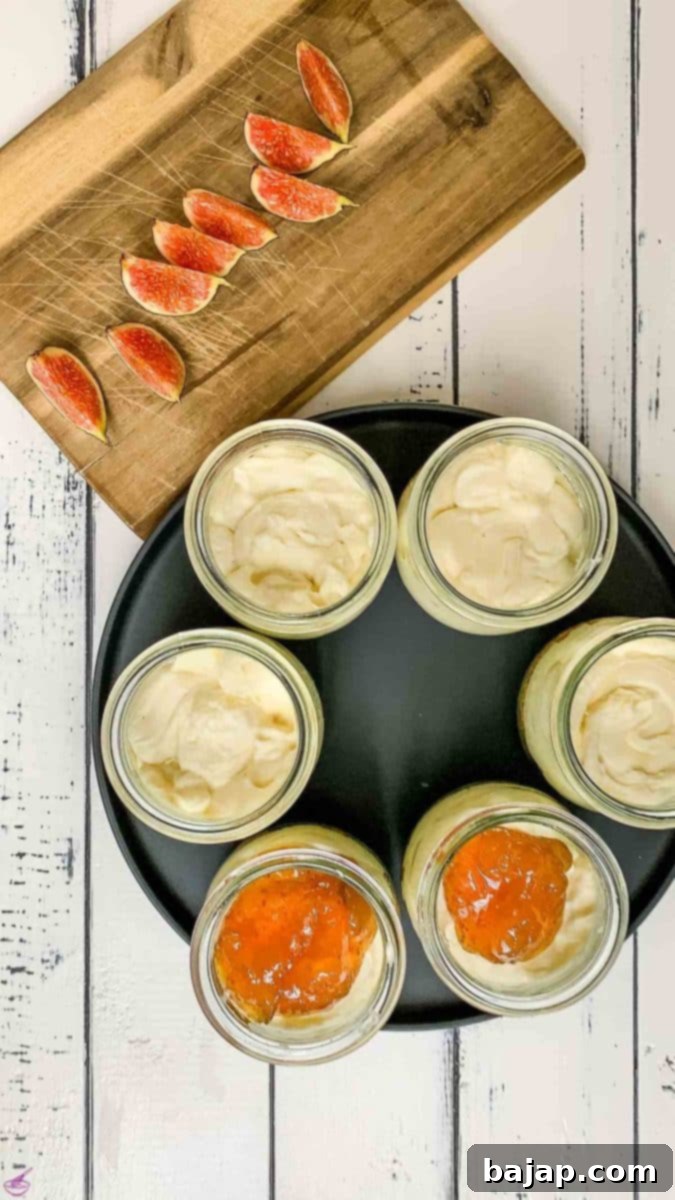
Add the fig jam by the spoonful.
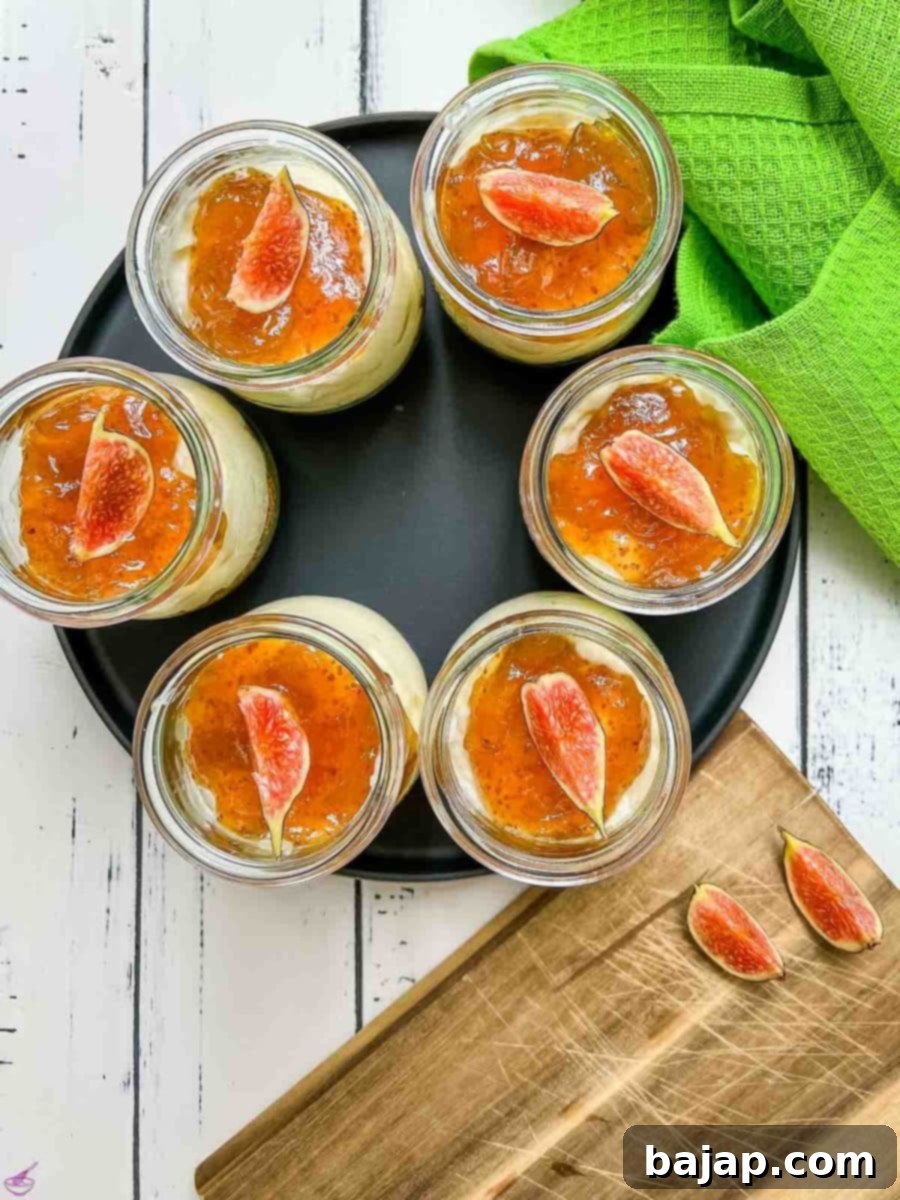
Place one piece of fresh fig on top!
And just like that, your no-bake fig cheesecakes in a jar are ready to be served and enjoyed! These individual desserts are perfect for impressing guests or simply treating yourself to a delightful, fruit-forward sweet.
🥜 Substitutions for Dietary Needs
This no-bake fig cheesecake recipe is incredibly versatile and can be adapted to suit various dietary needs or preferences. To effortlessly transform this dessert into a gluten-free delight, simply swap out the traditional graham crackers for your favorite brand of gluten-free cookies or digestive biscuits. The rest of the ingredients are typically gluten-free, but it’s always a good practice to double-check the labels to ensure they meet your specific requirements. You can also experiment with different cookie types for the base, such as vanilla wafers or shortbread, for a unique flavor twist!
🍑 Delicious Variations
While this fig cheesecake is exquisite as is, you can always introduce delicious variations to make it uniquely yours or to suit different tastes. If you’re a fan of a warm, syrupy topping that adds an extra layer of decadence, you can easily prepare a homemade fig syrup. Simply combine 150g of your fig preserves with 70g of brown sugar and 50g of unsalted butter in a small saucepan. Melt this mixture over low heat, stirring continuously until the brown sugar has completely dissolved and the syrup is smooth and glossy. Let it cool slightly before drizzling generously over the cream cheese layer just before serving. This warm, rich syrup beautifully complements the cool, creamy cheesecake.
🍽 Essential Equipment
Having the right tools can make the preparation of your no-bake fig cheesecakes even smoother and more enjoyable. Here’s what you’ll need, along with their key uses:
- Kitchen knife: Essential for neatly slicing your fresh figs for decoration and quartering the dried figs for the base.
- Universal chopper or Food processor: Crucial for achieving a perfectly fine and uniform crumb mixture for your graham cracker and dried fig base, ensuring even texture.
- Mixing bowls: You’ll need at least two – one for combining the crust ingredients and a larger one for whipping the creamy cheesecake filling.
- Small pan: Ideal for gently melting the butter for your crust over the stove, or a microwave-safe bowl if using a microwave.
- Food processor or electric mixer: A powerful tool for whipping the cream cheese, mascarpone, and other filling ingredients to a smooth, airy, and lump-free consistency.
- Tablespoon: Useful for measuring ingredients and, importantly, for pressing down the graham cracker base firmly into the jars. An old-fashioned wooden whisk also works great for this.
- Piping bag: For neat and even distribution of the cream cheese mixture into the jars, giving your cheesecakes a professional, layered look.
- Preserving glasses for serving: Small, individual jars are perfect for this dessert. My favorite preserving jars are the charming, tulip-shaped ones from Weck, which typically have a 220 ml (7.4 fl oz) capacity. They not only look adorable but are also ideal for individual portions.
🌡 Storage Tips
These delightful no-bake fig cheesecakes are best enjoyed fresh to appreciate their full texture and flavor. Store any prepared dessert in a sealed container in the refrigerator for up to three days. Beyond that, while still safe to eat, the texture and freshness may start to diminish, especially the crispness of the crust.
💭 Top Tip for Perfect Presentation
For optimal presentation and to ensure your cheesecakes look their absolute best, always add the fresh fig slices right before serving. Fresh figs tend to wilt and lose their vibrant appearance and firm texture if they sit on top of the cheesecake for too long in the refrigerator, becoming wrinkly and less appealing. A last-minute garnish guarantees a visually stunning and delicious finish!
🙋🏻 Frequently Asked Questions About Figs & No-Bake Cheesecake
Figs typically have two main seasons, allowing for prolonged enjoyment of this delicious fruit. The first is a smaller, early summer crop, usually harvested around June to July. The second, more abundant harvest, often considered the main season, runs from late summer through fall, typically from August to October, especially in Mediterranean climates. This recipe is perfect for celebrating figs during their peak availability.
When selecting fresh figs, look for fruits that are plump, soft to the touch, and have a rich, uniform color. Avoid figs that are hard, shriveled (unless they are dried figs for the base!), or show any signs of bruising or a sour smell. The darker the fig, generally the sweeter it will be, though lighter-colored varieties can also be incredibly delicious when ripe. A slight ‘give’ when gently squeezed indicates perfect ripeness.
Once ripe, fresh figs are quite delicate and perishable. They will typically last for a maximum of three days when stored properly in the refrigerator. For the best flavor, texture, and appearance, it is always recommended to consume them as soon as possible after purchasing.
Absolutely! This no-bake fig cheesecake in a jar is an excellent dessert for making in advance, which adds to its convenience. You can prepare the entire dessert, excluding the fresh fig garnish, up to 1-2 days ahead of time and keep the jars chilled in the refrigerator. For the freshest appearance and best texture, we highly recommend adding the fresh fig slices as a garnish just before you are ready to serve them to your guests.
Fancy more delicious no-bake cheesecakes? Explore some of our other popular recipes:
- No-bake Ricotta Cheesecake
- No-bake Pumpkin Cheesecake
- No-bake White Chocolate Raspberry Cheesecake {Halloween}
- Whipped Cream Pies (created by joyfullymad.com)
- Eggnog Cheesecake With Ginger Spiced Crust
- 5 ingredient mini Oreo Cheesecakes
- No-bake Mint Cheesecake
- No-bake Strawberry Cheesecake
If you make this irresistible no-bake fig cheesecake in a jar, we’d love to hear about it! Let us know how you liked it by giving it a ★★★★★ star rating and leaving a comment below. Your feedback would be absolutely awesome! You can also sign up for our Newsletter to receive weekly delicious homemade recipes, or follow me on Pinterest or Instagram and share your delightful creation with me. Just tag me @combinegoodflavors and use the hashtag #combinegoodflavors, so I don’t miss seeing your culinary masterpiece!
📖 Recipe
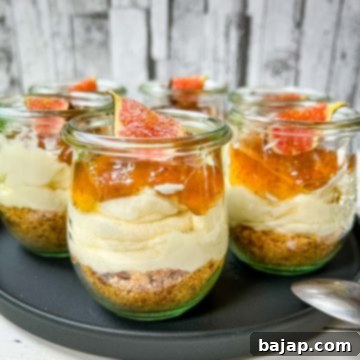
Fig Cheesecake in a Jar {no-bake}
Nora
Save RecipeSaved!
Pin Recipe
Equipment
-
Kitchen knife
-
Universal Chopper
-
Mixing bowls
-
Small pan
-
Food processor or electric mixer
-
Tablespoon or wooden whisk
-
Piping bag
-
Preserving glasses for serving
Ingredients
- 3 oz Graham cracker – or Petit beurre biscuits
- 1.76 oz Unsalted butter
- ½ cup Dried figs
- 7 oz Cream cheese
- 5 oz Mascarpone
- ¾ cup Icing sugar
- 1 teaspoon Vanilla extract
- 6 tablespoon Fig jam
- 1 Fresh fig
Instructions
Step 1 – The graham cracker base
-
Cut the dried figs into quarters and crush them together with the graham crackers using a chopper.½ cup Dried figs, 3 oz Graham cracker
-
Empty the finished mixture into a mixing bowl and set aside.
-
Meanwhile, melt the butter in a small pan on the stove or in the microwave (in a microwave-safe bowl).1.76 oz Unsalted butter
-
Pour the melted butter over the cracker crumbs and mix well.
-
Now take six preserving jars and divide the crumb mixture among the jars. Press tightly together in the jar to form a firm base.
-
Once you’ve created the fig graham cracker base in the jars, please put them in the fridge for 30 minutes.
Step 2 – The cheesecake cream
-
Add the cream cheese, mascarpone, powdered sugar, and vanilla extract to a large mixing bowl.7 oz Cream cheese, 5 oz Mascarpone, ¾ cup Icing sugar, 1 teaspoon Vanilla extract
-
Whip with the whisk attachment for two to three minutes on medium-high speed until a creamy mixture forms.
-
Fill the cream into a pastry bag and take the chilled preserving jars out of the refrigerator.
-
Divide the finished cheesecake batter between the jars.
Step 3 – The fig decoration
-
Snag your fresh fig, cut it into six halves, and set it aside.1 Fresh fig
-
Add the fig jam by the spoonful on top of each cream cheese filling, and place one piece of fresh fig on top of this sweet treat.6 tablespoon Fig jam
-
Now the jar cheesecakes are ready to be served and enjoyed!
Notes
Combine the 150 g fig preserves with 70 g brown sugar and 50 g butter in a saucepan. Melt over low heat and cook until the sugar has dissolved. Let cool and pour over the cream cheese before serving.
Nutrition values are estimates only, using online calculators. Please verify using your own data.

- No-Bake Chocolate Ricotta Cheesecake
- Spooktacular Cheesecake with “Bloody” Raspberry Filling
- No Bake Pumpkin Cheesecake
- St. Patrick’s Day Bailey’s Dessert – Mint Oreo Pudding Cake
⛑️ Food Safety Guidelines
Ensuring food safety is paramount when preparing any recipe, especially those involving fresh ingredients and dairy. Please keep these general food safety guidelines in mind:
- Cook foods to a minimum internal temperature of 165 °F (74 °C) where applicable (though not directly for this no-bake recipe, it’s good general practice).
- Do not use the same utensils or cutting boards on cooked food that previously touched raw meat or unwashed produce.
- Always wash your hands thoroughly with soap and water after handling raw ingredients, especially if preparing other dishes simultaneously.
- Don’t leave perishable food sitting out at room temperature for extended periods (typically no more than two hours). Promptly refrigerate finished desserts.
- Never leave cooking food unattended on the stove or in the oven.
- When using oils for cooking (not directly in this recipe, but for general kitchen safety), choose those with a high smoking point to avoid producing harmful compounds.
- Always ensure good ventilation in your kitchen, especially when using a gas stove, to prevent the buildup of fumes.
For further comprehensive information on safe food handling practices, please check the official guidelines from Safe Food Handling – FDA.
