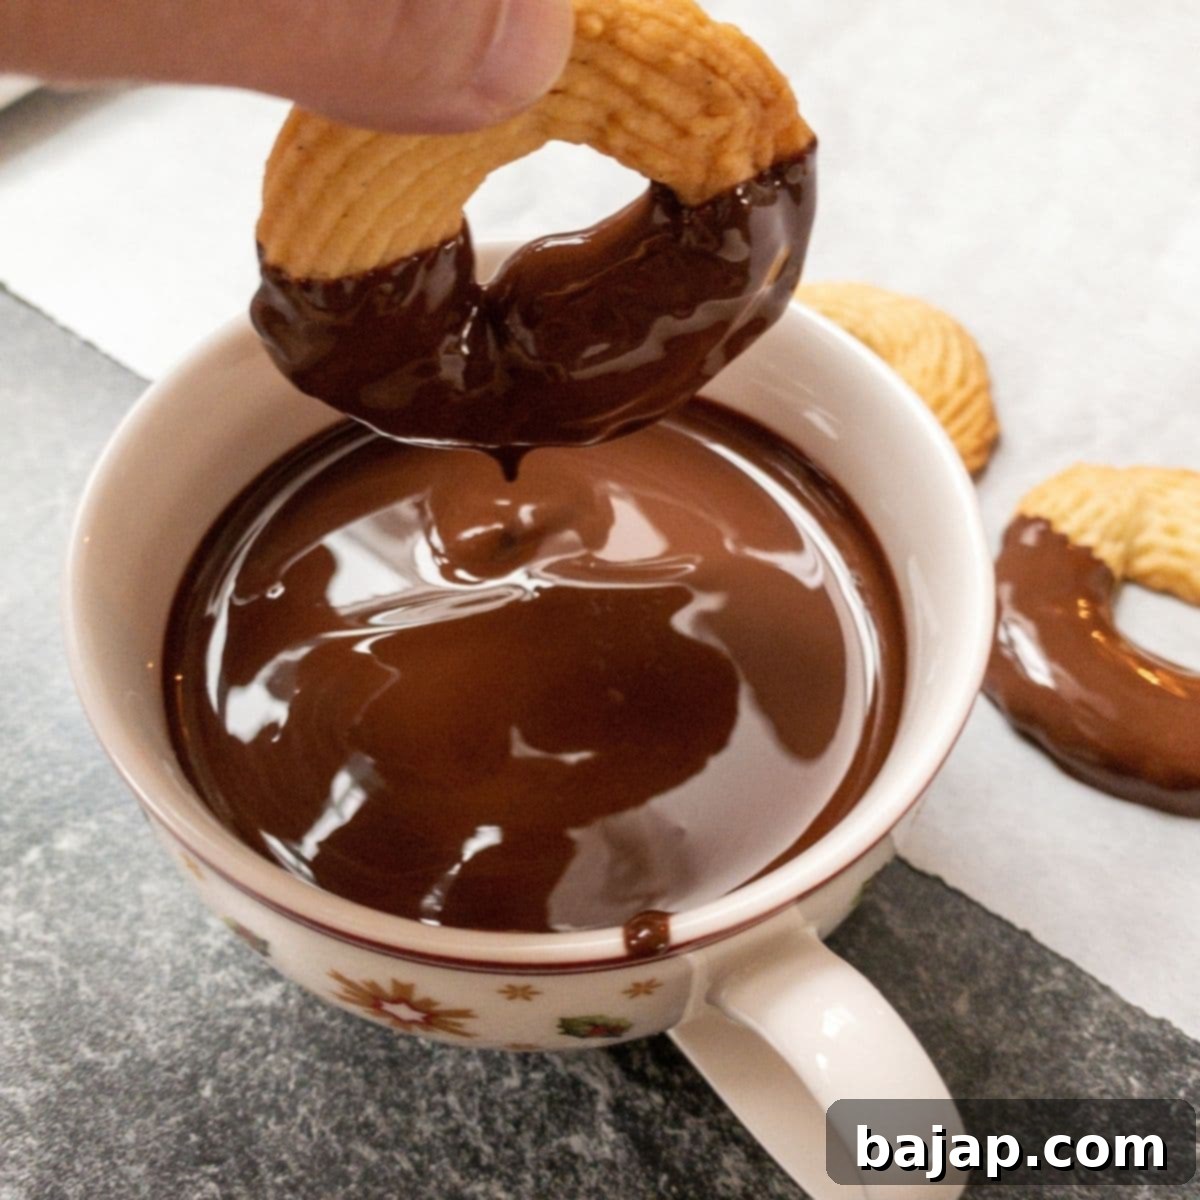
Creative Ways to Use Up Leftover Melted Chocolate: Delicious Ideas & Recipes
It’s a common scenario for any home baker or chocolate enthusiast: after a session of baking, candy making, or dessert preparation, you find yourself with a bowl of leftover melted chocolate. The thought of letting this precious commodity go to waste can be quite disheartening, especially if you’ve invested in high-quality chocolate. High-grade chocolate is not just an ingredient; it’s a luxurious treat in itself, far too valuable to simply discard.
Instead of letting it harden and become unusable, consider this an opportunity! Having melted chocolate readily available is a fantastic starting point for creating new, delightful treats with minimal effort. There’s no need to go through the tempering or melting process again, saving you time and hassle. All you need to do is take a quick look around your kitchen and ask yourself: “What do I have on hand that could be elevated with a touch of chocolate?”
In this comprehensive guide, we’ll explore a multitude of creative, simple, and absolutely delicious ideas to repurpose your leftover melted chocolate, ensuring every last drop transforms into something wonderful. Get ready to turn potential waste into delightful indulgence!
[feast_advanced_jump_to]
Elevate Fresh Fruit: Delicious Chocolate-Dipped Delights
One of the quickest and most delightful ways to use up any remaining melted chocolate is to create exquisite chocolate-covered fruits. The natural sweetness and juiciness of fresh fruit pair perfectly with the rich depth of chocolate, making for an irresistible snack or a charming dessert.
Think beyond just strawberries! While luscious fresh strawberries are a classic choice that instantly comes to mind, a wide array of fruits taste absolutely fantastic when enrobed in chocolate. Consider ripe banana slices, tangy pineapple chunks, vibrant golden berries, juicy blueberries, sweet mandarin segments, or even crisp apple slices. The possibilities are endless, and you can tailor your selection to whatever is seasonal and fresh in your kitchen.
Depending on the quantity of melted chocolate you have and your desired presentation, you have several creative options:
- Classic Dipping: For a simple yet elegant approach, dip whole or sliced pieces of fruit directly into the melted chocolate. Ensure a good, even coating, then place them on a sheet of parchment paper to set. This method is perfect for larger fruits like strawberries, banana coins, or pineapple wedges.
- Artistic Drizzling: For a more delicate touch, skewer smaller fruits like blueberries, raspberries, or grape halves. Use a spoon or a piping bag with a fine tip to elegantly drizzle the melted chocolate over them. This technique creates a beautiful, intricate design and is ideal for individual servings or garnishes.
- Generous Coating: Alternatively, you can simply pour the melted chocolate over individual pieces of fruit arranged on a tray, ensuring a more rustic, generous coating. This works wonderfully for fruit platters or when you want a thicker layer of chocolate.
Allow the chocolate to set completely in the refrigerator for about 15-30 minutes. The resulting treats are not only incredibly tasty but also visually stunning, making them perfect for entertaining or a special personal indulgence. Experiment with different types of chocolate – dark, milk, or white – to find your favorite combinations!
Reimagine Dried Fruits: Sweet and Chewy Chocolate Bites
Dried fruits are a staple in many pantries, often used for baking, granolas, or as healthy snacks. They offer a delightful chewiness and concentrated sweetness that transforms beautifully when combined with melted chocolate. I often have a variety of dried fruits on hand, perhaps from making recipes like Biscoff Granola, which might leave me with extra raisins, goji berries, or cranberries.

When faced with leftover dark melted chocolate recently, I discovered an incredibly simple and rewarding way to use both. I began incorporating the dried fruit into the melted chocolate, adding it gradually to ensure each piece was coated without overwhelming the mixture. The goal was to achieve a “spoonable” mass – a rich, cohesive blend where the chocolate perfectly enrobes the fruit. This method ensures that the dried fruit retains its individual texture while being harmoniously bound by the chocolate.
Once the mixture reached the desired consistency, I used a teaspoon to scoop small heaps onto a sheet of parchment paper. To add an extra touch of flair and crunch, I adorned these delicious clusters with mini chocolate hearts and colorful sprinkles before letting them set and dry. In no time, a wonderful and wholesome snack for the entire family was ready!
These chocolate-covered dried fruit clusters boast an amazing texture – a satisfying chewiness from the fruit complemented by the crisp snap of the chocolate. They are not only easy to make but also taste incredible, offering a perfect blend of natural sweetness and rich chocolate flavor. This method is also fantastic for adding other ingredients like chopped nuts or seeds for extra crunch and nutritional value.
Craft Your Own Chocolate Bars: Customizable Sweet Treats
For those who love to get creative and have some kitchen tools at their disposal, transforming leftover melted chocolate into homemade chocolate bars is an incredibly fun and versatile option. Many home bakers possess silicone or plastic sheet molds, perfect for creating custom chocolates. I personally have both mini chocolate bar molds and standard-sized bar molds, which are incredibly convenient for this purpose.
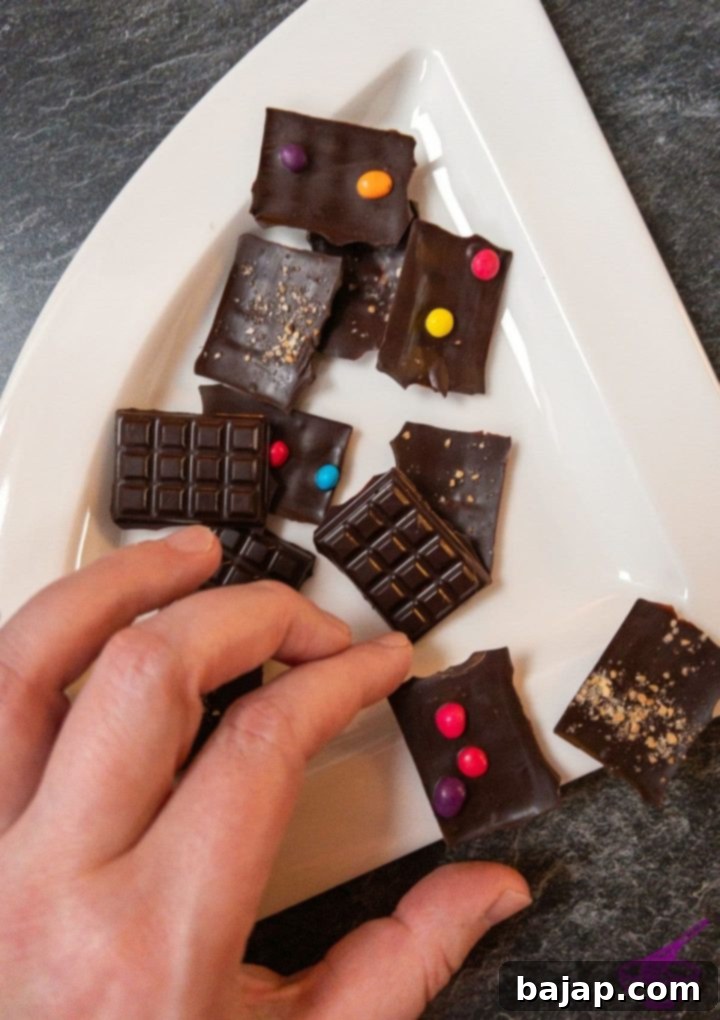
With these handy molds, you can effortlessly create beautiful, bite-sized chocolate nibbles or larger bars, allowing your imagination to run wild with flavor combinations and toppings. It’s an incredibly practical investment for any chocolate lover, transforming simple melted chocolate into personalized confections. If you don’t own any, perhaps now is the perfect time to consider adding one to your kitchen tools!
To make mini chocolate bars, simply spread the melted chocolate evenly into the silicone mold cavities. This forms the base of your bar. The real fun begins with the toppings! You can sprinkle the wet chocolate with an array of delicious inclusions. On one occasion, I had caramel crunch and colorful chocolate lentils on hand, which made for delightful decorations and added texture. But don’t limit yourself!
Consider using chopped dried fruits (like cranberries, cherries, or apricots), crushed pretzels for a salty crunch, various nuts (almonds, pecans, pistachios), seeds (chia, pumpkin, sesame), or even a dash of exotic spices like chili flakes or sea salt. Pretty much anything that complements chocolate and appeals to your taste buds can be added! After decorating, gently place the molds in the refrigerator to allow the chocolate to solidify completely.
Once firm, carefully break the mini chocolate bars apart (if using a segmented mold) or unmold the larger bars. Store these delightful homemade treats in an airtight container at room temperature or in the fridge, depending on your climate, and enjoy your custom creations whenever a craving strikes!
Crispy Haystack Cookies: Roasted Almond Slivers with Chocolate
For a particularly exquisite and easy-to-make treat, turn your leftover melted chocolate into roasted almond slivers with chocolate, often lovingly known as Haystack Cookies. These little clusters are incredibly versatile, tasting equally fantastic with white chocolate, creamy milk chocolate, or intense dark chocolate, allowing you to match them perfectly with your leftover chocolate.
The beauty of this recipe lies in its simplicity and the absence of an oven. You begin by toasting the almond slivers in a dry pan over medium heat until they are fragrant and lightly golden. This simple step vastly enhances their nutty flavor and adds an irresistible crunch. Once roasted, remove them from the heat and gently fold them into your bowl of melted chocolate. Ensure the almonds are thoroughly coated in the chocolate, creating a rich, textured mixture.
Similar to the method used for dried fruits, you can then use a teaspoon to drop small, irregular heaps of the chocolate-almond mixture onto a sheet of parchment paper. These rustic “haystacks” can be left as is or lightly sprinkled with a pinch of sea salt for an elevated flavor profile. Allow them to cool and dry completely on the parchment paper. Once firm, they’ll be ready to enjoy!
These Haystack Cookies are super simple to prepare yet deliver a sophisticated taste and satisfying crunch. They are perfect for a quick snack, a delightful addition to a dessert platter, or even a thoughtful homemade gift. You can also experiment with other nuts like pecans or walnuts, or add a hint of spice like cinnamon or cardamom for an extra layer of flavor.
Innovate with Wafer Cups: Chocolate-Lined Edible Vessels
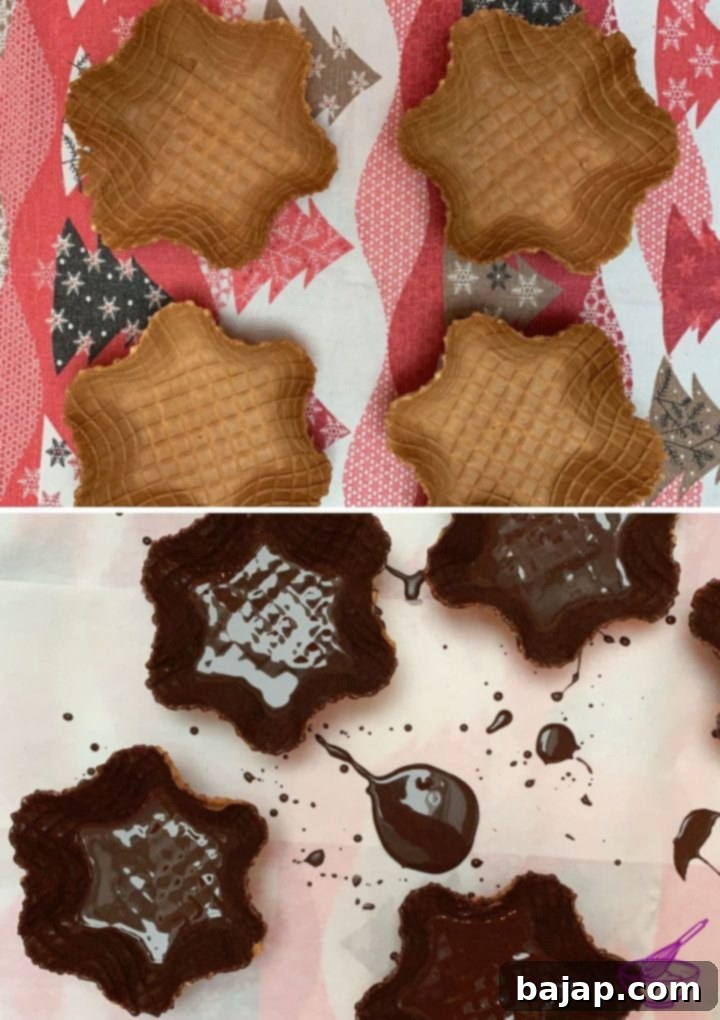
Here’s a brilliant and ingenious way to repurpose both leftover melted chocolate and any unused wafer cups you might have. A couple of Christmases ago, after serving elegant waffle blossoms with chestnut purée for dessert, I found myself with an abundance of wafer cups and, predictably, some melted chocolate. Instead of letting either go to waste, I came up with a creative solution.
To avoid discarding the precious melted chocolate, I decided to line the inside of the leftover wafer cups with it. This process is quite simple: using a small spoon or a pastry brush, coat the entire interior surface of each wafer cup with a layer of melted chocolate. Ensure an even coating, but don’t make it too thick, as the chocolate will add its own rigidity.
Once the chocolate lining was solid, the transformation was remarkable. Serving ice cream or other soft desserts in these chocolate-lined wafer cups was absolutely terrific! The chocolate barrier prevented the wafer from getting soggy immediately, allowing for a more enjoyable eating experience. Furthermore, these chocolate-lined wafer cups were simply delicious on their own, offering a delightful crunch and a burst of chocolate flavor. They made for a perfect little edible bowl that was both functional and incredibly tasty.
This idea extends beyond just ice cream. You could use these lined wafer cups for mini mousse desserts, small fruit salads, or even as elegant holders for homemade truffles or bonbons. It’s a fantastic way to add an extra layer of flavor and texture to any small dessert, making your presentation both beautiful and edible.
Crunchy Creations: Puffed Rice with Chocolate
Puffed rice with chocolate is another incredibly simple, yet satisfying, method for utilizing leftover melted chocolate. This idea taps into the delightful crispy texture of puffed grains, creating treats that are both light and indulgent. You can use various types of puffed grains for this, such as traditional puffed rice, puffed spelt, puffed amaranth, or even popular cereals like Rice Krispies. The key is their airy, crunchy structure that provides a wonderful contrast to the smooth, rich chocolate.
The process is straightforward: simply combine the puffed grains with your melted chocolate in a bowl. Stir thoroughly until every grain is evenly coated and glistening with chocolate. The chocolate acts as a delicious binder, holding the crunchy grains together.
Once mixed, you have a couple of presentation options:
- Silicone Molds: For uniform shapes, press the chocolate-puffed rice mixture into silicone molds (mini muffin molds, candy molds, or even fun shapes). Once the chocolate has set firm in the refrigerator, simply pop them out to reveal perfectly formed treats.
- Loaf Pan or Baking Dish: For a more classic bar format, press the mixture into a parchment-lined loaf pan or an 8×8 inch baking dish. Ensure it’s pressed down firmly to create dense, cohesive bars. After the mixture has completely set in the fridge, lift it out of the pan using the parchment paper and cut it into slices or squares. This yields delicious puffed-rice chocolate bars, similar to classic crispy treats, but with the added depth of pure chocolate.
These crunchy chocolate treats are wonderfully customizable. You can add a pinch of sea salt, a swirl of peanut butter, a handful of mini marshmallows, or even a dash of vanilla extract to the melted chocolate for extra flavor. They make for an excellent no-bake snack, a lunchbox treat, or a delightful addition to any dessert spread, showcasing just how versatile leftover melted chocolate can be.
Enhance Baked Goods: Drizzle or Dip Cookies with Chocolate!
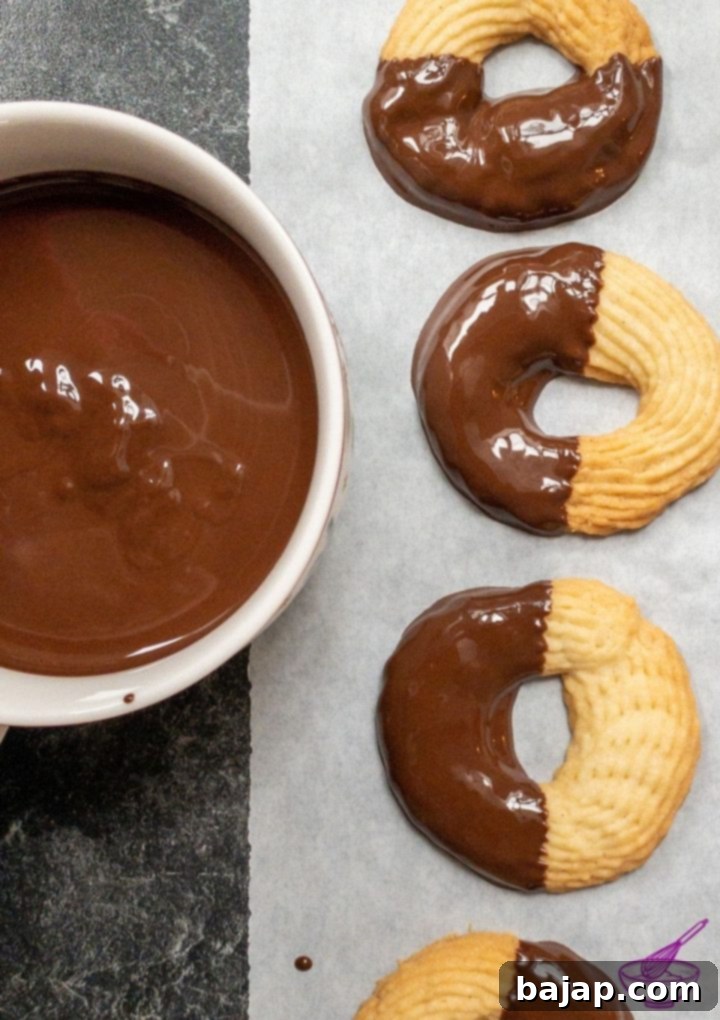
When you’ve just finished a batch of freshly baked cookies, having some melted chocolate leftover is truly a blessing! This is one of the easiest and most visually impactful ways to use up any remaining chocolate, transforming simple cookies into gourmet delights. Whether you’re working with classic shortbread, hearty oatmeal cookies, elegant biscotti, or even plain sugar cookies, a touch of chocolate can elevate them dramatically.
You have two primary and equally wonderful options for decorating your finished baked cookies:
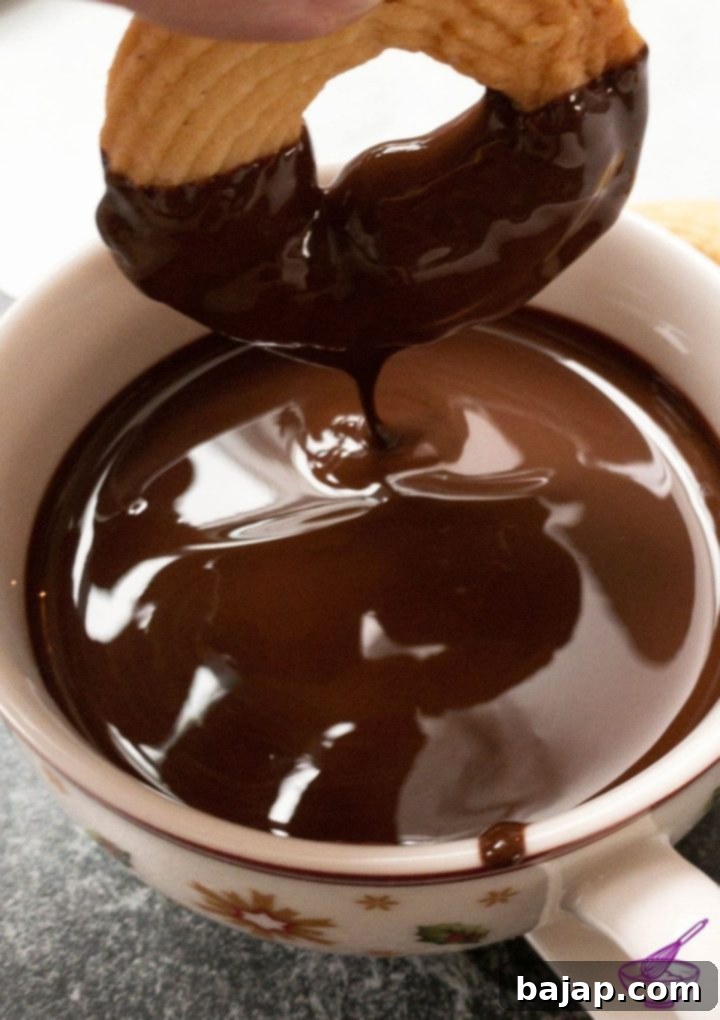
- Dipping: For a more substantial chocolate coating, simply dip half or even fully submerge your cookies into the melted chocolate. This creates a bold statement and adds a significant layer of flavor and texture. Place the dipped cookies on parchment paper to set. This technique is particularly excellent for biscotti, providing that perfect chocolate crunch.
- Drizzling: For a lighter, more artistic touch, use a spoon or a piping bag with a small hole to drizzle the melted chocolate in elegant zigzags or swirls over the cookies. This method adds visual appeal and a delicate hint of chocolate without overpowering the cookie’s original flavor.
After dipping or drizzling, you can further enhance your cookies by sprinkling them with finely chopped nuts, colorful sprinkles, a pinch of sea salt, or even a dusting of cocoa powder before the chocolate sets. Allow the chocolate to fully harden in the refrigerator. The result is a batch of beautifully decorated, refined cookies that taste simply wonderful and look professionally made.
As you can see, the possibilities for creating several delicious and impressive treats with leftover melted chocolate are truly endless! There’s absolutely no need to be wasteful with this delightful and versatile ingredient. By embracing these creative ideas, you not only reduce food waste but also discover new ways to enjoy chocolate and impress your friends and family with your culinary ingenuity.
Below are two amazing recipe ideas for using leftover melted chocolate, offering even more inspiration for your chocolate adventures.
🤎 You might also like
- Waffle Blossoms with Chestnut Purée
- Austrian spritz cookies with chocolate filling
- Homemade Baileys Chocolates
- No-bake Lotus Biscoff Cake Pops
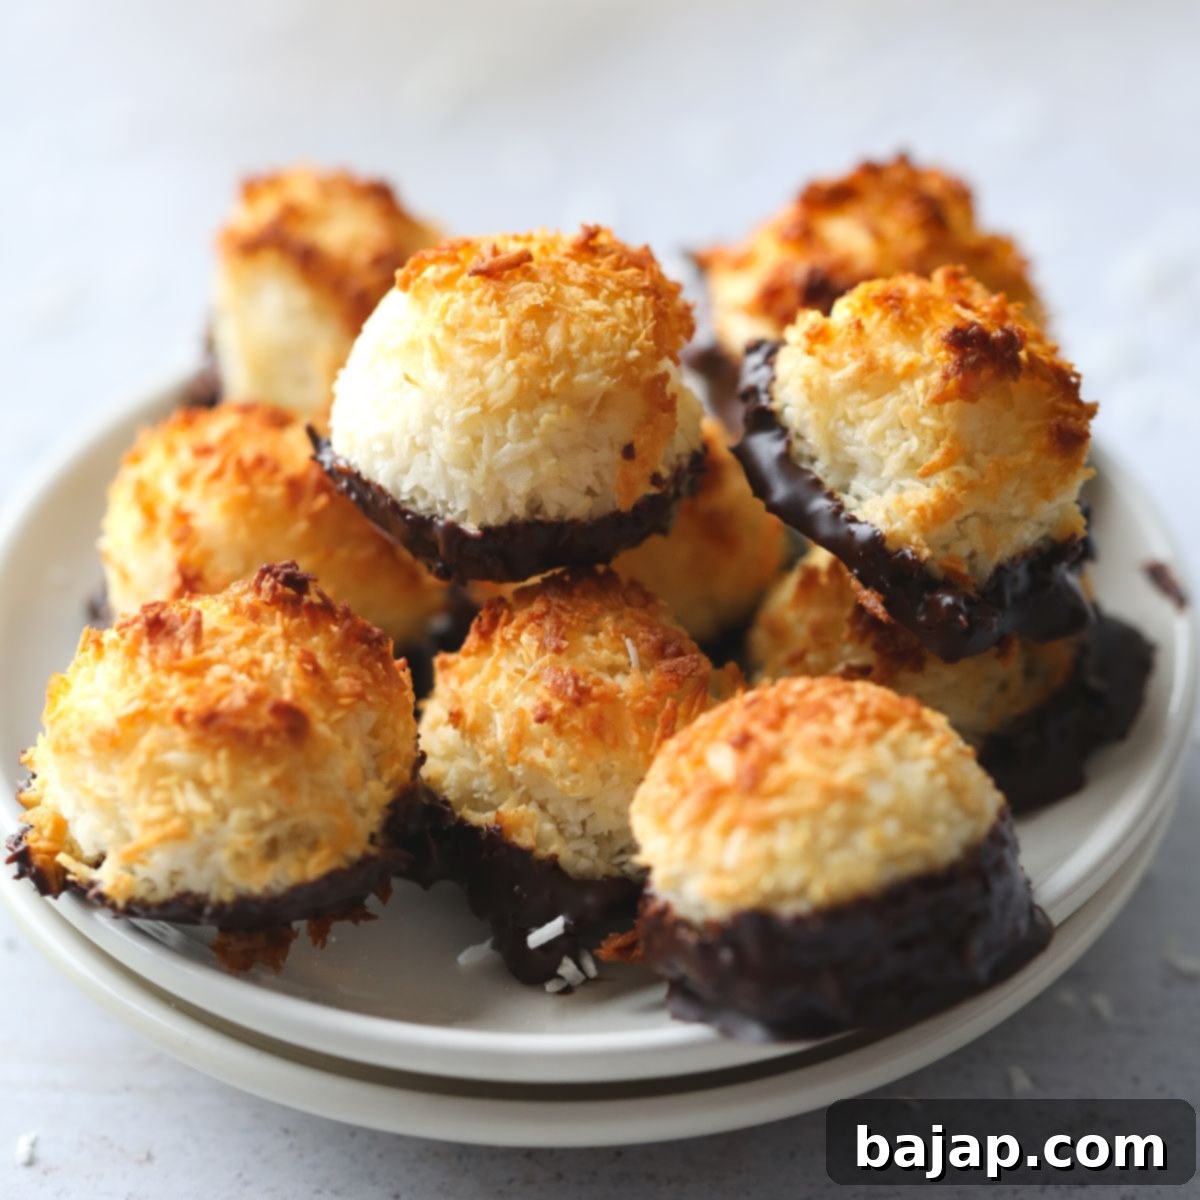
Get The Recipe
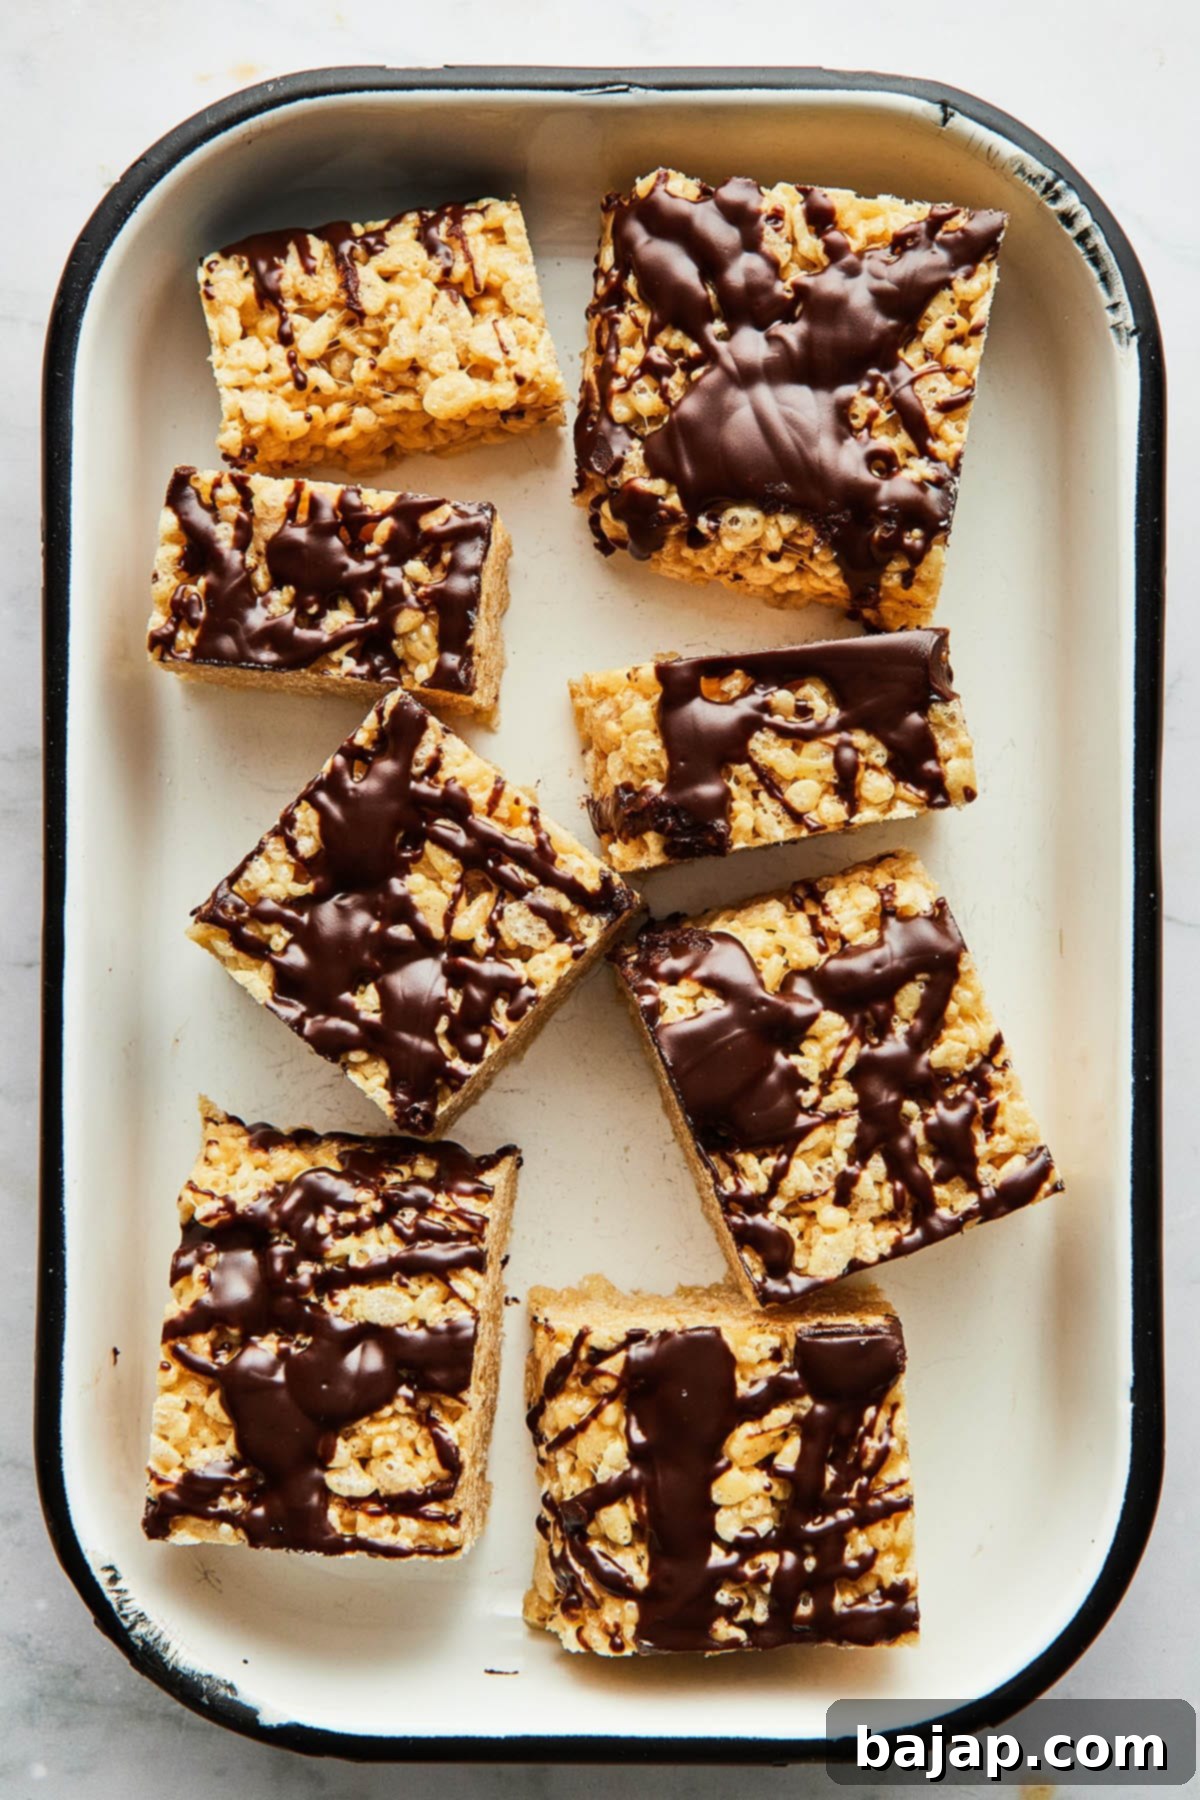
Get The Recipe
⛑️ Food Safety
- Cook to a minimum temperature of 165 °F (74 °C)
- Do not use the same utensils on cooked food, that previously touched raw meat
- Wash hands after touching raw meat
- Don’t leave food sitting out at room temperature for extended periods
- Never leave cooking food unattended
- Use oils with high smoking point to avoid harmful compounds
- Always have good ventilation when using a gas stove
For further information, check Safe Food Handling – FDA.
