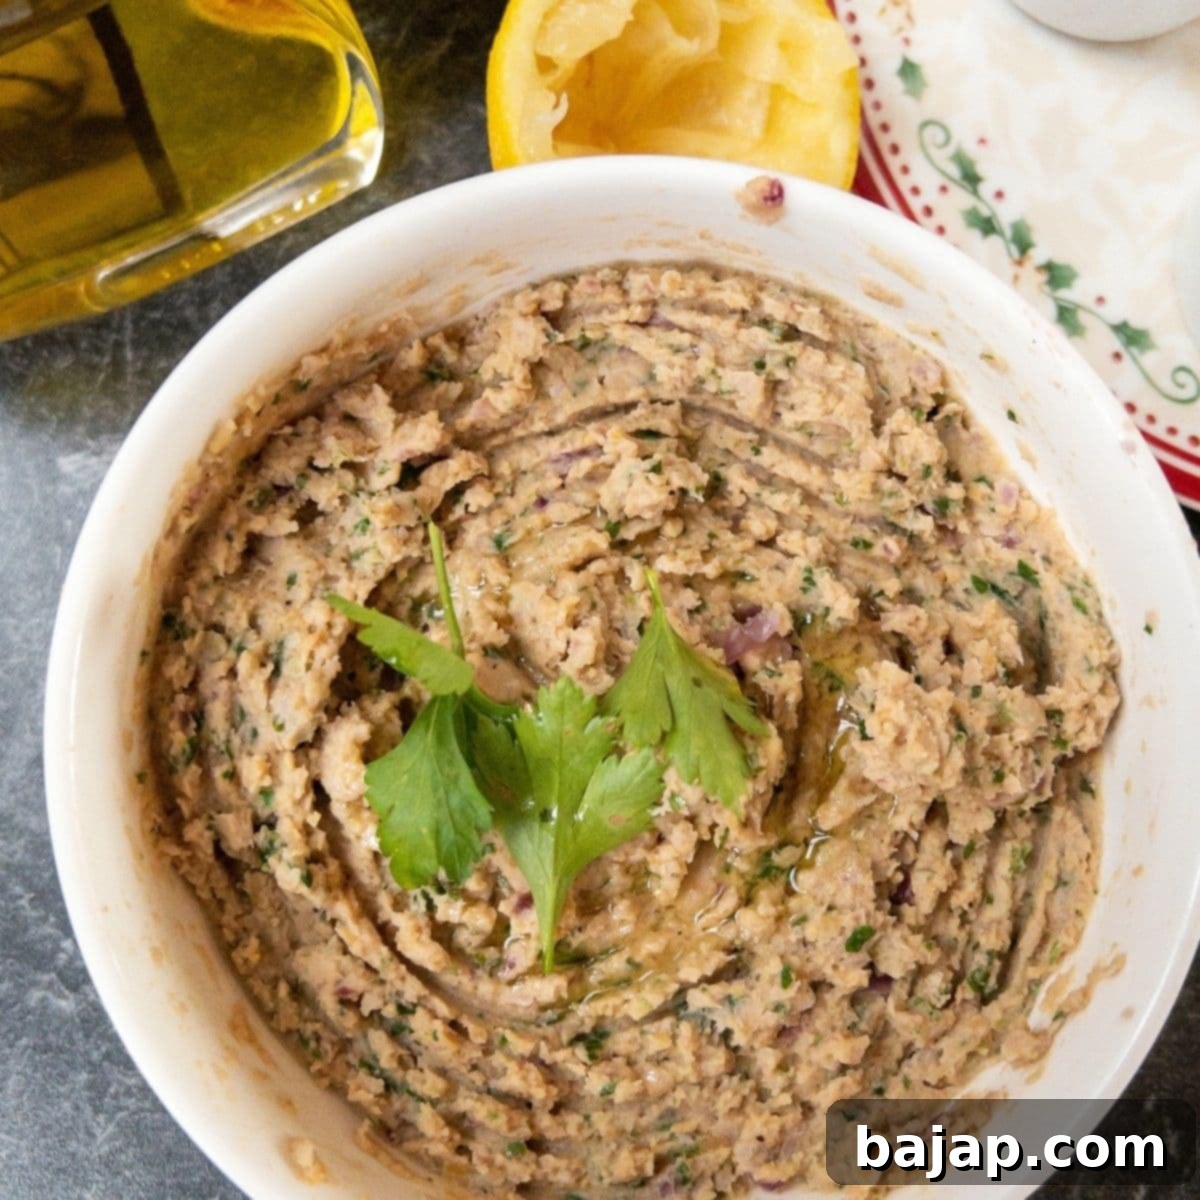
Easy Homemade Hummus Recipe: Your Guide to a Creamy & Healthy Chickpea Spread
Do you often find yourself craving the smooth, rich taste of hummus but are deterred by the high prices and limited options at the grocery store? It’s time to take matters into your own hands! This simple homemade hummus recipe offers the perfect solution, allowing you to create a restaurant-quality chickpea spread quickly and effortlessly right in your own kitchen with just a blender. Say goodbye to preservatives and hello to fresh, vibrant flavor!
This delightful chickpea spread isn’t just incredibly tasty; it’s also a powerhouse of nutrition and caters to various dietary needs. It’s simultaneously:
- Healthy: Packed with plant-based protein, fiber, and essential nutrients.
- Vegan: Made entirely from plant-based ingredients, perfect for a vegan lifestyle.
- Sugar-Free: No added sugars, just the natural sweetness of its components.
- Gluten-Free: Naturally free from gluten, making it suitable for those with sensitivities or celiac disease.
- Creamy: Achieves an incredibly smooth and luxurious texture when blended correctly.
- and Super Yummy: A flavorful explosion that will satisfy your cravings every time.
Making your own hummus from scratch offers unparalleled control over ingredients, ensuring you get the freshest, most delicious spread possible while saving money. It truly is a win-win situation!
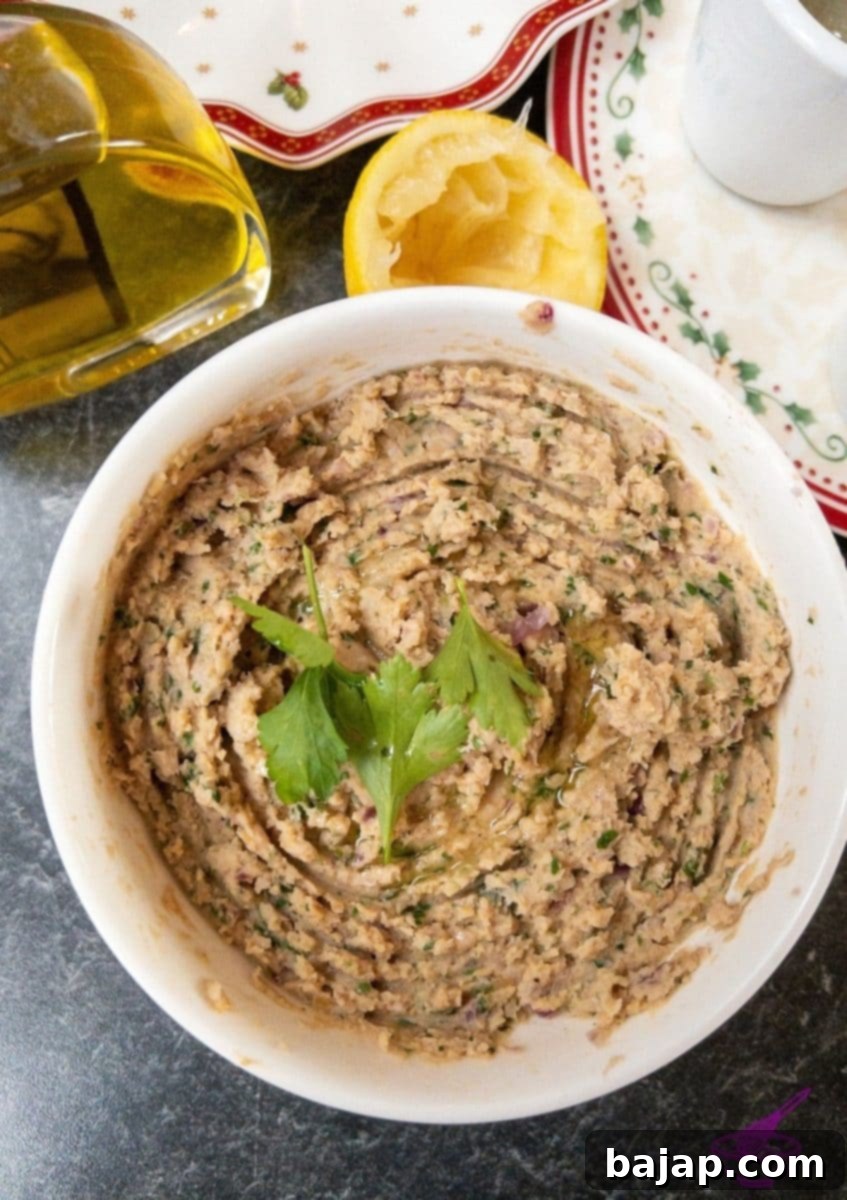
Effortless Preparation: Speed Up Your Hummus Making
One of the best things about this recipe is how incredibly quick and easy it is to prepare. You can have this delicious chickpea spread ready in just a few simple steps. The secret to cutting down preparation time significantly lies in using pre-cooked chickpeas from a jar or can. This clever shortcut means you bypass the need for soaking and boiling dried chickpeas, saving you a substantial amount of time and effort without compromising on flavor or texture. In a matter of minutes, you’ll be enjoying fresh, homemade hummus!
A Note on Fructose Malabsorption
For individuals managing fructose malabsorption, it’s important to consume this spread with a little caution. Hummus naturally contains a relatively high amount of fructose due to the chickpeas. Therefore, if you are sensitive to fructose, it is advisable to enjoy this delicious treat in smaller, controlled portions to avoid discomfort.
Versatile Ways to Enjoy Your Homemade Hummus
Homemade hummus is incredibly versatile and can elevate a wide array of meals and snacks. Last year, I proudly featured this hummus spread on my Christmas charcuterie board, alongside other crowd-pleasers like Austrian Liptauer Cheese Spread and Egg Salad. Its creamy texture and rich flavor made it an instant hit!
Beyond festive platters, hummus is a fantastic:
- Dip: Perfect for fresh vegetable sticks (carrots, cucumbers, bell peppers), pita bread, or crunchy crackers.
- Spread: Elevate your sandwiches, wraps, or toasts with a generous smear of hummus.
- Accompaniment: Serve it alongside grilled meats, falafel, or roasted vegetables for a complete meal.
- Base for Bowls: Create vibrant buddha bowls or grain bowls with a creamy hummus base.
- Salad Dressing Alternative: Thin it out slightly with a little extra lemon juice or water for a unique dressing.
Its adaptability makes it a staple in any kitchen, offering a healthy and delicious addition to almost any dish. Feel free to experiment with different toppings like a drizzle of olive oil, a sprinkle of paprika, or chopped fresh herbs to add an extra layer of flavor and visual appeal.
🥘 Ingredients for the Perfect Hummus
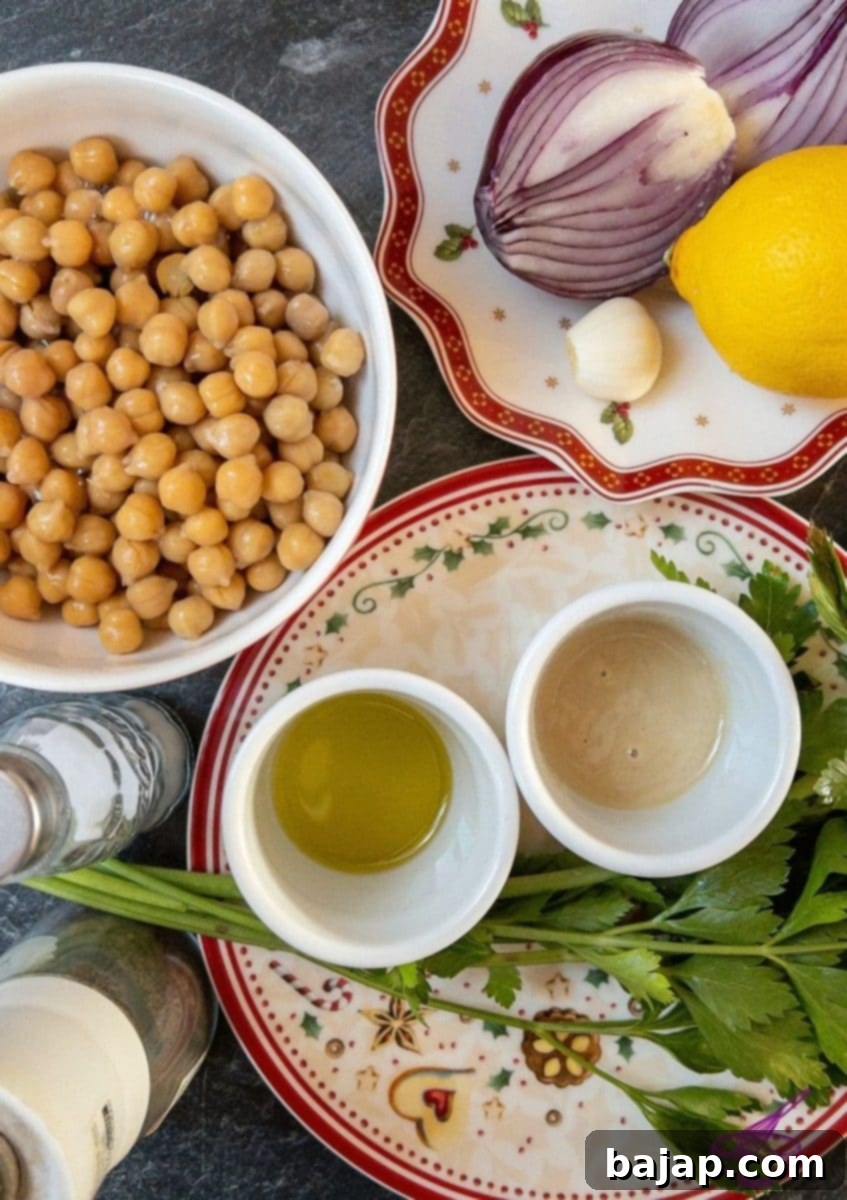
Achieving that signature creamy hummus texture and rich flavor starts with a selection of high-quality ingredients. Each component plays a crucial role in creating a balanced and delicious spread.
- Chickpeas: The foundation of our hummus. Using pre-cooked chickpeas saves a lot of time and effort.
- Onion: A red onion offers a milder, slightly sweeter flavor that complements the chickpeas beautifully.
- Garlic clove: Essential for that classic savory depth. Fresh garlic is always best.
- Extra virgin olive oil: Not only adds a silky richness but also contributes to the authentic Mediterranean flavor profile. A good quality olive oil makes a difference.
- Fresh parsley: Brightens the flavor and adds a touch of fresh herbaceousness. Don’t skimp on this!
- Lemon juice: Freshly squeezed lemon juice is paramount for balancing the richness and adding a zesty tang.
- Tahini (sesame mousse): This creamy sesame paste is critical for hummus’s characteristic velvety texture and distinctive nutty flavor. Do not omit this ingredient!
- Herb salt: Provides a seasoned saltiness, enhancing all the other flavors.
- Black pepper: A dash of freshly ground black pepper adds a subtle warmth and a hint of spice.
For precise quantities and measurements, please refer to the detailed recipe card below.
🔪 Step-by-Step Instructions to Make Homemade Hummus
Making homemade hummus is a straightforward process, especially when you follow these easy steps. Get ready to transform simple ingredients into a creamy masterpiece!
- Prepare the Chickpeas: Begin by sieving the pre-cooked chickpeas through a close-meshed sieve to drain off the aquafaba (chickpea liquid). Then, rinse them thoroughly under cold running water until you no longer see any foam. This ensures a clean, fresh taste and removes any excess sodium from the canning process. Once rinsed, set the chickpeas aside.
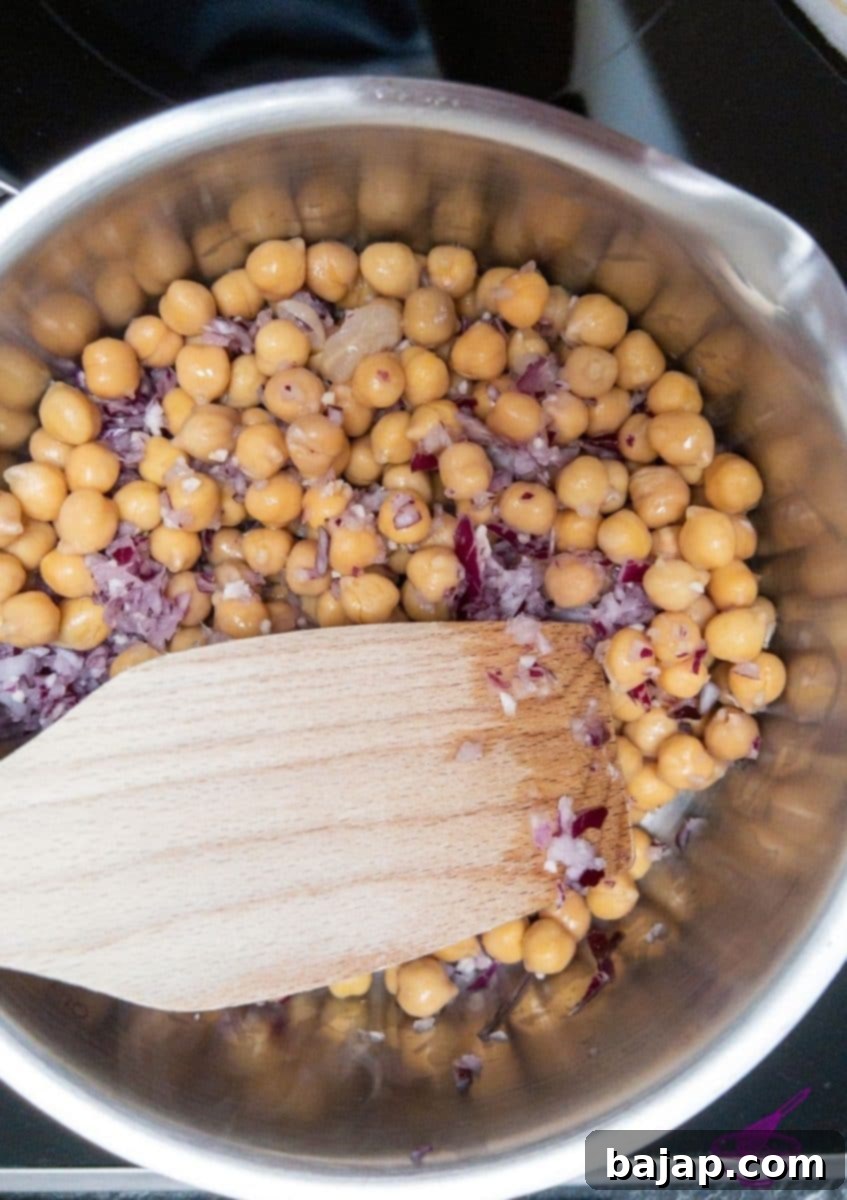
- Sauté Aromatics: Next, peel the onion and garlic clove. Place both in your high-powered blender or food processor and chop them finely. Transfer the chopped onion and garlic to a small saucepan. Add a teaspoon of extra virgin olive oil and sauté them over medium heat until they become translucent and fragrant.
Why Sauté the Onion and Garlic? Sautéing these aromatics until translucent is a crucial step for several reasons. Firstly, it mellows their raw, pungent flavor, allowing their natural sweetness and depth to develop. This results in a more harmonious and less intrusive taste in your hummus. Secondly, cooking them makes them significantly easier to digest, which your body will thank you for!
- Combine with Chickpeas: Once the onion and garlic are translucent, add the prepared and rinsed chickpeas to the saucepan. Gently heat them while stirring for a few minutes. This warms the chickpeas and allows them to absorb some of the savory flavors from the sautéed aromatics.
- Blend to Perfection: Now, retrieve your blender or food processor. First, add the fresh parsley and pulse until finely chopped. Then, add all the other ingredients: the sautéed onion, garlic, and chickpeas, along with the tahini, freshly squeezed lemon juice, herb salt, black pepper, and extra virgin olive oil. Blend everything until the mixture is incredibly smooth and creamy. Scrape down the sides as needed to ensure all ingredients are thoroughly incorporated. For an exceptionally smooth texture, you can add a tablespoon or two of cold water if the mixture is too thick.
- Season and Serve: Taste the hummus and adjust the seasonings as needed. You might want a little more salt, lemon juice, or even a dash more pepper. Allow the hummus to cool down completely before serving to let the flavors meld and deepen. Serve your delicious homemade hummus with warm pita bread, fresh vegetables, or a slice of naan. If you’re looking for a homemade option for naan, check out this fantastic homemade naan recipe from easyindiancookbook.com.
See? It’s genuinely that simple to create a truly delicious, healthy, and satisfying chickpea spread right in your own kitchen! Enjoy the freshness and flavor that only homemade can provide.
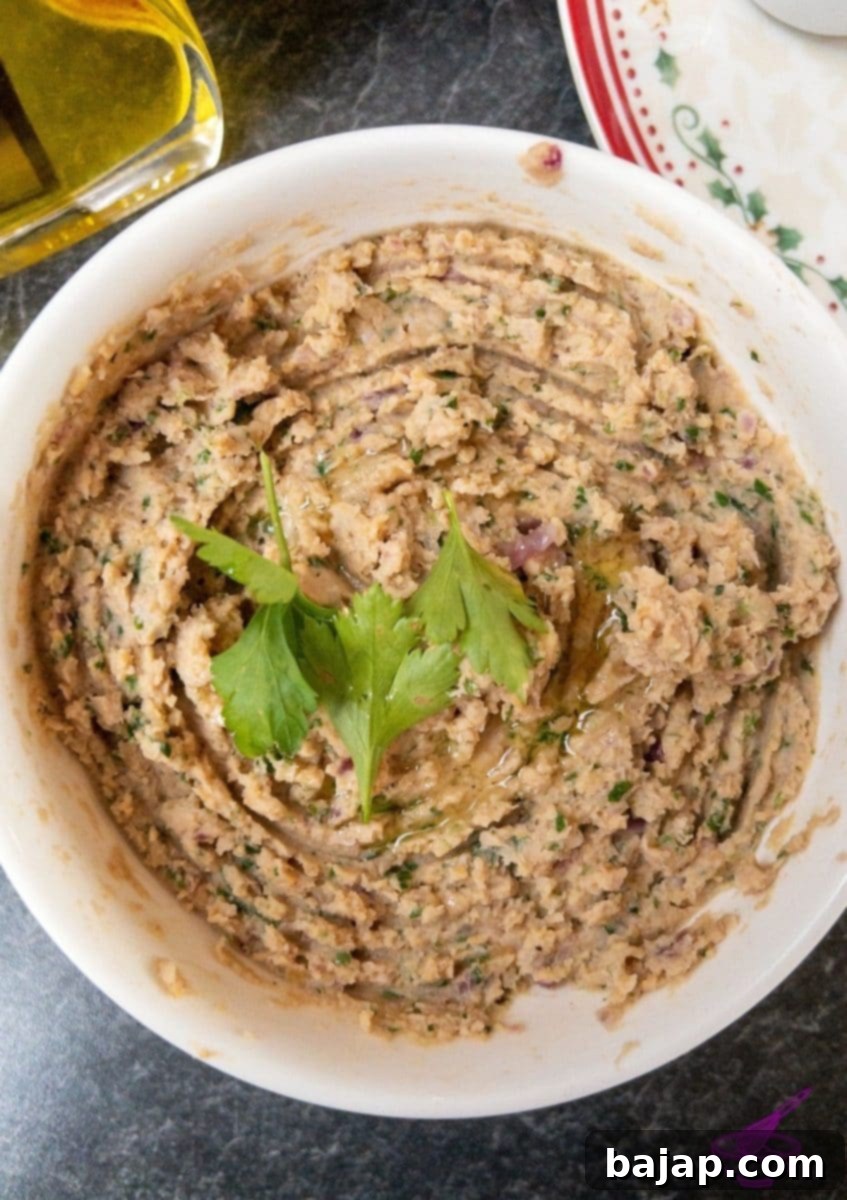
🍽 Essential Equipment for Hummus Making
To make the smoothest, creamiest hummus, you’ll need a few basic kitchen tools. Most of these are likely already in your kitchen!
- Saucepan: For sautéing the onion and garlic, and warming the chickpeas.
- Blender or food processor: The key to achieving that perfectly smooth and creamy texture. A powerful one will make the process much faster.
- Close-meshed sieve: Essential for draining and rinsing the chickpeas thoroughly.
- Lemon squeezer: Makes extracting fresh lemon juice quick and efficient.
- Wooden spoon: For stirring and sautéing ingredients in the saucepan.
🌡️ Storage Tips for Your Homemade Hummus
Proper storage is key to enjoying your homemade hummus for longer. Here’s how to keep it fresh and delicious:
Refrigeration: Your freshly made chickpea spread can be stored in an airtight container in the refrigerator for three to five days. To prevent it from drying out and to maintain its vibrant flavor, consider drizzling a thin layer of extra virgin olive oil over the surface before sealing the container. This also helps to reduce oxidation.
Freezing: Yes, you can freeze hummus! This is a great option for meal prepping or if you’ve made a large batch. Simply transfer the homemade hummus into a freezer-safe, airtight container. Leave a small amount of headspace at the top, as the hummus may expand slightly when frozen. It can be safely stored in the freezer for up to six months. When you’re ready to enjoy it, simply thaw it in the refrigerator overnight, then give it a good stir and perhaps a dash of fresh lemon juice or olive oil to refresh its texture and flavor.
💭 Top Tip: Canned vs. Dried Chickpeas
Should I use canned or dried chickpeas?
You have the flexibility to use either canned or dried chickpeas for making hummus, but it’s important to understand the different preparation methods involved with each type.
In this particular hummus recipe, we prioritize convenience and speed, opting for pre-cooked chickpeas from a jar or can. This choice significantly streamlines the process, as the chickpeas are already cooked to perfection and ready to be used after a quick rinse.
However, if you prefer to use dried chickpeas, or happen to have them on hand, you’ll need to account for additional preparation time. Dried chickpeas require a crucial soaking period (typically overnight) followed by cooking (which can take 1-2 hours) before they are tender enough for blending into hummus. This method can yield a slightly different texture and flavor, often preferred by hummus purists, but it does add considerably to the total preparation time.
An Important Safety Note on Raw Chickpeas: It is absolutely essential to thoroughly cook chickpeas before consuming them. Raw chickpeas contain natural toxins, specifically a compound called Phasin. This toxin only breaks down and becomes harmless during the cooking process. Soaking is also a vital step when using dried chickpeas for two main reasons: firstly, it rehydrates and softens the hard legumes, dramatically reducing their cooking time. Secondly, soaking helps to make them much easier to digest, preventing potential stomach upset. After soaking, always discard the soaking water and rinse the chickpeas thoroughly to ensure no residual toxins or impurities remain on the legumes or in the water before cooking them.
If you try this easy homemade hummus recipe, I would absolutely love to hear your thoughts! Please let me know how you liked it by giving it a ★★★★★ star rating and leaving a comment below. Your feedback is invaluable and truly appreciated! You can also sign up for our Newsletter to receive weekly delicious homemade recipes directly to your inbox, or follow me on Pinterest or Instagram and share your delightful creation with our community. Just tag me @combinegoodflavors and use the hashtag #combinegoodflavors so I don’t miss seeing your culinary masterpiece!
📖 Recipe Card: How to Make Homemade Chickpea Spread {Hummus}?
How to make Homemade Chickpea Spread {Hummus}?
Nora
Save RecipeSaved!
Pin Recipe
Equipment
-
Saucepan
-
Blender or food processor
-
Close meshed sieve
-
Lemon squeezer
-
Wooden spoon
Ingredients
- 2 cups Chickpeas
- ½ bunch Fresh parsley
- 1 tablespoon Tahini sesame mousse
- 1 Onion red
- 1 Garlic clove
- 1 teaspoon Extra virgin olive oil
- ½ Lemon juice – freshly squeezed
- 1 teaspoon Herb salt
- 1 dash Black pepper
Instructions
-
Sieve the chickpeas through a close-meshed sieve and rinse them under cold running water until they no longer foam.2 cups Chickpeas
-
After rinsing, set the chickpeas aside.
-
Peel the onion and garlic clove and put both in your high-powered blender.1 Onion, 1 Garlic clove
-
Chop the onion and garlic and put both in a small saucepan.
-
Now sauté the onion and garlic until translucent.
-
Once done, add the prepared chickpeas and heat them while stirring.
-
Place the parsley inside the blender and chop it.½ bunch Fresh parsley
-
Then add all the other ingredients, including spices and cooked chickpeas, to the blender and blend until smooth.1 tablespoon Tahini, 1 teaspoon Extra virgin olive oil, ½ Lemon, 1 teaspoon Herb salt, 1 dash Black pepper
-
Season to taste and serve your first batch of hummus after it has cooled.
Nutrition values are estimates only, using online calculators. Please verify using your own data.

🤎 More Delicious Spreads and Dips You Might Enjoy
If you loved making this easy homemade hummus, you’re in for a treat! Here are a few more delightful spread and dip recipes from our kitchen that you might enjoy preparing:
- How to make delicious homemade Chive Sauce in 5 Minutes
- How to make Apfelkren – Austrian Horseradish Sauce
- Austrian Liptauer Cheese Spread Recipe
- 73 Easy Christmas Eve Appetizer Ideas
⛑ Important Food Safety Guidelines
Ensuring food safety in your kitchen is paramount, especially when preparing homemade recipes. Please adhere to these essential guidelines to prevent foodborne illnesses and ensure a safe cooking environment:
- Always cook food to its minimum internal temperature to kill harmful bacteria. For most cooked foods, this is 165 °F (74 °C).
- Prevent cross-contamination by never using the same utensils, cutting boards, or dishes on cooked food that previously touched raw meat without thorough washing.
- Always wash your hands thoroughly with soap and warm water before and after handling raw meat, poultry, seafood, or eggs.
- Avoid leaving perishable food sitting out at room temperature for extended periods, as this can encourage bacterial growth. Follow the “2-hour rule” – refrigerate or discard perishable food left out at room temperature for more than two hours.
- Never leave cooking food unattended on the stovetop or in the oven. Always be present to monitor the cooking process.
- When cooking with oils, use those with a high smoking point to avoid burning the oil and producing harmful compounds. Extra virgin olive oil has a moderate smoking point, suitable for sautéing at lower temperatures.
- Ensure you always have good ventilation when using a gas stove to disperse any cooking fumes and maintain indoor air quality.
For more comprehensive food safety guidelines and detailed information on safe food handling and preparation, please visit USDA.gov.
