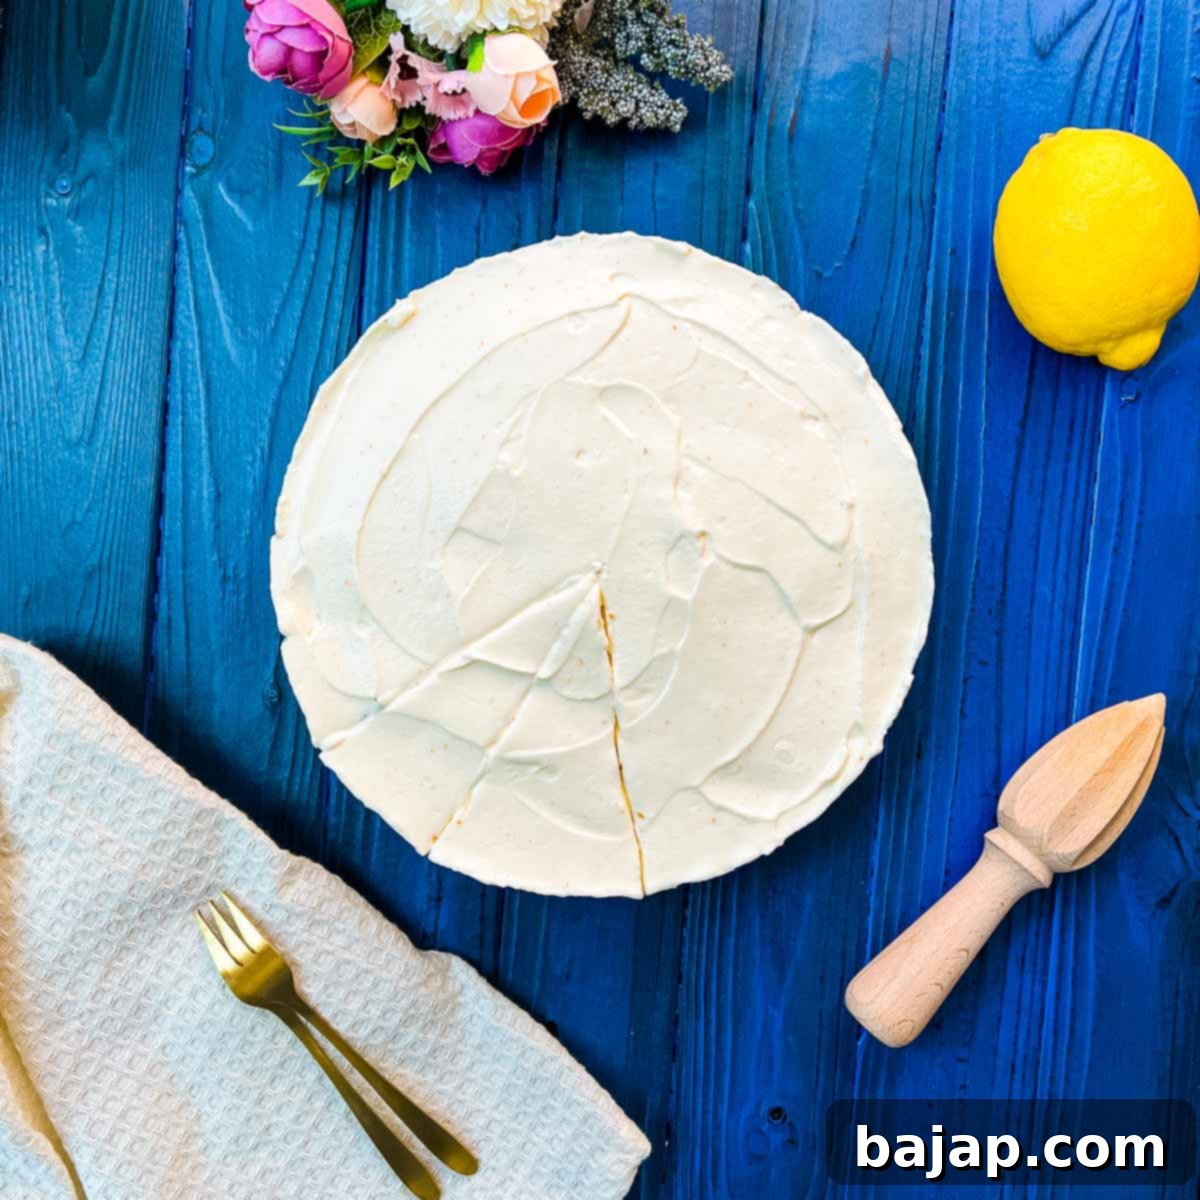
The Ultimate No-Bake Lemon Cheesecake with Homemade Blueberry Sauce: Easy & Refreshing
Prepare to delight your taste buds with this incredibly light, wonderfully creamy, and utterly irresistible No-Bake Lemon Cheesecake, generously topped with a vibrant homemade blueberry sauce. This dessert is not just easy to make; it’s a showstopper that promises to leave your guests asking for the recipe. The bright, zesty notes of lemon and orange perfectly cut through the richness of the cream cheese, while the sweet and slightly tart blueberry sauce adds an exquisite burst of fresh fruit flavor, creating a symphony of tastes that’s truly unforgettable.
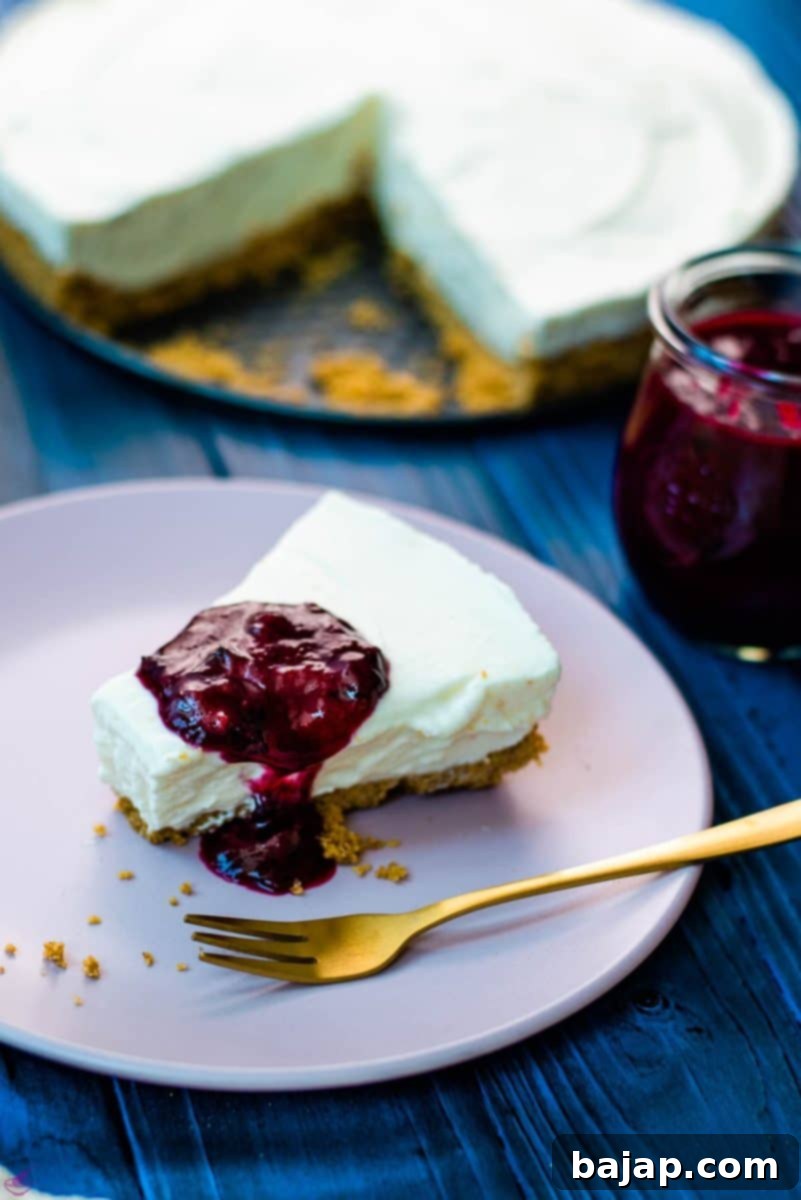
The combination of tart lemon and the sweet, juicy finish of blueberries is truly a match made in culinary heaven. Having experimented with countless no-bake cheesecake recipes over the years, I can confidently say that this particular rendition stands out as my absolute favorite. Its simplicity, combined with the incredibly refreshing flavor profile, makes it the ideal dessert for warm summer days, holiday gatherings, or simply when you crave a decadent treat without the hassle of baking.
If you’re ready to master this unbelievably delicious dessert and impress everyone with your no-bake prowess, keep reading! I’ll guide you through every step, from crafting the perfect graham cracker crust to whipping up the silkiest lemon cream cheese filling and a lusciously fresh blueberry sauce. Let’s get started on creating this delightful masterpiece together!
Jump to Recipe Card
🥘 Essential Ingredients for Your No-Bake Cheesecake
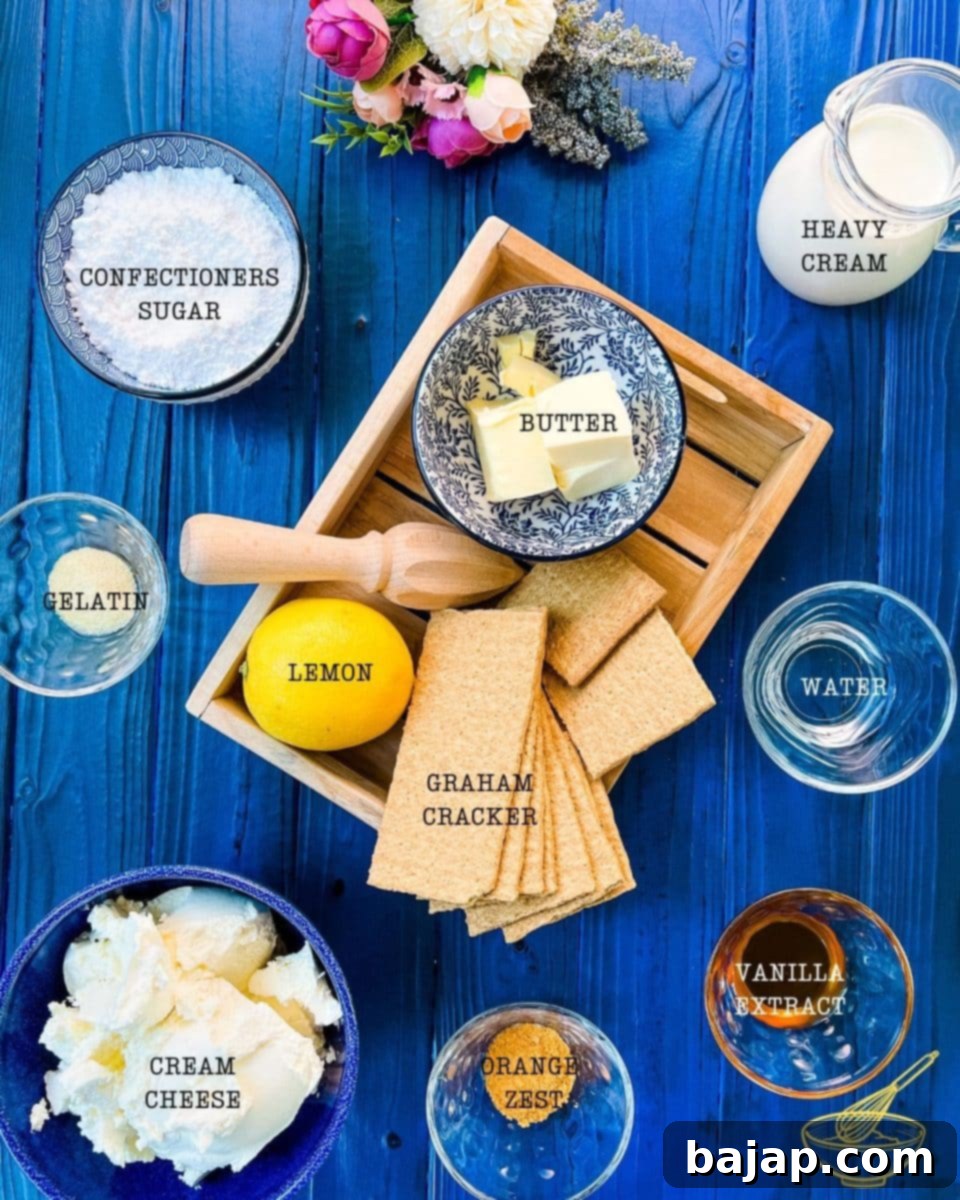
Creating this spectacular no-bake lemon cheesecake requires a few simple, yet high-quality ingredients. Each component plays a crucial role in achieving the perfect balance of flavor and texture. From the crunchy crust to the silky filling and the vibrant sauce, here’s what you’ll need to gather:
For the Crispy Graham Cracker Crust
The foundation of any great cheesecake, this crust is buttery, sweet, and perfectly crumbly.
- **Graham Crackers:** These create the classic, slightly spiced base.
- **Unsalted Butter:** Melted, it binds the crumbs together and adds richness.
For the Creamy Lemon Cheesecake Filling
The heart of our dessert, this filling is light, tangy, and incredibly smooth. Ensure your cream cheese is softened to achieve the best, lump-free consistency.
- **Cream Cheese:** Full-fat, softened to room temperature for a smooth, rich filling.
- **Confectioners Sugar:** Also known as powdered sugar, it sweetens the filling and helps create a velvety texture.
- **Orange Zest:** Adds a bright, aromatic citrus note that beautifully complements the lemon.
- **Lemon Juice:** Freshly squeezed is always best for that vibrant, tangy flavor.
- **Water:** Used to bloom the gelatin.
- **Unflavored Gelatin:** The secret ingredient for a perfectly set, yet still creamy, no-bake cheesecake.
- **Heavy Whipping Cream:** Whipped to stiff peaks, it lightens the filling, giving it that characteristic airy texture.
- **Vanilla Extract:** A touch of vanilla enhances all the other flavors.
For the Luscious Blueberry Sauce
This homemade sauce is bursting with fresh blueberry flavor, providing the perfect sweet and tart counterpoint to the lemon cheesecake.
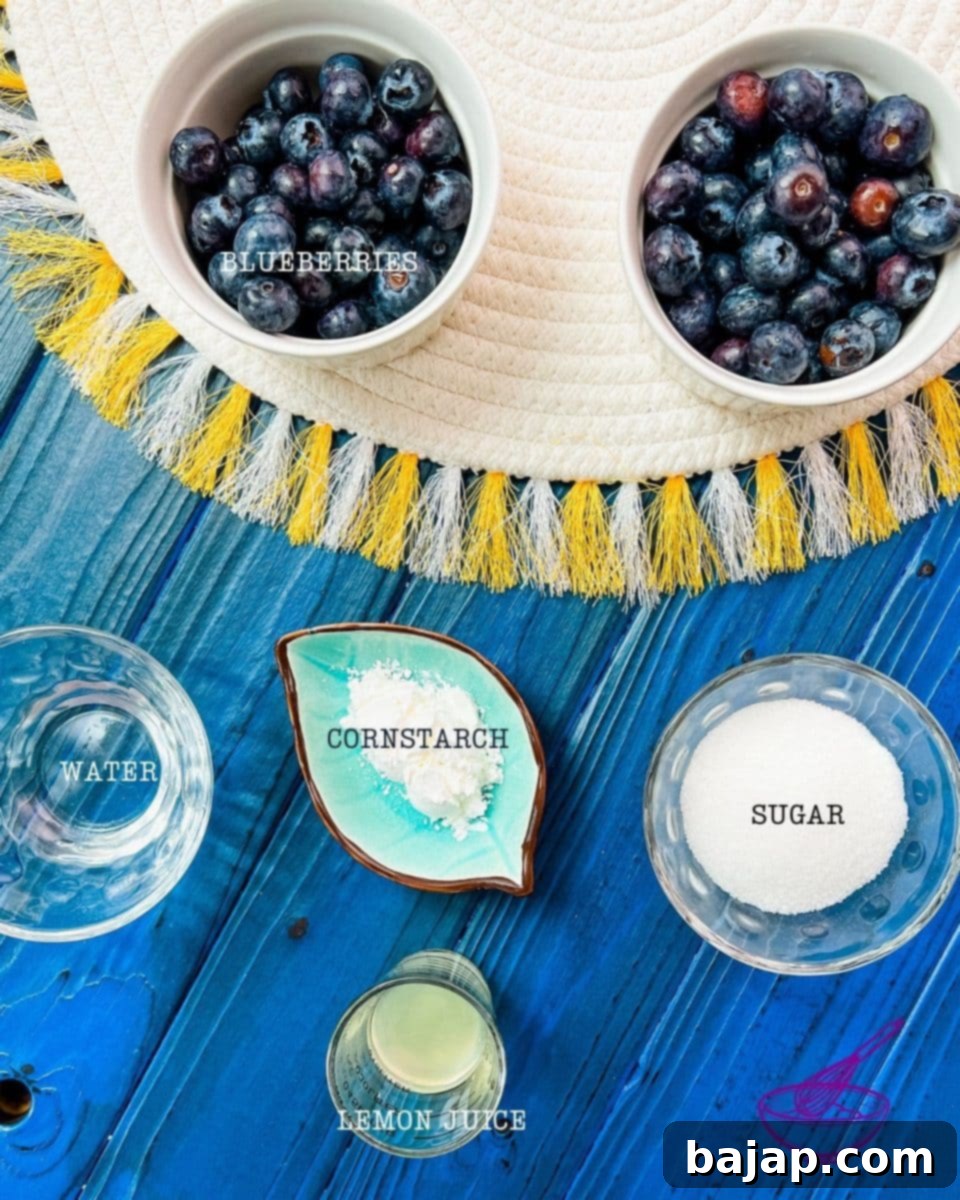
- **Blueberries:** Fresh or frozen (thawed), they are the star of the sauce.
- **Granulated Sugar:** Sweetens the berries to perfection.
- **Water:** Helps create the sauce’s consistency.
- **Cornstarch:** Used to thicken the sauce, giving it a glossy, pourable texture.
- **Lemon Juice:** A splash brightens the blueberry flavor and adds a touch of acidity.
For precise measurements and detailed instructions, see the recipe card below.
🔪 Step-by-Step: Crafting Your No-Bake Lemon Cheesecake
Making this no-bake cheesecake is a straightforward process, but paying attention to each step will ensure a perfect result every time. Follow these instructions carefully to create a dessert that’s as beautiful as it is delicious.
Creating the Perfect Graham Cracker Crust
The base of your cheesecake needs to be sturdy yet delicious. This simple crust comes together quickly and requires no baking, just chilling!
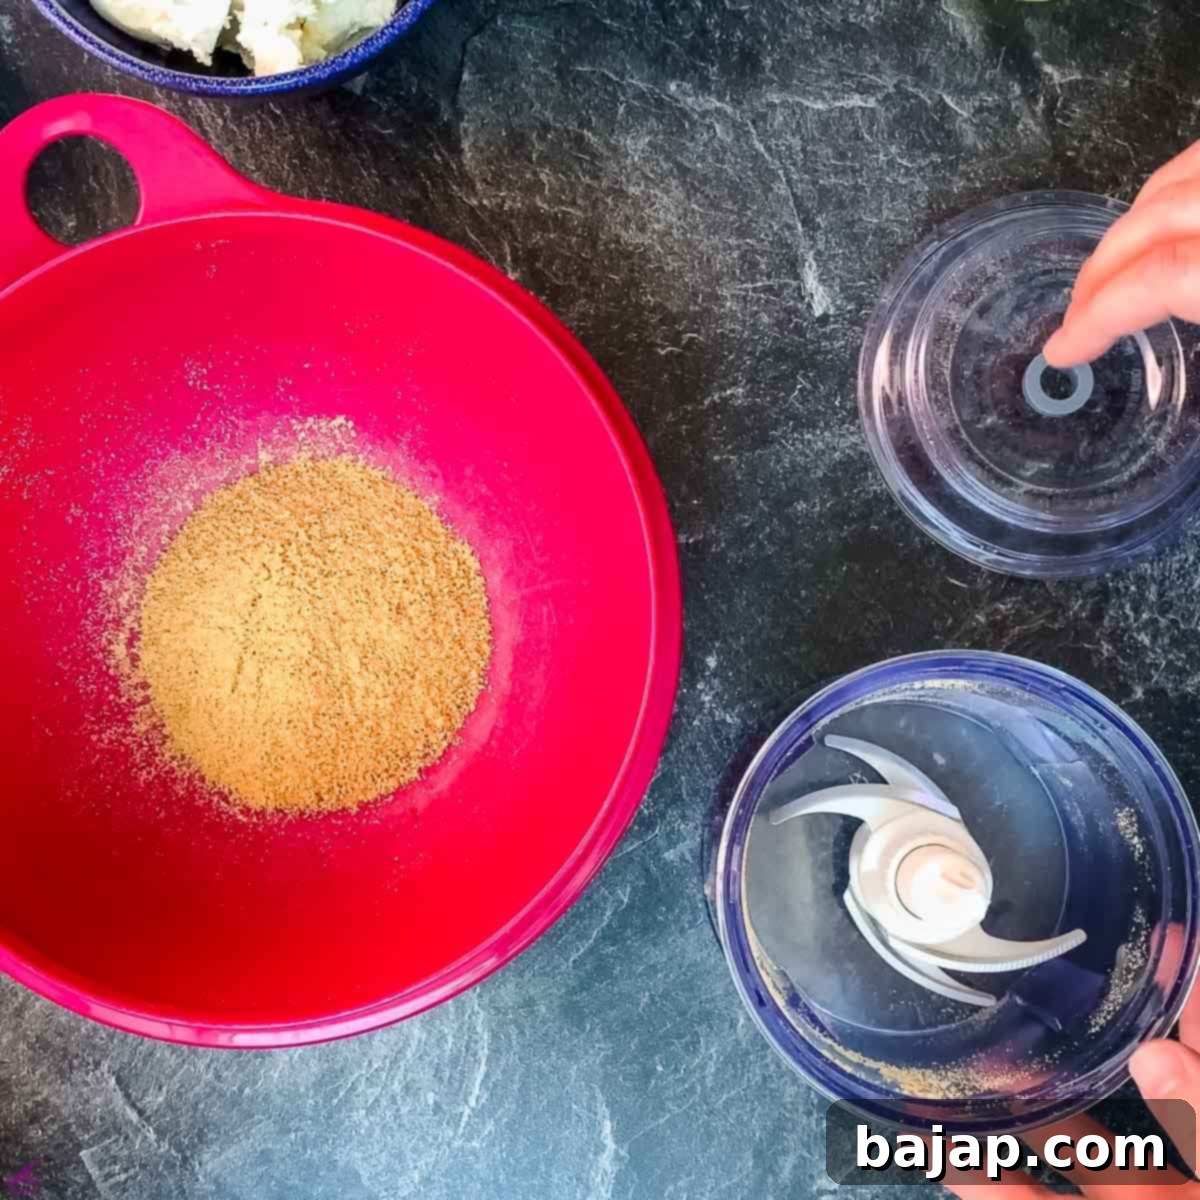
- **Prepare the Graham Crackers:** Begin by breaking your graham cracker sheets into smaller pieces. Transfer these pieces into a food processor.
- **Process into Crumbs:** Pulse the graham crackers for about 20 seconds until they are finely ground into uniform crumbs.
- **Add Melted Butter:** Pour the melted unsalted butter over the graham cracker crumbs in the food processor. Process on high for an additional 15 seconds. The mixture should achieve a sand-like texture and start to clump together and stick to the sides of the processor, indicating it’s perfectly moistened.
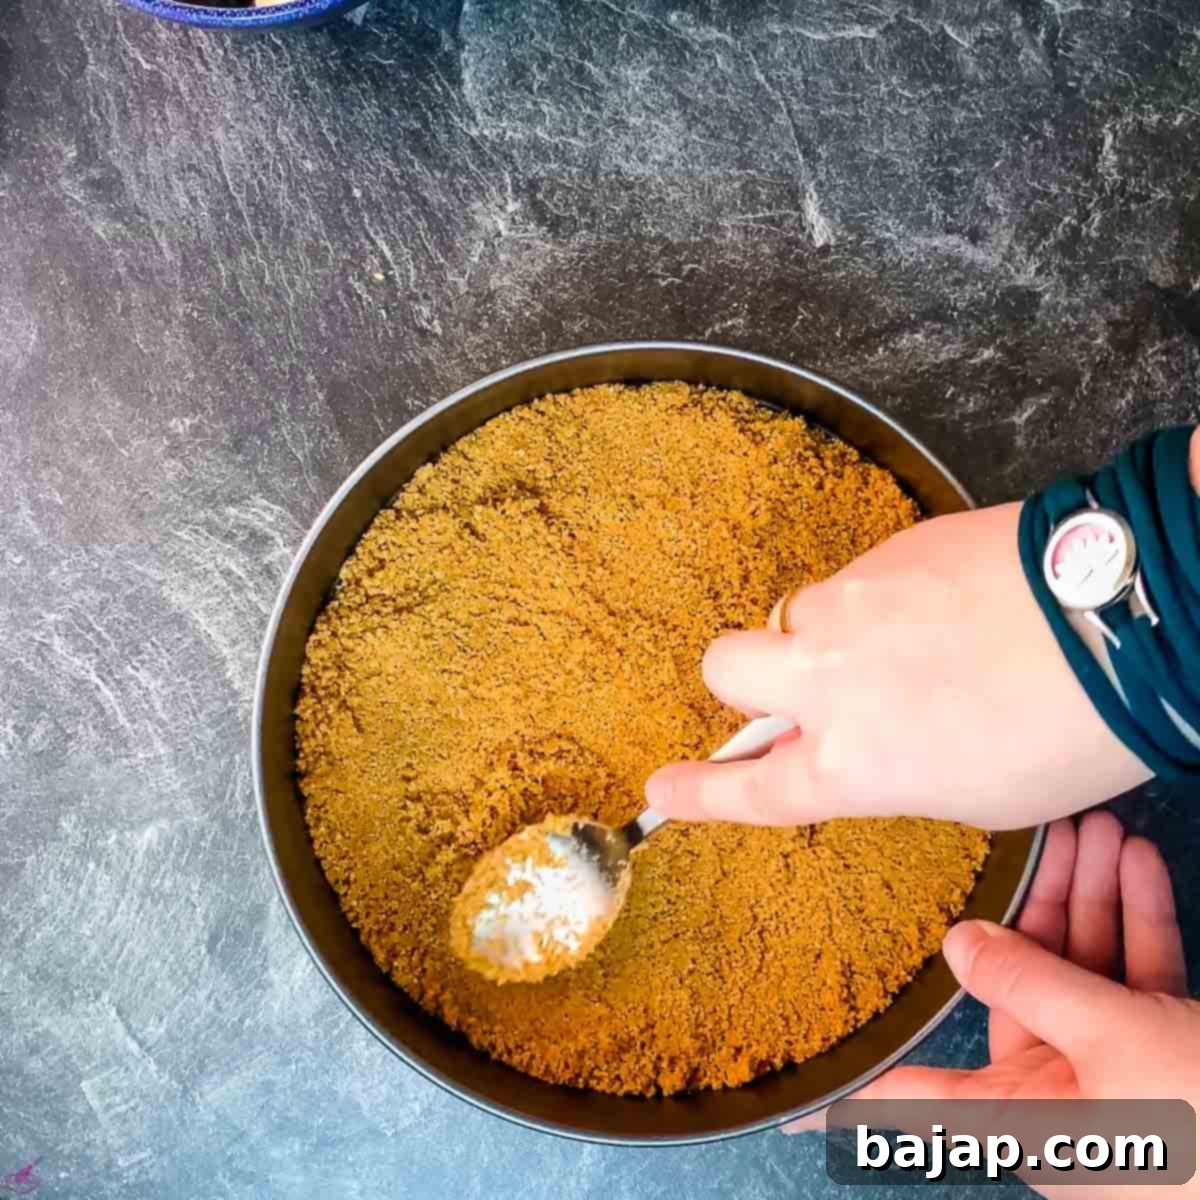
- **Form the Crust:** Lightly spray a 9-inch (22 cm) springform pan with cooking spray. This will help prevent sticking and make for easier removal. Firmly press the graham cracker mixture evenly into the bottom of the prepared pan, extending it up the sides about ¼ inch (6 mm). A flat-bottomed glass or your fingers can help achieve a compact, even layer.
- **Chill:** Once pressed, place your crust in the refrigerator. It can chill here while you prepare the filling, allowing it to firm up beautifully.
Preparing the Zesty Lemon Cheesecake Filling
This creamy, dreamy filling is surprisingly simple to make and packed with refreshing citrus flavor.
- **Beat Cream Cheese:** In a large mixing bowl, using an electric mixer, beat the softened cream cheese until it is completely smooth and free of any lumps. This should take about 3 minutes.
- **Incorporate Sugar:** Add the confectioners sugar to the cream cheese. Continue beating for another 2-3 minutes until the mixture is light, fluffy, and perfectly smooth.
- **Add Citrus:** Stir in the fresh orange zest and lemon juice until they are fully combined with the cream cheese mixture.
- **Bloom Gelatin:** In a separate, small microwave-safe bowl, combine the water and sprinkle the unflavored gelatin evenly over the surface. Let it sit undisturbed for 5 minutes to “bloom” (absorb the water and soften).
- **Melt Gelatin:** Microwave the bloomed gelatin mixture for about 30 seconds, or until the gelatin has completely melted and is clear. Be careful not to boil it.
- **Whip Heavy Cream:** In another large, clean bowl, combine the heavy whipping cream and vanilla extract. Whisk the cream using your electric mixer for 4-5 minutes until soft peaks begin to form.
- **Combine Gelatin with Cream:** While continuing to whisk the heavy cream, slowly drizzle in the melted gelatin mixture. Continue whisking until stiff peaks form. The gelatin helps stabilize the whipped cream, contributing to the cheesecake’s firm texture.
- **Fold Mixtures Together:** Gently fold the whipped cream mixture into the cream cheese mixture. Use a spatula to carefully combine them, ensuring no streaks remain, but be careful not to deflate the whipped cream. The goal is a light, airy, and uniform filling.
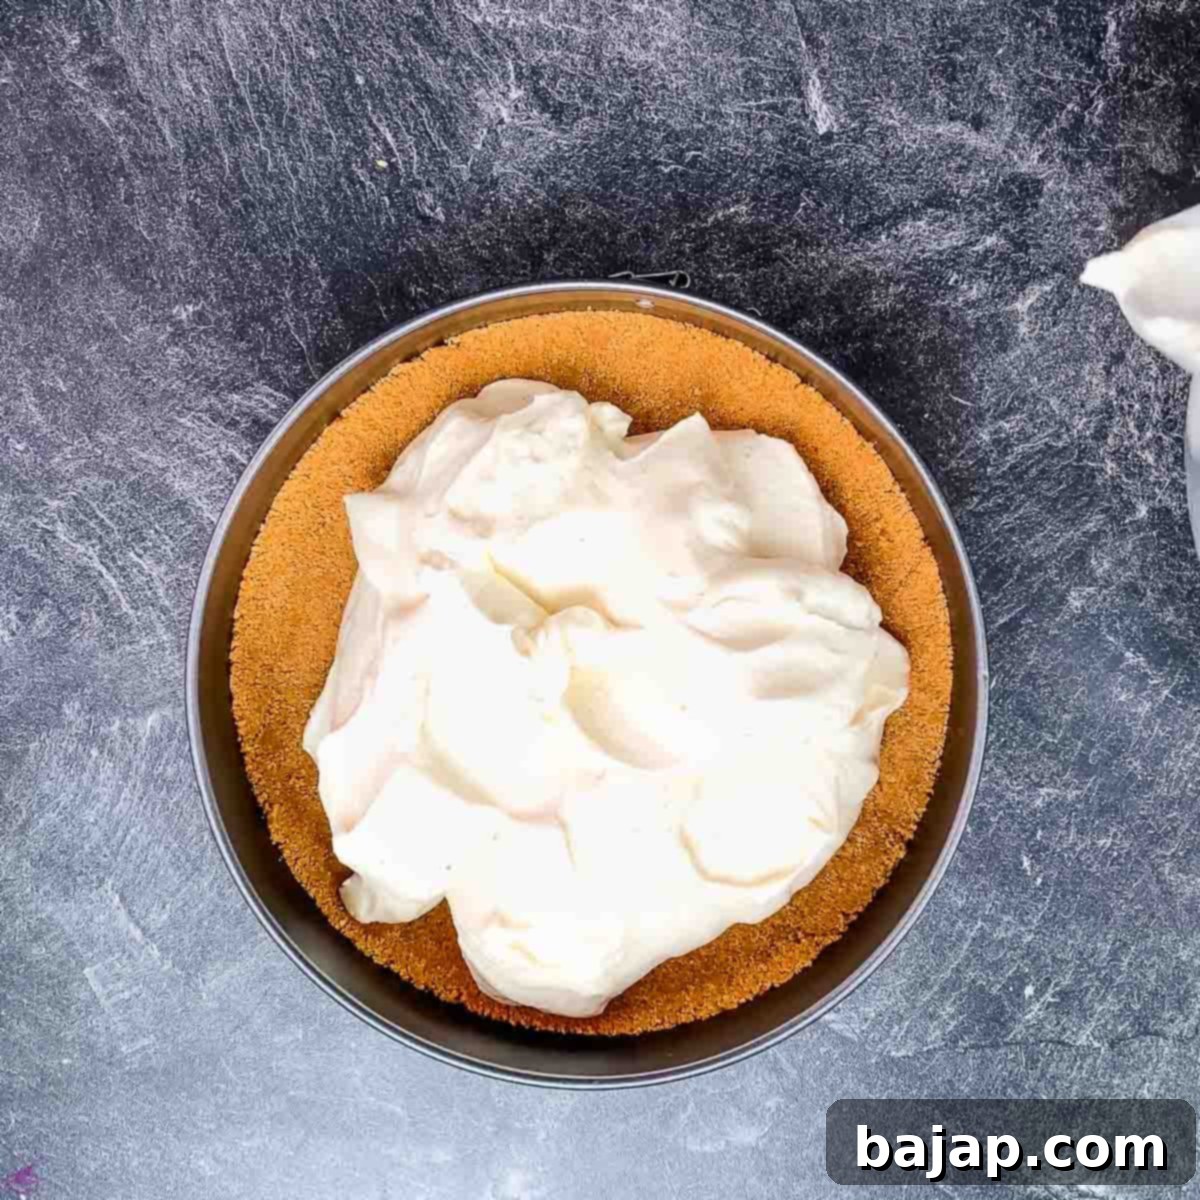
- **Fill the Crust:** Scrape the entire cream cheese filling into your prepared graham cracker crust. Use the back of a spoon or a small offset spatula to smooth the top evenly.
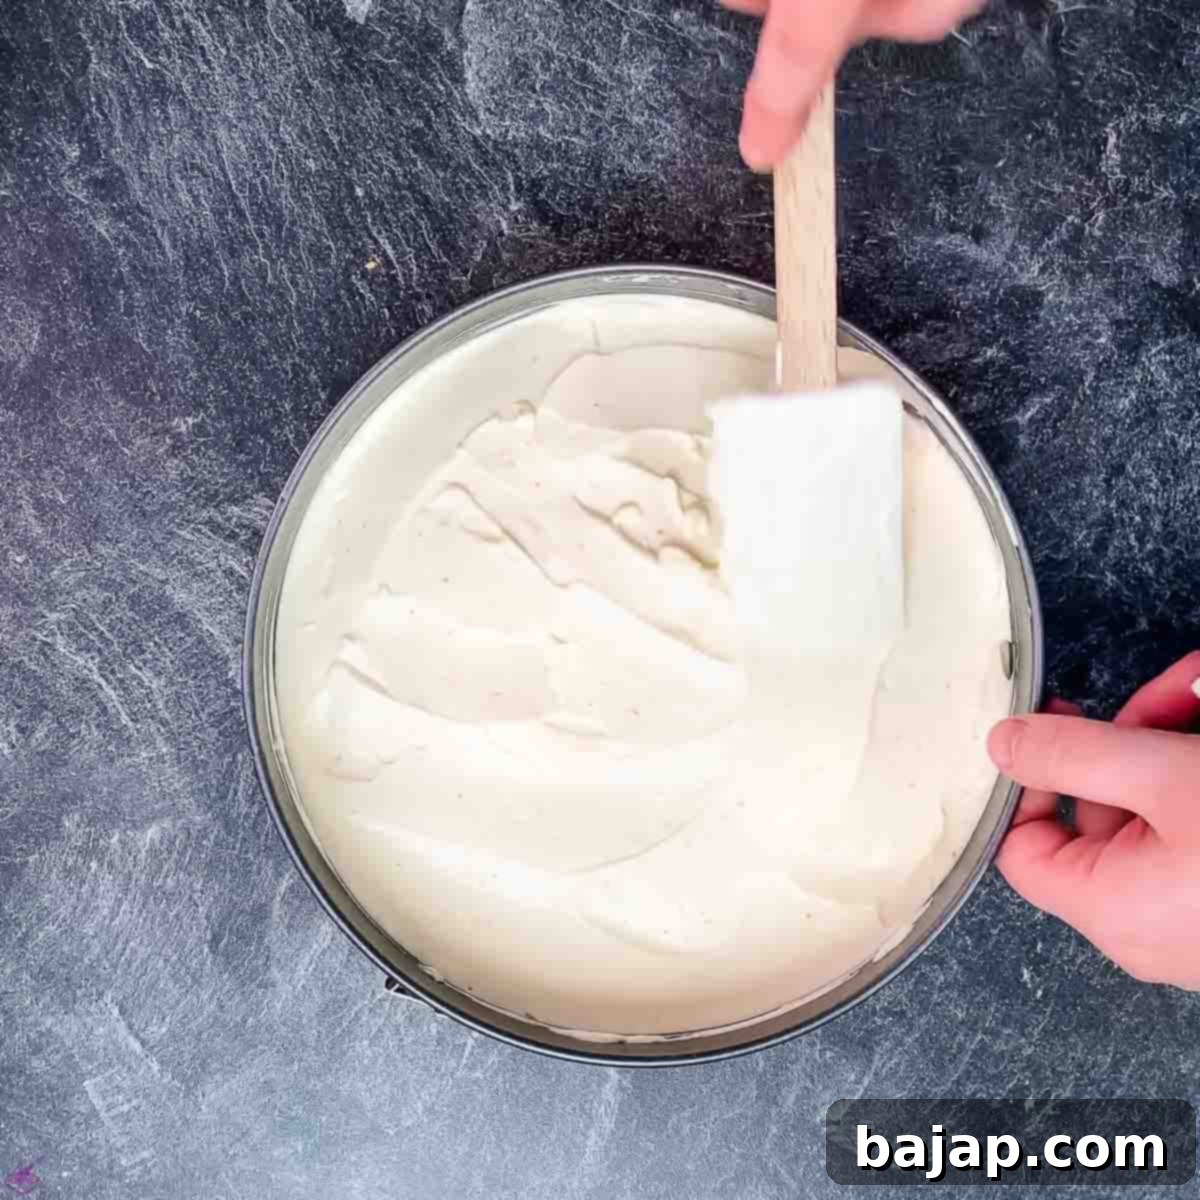
- **Chill Thoroughly:** This is a crucial step! Place the entire cheesecake in the refrigerator and allow it to chill for at least four hours. For the best, firmest texture, chilling it overnight is highly recommended.
Crafting the Homemade Blueberry Sauce
This sweet and tangy sauce adds a beautiful color and a delightful fruity complement to the lemon cheesecake.
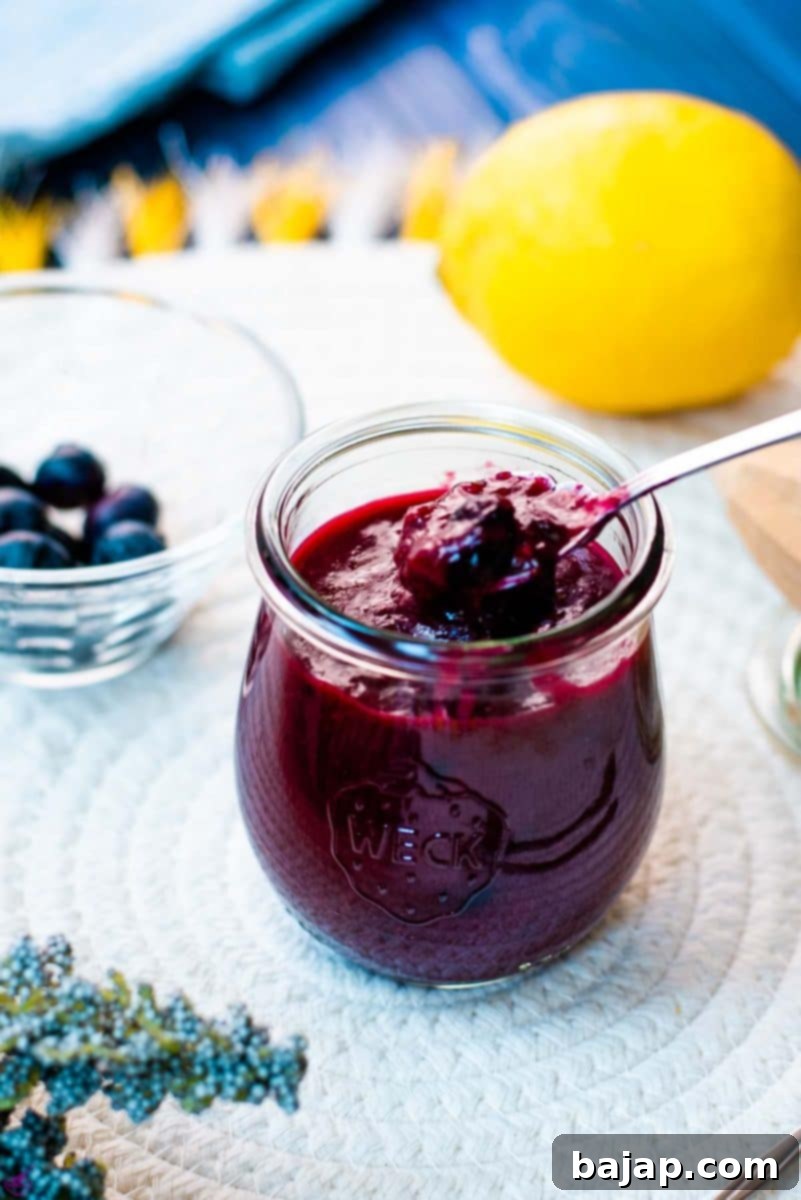
- **Prepare Blueberries:** Start by thoroughly washing and drying your fresh blueberries. Place them in a saucepan with the granulated sugar over medium heat.
- **Simmer and Mash:** As the blueberries begin to warm, they will release their juices. Use a potato masher to gently break apart some of the blueberries, creating a mix of mashed and whole berries for a delightful texture. Continue to simmer gently.
- **Make Cornstarch Slurry:** In a small separate bowl, whisk together the water and cornstarch until no lumps remain. This mixture is called a slurry and will be used to thicken your sauce.
- **Thicken the Sauce:** Slowly add the cornstarch slurry to the simmering blueberry mixture in the saucepan, stirring continuously. As you stir, the sauce will begin to thicken.
- **Add Lemon Juice:** Once the sauce starts to thicken to your desired consistency, stir in the lemon juice. This brightens the flavor of the blueberries.
- **Finish and Serve:** Allow the sauce to simmer and thicken for another 2-3 minutes, then remove it from the heat. Let it cool slightly before drizzling it over your chilled lemon cheesecake.
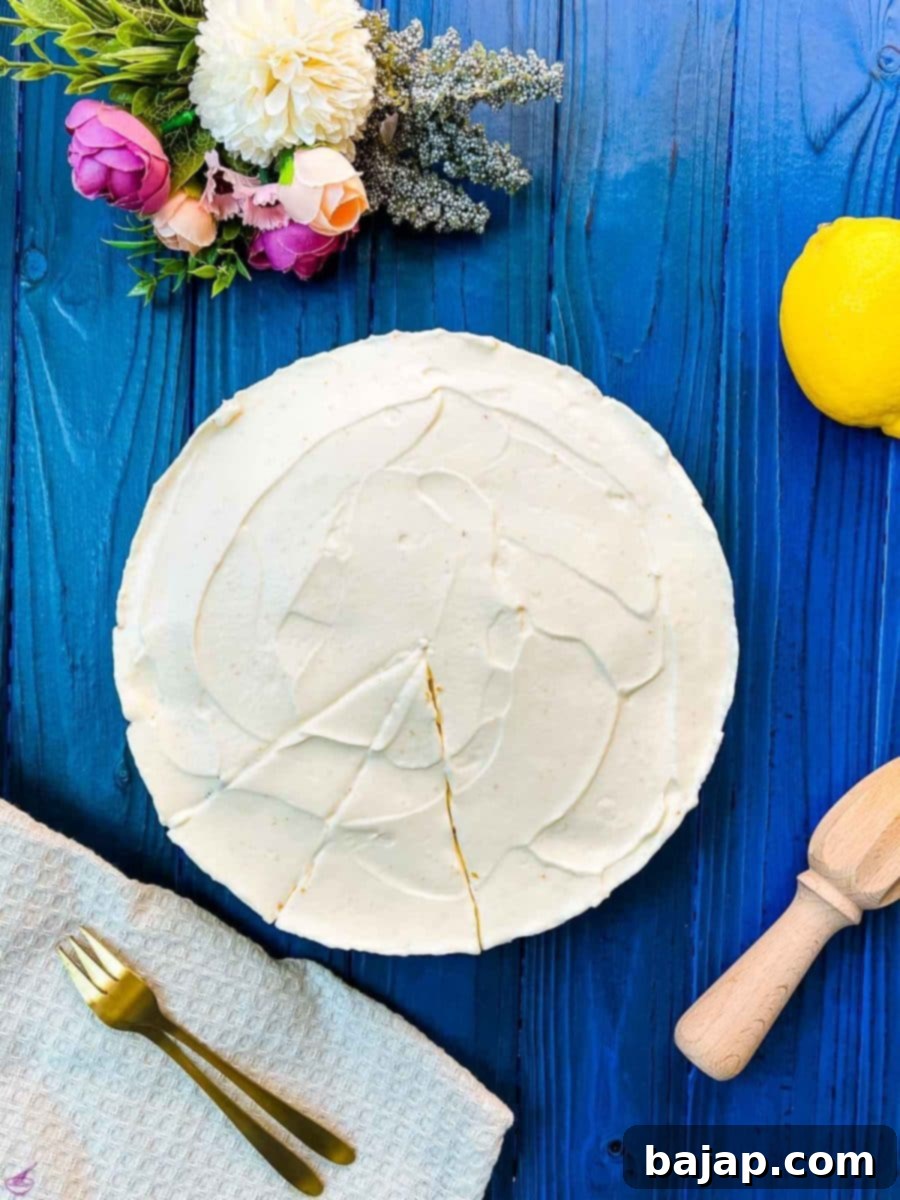
If you’re a fan of small, individual dessert portions, consider trying these delightful cheesecake bites – perfect for parties or portion control!
🍽 Essential Equipment for Cheesecake Success
Having the right tools on hand will make preparing this no-bake lemon cheesecake a breeze. Here’s what you’ll need:
- **9-inch (22 cm) springform pan:** Essential for easily releasing your cheesecake without damaging its delicate sides.
- **Kitchen machine with a whisk attachment (or hand mixer):** Makes whipping cream and beating cream cheese much easier and faster, ensuring a smooth and fluffy texture.
- **Food processor:** Perfect for quickly crushing graham crackers into fine crumbs for the crust.
- **Spatula:** For folding ingredients gently and smoothing the cheesecake filling.
- **Saucepan:** To cook down the blueberries for the delicious homemade sauce.
- **Potato masher:** Ideal for breaking down some of the blueberries in the sauce, creating a nice texture.
- **Whisk:** For making the cornstarch slurry and other mixing tasks.
- **Mixing bowls:** Several sizes will be needed for different components.
- **Lemon squeezer:** To get the most juice out of your fresh lemons.
🌡 Storage & Top Tips for the Best No-Bake Cheesecake
To ensure your no-bake lemon cheesecake remains as delicious as possible and to make the preparation even smoother, keep these storage guidelines and handy tips in mind.
Storage Recommendations:
- **Cheesecake:** Store any leftover cheesecake tightly covered with plastic wrap or aluminum foil in the refrigerator for up to 3-4 days. This prevents it from absorbing odors and keeps it fresh.
- **Blueberry Sauce:** The homemade blueberry sauce can be stored separately in an airtight container in the fridge for up to two weeks. This makes it a great make-ahead component!
Top Tips for a Flawless Cheesecake:
- **Room Temperature Ingredients:** Always ensure your cream cheese is completely softened to room temperature. This is critical for achieving a smooth, lump-free filling. Cold cream cheese will result in a clumpy texture that’s difficult to incorporate.
- **Fresh Blueberries (or Thaw Frozen Completely):** While I highly recommend using fresh blueberries for the sauce for their superior flavor and texture, frozen blueberries can be used as a substitute. If using frozen, make sure to place them in a bowl of cool water and allow them to fully thaw and drain before making the sauce. This prevents excess water from diluting the sauce.
- **Fresh Lemon Juice is Key:** For the best, brightest, and most authentic lemon flavor, always use fresh lemon juice. Bottled lemon juice can work in a pinch, but lemon extract is not a suitable substitute for this recipe as it will impart an artificial taste.
- **Chill Time is Non-Negotiable:** The “no-bake” aspect relies heavily on adequate chilling time. While a minimum of four hours is required for the cheesecake to set, I strongly recommend making it the night before and allowing it to chill in the refrigerator overnight whenever possible. This extended chill time guarantees a perfectly firm, sliceable cheesecake with the ideal creamy texture. Don’t rush this step!
- **Don’t Overmix the Whipped Cream:** When whipping the heavy cream, beat it until soft peaks form, then slowly add the gelatin. Continue beating until stiff peaks just form. Over-whipping can lead to a grainy texture.
- **Gentle Folding:** When combining the whipped cream with the cream cheese mixture, fold gently. This maintains the airiness of the whipped cream, contributing to the light texture of the cheesecake.
- **Cover While Chilling:** Always cover your cheesecake tightly with plastic wrap or aluminum foil before placing it in the fridge to set. This prevents a skin from forming on the surface and keeps it moist.
🙋🏻 Frequently Asked Questions About No-Bake Cheesecakes
Got questions about no-bake cheesecakes? Here are some common queries and their answers to help you master this delightful dessert.
The “goodness” of a cheesecake often comes down to personal preference, as both baked and no-bake versions offer distinct experiences! One of the primary differences, beyond the obvious lack of oven time, is the use of eggs. A no-bake cheesecake does not contain eggs and instead relies on stabilizers like gelatin and sufficient chilling time to achieve its desired texture. Baked cheesecakes tend to be denser, often described as rich and custard-like, while no-bake cheesecakes are typically lighter, airier, and more refreshing, with a mousse-like consistency. Many people argue for the superiority of baked cheesecakes due to their traditional dense and fluffy texture, but I’d passionately advocate that each type is delicious in its own right. No-bake cheesecakes are particularly favored for their ease of preparation, minimal heat in the kitchen (perfect for summer!), and instant gratification since you don’t have to wait for it to cool down from the oven.
While not all cheesecake recipes feature lemon juice, it’s a star ingredient in this particular no-bake lemon cheesecake! Lemon juice serves multiple important purposes. Firstly, it provides a wonderfully tart and bright citrus flavor that is incredibly refreshing and distinctive. This tanginess is crucial for balancing out the sweetness of the cream cheese filling and the blueberry sauce, preventing the dessert from being overly cloying. Secondly, lemon juice can react with the dairy in the cream cheese, adding a slight firmness and a subtle curd-like texture that enhances the overall mouthfeel. Lastly, it simply makes the “lemon” in lemon cheesecake truly shine!
Thickening a no-bake cheesecake to achieve that perfect sliceable texture is crucial! The primary method involves extended chilling in the refrigerator or even the freezer. Your no-bake cheesecake needs at least three to four hours in the fridge to properly set, but for optimal firmness and a truly delightful texture, I highly recommend chilling it overnight. Skipping or shortening this crucial step will result in a cheesecake that has more of a pudding-like consistency rather than a firm, sliceable dessert. Additionally, this recipe incorporates unflavored gelatin, which acts as a powerful stabilizer. The bloomed and melted gelatin is slowly beaten into the whipped cream, which then gets folded into the cream cheese mixture. This gelatin provides structural integrity to the filling, ensuring it sets beautifully and holds its shape even when served at room temperature.
To ensure your no-bake cheesecake is wonderfully firm and holds its shape perfectly, several factors are key. First and foremost, sufficient chilling time is absolutely essential. If your cheesecake isn’t firm enough, it’s most likely because it hasn’t spent enough time in the refrigerator. Aim for a minimum of four hours, but as mentioned, preparing it the night before for an overnight chill is the gold standard for achieving maximum firmness. Secondly, the inclusion of unflavored gelatin in the filling acts as a gelling agent, providing the necessary structure for a firm cheesecake. Ensure the gelatin is properly bloomed and fully dissolved before incorporating it. Lastly, always make sure to tightly cover your cheesecake with plastic wrap or aluminum foil before placing it in the fridge to set. This prevents the surface from drying out and helps maintain a consistent temperature throughout the chilling process, which contributes to a uniformly firm texture.
More Delicious Cheesecake Recipes for You to Explore
If you loved this no-bake lemon cheesecake, you might enjoy trying some of my other delightful cheesecake creations:
Creamy No-Bake Strawberry Cheesecake
The Best No-Bake Chocolate Ricotta Cheesecake
Patriotic 4th of July No-Bake Cheesecake
Easy No-Bake Pumpkin Cheesecake
Mini 5-Ingredient No-Bake Oreo Cheesecake
If you give this amazing recipe a try, please let me know how much you loved it by leaving a ★★★★★ star rating and a comment below. Your feedback means the world! You can also sign up for our Newsletter to receive delicious homemade recipes weekly, or follow me on Pinterest or Instagram and share your creation with me. Just tag me @combinegoodflavors and use the hashtag #combinegoodflavors, so I don’t miss your culinary masterpiece!
📖 Recipe Card
Refreshing No-Bake Lemon Cheesecake with Homemade Blueberry Sauce
Nora
Prevent your screen from going dark
Save Recipe
Saved!
Pin Recipe
15 minutes
4 hours
4 hours
15 minutes
Cake, Dessert
American
12
Slices
360
kcal
Equipment
-
9-inch (22cm) springform pan
-
Kitchen machine
with whisk attachment -
Food processor
-
Spatula
-
Saucepan
-
Potato Masher
-
Whisk
-
Mixing bowls
-
Lemon squeezer
Ingredients
Crust
-
14
Graham crackers sheets -
7
tablespoons
Butter
unsalted, melted
Filling
-
16
ounces
Cream cheese
softened -
1
cup
Confectioners sugar -
1
tablespoon
Orange zest -
2
tablespoons
Lemon juice
-
2
tablespoons
Water -
1
teaspoon
Gelatin
unflavored -
1
cup
Heavy whipping cream -
2
teaspoon
Vanilla extract
Blueberry Sauce
-
8
ounces
Blueberries -
¼
cup
Granulated sugar -
2
tablespoons
Water -
2
teaspoons
Cornstarch -
2
teaspoons
Lemon juice
Instructions
Crust
-
Break 14 Graham cracker sheets into pieces and place them into a food processor.14 Graham cracker sheets
-
Process for 20 seconds until the graham crackers are broken down into fine crumbs.
-
Pour 7 tablespoons melted unsalted Butter on top of the crumbs and process on high for an additional 15 seconds until it’s a sand-like texture and begins to stick to the sides.7 tablespoons Butter
-
Lightly spray a 9-inch (22 cm) springform pan with cooking spray.
-
Firmly press the crust mixture evenly into the pan, extending it up the sides about ¼ inch (6 mm). Place the crust in the fridge to chill until the filling is ready.
Cream cheese filling
-
In a large bowl, beat 16 ounces softened Cream cheese until completely smooth, about 3 minutes.16 ounces Cream cheese
-
Add 1 cup Confectioners sugar and beat for 2-3 minutes until the mixture is fluffy and smooth. Then, add 1 tablespoon Orange zest and 2 tablespoons Lemon juice and stir to combine thoroughly.1 cup Confectioners sugar,
1 tablespoon Orange zest,
2 tablespoons Lemon juice -
Pour 2 tablespoons Water into a small bowl and sprinkle 1 teaspoon unflavored Gelatin on top of the water. Allow it to sit for 5 minutes to bloom. Microwave it for 30 seconds until the gelatin has completely melted and is clear.2 tablespoons Water,
1 teaspoon Gelatin -
In a separate large bowl, combine 1 cup Heavy whipping cream and 2 teaspoon Vanilla extract. Whisk the cream for 4-5 minutes until soft peaks form. While continuing to whisk, slowly beat in the melted gelatin mixture until stiff peaks form.1 cup Heavy whipping cream,
2 teaspoon Vanilla extract -
Gently fold the whipped cream mixture into the cream cheese mixture using a spatula until both are well incorporated and no streaks remain.
-
Scrape the entire cheesecake filling into the prepared graham cracker crust and smooth the top evenly with the back of a spoon. Place the cheesecake into the refrigerator and chill for at least four hours before serving (preferably overnight for best results).
To make the blueberry sauce
-
Place 8 ounces Blueberries and ¼ cup Granulated sugar into a saucepan over medium heat. As the blueberries warm, they will begin to release their juice. Use a masher to break apart some of the blueberries while leaving others whole for varied texture.8 ounces Blueberries,
¼ cup Granulated sugar -
In a small bowl, whisk together 2 tablespoons Water and 2 teaspoons Cornstarch to make a smooth slurry. Slowly add this slurry to the saucepan with the blueberries while continuously stirring to prevent lumps.2 tablespoons Water,
2 teaspoons Cornstarch -
The sauce will begin to thicken. Add 2 teaspoons Lemon juice. Allow it to thicken for another 2-3 minutes to reach your desired consistency, then remove from the heat for serving. Let cool slightly before drizzling over the cheesecake.2 teaspoons Lemon juice
Never miss a recipe!
Sign up and let me spoil you weekly with a delicious homemade recipe!
cheesecake, lemon cheesecake, no bake cheesecake, no bake lemon cheesecake
Like this recipe?
Mention @combinegoodflavors or tag #combinegoodflavors!
Nutrition values are estimates only, using online calculators. Please verify using your own data.
Serving:
1
Slice
|
Calories:
360
kcal
|
Carbohydrates:
33
g
|
Protein:
5
g
|
Fat:
29
g
|
Saturated Fat:
17
g
|
Polyunsaturated Fat:
1
g
|
Monounsaturated Fat:
7
g
|
Trans Fat:
0.3
g
|
Cholesterol:
78
mg
|
Sodium:
285
mg
|
Potassium:
120
mg
|
Fiber:
1
g
|
Sugar:
12
g
|
Vitamin A:
1016
IU
|
Vitamin C:
4
mg
|
Calcium:
67
mg
|
Iron:
1
mg

🤎 You might also like these delectable recipes:
- Fig Cheesecake in a Jar {No-Bake}
- Eggnog Cheesecake With Ginger Spiced Crust
- No-Bake Mint Chocolate Cheesecake
- National Cheesecake Day {July 30th}
⛑️ Food Safety Guidelines
Ensuring food safety is paramount when preparing any meal or dessert. Please keep these general guidelines in mind to prevent foodborne illness and ensure a safe culinary experience:
- **Minimum Cooking Temperature:** While this is a no-bake recipe, if you are incorporating any cooked elements (like fruit sauces or other components), always ensure they reach a minimum internal temperature of 165 °F (74 °C) to kill harmful bacteria.
- **Prevent Cross-Contamination:** Never use the same utensils, cutting boards, or dishes on cooked food that previously touched raw ingredients without thorough washing.
- **Handwashing:** Always wash your hands thoroughly with soap and warm water for at least 20 seconds before and after handling food, especially raw ingredients.
- **Temperature Danger Zone:** Do not leave perishable food, like this cheesecake, sitting out at room temperature for extended periods (typically more than two hours). Bacteria can multiply rapidly between 40 °F (4 °C) and 140 °F (60 °C).
- **Supervise Cooking:** Never leave cooking food unattended on the stovetop or in the oven.
- **High Smoke Point Oils:** If a recipe requires cooking, use oils with a high smoke point to avoid harmful compounds and off-flavors.
- **Ventilation for Gas Stoves:** Always ensure good ventilation when using a gas stove to prevent the buildup of harmful gases.
For further comprehensive information on safe food handling practices, please check the resources provided by the FDA (U.S. Food & Drug Administration).
