Homemade Sour Cream Ice Cream: The Ultimate Tangy 4-Ingredient Recipe
Prepare to tantalize your taste buds with this uniquely refreshing **sour cream ice cream**. Crafted with an astonishingly simple list of just four ingredients, this frozen delight offers a luxurious creaminess paired with an irresistible tang that sets it apart from traditional ice creams. Whether you enjoy it as a standalone treat on a warm afternoon or as a vibrant topping for a comforting apple crisp, its distinct flavor profile is sure to impress. This recipe is designed for effortless preparation using an ice cream maker, ensuring you can savor its deliciousness almost immediately after churning.
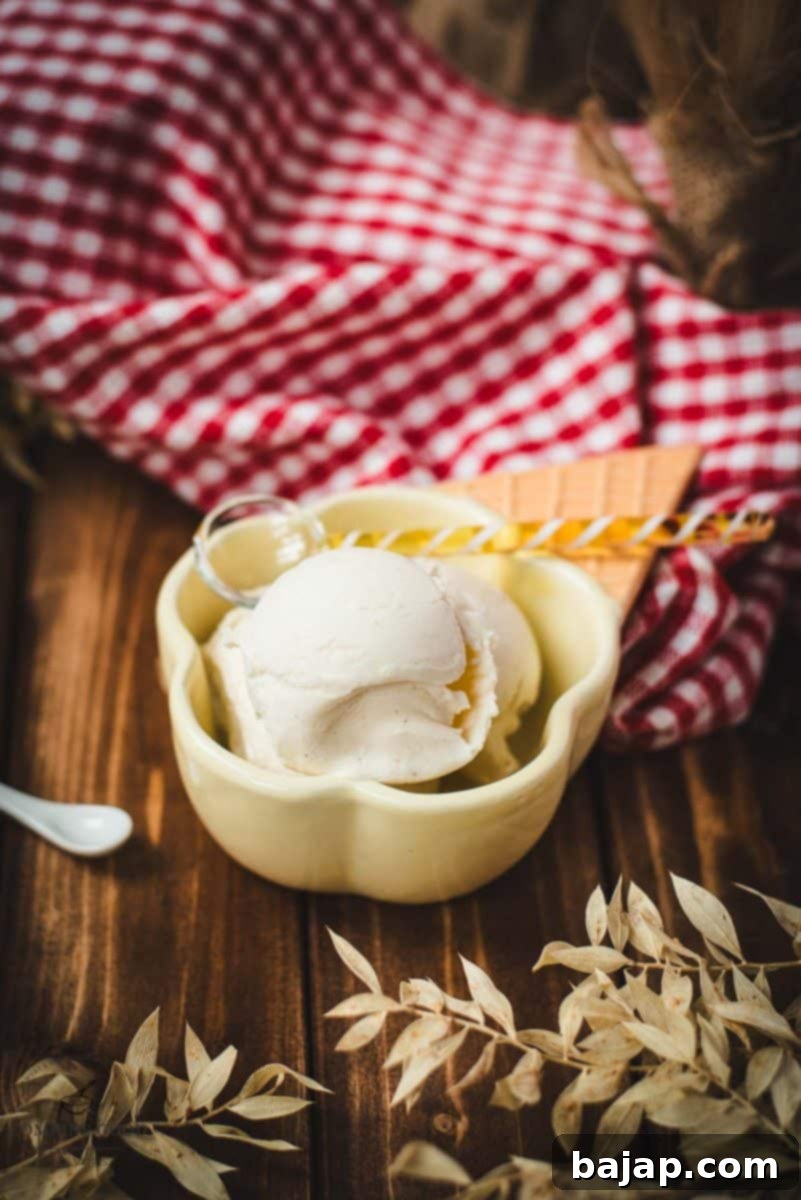
What makes this **sour cream ice cream** truly special is its intriguing flavor profile. For an elevated experience, we highly recommend using homemade vanilla sugar in this recipe. The sour cream doesn’t just contribute to an incredibly smooth texture; it introduces a delightful touch of acidity, creating a bright, zesty tang that many might mistake for lemon. However, this wonderful, slightly lemony essence comes purely from the sour cream itself, making this ice cream a genuinely unique and exciting dessert that will surprise and delight your palate.
Why You’ll Love This Sour Cream Ice Cream
Beyond its simple ingredient list, this **tangy ice cream** offers a sophisticated twist on a classic treat. The addition of sour cream creates an incredibly rich and velvety mouthfeel that is distinct from traditional custard-based ice creams or even simpler no-churn versions. Its natural acidity cuts through the sweetness, resulting in a perfectly balanced flavor that is neither too rich nor too tart. It’s a refreshing change of pace and an excellent way to introduce a gourmet touch to your homemade dessert repertoire.
✨ Ingredients for Success
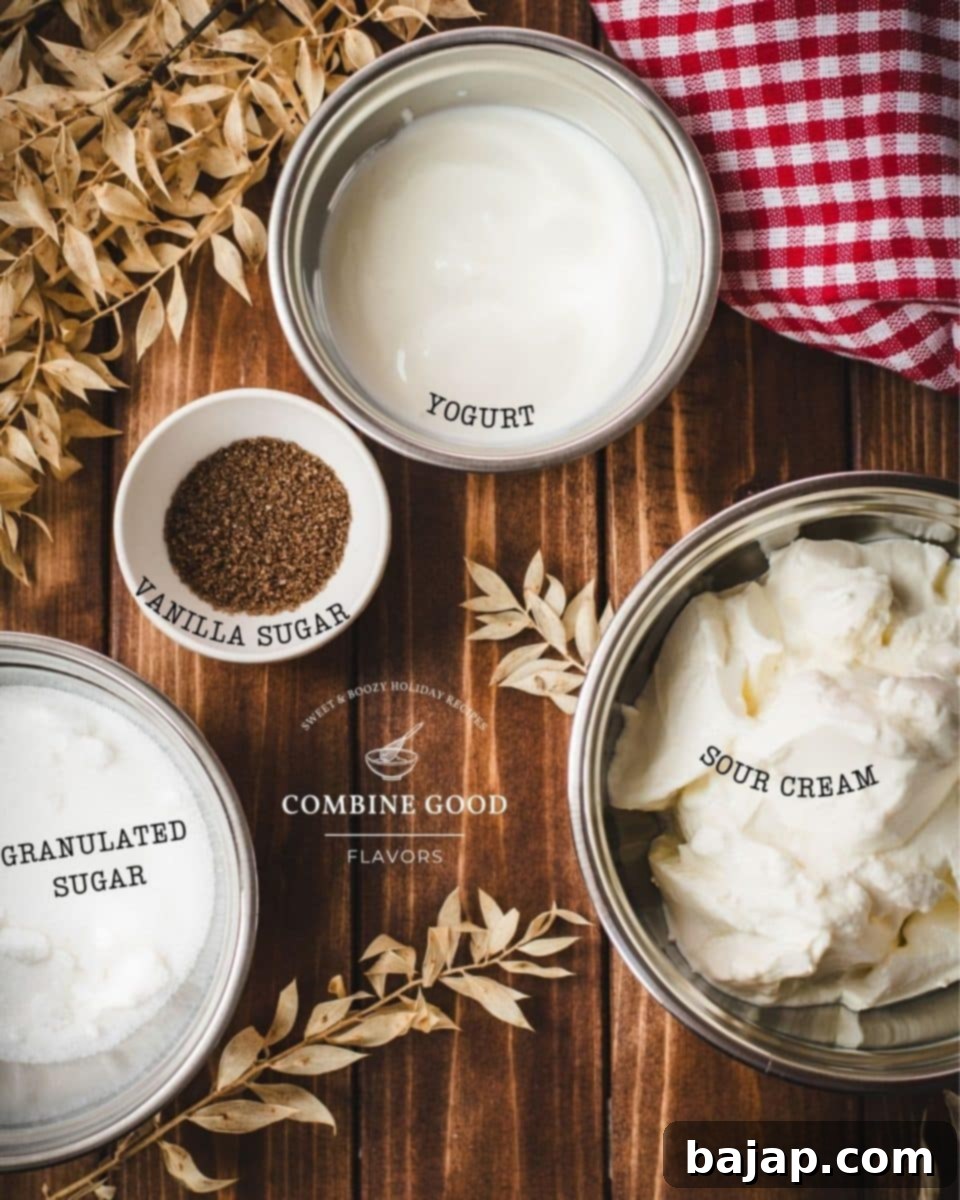
- Sour cream: This is the star of our **tangy homemade ice cream**. It’s crucial for that distinctive zesty, lemon-like flavor and contributes significantly to the incredibly smooth, rich texture. For the best results, opt for full-fat sour cream. Its higher fat content will yield a creamier ice cream with fewer ice crystals. (Did you know you can also make delicious cookies with sour cream? It’s a versatile ingredient!)
- Yogurt: Working in harmony with the sour cream, yogurt helps achieve that wonderfully creamy consistency while adding its own mild tanginess. This balances the overall flavor, preventing it from being overly sharp and ensuring a harmonious blend of sweet and tart notes. Plain, full-fat yogurt is recommended here for maximum creaminess.
- Granulated Sugar: Essential for sweetening the ice cream, the sugar also plays a vital role in its texture. It helps to lower the freezing point, which in turn keeps the ice cream softer and more scoopable, preventing it from turning into a solid block of ice.
- Vanilla sugar: While regular vanilla extract will work, I highly recommend using homemade vanilla sugar to truly boost the vanilla intensity and add a deeper, more aromatic sweetness. Making vanilla sugar at home is surprisingly easy: simply bury a vanilla bean pod in a jar of granulated sugar and let it infuse over time. The subtle floral notes of real vanilla complement the tanginess of the sour cream beautifully.
For precise measurements, please refer to the comprehensive recipe card provided below.
🍦 Step-by-Step Guide to Churning Perfection
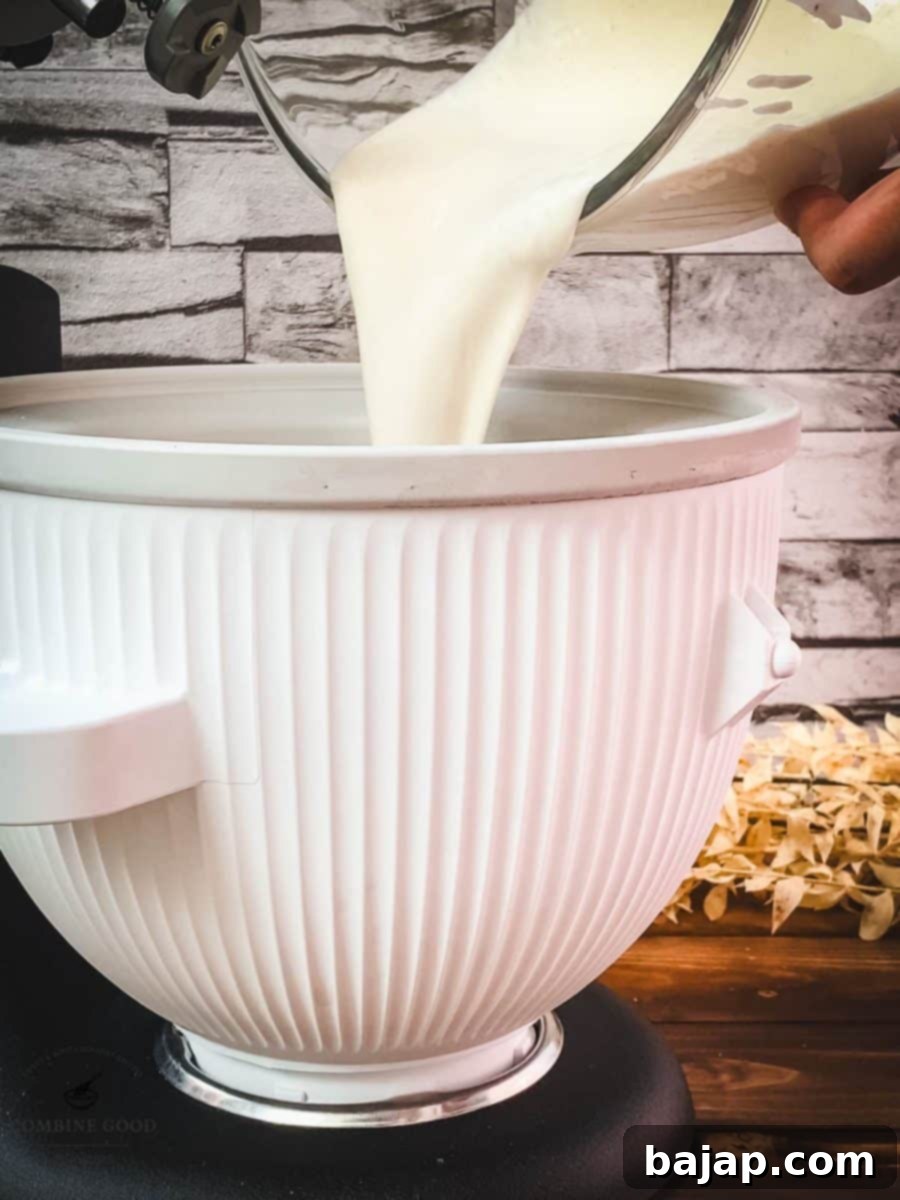
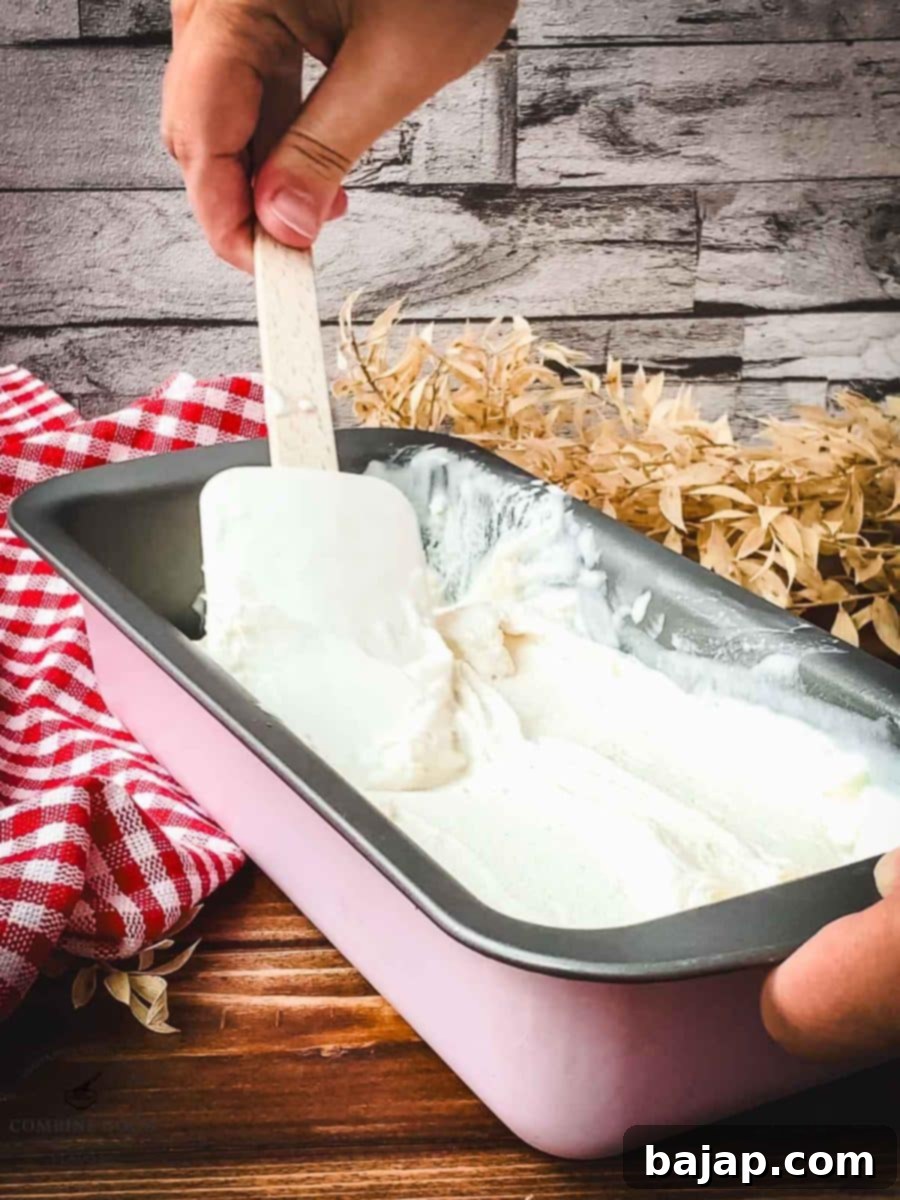
Making this **4-ingredient sour cream ice cream** is incredibly straightforward, especially with an ice cream maker. Follow these visual steps to guide you through the process, ensuring a perfect batch every time.
📝 Detailed Instructions
Ready to make your own batch of this incredible **homemade sour cream ice cream**? Here’s how to do it:
- Step 1: Begin by preparing your ice cream maker. Any model will work, but for convenience and consistent results, I find the KitchenAid ice cream maker attachment to be exceptionally efficient. Ensure your ice cream maker bowl has been frozen for at least 15-24 hours (or according to manufacturer instructions) until it is completely solid. This crucial step prevents large ice crystals and ensures a smooth, creamy final product.
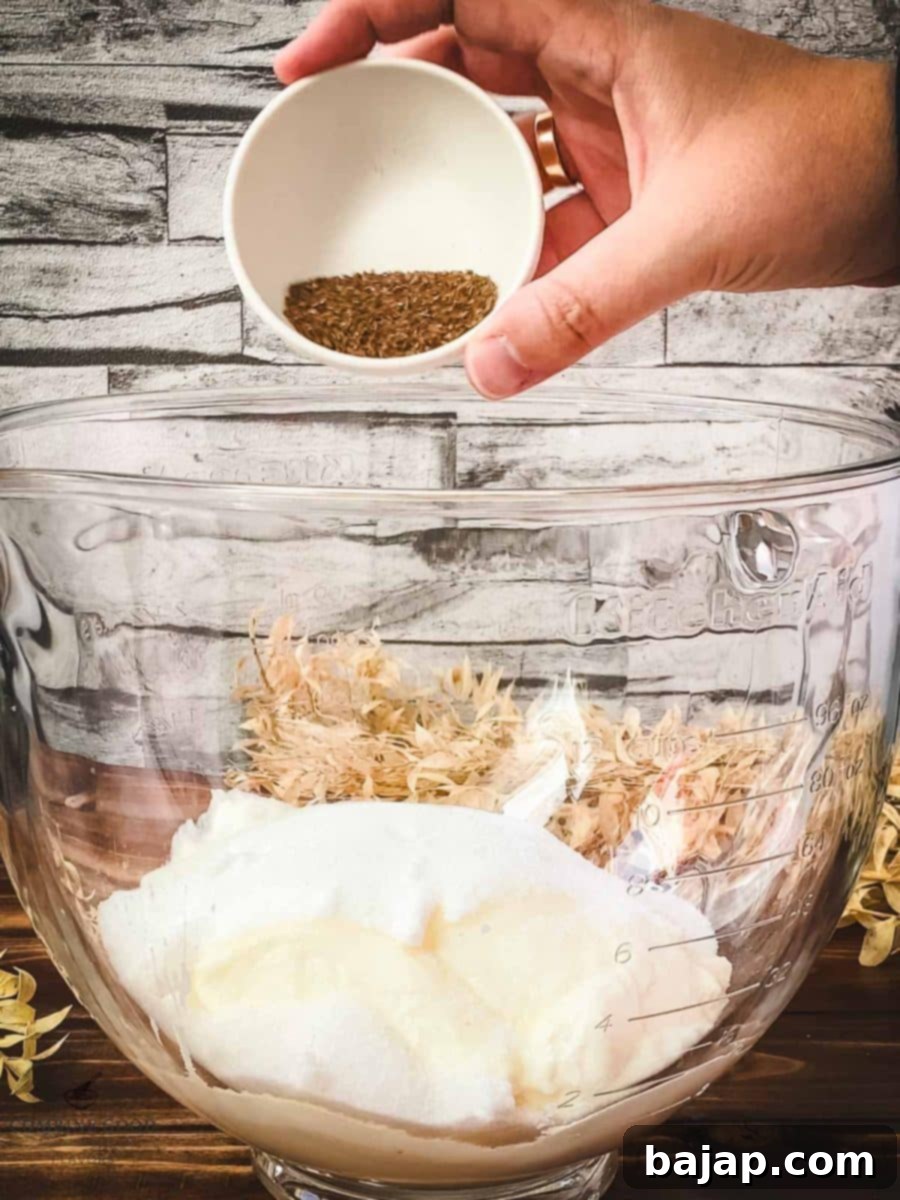
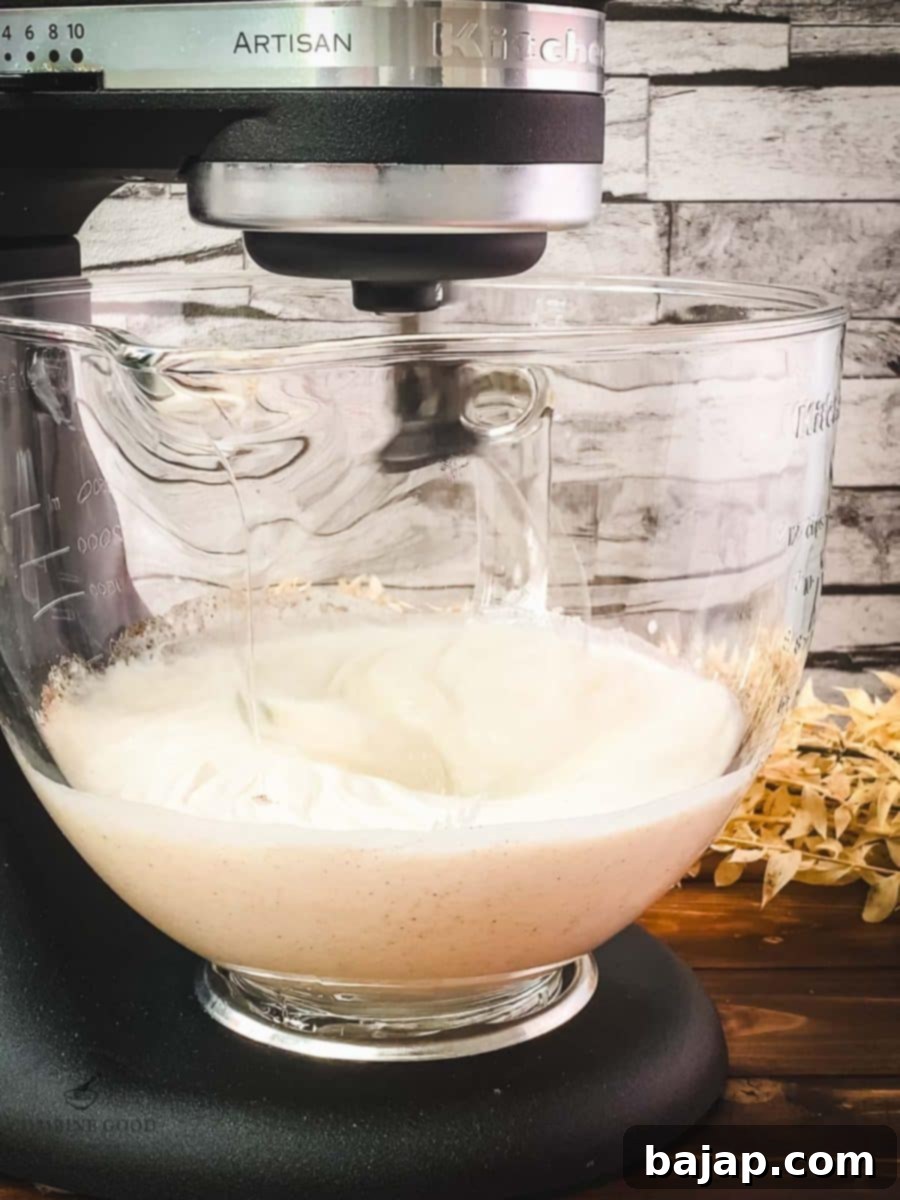
- Step 2: In a large mixing bowl, combine all four simple ingredients: sour cream, yogurt, granulated sugar, and vanilla sugar. Using a whisk attachment on your stand mixer or a hand whisk, mix vigorously until all ingredients are thoroughly combined and the sugar has completely dissolved. The mixture should be smooth and uniform.
- Step 3: Once your ice cream maker bowl is well-frozen, carefully place it into your KitchenAid stand mixer or assemble your chosen ice cream maker according to its instructions. The colder the bowl, the faster and more efficiently your ice cream will churn.
- Step 4: Carefully pour the prepared mixture into the frozen bowl. Insert the dasher (the paddle attachment for churning) and begin churning. Churn for approximately 22-25 minutes, or until the ice cream reaches a soft-serve consistency. The churning time can vary slightly depending on your specific ice cream maker and the ambient temperature.
- Step 5: At this point, your **sour cream ice cream** will be soft and perfectly enjoyable as soft serve. If you prefer a firmer texture, transfer the ice cream to an airtight container and place it in the freezer for at least 2-4 hours, or until it reaches your desired firmness.
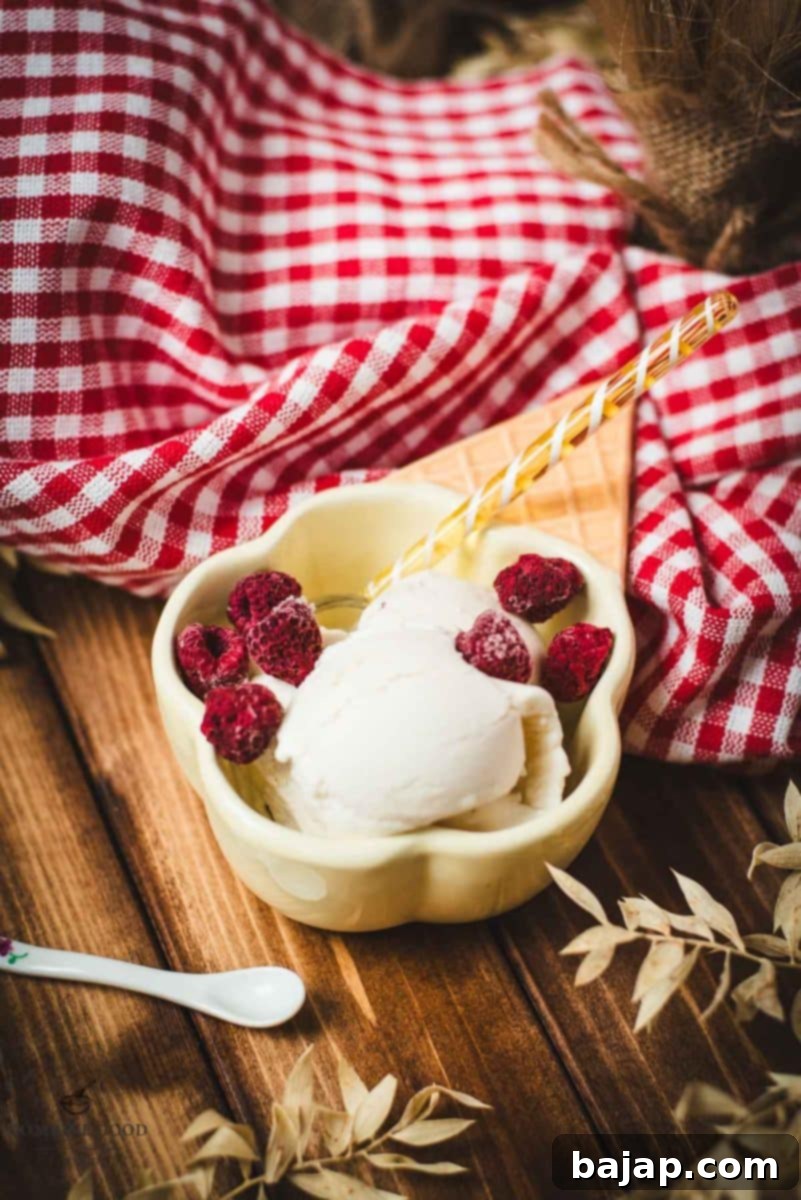
- Step 6: Serve your delightful homemade ice cream! It’s fantastic on its own, but truly shines when paired with fresh fruit or, as a classic combination, as a tangy topping for a warm, comforting apple crisp.
🧊 Storage and Longevity for Homemade Ice Cream
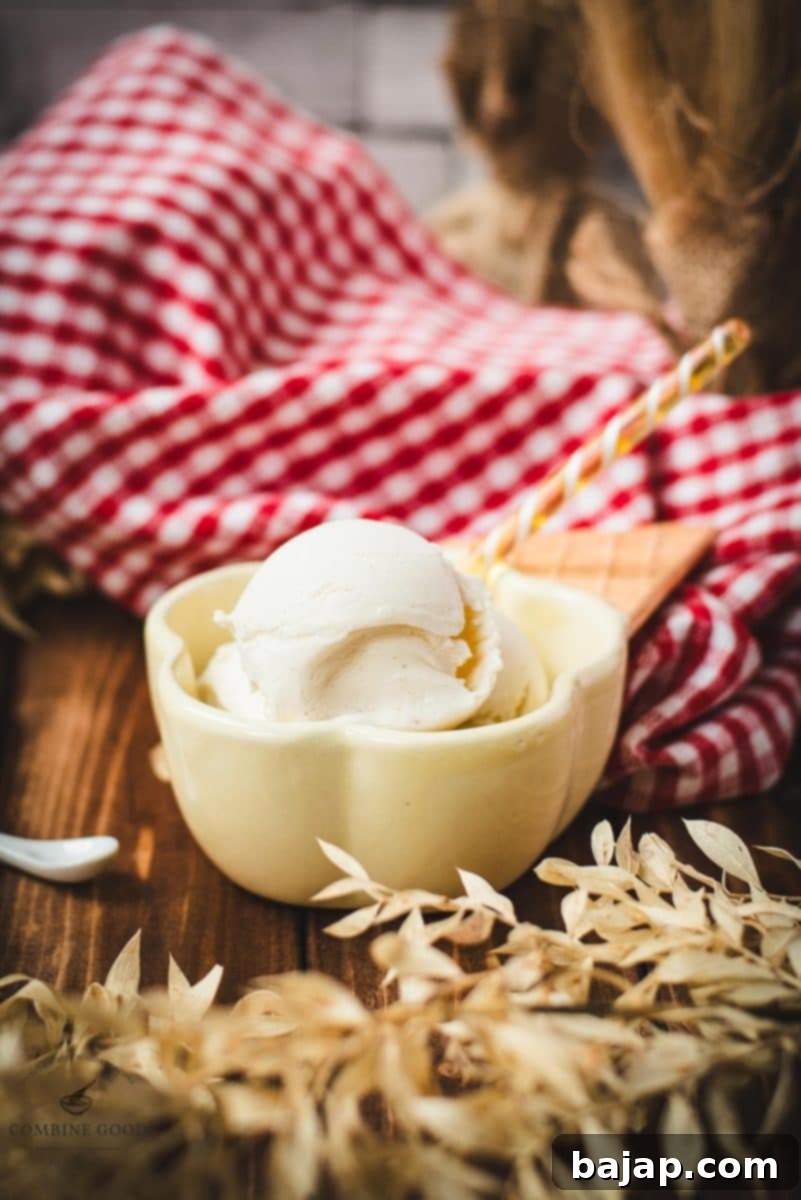
To keep your **homemade sour cream ice cream** tasting its best, store it in an airtight container in the freezer. It will maintain its optimal quality, creamy texture, and vibrant flavor for up to 2 weeks. Beyond this, while still safe to eat, the texture may start to become icier. For the best serving experience, allow the ice cream to soften at room temperature for a few minutes (typically 5-10 minutes) before scooping. This brief softening period enhances its creamy texture and makes it much easier to serve.
🛠️ Essential Equipment for Perfect Ice Cream
Having the right tools makes all the difference when crafting delicious **homemade ice cream**.
- Ice cream maker and stand mixer: The core of this recipe. I personally rely on my KitchenAid stand mixer paired with its dedicated whisk attachment for mixing and the ice cream maker attachment for churning. This setup provides consistent and efficient results, but any home ice cream maker will work wonderfully. The key is to ensure its freezer bowl is thoroughly chilled.
- Mixing bowl: A large mixing bowl is essential for combining all your ingredients before they go into the ice cream maker.
- Ice cream scoop: For elegantly serving your perfectly churned ice cream.
- Spatula: Useful for scraping down the sides of the mixing bowl and for transferring the ice cream from the maker to its storage container.
- Airtight freezer container: Crucial for storing your ice cream to prevent freezer burn and maintain its creamy texture.
💡 Pro Tips for the Best Sour Cream Ice Cream
Achieving perfectly creamy and delicious **sour cream ice cream** is easy with these expert tips:
- Use Full-Fat Dairy: For the richest flavor and creamiest texture, always opt for full-fat sour cream and yogurt. Lower-fat versions can result in a more icy, less satisfying product.
- Chill Mixture Thoroughly: After mixing your ingredients, chill the liquid base in the refrigerator for at least 2-4 hours, or even overnight. A colder base will churn faster and produce a smoother, denser ice cream with smaller ice crystals.
- Don’t Overfill Your Ice Cream Maker: Ice cream expands as it churns and incorporates air. Make sure to only fill your ice cream maker bowl to the recommended capacity to allow for this expansion and proper churning.
- Experiment with Sweetness: The amount of sugar can be adjusted slightly to your preference. If you like a tarter ice cream, reduce the sugar by a tablespoon or two. If you prefer it sweeter, add a little more, but remember that too much sugar can affect the freezing point.
- Watch the Churning Consistency: Pay attention to the texture during churning. You’re aiming for a soft-serve consistency. Over-churning can sometimes lead to a slightly grainy texture, while under-churning won’t incorporate enough air for a light, fluffy result.
🍓 Flavor Variations & Serving Ideas
While this **tangy sour cream ice cream** is phenomenal on its own, its versatile flavor profile makes it an excellent base for various additions and pairings. Get creative and make it your own!
- Fruit Swirls: Gently fold in homemade fruit purees or preserves (raspberry, strawberry, cherry, peach) during the last few minutes of churning or layer them into the container before freezing for beautiful swirls of flavor.
- Citrus Zest: For an even more pronounced “lemony” kick, add a teaspoon of fresh lemon or lime zest to the mixture before churning. Be mindful not to overdo it, as the sour cream already provides a bright tang.
- Chocolatey Delight: Stir in mini chocolate chips, shaved dark chocolate, or even a swirl of chocolate fudge sauce for a classic pairing.
- Spiced Comfort: Add a pinch of cinnamon, nutmeg, or cardamom to the base mixture for a warm, comforting twist, especially if serving with baked fruit desserts.
- Herbal Infusion: For an adventurous palate, infuse the sour cream with fresh mint or basil before mixing (strain out the herbs before adding other ingredients).
Beyond the classic apple crisp, consider serving your **homemade sour cream ice cream** with:
- Warm berry pies or crumbles
- A slice of rich chocolate cake or brownies
- Fresh summer berries (strawberries, blueberries, raspberries) or sliced peaches
- A drizzle of honey, maple syrup, or caramel sauce
- As a palate cleanser between courses at a dinner party.
❓ Frequently Asked Questions (FAQs)
- Can I make this sour cream ice cream without an ice cream maker?
While an ice cream maker is highly recommended for the best texture, you can try a “no-churn” method. Pour the chilled mixture into a shallow freezer-safe container. Freeze for 30-45 minutes, then remove and whisk vigorously. Repeat this process every 30-45 minutes for 3-4 hours until it reaches your desired consistency. Be aware the texture may be slightly icier than with a machine.
- What kind of sour cream should I use?
Always opt for full-fat sour cream. Its higher fat content contributes significantly to the creamy texture and rich mouthfeel, preventing the ice cream from becoming icy.
- Can I use regular vanilla extract instead of vanilla sugar?
Yes, you can substitute 1-2 teaspoons of good quality vanilla extract for the vanilla sugar. However, homemade vanilla sugar provides a deeper, more nuanced vanilla flavor and aroma that truly complements the tang of the sour cream.
- How long does the homemade sour cream ice cream last in the freezer?
When stored in an airtight container, your ice cream will stay fresh and delicious for up to 2 weeks. After that, while still safe to eat, its texture may degrade slightly.
- Can I add other sweeteners?
You can experiment with other granulated sweeteners, but be aware that they might slightly alter the flavor and texture. For the best results in this recipe, granulated sugar is recommended for its consistent performance in ice cream.
Other Delicious Dessert Recipes for You to Try
- Homemade Vanilla Ice Cream Recipe
- Chocolate Chip Vanilla Ice Cream
- KitchenAid Lemon Sorbet Recipe
- Vanilla Bean Ice Cream Pancakes {Palatschinken}
- Soak In Summertime Fun with This Boozy Milkshake Recipe
- Easy Homemade Strawberry Milkshake with Ice Cream
- Homemade Strawberry Popsicles
- Refreshing Sgroppino with Homemade Lemon Sorbet
- Easy Lavender Lemon Muffins
- Lemon Sugar Cookies {easy}
- Lemon White Chocolate Chip Cookies
- Sour Cream Cookies
- Homemade Sour Cream {Note: I would not recommend using homemade sour cream for ice cream. It works better for cakes and cookies due to consistency differences.}
If you’ve had a chance to whip up this delightful **homemade sour cream ice cream**, I’d absolutely love to hear about it! Please take a moment to rate it with a ★★★★★ star rating and leave a comment below sharing your experience. Your feedback is truly awesome and helps others discover this unique recipe! You can also sign up for our Newsletter to receive weekly delicious homemade recipes directly to your inbox. Don’t forget to follow me on Pinterest or Instagram and share your creation with our community. Just tag me @combinegoodflavors and use the hashtag #combinegoodflavors, so I don’t miss seeing your fantastic frozen treat!
📖 Recipe: Quick Sour Cream Ice Cream
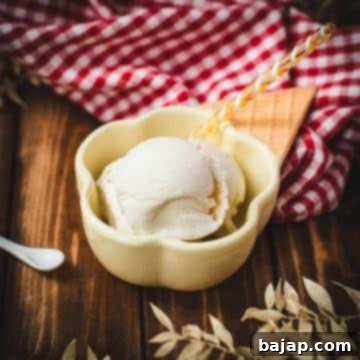
Quick Sour Cream Ice Cream
Nora
Save RecipeSaved!
Pin Recipe
Equipment
-
Ice Cream Maker
-
Kitchen machine with whisk attachment
-
Mixing bowl
-
Ice cream container
Ingredients
- 2.5 cups Sour cream
- 1 cup Yogurt
- ¾ cup Granulated sugar
- 2 teaspoon Vanilla sugar
Instructions
-
Use any ice cream maker you have on hand. I prefer the KitchenAid ice cream maker attachment. Ensure its freezer bowl is thoroughly pre-frozen for at least 15-24 hours.
-
Combine 2.5 cups Sour cream, 1 cup Yogurt, ¾ cup Granulated sugar, and 2 teaspoon Vanilla sugar in a mixing bowl. Whisk thoroughly until all ingredients are well combined and the sugar is fully dissolved.2.5 cups Sour cream, 1 cup Yogurt, ¾ cup Granulated sugar, 2 teaspoon Vanilla sugar
-
Ensure your ice cream maker bowl is properly frozen and assemble it in your KitchenAid stand mixer or chosen ice cream machine.
-
Pour the mixture into the frozen bowl, insert the dasher, and churn for 22-25 minutes, or until it reaches a soft-serve consistency.
-
Enjoy your ice cream immediately for a soft-serve experience, or transfer it to an airtight ice cream container and store in the freezer for 2-4 hours to firm up.
-
Serve this delicious tangy ice cream with fresh fruit, over a warm apple crisp, or as a delightful standalone dessert.
Nutrition values are estimates only, using online calculators. Please verify using your own data.

⛑️ Important Food Safety Tips
Ensuring food safety is paramount when preparing any homemade treat. Please keep the following guidelines in mind:
- Cook to a minimum temperature of 165 °F (74 °C) if using any raw eggs or ingredients requiring heat treatment (though this recipe doesn’t).
- Avoid cross-contamination: Do not use the same utensils on cooked food that previously touched raw ingredients.
- Always wash hands thoroughly with soap and water after handling any raw ingredients or before beginning food preparation.
- Perishable foods should not be left sitting out at room temperature for extended periods (generally no more than 2 hours).
- Never leave cooking food unattended, especially when using high heat.
- If you use oils in other cooking, opt for those with a high smoking point to avoid harmful compounds.
- Always ensure good ventilation when using a gas stove or oven.
For further comprehensive information on safe food handling practices, please consult reliable resources such as the FDA’s Safe Food Handling guidelines.
