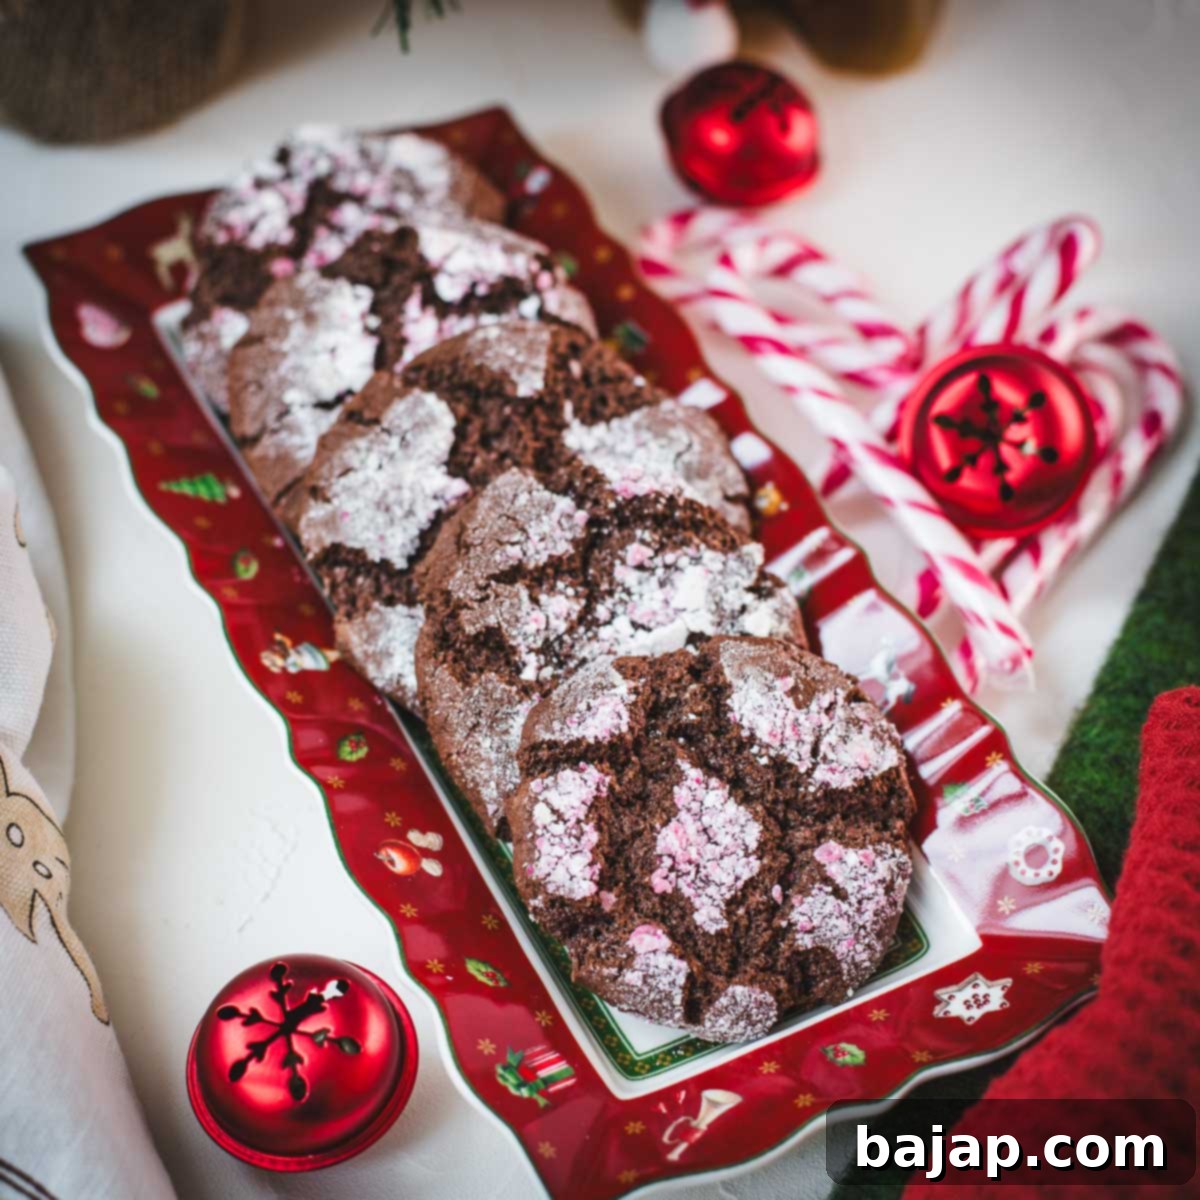
The Ultimate Chocolate Peppermint Crinkle Cookies: A Fudgy & Festive Holiday Recipe
As the holiday season approaches, bringing with it the crisp air and the joyful anticipation of Christmas, there’s nothing quite like transforming your home into a festive wonderland. For me, that magic truly begins in the kitchen, with the irresistible aroma of freshly baked treats filling every corner. It’s more than just baking; it’s about crafting memories and spreading cheer, one delicious bite at a time. And what better way to kick off the festive spirit than with a batch of homemade cookies that taste like the very essence of the holidays?
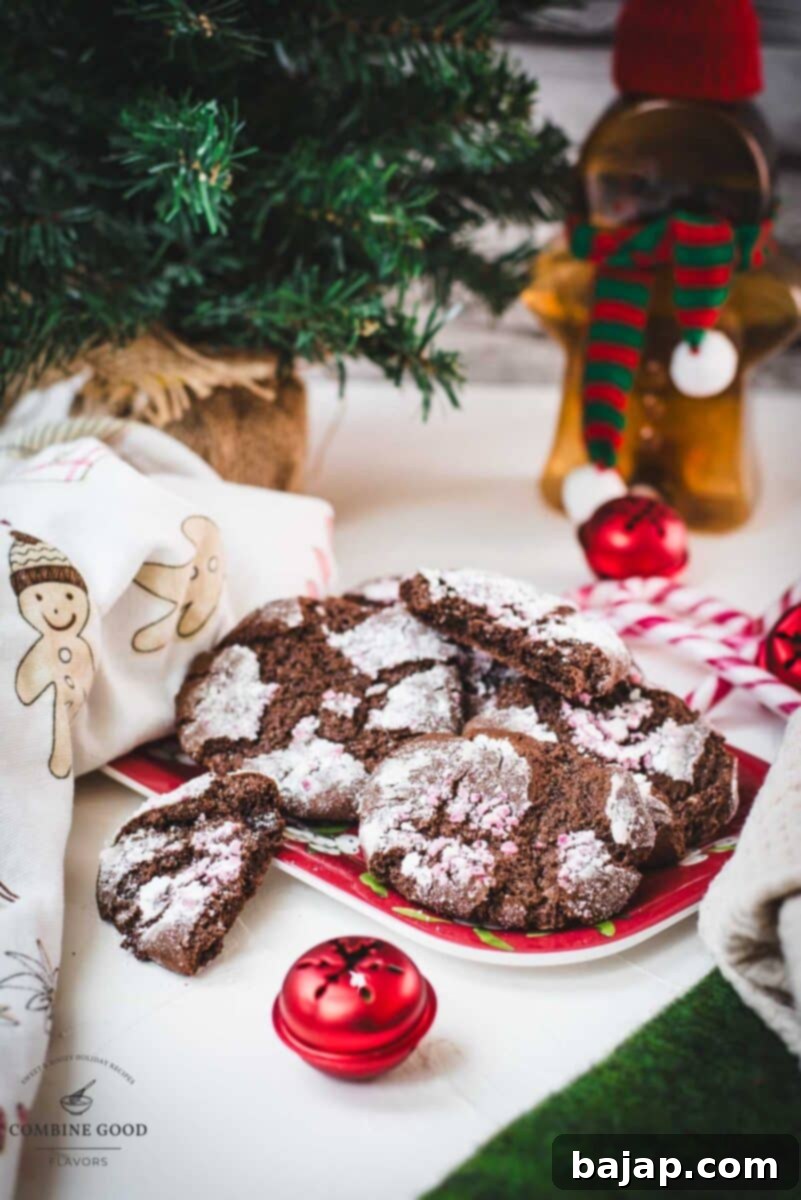
Today, I’m thrilled to share a recipe that perfectly captures the cozy magic of Christmas and brings it right into your kitchen: **Chocolate Peppermint Crinkle Cookies**. These aren’t just any cookies; they are a delightful symphony of flavors and textures, featuring rich, fudgy chocolate dough beautifully contrasted with refreshing bursts of cool peppermint. Each cookie is then generously rolled in a trio of crushed candy canes, granulated sugar, and powdered sugar, creating that signature “crinkled” appearance and a satisfyingly crisp, sweet exterior. Imagine biting into that perfect mix of intense chocolatey goodness, crisp minty sweetness, and a soft, chewy center—it’s like Christmas in every single bite!
These stunning and delicious treats are incredibly versatile. Whether you’re planning a festive holiday cookie swap, preparing a special dessert for a family gathering, or simply want a little something sweet to enjoy while wrapping gifts by the fireplace, these peppermint crinkle cookies are an absolute showstopper. They fill your home with the inviting scents of chocolate and peppermint, instantly evoking the warm, nostalgic feelings that make this time of year so truly special. This recipe is designed to be straightforward and enjoyable, making it perfect for bakers of all skill levels to create a little holiday magic.
So, get ready to embrace the joy of holiday baking! Preheat your oven, put on your favorite Christmas carols, and let’s make some unforgettable Chocolate Peppermint Crinkle Cookies that will become a beloved tradition in your home.
🥘 Essential Ingredients for Chocolate Peppermint Crinkle Cookies
Crafting these delectable chocolate peppermint crinkle cookies starts with selecting the right ingredients. Each component plays a crucial role in achieving that perfect fudgy texture, rich chocolate flavor, and refreshing peppermint kick. Here’s a closer look at what you’ll need for both the irresistibly chewy cookie dough and the iconic crinkle coating.
For the Cookie Dough
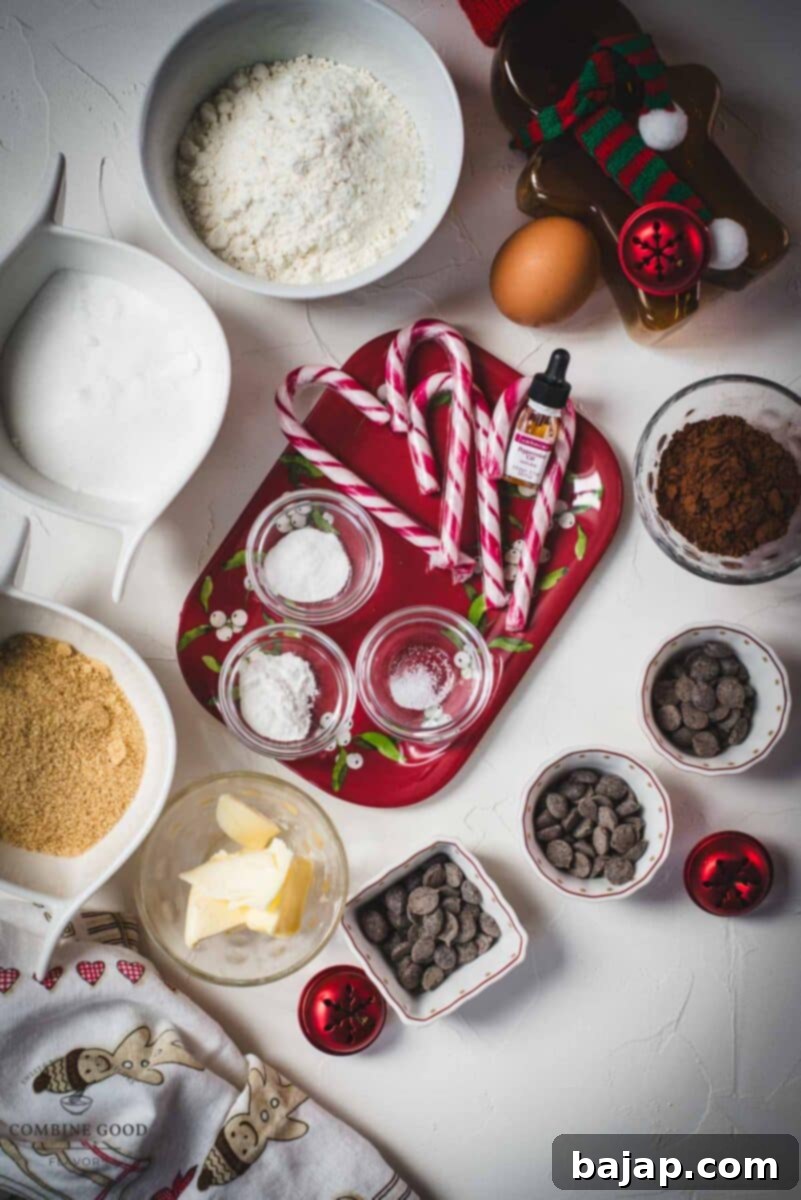
- Dark chocolate: Choose a good quality dark chocolate (around 60-70% cocoa) for a deep, intense chocolate flavor that forms the heart of these fudgy cookies.
- Butter: Unsalted butter is preferred to control the overall saltiness. It adds richness and helps create that desirable chewy texture.
- Cake Flour: This is key for a tender, soft, and slightly delicate crumb. If you don’t have cake flour, you can substitute with all-purpose flour by removing 2 tablespoons from each cup of all-purpose flour and replacing it with 2 tablespoons of cornstarch, then sifting well.
- (Dutch) Cocoa: Dutch-processed cocoa powder offers a smoother, less bitter chocolate flavor and a darker, more appealing color compared to natural cocoa.
- Baking powder: Acts as a leavening agent, helping the cookies rise and creating a lighter, softer interior.
- Baking soda: Works with the cocoa (which is slightly acidic) to provide additional lift and contribute to the crinkled texture.
- Salt: A pinch of salt is essential to balance the sweetness and enhance all the chocolate and peppermint flavors. Don’t skip it!
- Granulated sugar: Provides sweetness and contributes to the cookie’s structure and spread.
- Brown sugar: Adds moisture, a hint of caramel flavor, and promotes a chewier texture in the cookies.
- Peppermint/mint syrup (Monin, Giffard, or other brand): This provides the distinctive minty flavor. If you don’t have syrup,
I successfully used five drops of high-quality peppermint extract as an alternative for an equally refreshing taste. Be mindful of the strength of your extract. - Candy canes (crushed): These are integrated into the dough for a delightful textural contrast and an extra burst of mint.
- Egg: Acts as a binder, adding moisture and helping to bring all the ingredients together for a cohesive dough.
For the Crinkle Coating
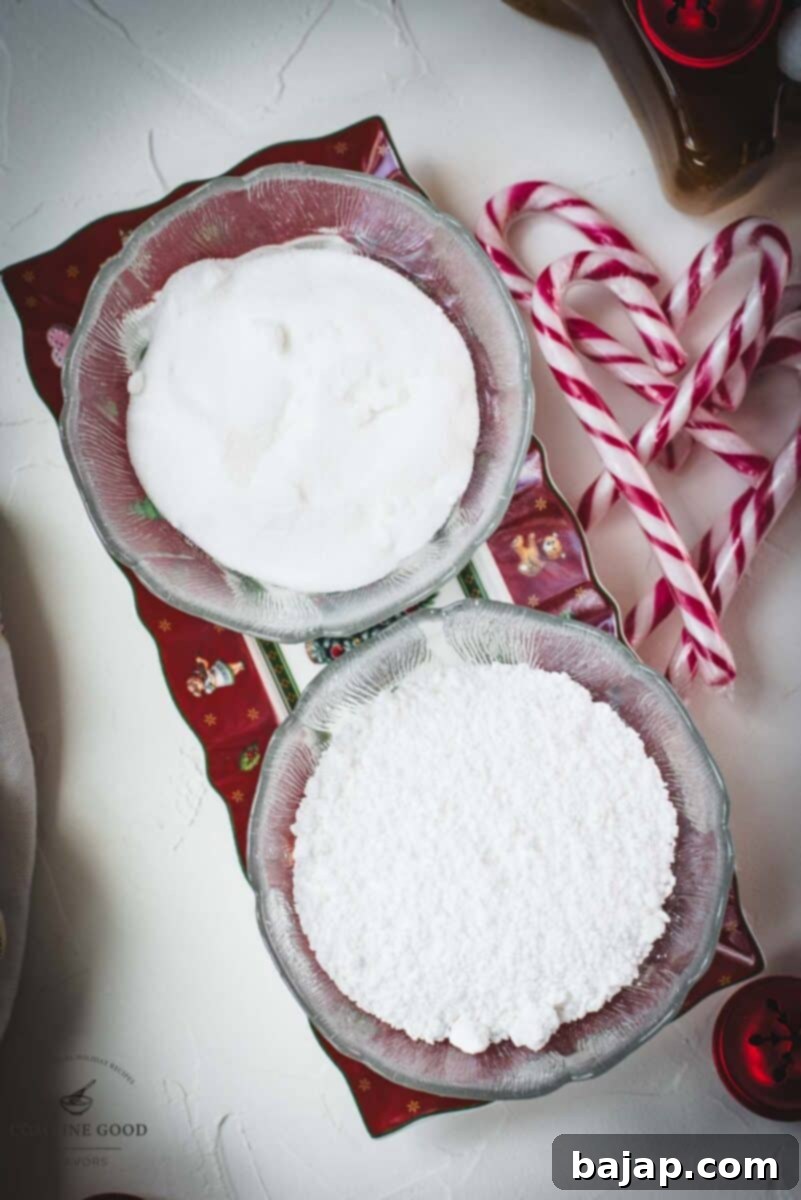
- Candy Canes: Extra crushed candy canes for the initial coating, adding a vibrant color and more minty crunch.
- Granulated sugar: The second layer of coating, providing a slightly coarser texture that helps define the crinkles.
- Powdered sugar: The final, most crucial coating for the classic white crinkle effect. It absorbs moisture as the cookies bake, creating those beautiful cracks.
For precise measurements and detailed instructions, refer to the full recipe card below.
🔪 Step-by-Step Instructions for Perfect Chocolate Peppermint Crinkle Cookies
Making these festive chocolate peppermint crinkle cookies is a fun and rewarding process. Follow these steps carefully to ensure a perfect batch of fudgy, minty, and beautifully crinkled treats every time.
Step 1: Prepare Your Peppermint Candy
To start, take your peppermint candy (or candy canes) and place them in a sturdy plastic bag. Use a rolling pin to gently but firmly crush them into small pieces. This method helps keep your workspace clean and prevents candy pieces from flying everywhere. Alternatively, for a finer and quicker crush, you can use an electric chopper if available. Aim for a mix of fine dust and small crunchy bits for the best texture and visual appeal. Set the crushed peppermint aside for later use, as it will be incorporated both into the dough and as a coating.
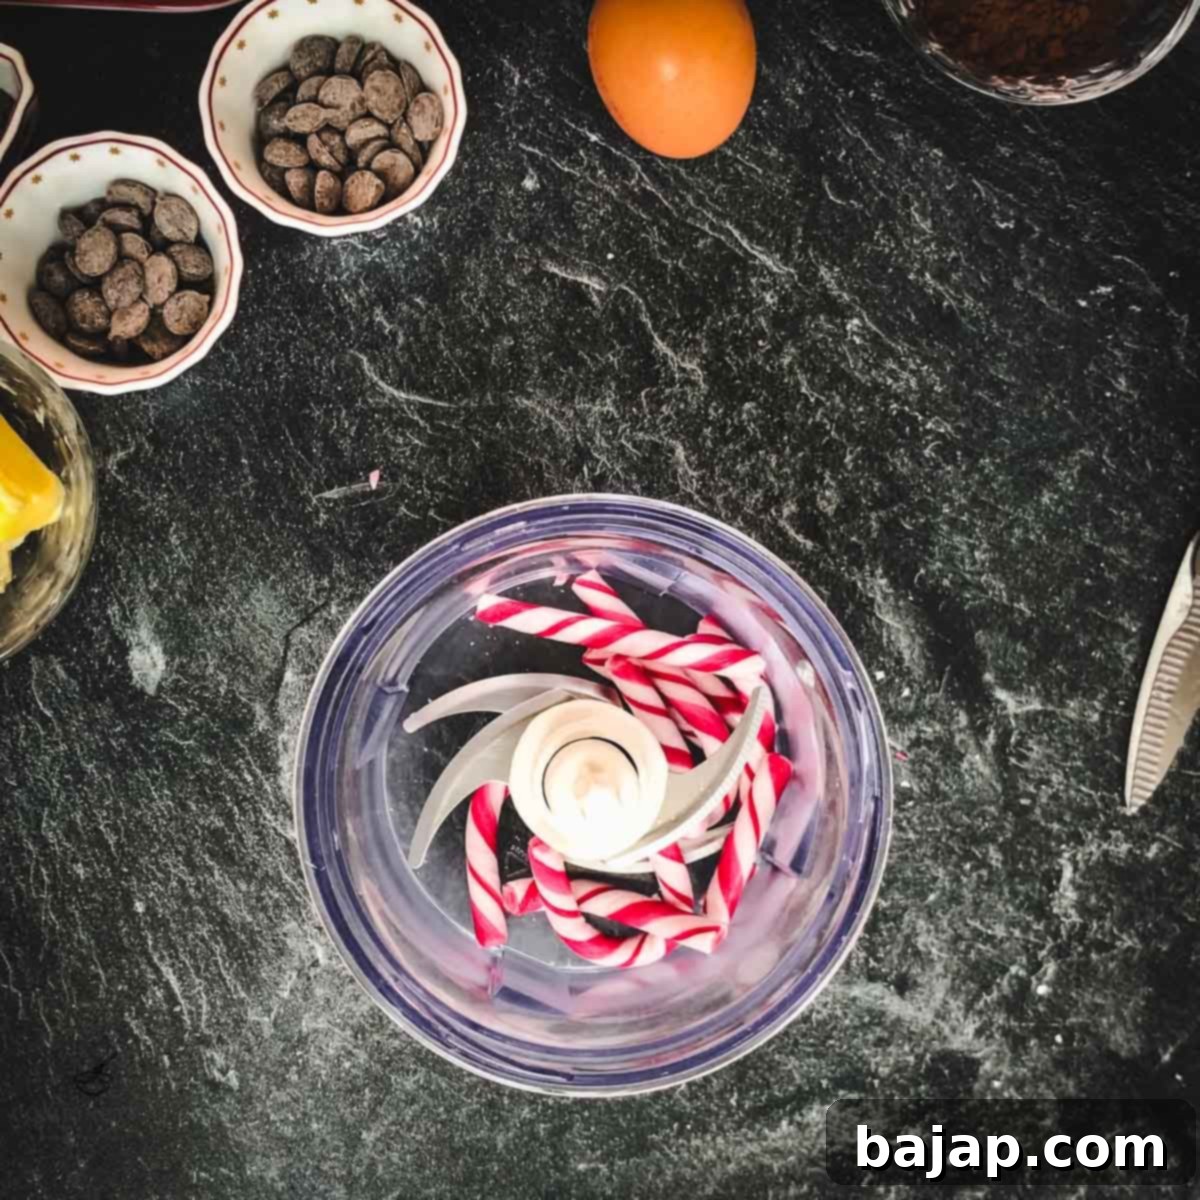
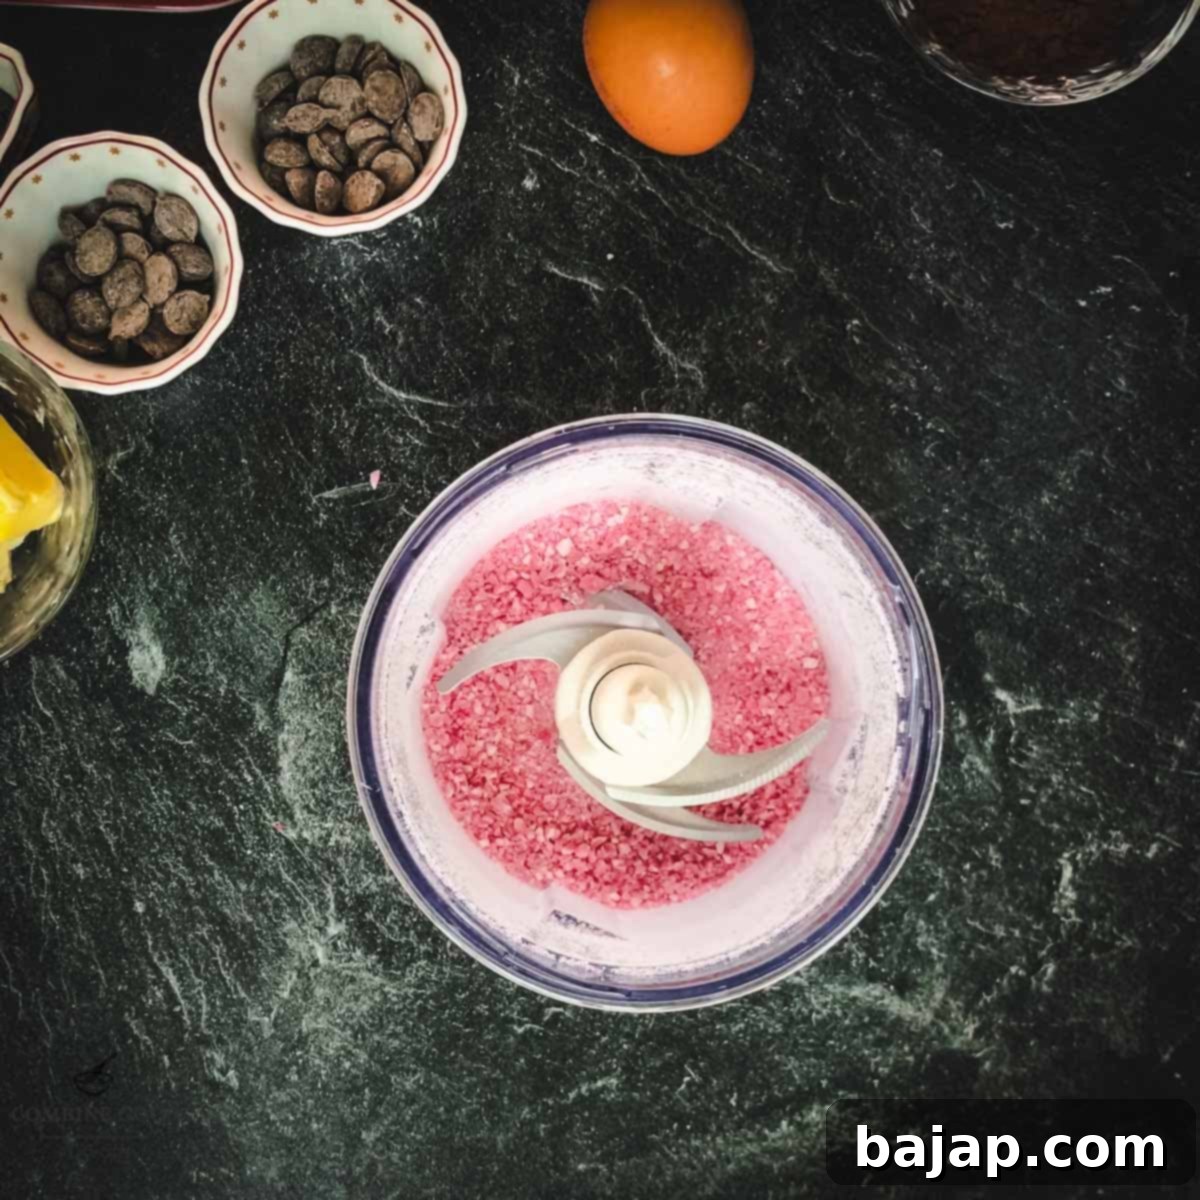
Step 2: Melt the Chocolate and Butter
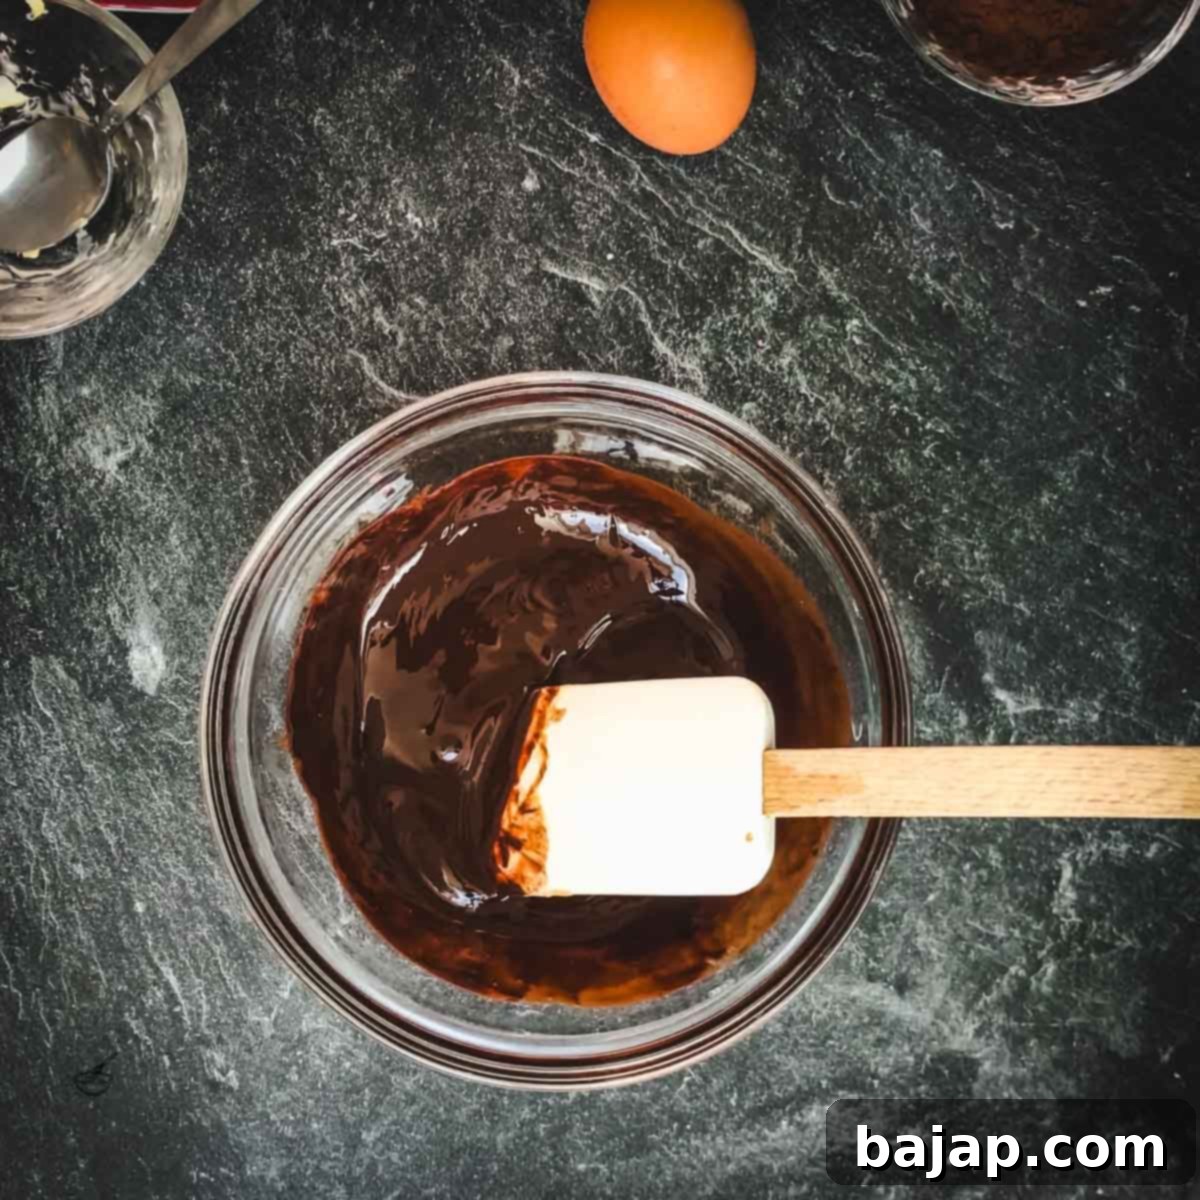
Cut your butter into small cubes and finely chop the dark chocolate into small, uniform pieces. This helps them melt evenly and quickly. Place both into a microwave-safe bowl. Heat the mixture in 30-second intervals, stirring gently with a silicone spatula after each interval. Continue this process until the chocolate and butter are completely melted and have formed a smooth, glossy, and silky consistency. Be careful not to overheat the chocolate, as it can seize or burn. Low and slow is the key here.
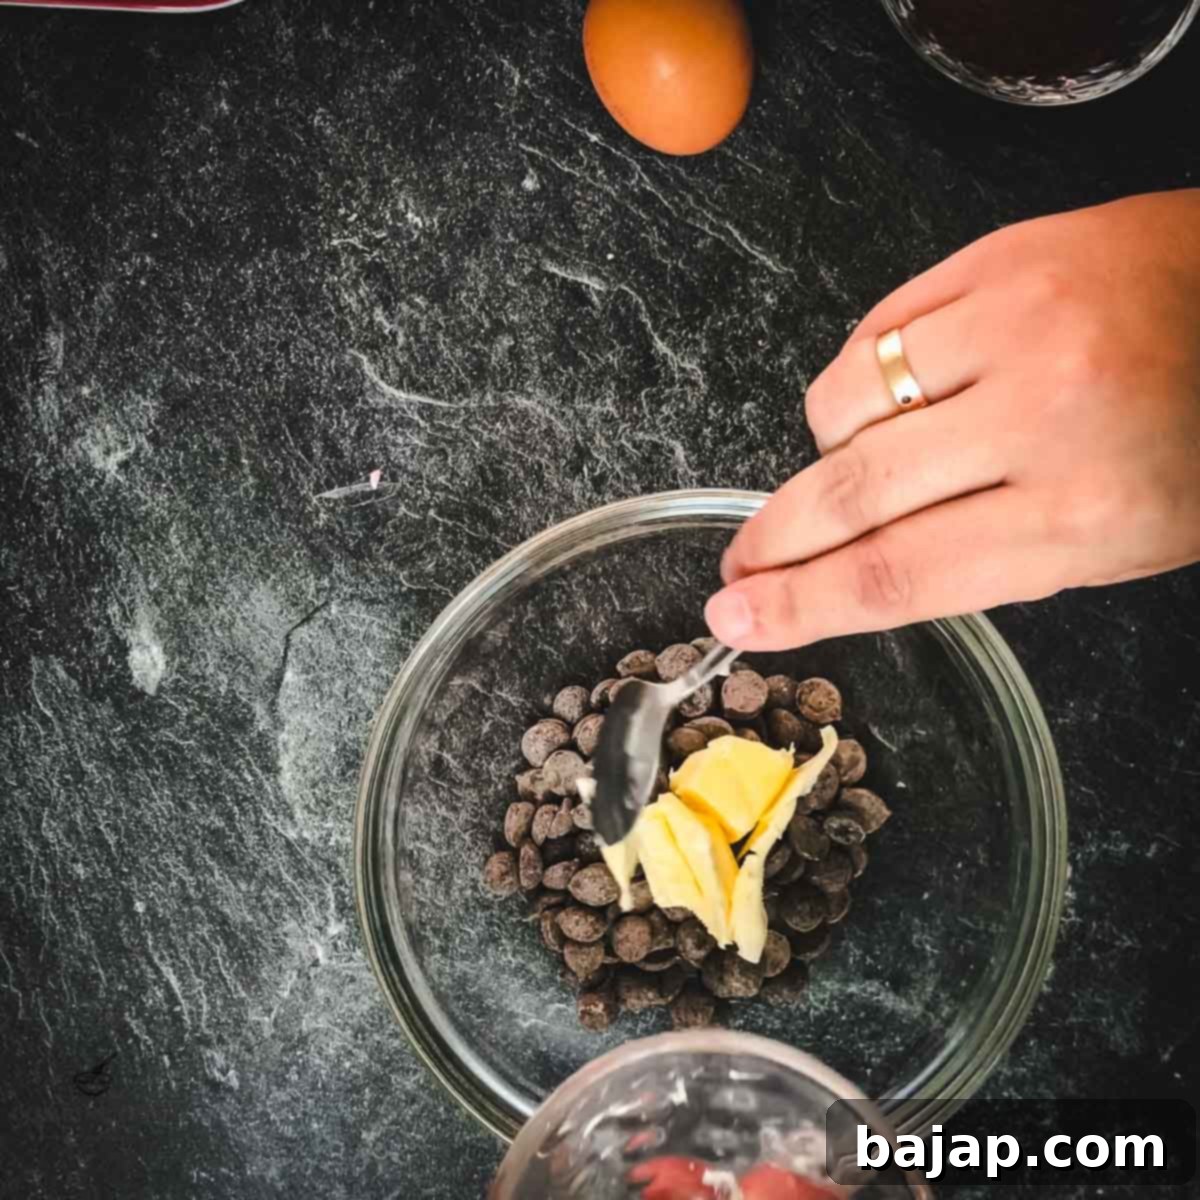
Step 3: Combine Wet and Dry Ingredients for the Dough
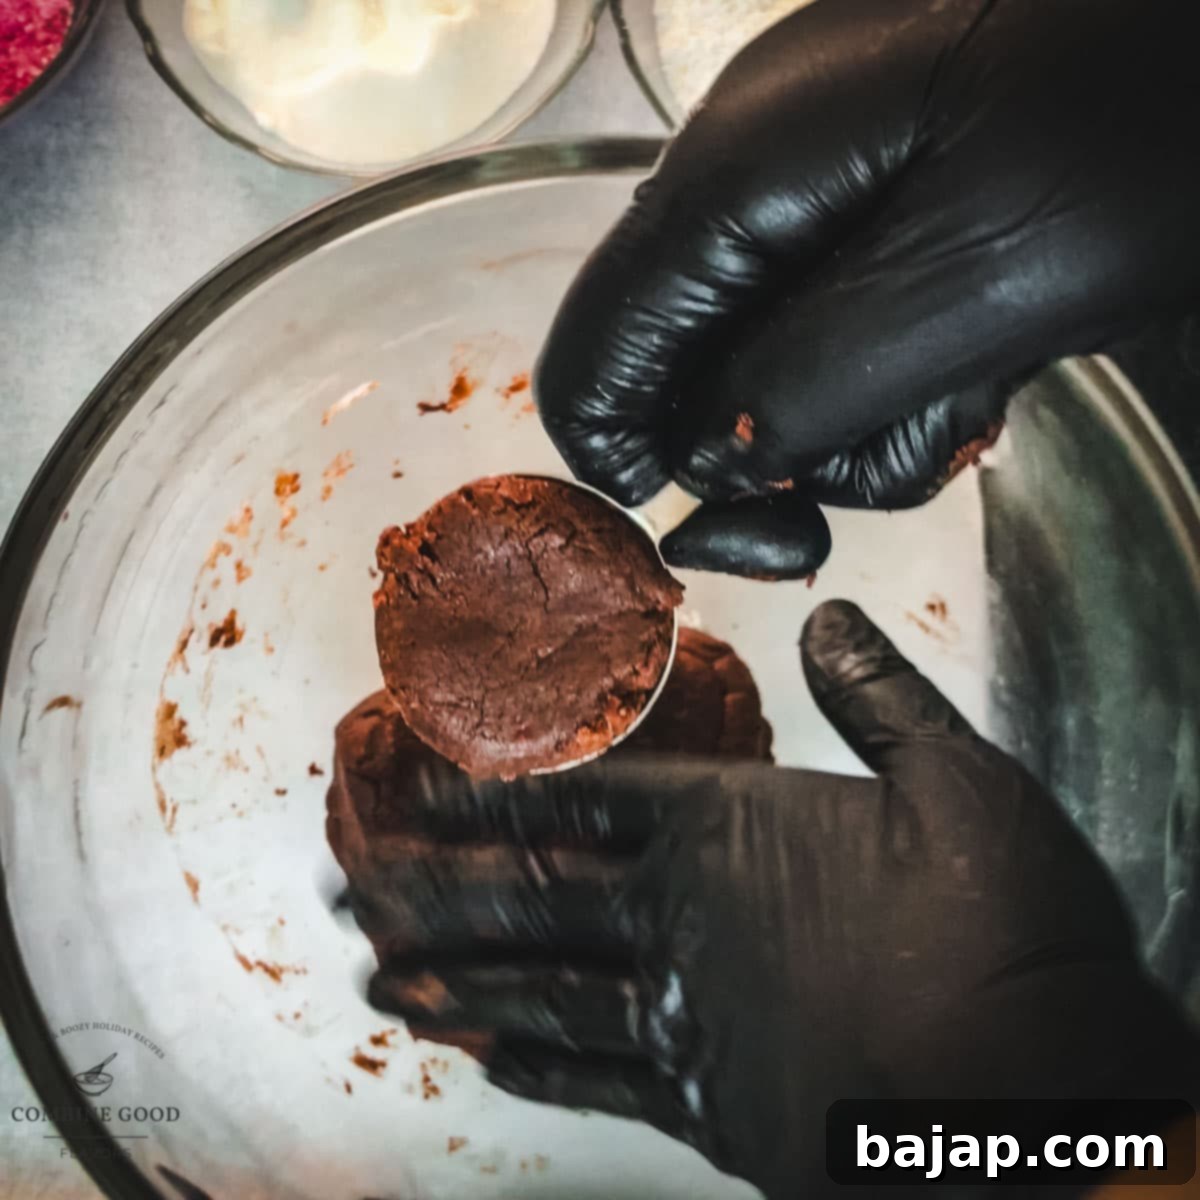
Once your chocolate and butter mixture is melted, stir in the peppermint syrup (or extract) to cool it down slightly. This also ensures the peppermint flavor is evenly distributed. In a separate bowl, whisk together your dry ingredients: cake flour, Dutch cocoa, baking powder, baking soda, and salt. Now, add these dry ingredients to the cooled chocolate mixture, along with half of the crushed peppermint candy and the egg. For best results, put on some gloves and use your hands to gently knead the dough until all the ingredients are thoroughly combined and form a beautiful, cohesive, and slightly sticky dough. Overmixing can lead to tough cookies, so mix just until combined.
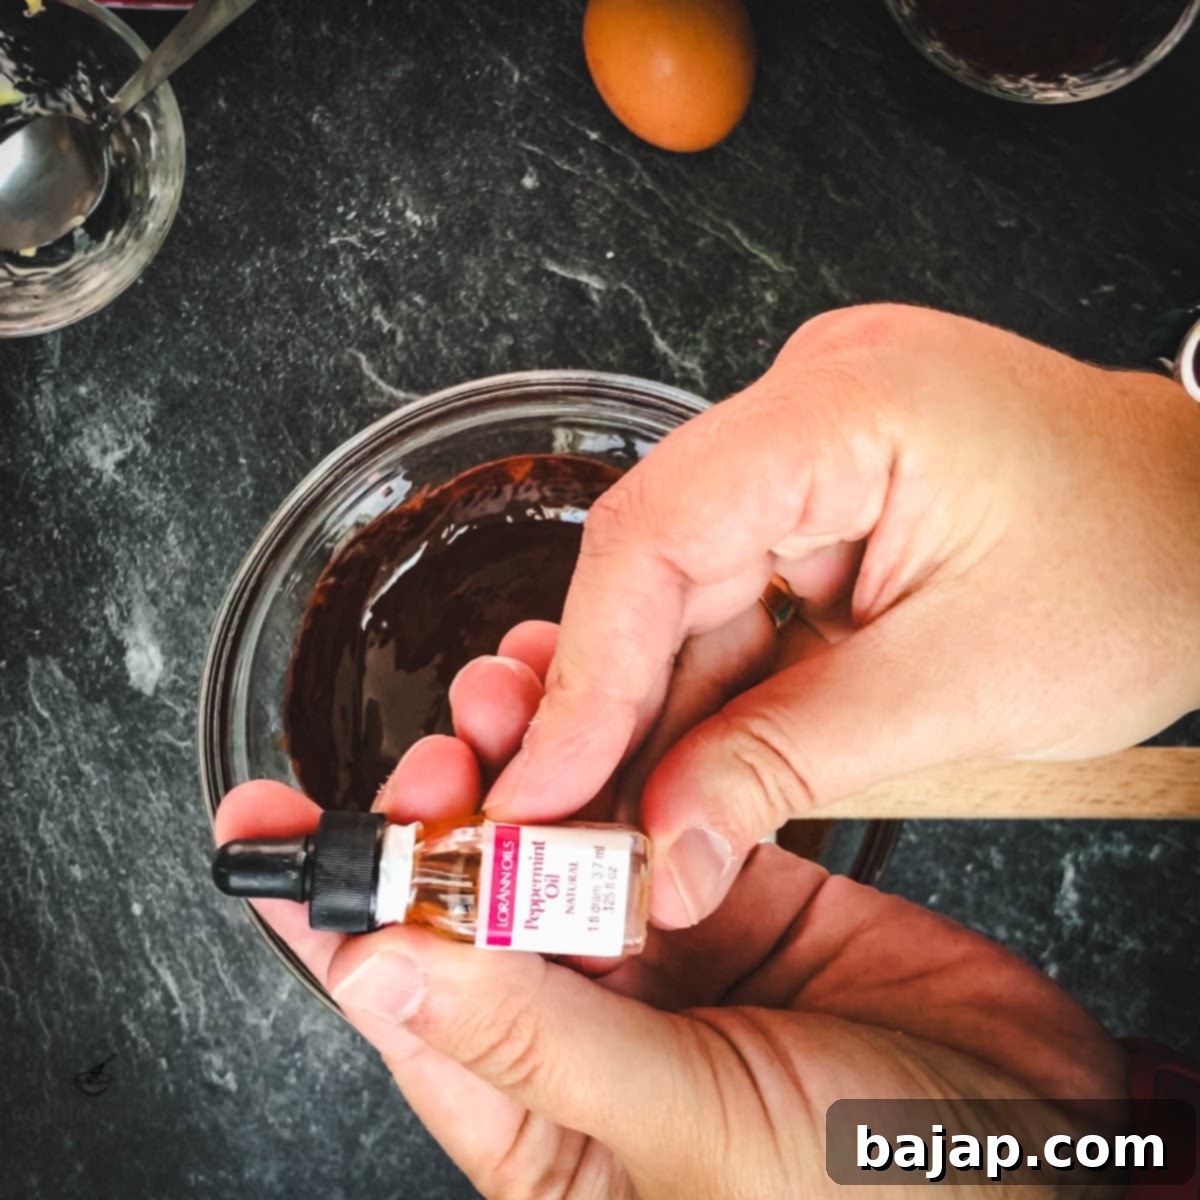
Step 4: Prepare the Crinkle Coating Bowls
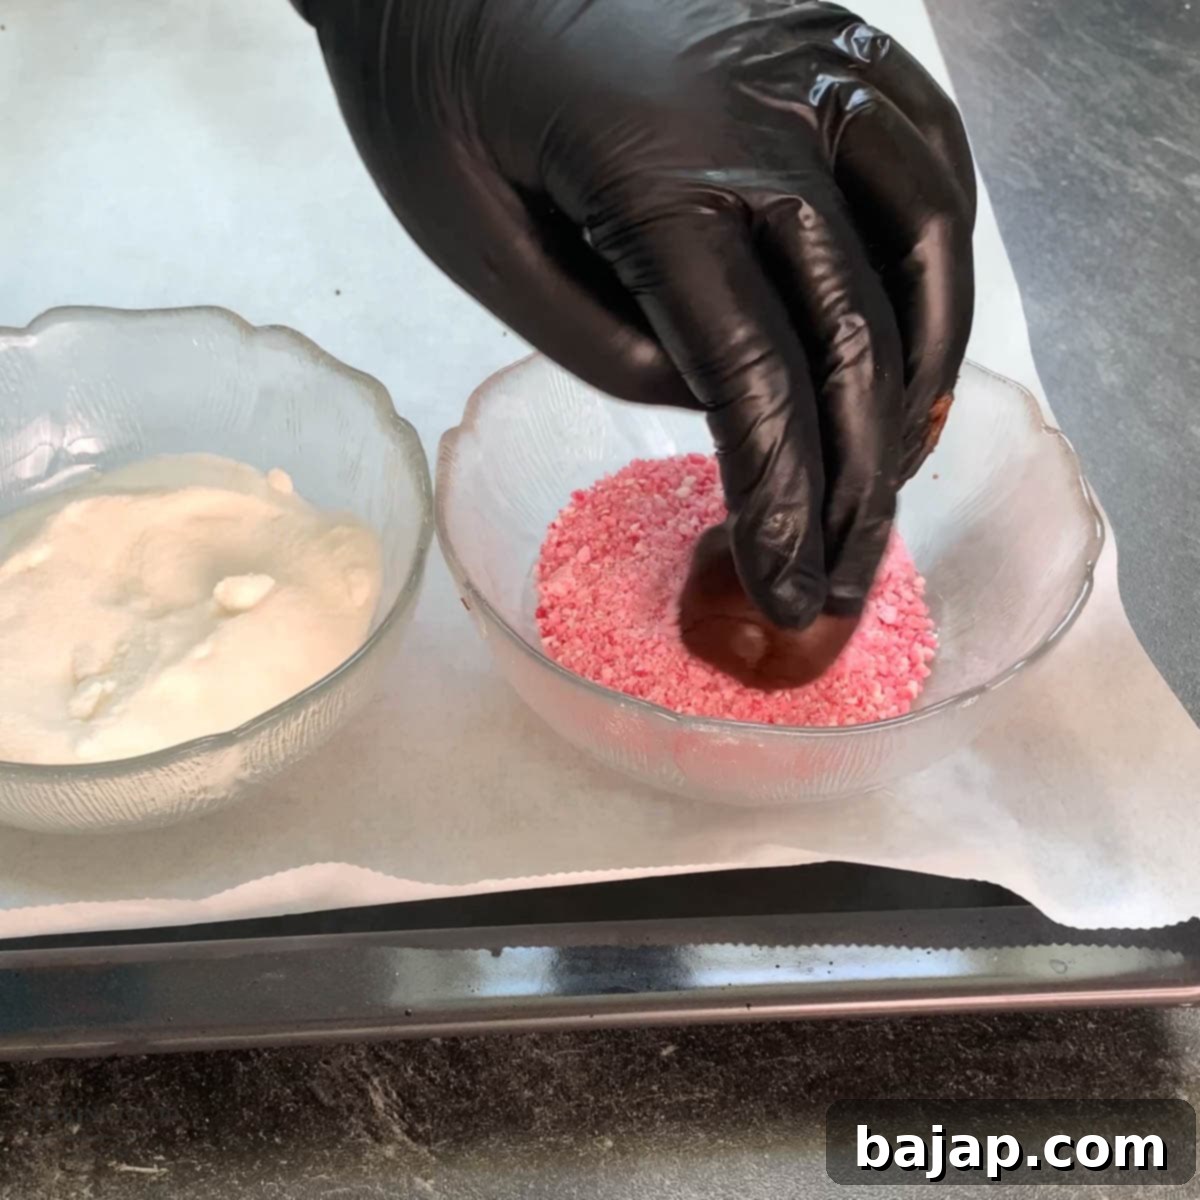
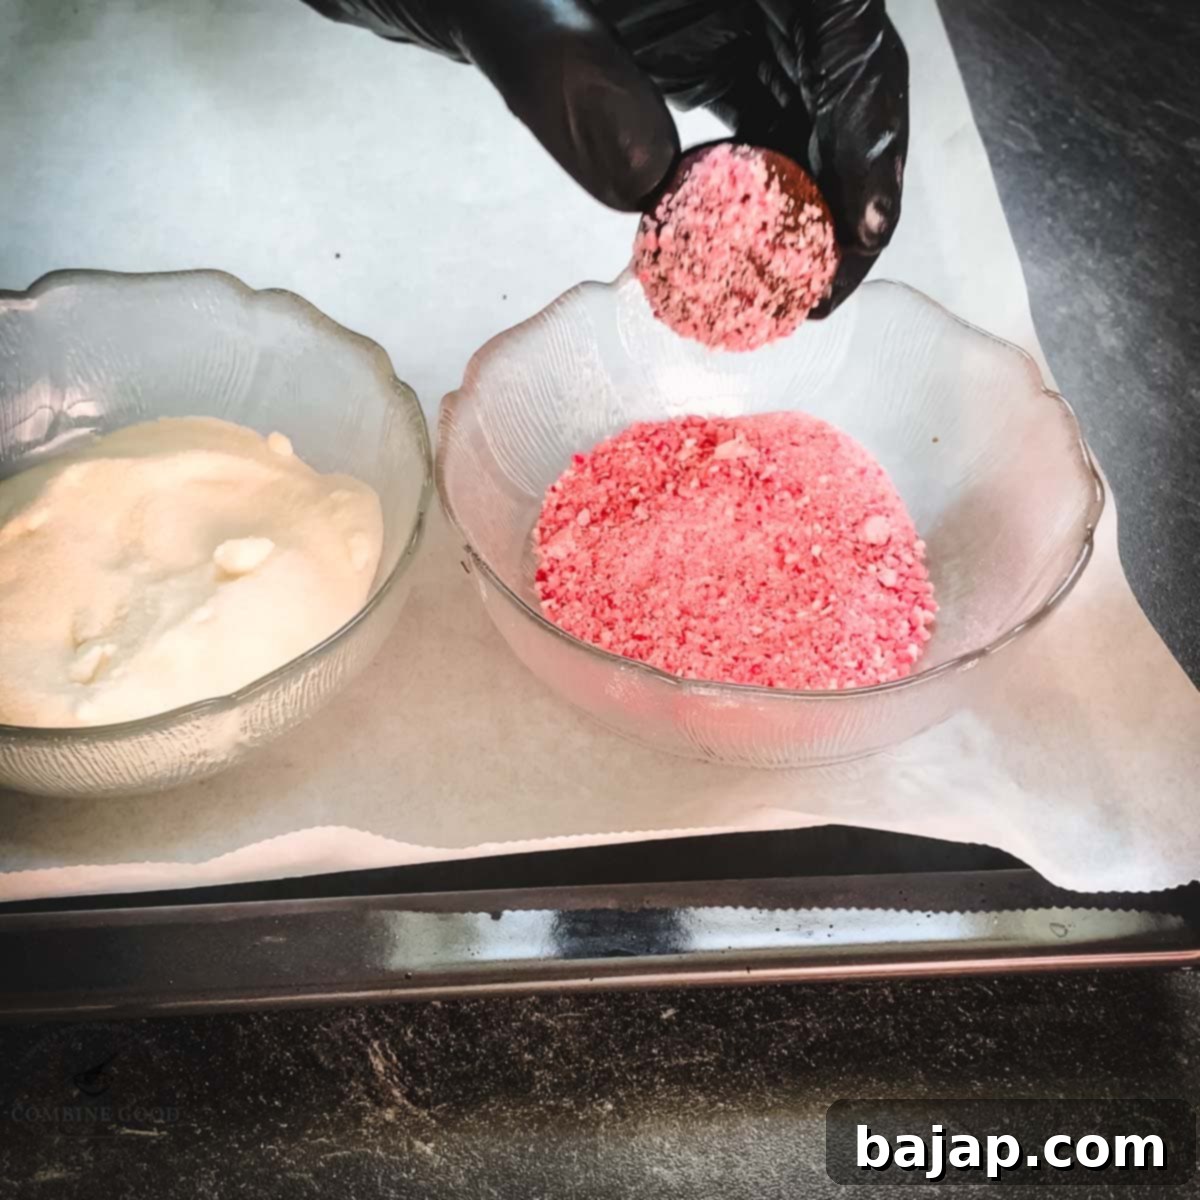
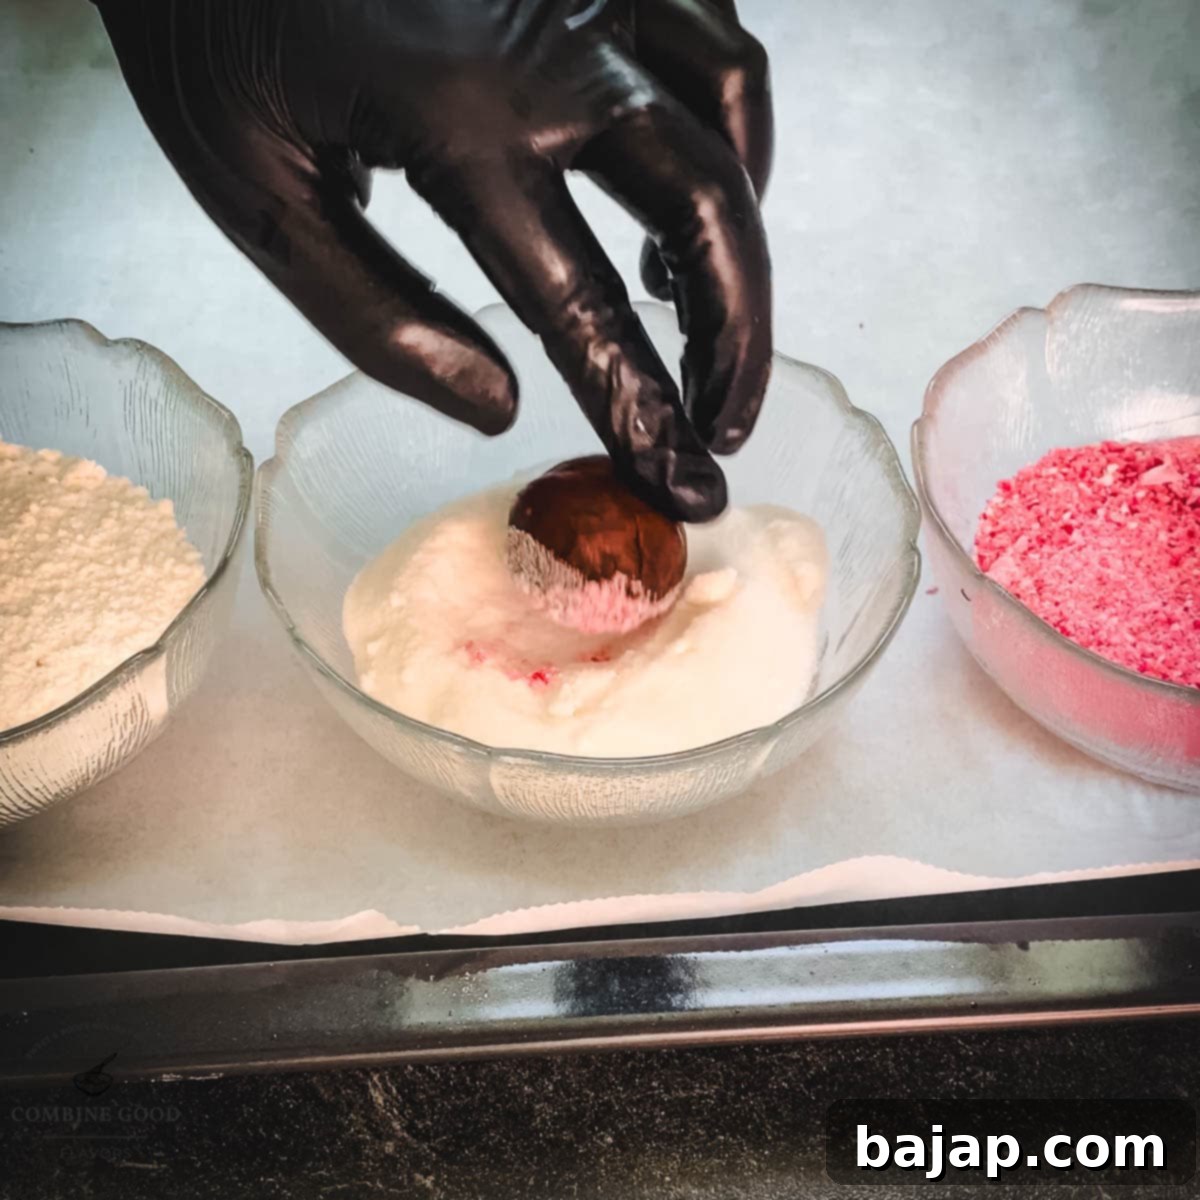
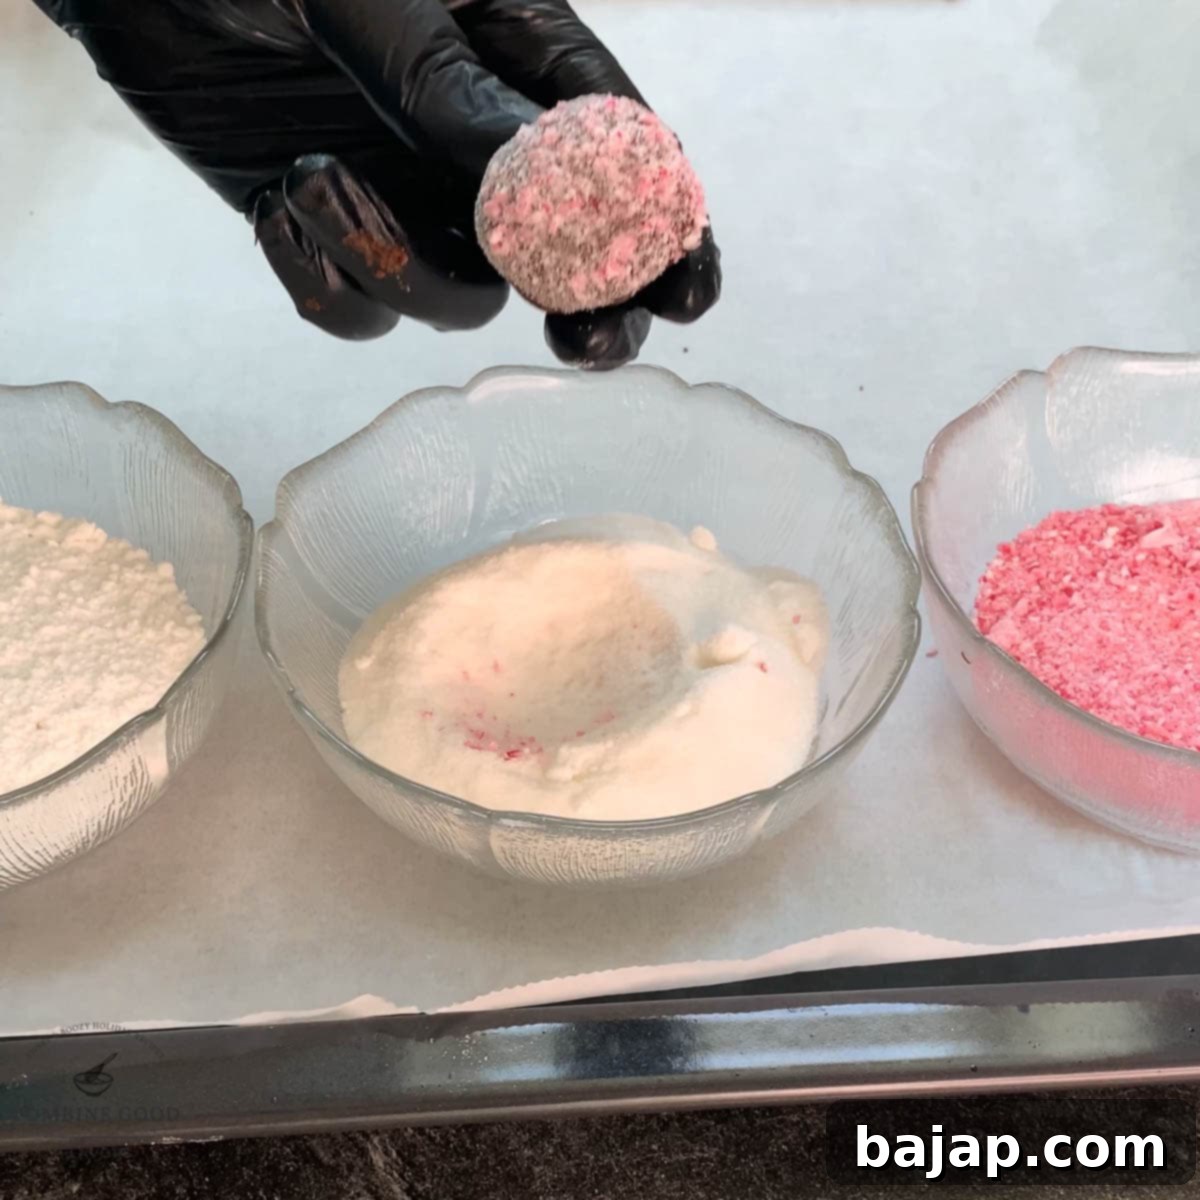
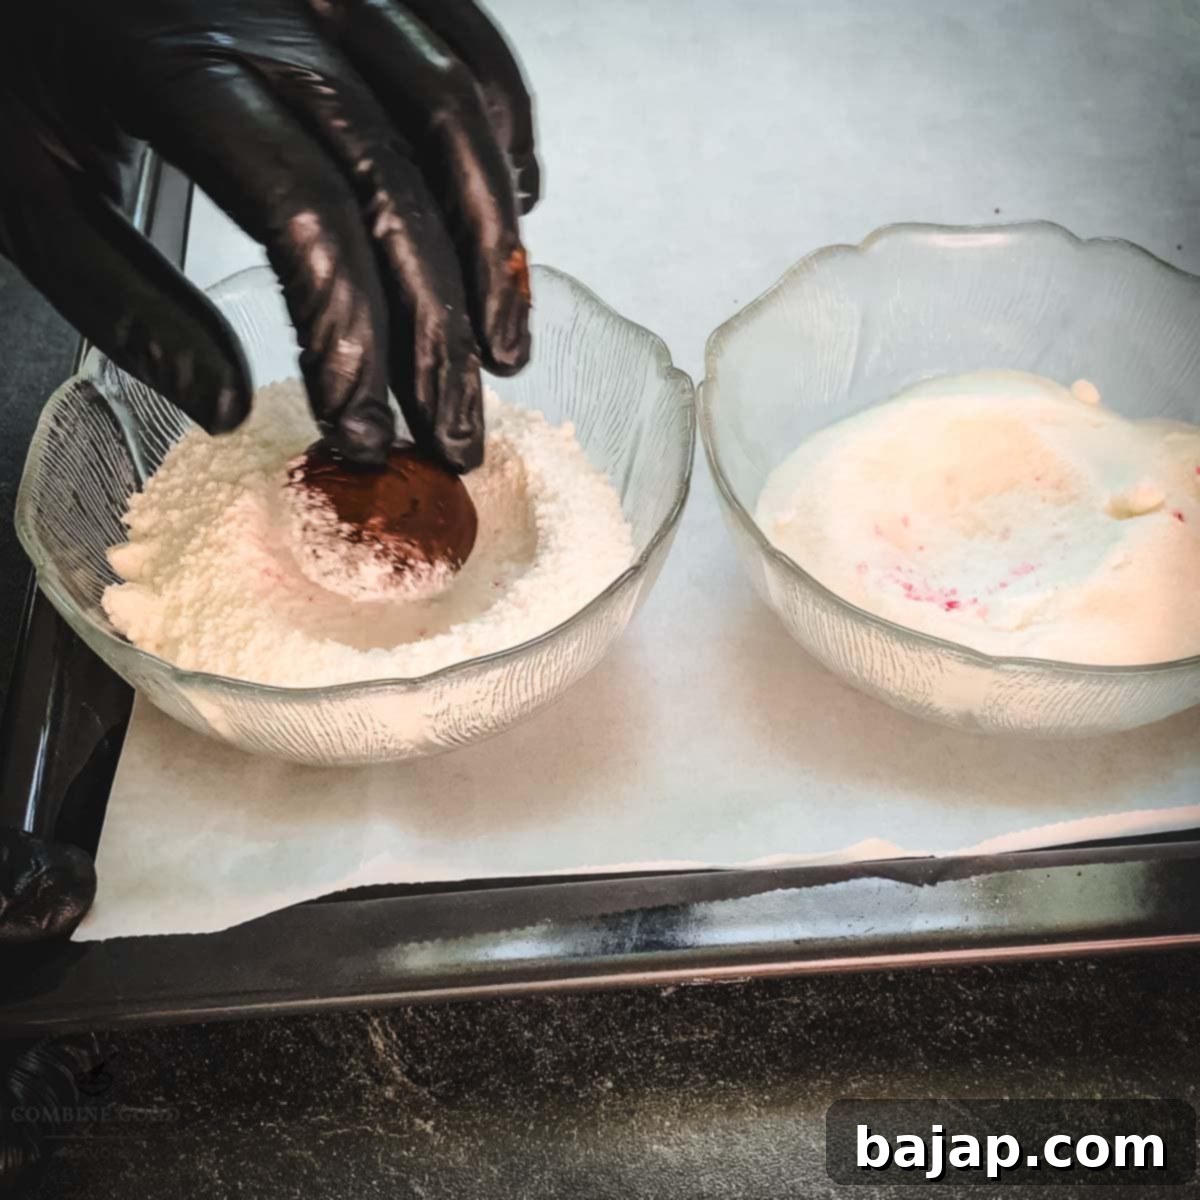
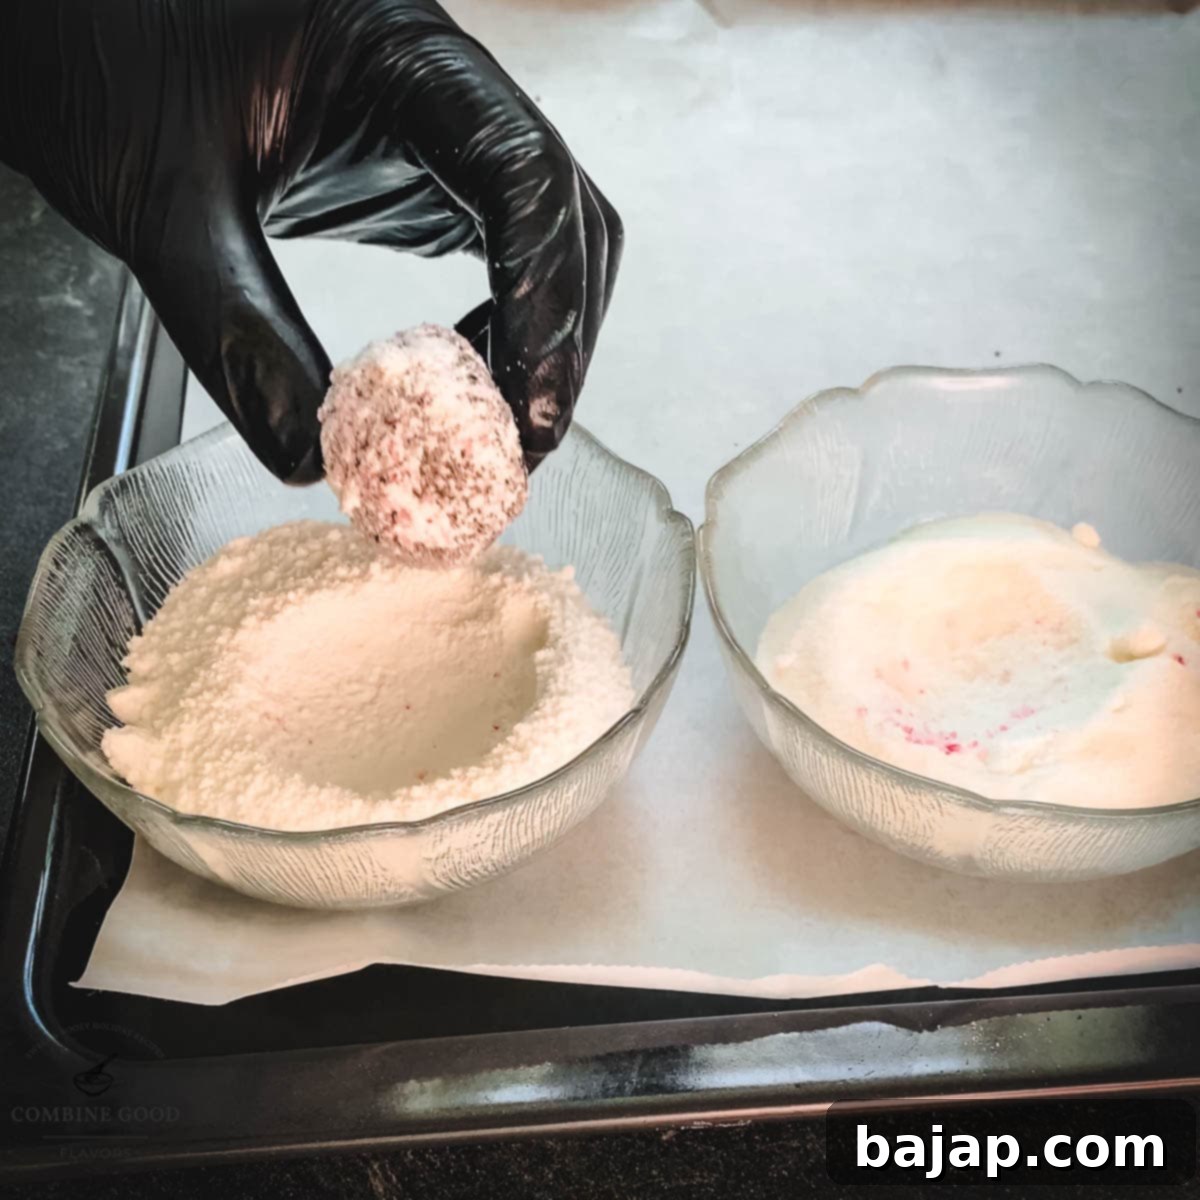
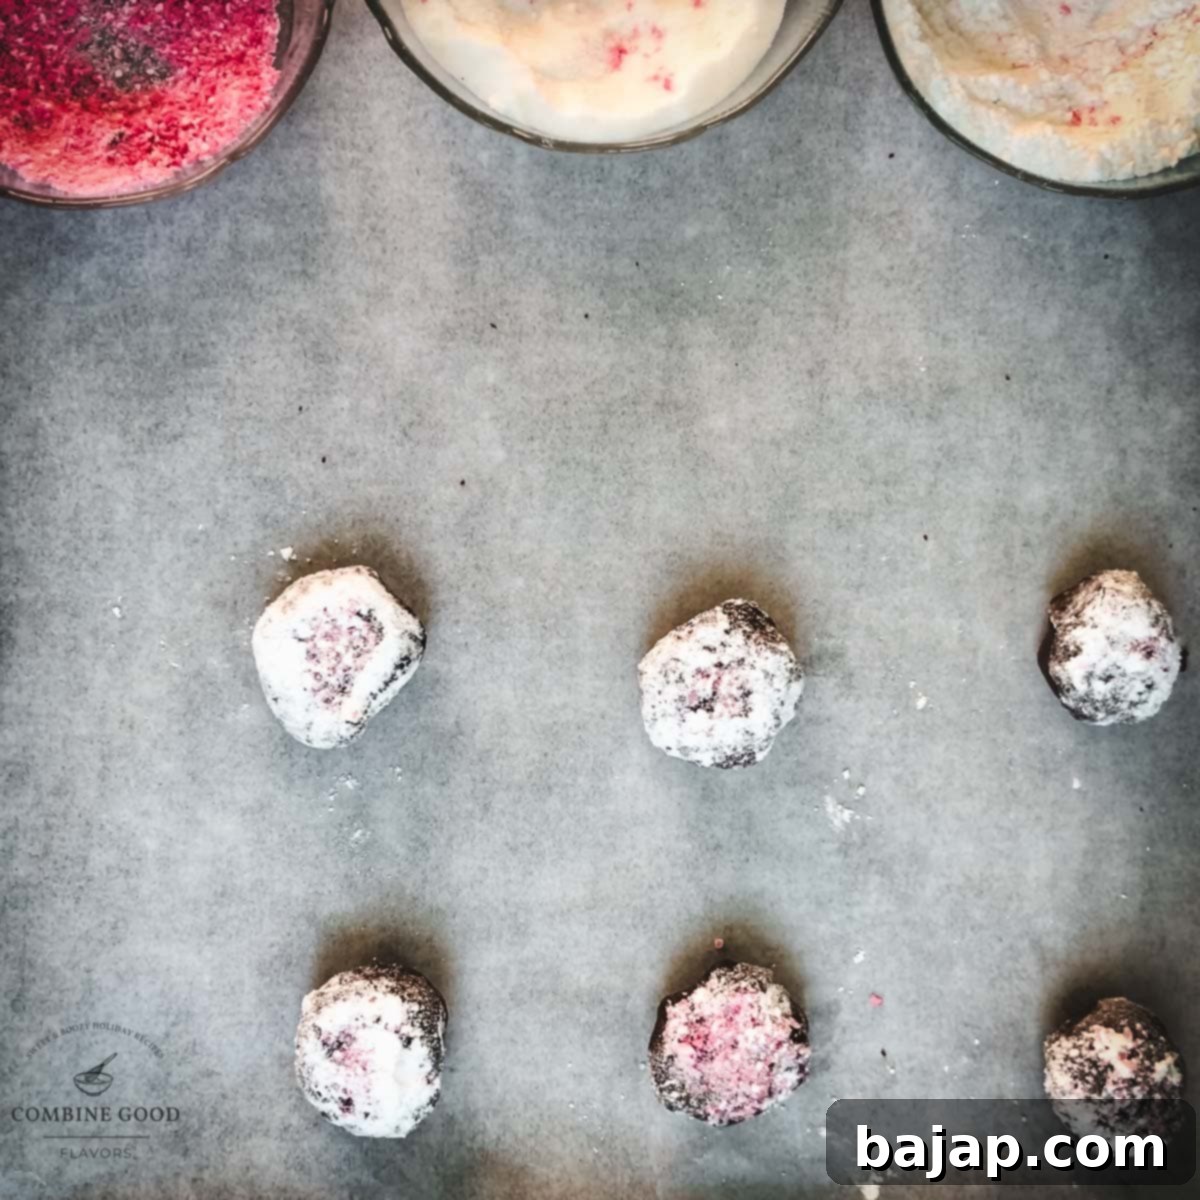
To make the coating process smooth and efficient, set up three small, separate bowls. Fill the first bowl with the remaining crushed peppermint candy. In the second bowl, place the granulated sugar. Finally, the third bowl should contain the powdered sugar. This organized setup will ensure each cookie ball gets a perfect, even coating for that distinct crinkle effect.
Step 5: Roll the Dough Balls and Apply Coatings
Using an ice cream scoop or a tablespoon, scoop out uniform portions of the chocolate peppermint dough. Roll each portion between your palms to form neat, small balls. For the signature crinkle effect, coat each ball thoroughly in three stages: first, roll it generously in the crushed peppermint candy for an extra minty layer; next, roll it in the granulated sugar; and finally, give it a good coating in the powdered sugar. This triple coating is essential for achieving those beautiful, distinct white cracks as the cookies bake. Ensure each ball is fully covered in each layer.
Step 6: Arrange on a Baking Sheet
Once all your dough balls are beautifully coated, arrange them on a baking sheet lined with parchment paper. Parchment paper is essential for preventing sticking and ensuring easy cleanup. Make sure to space the cookies approximately 2 inches (4 cm) apart. This gives them ample room to spread while baking without touching each other, allowing for those perfect crinkles to form.
Step 7: Bake and Cool to Perfection
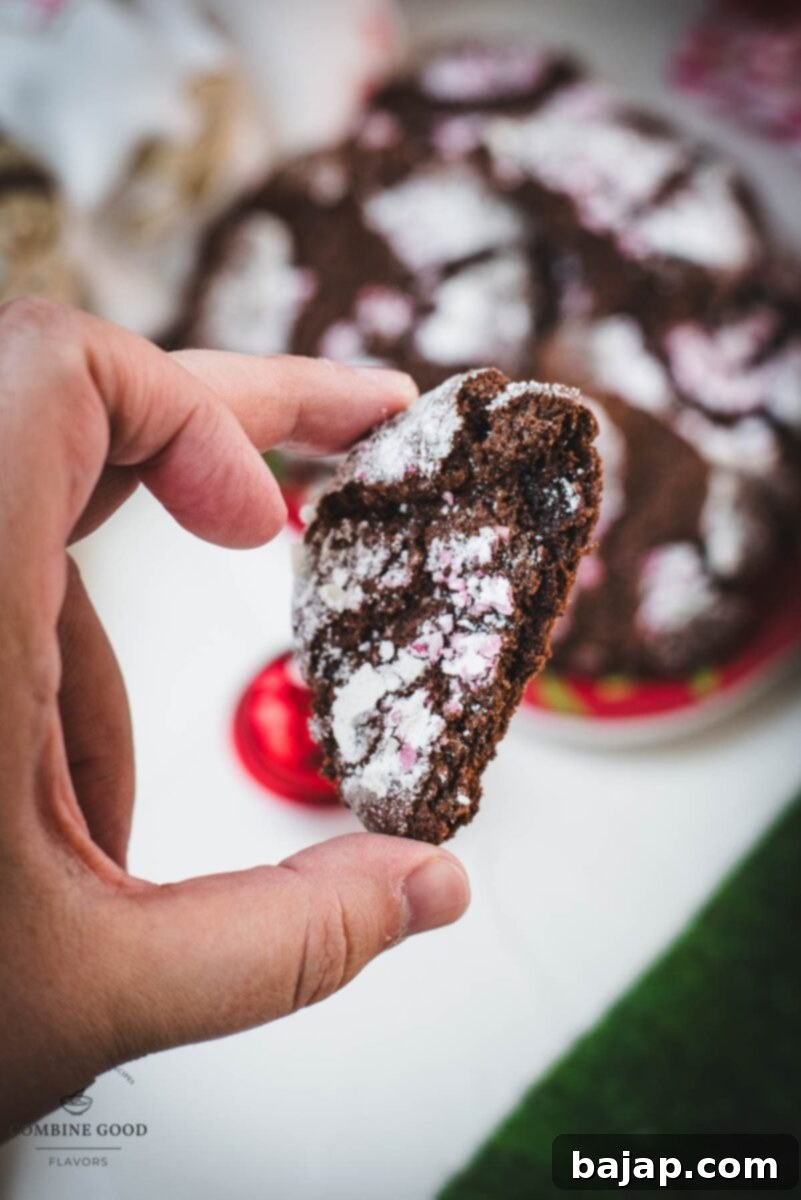
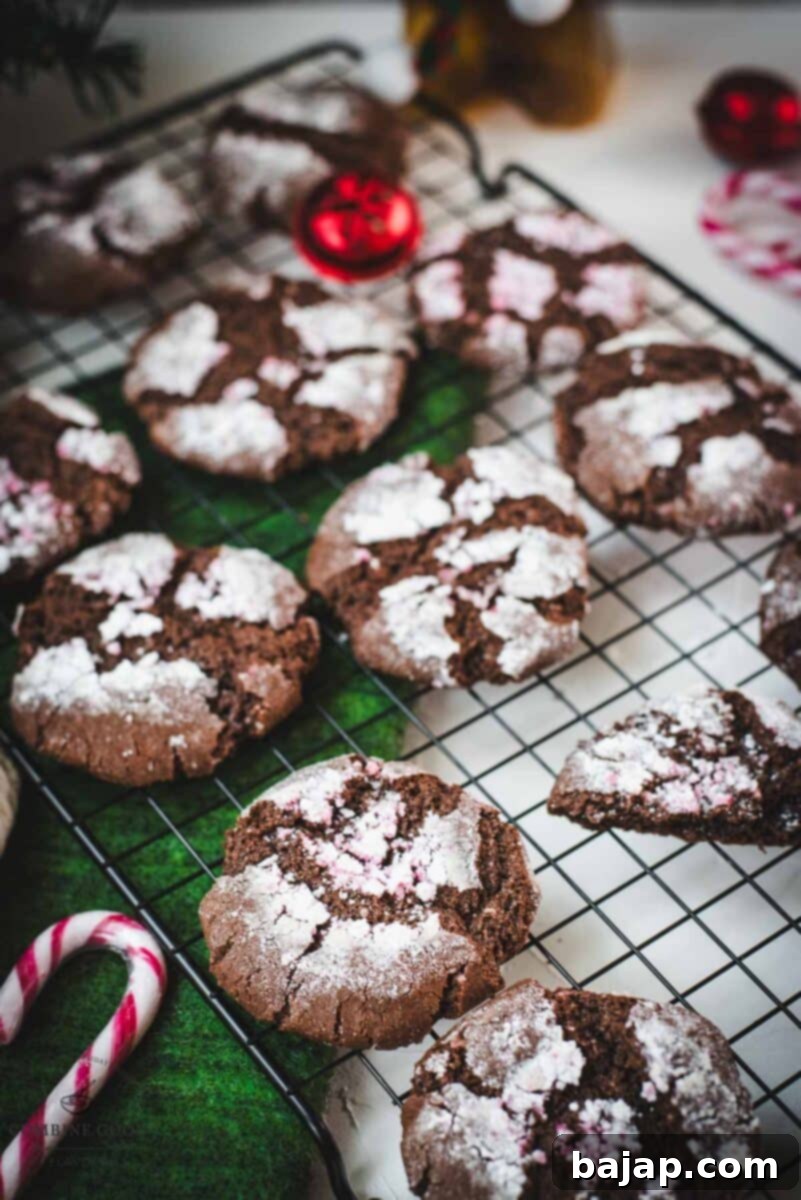
Bake your cookies in a preheated oven at 180°C (356°F) for approximately 13-15 minutes. Baking time can vary depending on your oven, so keep an eye on them. You’ll know they’re done when the edges are set and firm, but the centers still look slightly soft and fudgy. This ensures a wonderfully chewy interior. Resist the urge to overbake, as this can make the cookies dry. Once baked, let the cookies cool completely on the baking sheet for at least 10-15 minutes before carefully transferring them to a cooling rack. This crucial cooling period allows them to firm up and prevents them from breaking apart. The crinkles will become more pronounced as they cool.
🍽 Essential Equipment for Baking Crinkle Cookies
Having the right tools can make your cookie-baking experience much smoother and more enjoyable. Here’s a list of equipment that will be helpful for creating these chocolate peppermint crinkle cookies:
- Mixing bowls: You’ll need a medium bowl for mixing the dough and three small ones for setting up the different crinkle coatings. This keeps things organized and prevents cross-contamination.
- Microwave safe bowl: Essential for safely melting the chocolate and butter without scorching.
- Cookie scoop: A cookie scoop helps ensure uniform cookie size, which leads to even baking and a consistent final product.
- Baking sheet with parchment paper: Parchment paper prevents sticking, promotes even browning, and makes cleanup a breeze.
- Cooling rack: Crucial for allowing air circulation around the cookies as they cool, preventing soggy bottoms and ensuring a crisp exterior.
- Cookie jar: The perfect vessel to store your freshly baked crinkle cookies and keep them fresh for longer (if they last that long!).
Tips for Perfect Chocolate Peppermint Crinkle Cookies
To ensure your chocolate peppermint crinkle cookies turn out perfectly every time, keep these expert tips in mind:
- Quality Ingredients Matter: Use good quality dark chocolate and fresh peppermint extract or syrup for the best flavor.
- Don’t Overmix the Dough: Mix just until the ingredients are combined. Overmixing can develop the gluten in the flour, leading to tougher cookies instead of fudgy ones.
- Chill the Dough (Optional but Recommended): If your dough is too sticky to handle, or if you want to enhance the flavors, cover it and chill it in the refrigerator for 30 minutes to an hour. This makes it easier to roll into balls.
- Generously Coat the Dough Balls: The triple coating of crushed candy canes, granulated sugar, and especially powdered sugar is what creates those beautiful crinkles. Don’t be shy with the coatings!
- Watch Your Baking Time: Crinkle cookies are best when slightly underbaked, resulting in a fudgy, chewy center. Look for set edges but a still-soft center. Overbaking will lead to dry, hard cookies.
- Even Cookie Size: Use a cookie scoop to ensure all your cookies are the same size. This guarantees they bake evenly.
- Proper Cooling: Allow cookies to cool on the baking sheet for a few minutes before transferring to a wire rack. This helps them set up and prevents them from falling apart.
Storage and Make-Ahead Options
- Storing Baked Cookies: Store cooled chocolate peppermint crinkle cookies in an airtight container at room temperature for up to 3-5 days. For longer freshness, you can also store them in the refrigerator.
- Freezing Baked Cookies: Once completely cooled, place cookies in a single layer on a baking sheet and freeze until solid. Transfer to a freezer-safe bag or container and freeze for up to 3 months. Thaw at room temperature before serving.
- Freezing Cookie Dough: You can prepare the dough, roll it into balls, and coat them in all three sugars. Freeze the coated dough balls on a baking sheet until solid, then transfer them to a freezer-safe bag. When ready to bake, place frozen dough balls directly on a parchment-lined baking sheet and add an extra 1-2 minutes to the baking time.

Christmas CookieBook!
Snag that Recipe eBook!
Unlock the secrets to a truly memorable holiday season with our exclusive Christmas CookieBook! This delightful eBook features 20 delicious Christmas Cookie recipes, perfect for gifting, sharing, or simply enjoying with your loved ones. From classic favorites to new traditions, you’ll find inspiration to fill your home with the sweet scents and flavors of the holidays. Don’t miss out on these festive treats!
Yes, please!
Other Festive Recipes for You to Try
If you’re looking to expand your holiday baking repertoire or simply crave more delightful flavors, here are some other fantastic recipes from our collection:
- Chocolate Espresso Crinkle Cookies: A sophisticated twist on the classic crinkle, infused with rich coffee flavor.
- Cornflake Clusters with Dark Chocolate and Coconut: An easy, no-bake treat that’s crunchy, sweet, and incredibly satisfying.
- Chocolate Chip Sugar Cookies: A perfect fusion of two beloved cookies, offering chewy goodness with every bite.
- Sweet Dips for Cookies: Elevate your cookie experience with these irresistible dipping sauces.
- Cranberry Aperol Spritz: A refreshing and festive cocktail to complement your holiday treats.
- Butterball Cookies: Melt-in-your-mouth shortbread cookies, perfect for holiday platters.
- Candy Cane Oreo Cake Pops: Fun, no-bake, and bursting with holiday flavor – great for kids and adults alike!
- Peppermint Bark: The ultimate classic holiday candy, simple to make and always a crowd-pleaser.
I genuinely hope you enjoy baking and sharing these incredible Chocolate Peppermint Crinkle Cookies. If you make this recipe, I’d absolutely love to hear from you! Please let me know how you liked it by giving it a ★★★★★ star rating and leaving a comment below. Your feedback means the world and helps others discover these fantastic treats. You can also sign up for our Newsletter to receive weekly delicious homemade recipes directly in your inbox. And don’t forget to follow me on Pinterest or Instagram and share your delicious creations with me. Just tag me @combinegoodflavors and use the hashtag #combinegoodflavors, so I don’t miss your culinary masterpieces!
📖 Recipe Card
Chocolate Crinkle Cookies with Peppermint
Nora
Save RecipeSaved!
Pin Recipe
Equipment
-
Mixing bowls medium and three small ones
-
Microwave safe bowl
-
Cookie scoop
-
Baking sheet with parchment paper
-
Cooling Rack
-
Cookie jar
Ingredients
Cookie dough
- 1 oz Peppermint candy
- 2 tablespoon Butter
- ¼ cup Dark chocolate
- 4 tablespoon Peppermint syrup Monin, Giffard or other brand – since I didn’t had the syrup at hand, I used peppermint extract 5 drops.
- 1 cup Cake flour
- 3 tablespoon Dutch cocoa
- 1 teaspoon Baking powder
- ½ teaspoon Baking soda
- 1 pinch Salt
- ½ cup Granulated sugar
- ½ cup Brown sugar
- 1 Egg
- ½ cup Granulated sugar
- ½ cup Powdered sugar
Instructions
-
Place 1 oz Peppermint candy in a sturdy plastic bag and crush it with a rolling pin to keep things tidy. Alternatively, for a finer texture, use an electric chopper if you have one at hand. Set the crushed peppermint aside; half will be mixed into the dough, and the other half used for the first coating.1 oz Peppermint candy
-
Cut 2 tablespoon Butter into cubes and finely chop ¼ cup Dark chocolate. Place both into a microwave-safe bowl. Melt the mixture in 30-second intervals, stirring gently with a silicone spatula after each interval until it’s completely silky smooth. Be careful not to overheat.2 tablespoon Butter, ¼ cup Dark chocolate
-
Stir in 4 tablespoon Peppermint syrup (or extract) to cool the mixture slightly. Add the dry ingredients (1 cup Cake flour, 3 tablespoon Dutch cocoa, 1 teaspoon Baking powder, ½ teaspoon Baking soda, 1 pinch Salt), along with ½ cup Granulated sugar, ½ cup Brown sugar, half of the crushed peppermint candy (from Step 1), and 1 Egg. Put on some gloves and gently knead the dough until all the ingredients are beautifully combined into a cohesive, fudgy dough.4 tablespoon Peppermint syrup, 1 cup Cake flour, 3 tablespoon Dutch cocoa, 1 teaspoon Baking powder, ½ teaspoon Baking soda, 1 pinch Salt, ½ cup Granulated sugar, ½ cup Brown sugar, 1 Egg
-
Set up three small bowls for the coating: one with the remaining crushed peppermint candy, one with ½ cup Granulated sugar, and one with ½ cup Powdered sugar. This organized setup will make the coating process quick and easy.½ cup Granulated sugar, ½ cup Powdered sugar
-
Scoop out uniform portions of the dough using an ice cream scoop (or tablespoon) and roll each into small balls. Coat each ball generously: first in the crushed peppermint candy, then in the granulated sugar, and finally, give it a thick coating in the powdered sugar. This triple coating is essential for the perfect crinkle.
-
Arrange the coated cookie dough balls on a parchment-lined baking sheet. Ensure they are spaced about 2 inches (4 cm) apart to allow for proper spreading and crinkle formation during baking.
-
Bake in a preheated oven at 180°C (356°F) for around 13-15 minutes, or until the edges begin to firm up and the centers still appear slightly soft and fudgy. Avoid overbaking. Let the cookies cool on the baking sheet for at least 10-15 minutes before gently lifting them off the parchment and transferring them to a wire rack to cool completely.
Nutrition values are estimates only, using online calculators. Please verify using your own data.

viral recipe!
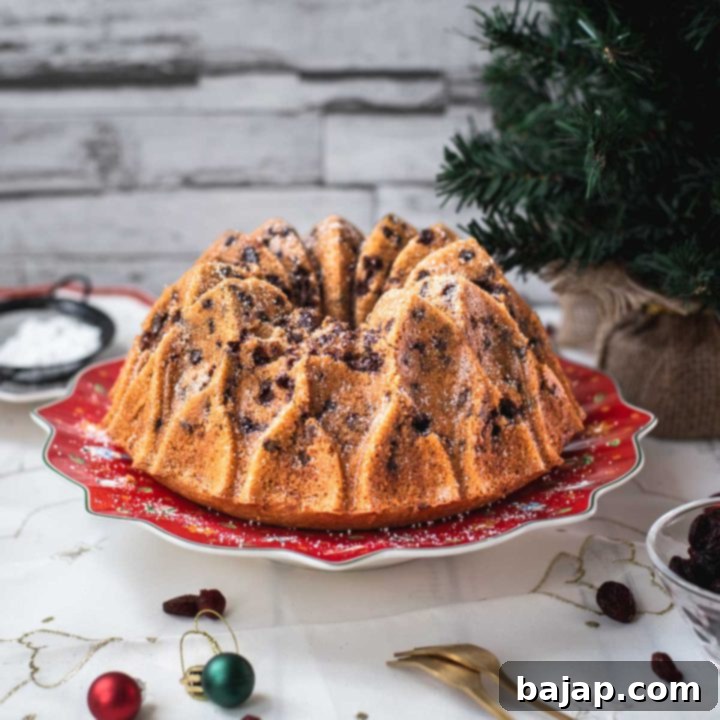
Cranberry Bundt Cake
This Cranberry Bundt Cake is a delightful blend of warm cinnamon, rich dark chocolate chips, and tart dried cranberries, making it a perfect dessert for any occasion. Its tender crumb and festive flavors will surely satisfy your sweet cravings and impress your guests. Discover why this recipe has become a viral sensation!
⛑️ Food Safety Guidelines for Baking
Ensuring food safety in the kitchen is paramount, especially when baking. Follow these essential guidelines to prevent foodborne illnesses and maintain a clean, healthy baking environment:
- Cook to a Minimum Temperature: Always ensure any ingredients requiring cooking (like eggs in some recipes, though not directly applicable here) reach a minimum internal temperature of 165 °F (74 °C) to eliminate harmful bacteria.
- Prevent Cross-Contamination: Do not use the same utensils or cutting boards on cooked food that previously touched raw ingredients, especially raw meat or eggs. Wash thoroughly with hot, soapy water between uses.
- Wash Hands Frequently: Always wash your hands with soap and warm water for at least 20 seconds before, during, and after handling food, especially after touching raw ingredients.
- Avoid Leaving Food Out: Do not leave perishable food sitting out at room temperature for extended periods (generally no more than two hours). Promptly refrigerate or freeze baked goods to maintain freshness and safety.
- Never Leave Cooking Food Unattended: Always supervise food when it is cooking, whether on the stovetop or in the oven, to prevent burning and ensure safety.
- Use Oils with High Smoking Point: When frying or high-heat baking (less common for cookies but good general knowledge), use oils with a high smoking point to avoid producing harmful compounds.
- Ensure Good Ventilation: Always have good ventilation in your kitchen when using a gas stove or oven to prevent the buildup of harmful gases.
For further comprehensive food safety information and best practices, check the official resources from the Safe Food Handling – FDA.
