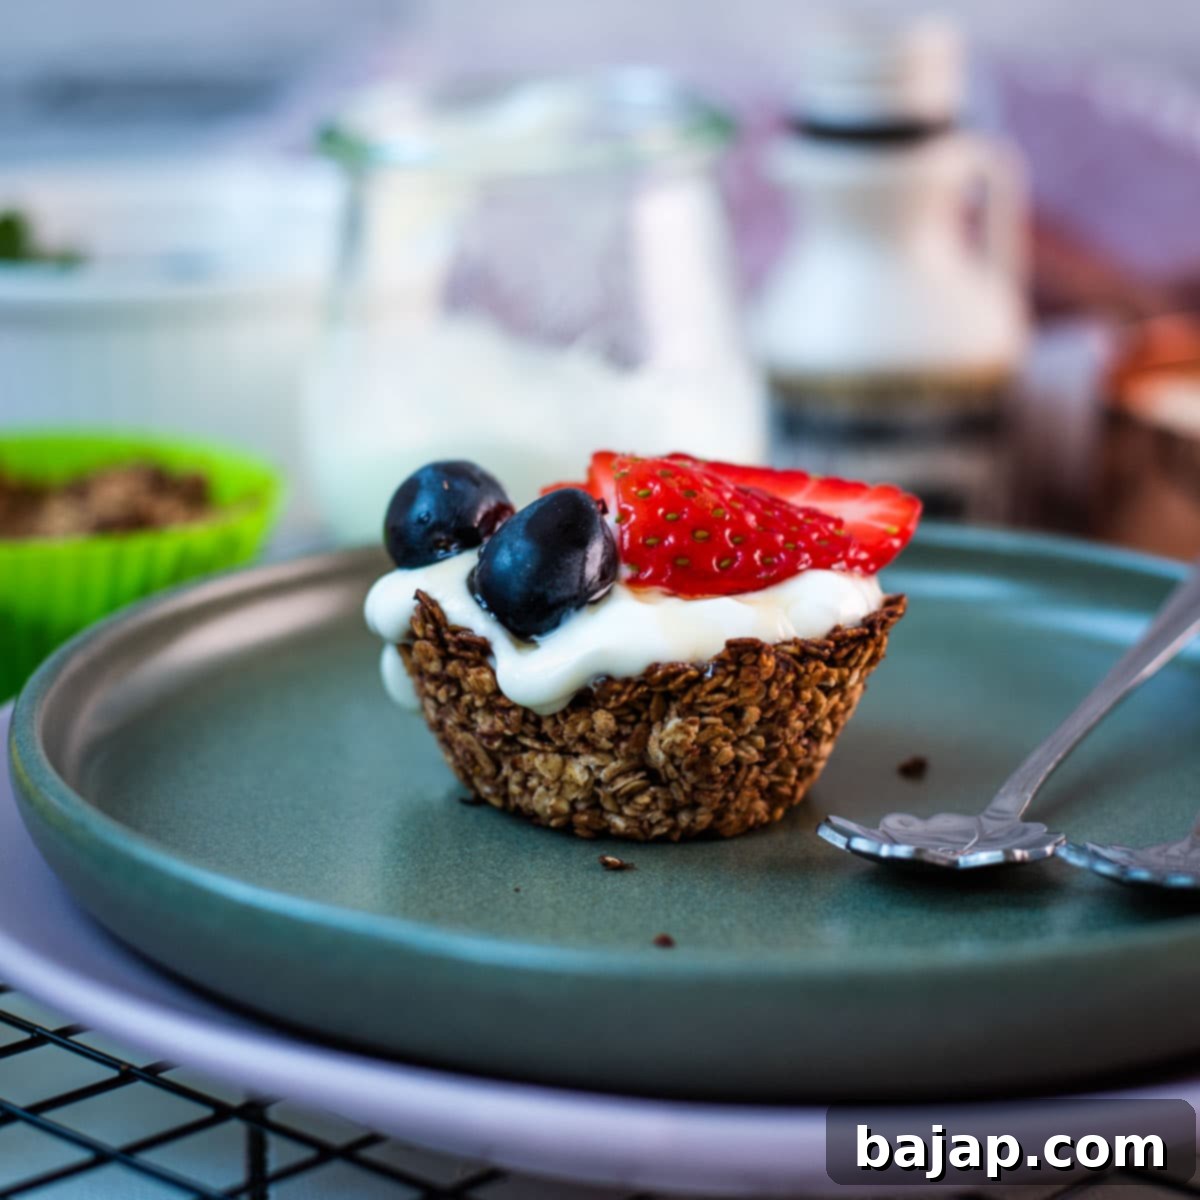
Homemade Granola Cups with Yogurt & Fruit: The Ultimate Easy & Healthy Breakfast Recipe
Transform your mornings with this simple, delightful recipe!
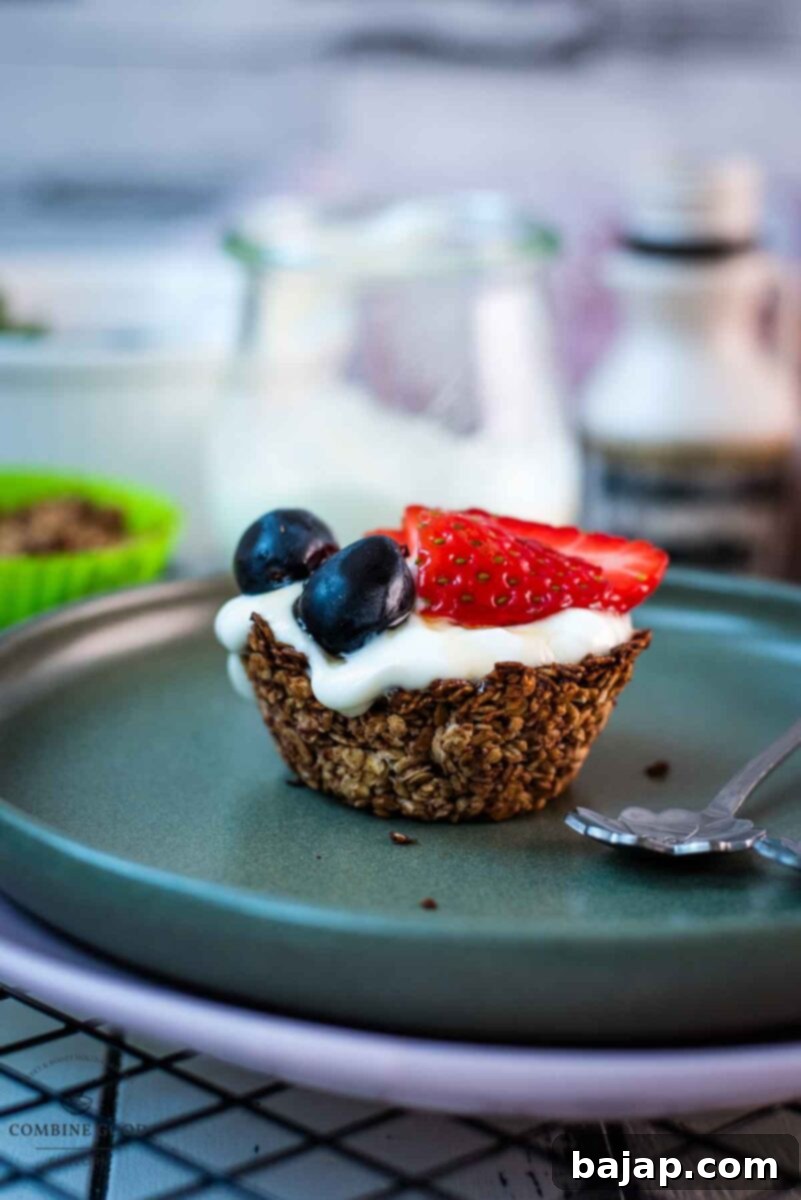
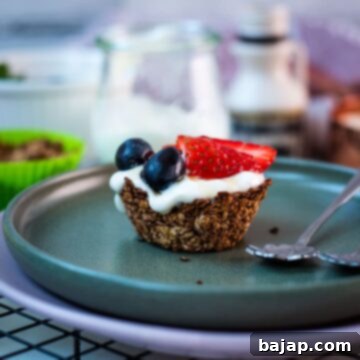
Are you ready to turn your daily breakfast routine into a moment of pure joy? These incredibly crispy granola cups are a game-changer! Imagine golden, perfectly crunchy granola, baked into a charming cup shape, then generously filled with creamy natural yogurt. Topped with a vibrant medley of fresh strawberries and sweet blue grapes, and finished with a delicate drizzle of maple syrup, this dish is nothing short of a morning masterpiece. It’s not just a meal; it’s an experience that awakens your senses and brightens your day.
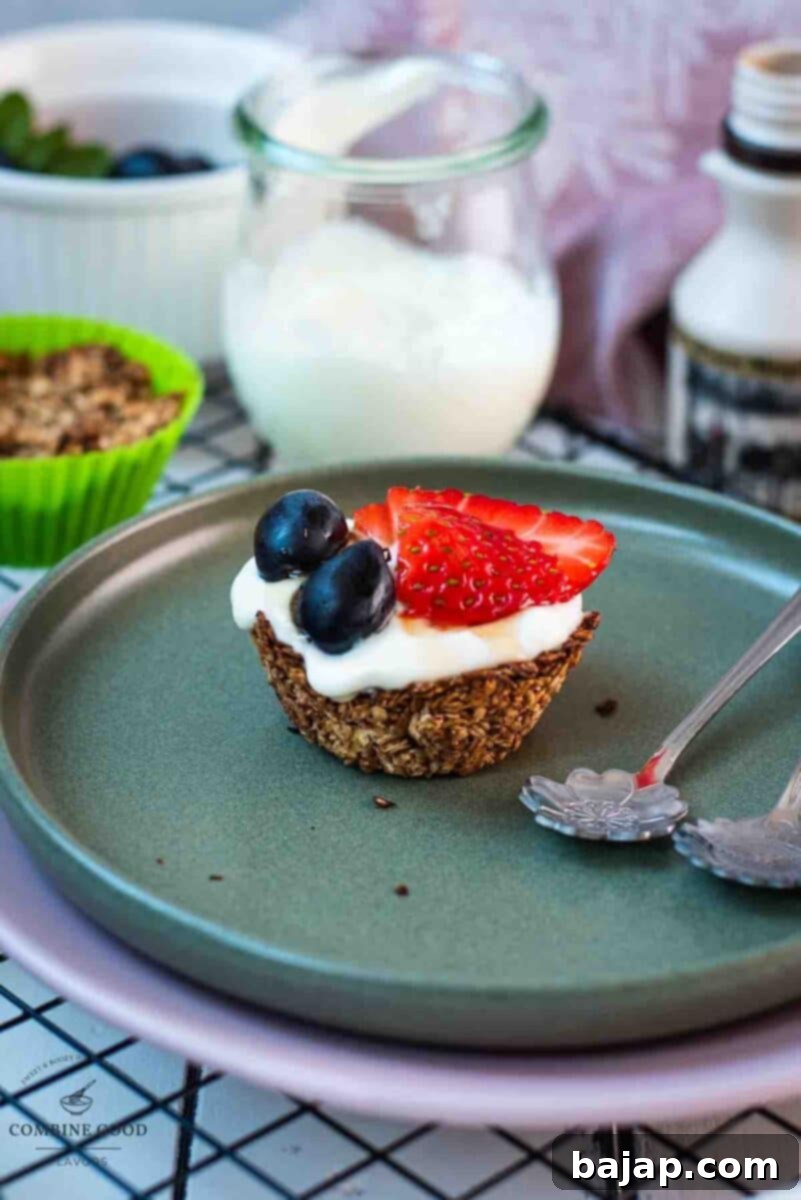
Beyond their stunning visual appeal and irresistible taste, these homemade granola cups are surprisingly simple to make. They come together in just 30 minutes, making them an ideal option for busy mornings or as a delightful grab-and-go snack. With minimal effort, you can elevate your breakfast from ordinary to extraordinary, adding a touch of golden crunch and fresh sweetness to every bite.
Why These Granola Cups Are a Must-Try
Are you wondering if these granola cups are truly as easy and delicious as they sound? Trust me, they are! My 8-year-old daughter, who fancies herself quite the little foodie – and is often a tough critic when it comes to breakfast – instantly fell in love with these. The first time I served these delightful granola cups, her eyes lit up after just one bite. Before I knew it, she was asking for seconds, a true testament to their deliciousness. That’s when I knew this recipe was a keeper, destined to become a family favorite.
And honestly, I completely understand her enthusiasm. There’s something uniquely appealing about enjoying your granola in a perfectly formed cup – it’s like having your very own edible breakfast bowl! The satisfying crunch of the granola, paired with the cool creaminess of the yogurt and the burst of juicy fresh fruit, creates a harmonious blend of textures and flavors. It’s a sensory delight that makes breakfast feel special, even on a hectic weekday.
But the magic doesn’t stop there. These granola cups are also incredibly versatile and customizable. You can easily swap out the type of yogurt, experiment with different fruits, or even add a sprinkle of nuts, seeds, or chocolate chips for an extra layer of flavor and indulgence. This adaptability means you can tailor them to your personal preferences, dietary needs, or whatever fresh ingredients you have on hand, ensuring they never get boring.
So, if you’re searching for a quick, wholesome, and utterly delicious breakfast option that appeals to both kids and adults, look no further. You’ve found your next go-to recipe. Prepare to be hooked!
🥘 Ingredients for Your Homemade Granola Cups
Crafting these delectable granola cups requires a few simple, wholesome ingredients. Each component plays a crucial role in achieving that perfect balance of crunch, flavor, and nutrition. Here’s a closer look at what you’ll need and why:
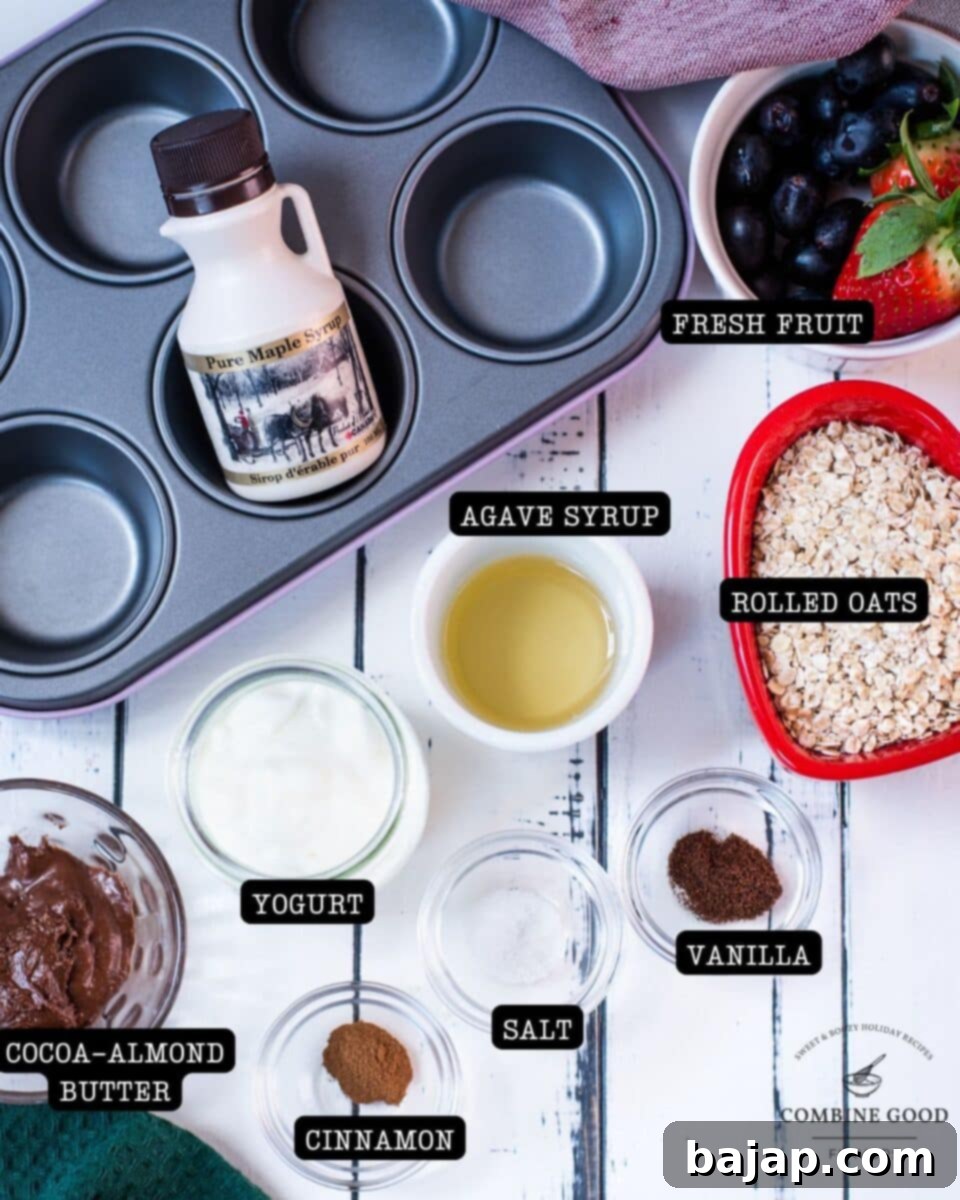
- Rolled Oats: The foundation of our granola cups! Rolled oats, also known as old-fashioned oats, are perfect because they provide a hearty texture that holds its shape well after baking. They’re also packed with fiber, promoting digestive health and keeping you feeling full longer. Avoid instant oats, as they tend to get mushy.
- Ground Cinnamon: This warm, aromatic spice adds a comforting depth of flavor. We highly recommend using Ceylon cinnamon, often called “true cinnamon,” as it contains significantly less coumarin compared to common Cassia cinnamon. Coumarin can be harmful in large doses, making Ceylon a healthier and often more flavorful choice.
- Ground Vanilla: A touch of ground vanilla enhances all the other flavors, adding a subtle sweetness and sophisticated aroma without artificial additives. It’s a wonderful way to elevate the overall taste profile.
- Agave Syrup: Our natural liquid sweetener, agave syrup helps bind the granola mixture and adds a gentle sweetness. Its relatively low glycemic index makes it a preferred choice for many. You can also substitute with maple syrup or honey if you prefer.
- Almond Butter: This creamy ingredient acts as a binder, helping the oats stick together to form the cup shape. I used a cocoa-infused almond butter here, which imparts a lovely, slightly tart, and less overtly sweet flavor, balancing the overall profile beautifully. Feel free to use plain almond butter or experiment with other nut butters like cashew or peanut butter for different flavor notes.
- Salt: Just a pinch of salt is essential! It doesn’t make the granola taste salty, but rather enhances all the other flavors, bringing out their natural sweetness and richness.
- Natural Yogurt: The creamy filling for our cups. Natural yogurt provides a tangy contrast to the sweet granola and fruit. You can opt for plain, Greek, or even a plant-based yogurt (like almond or coconut) for a vegan option. Approximately 1-2 tablespoons per cup will be perfect.
- Fresh Strawberries and Sweet Blue Grapes: These vibrant fruits are chosen for their fresh sweetness, juicy texture, and beautiful color. They add a burst of natural sugars and essential vitamins. Feel free to use your favorite seasonal fruits or a combination!
- Maple Syrup for Drizzling: A final touch of natural sweetness, pure maple syrup adds a glossy finish and an extra layer of deliciousness. Its distinct flavor pairs wonderfully with oats and fruit.
For precise quantities, please refer to the comprehensive recipe card below.
🔪 Step-by-Step Instructions: Making Your Granola Cups
Creating these delightful granola cups is straightforward and fun! Follow these detailed steps to ensure perfectly crispy and delicious results every time.
Step 1: Get Your Oven Ready. Begin by preheating your oven to 180°C (356°F) using the top/bottom heat setting. This ensures the oven is at the correct temperature for even baking from the moment your granola cups go in.
Step 2: Prepare Your Muffin Tin. Line a standard muffin tin with silicone molds. Seriously, this step is non-negotiable! Using silicone molds makes removing the granola cups incredibly easy and prevents any frustrating sticking. The first time I skipped this, let’s just say those little suckers were determined to stay put – learn from my mistake!
Step 3: Combine Your Granola Mixture. In a spacious mixing bowl, combine the rolled oats, ground cinnamon, ground vanilla, almond butter, salt, and agave syrup. Stir everything thoroughly with a wooden spoon or spatula until all the oats are well coated and the mixture looks cohesive and sticky. This ensures a consistent flavor and texture in every cup.
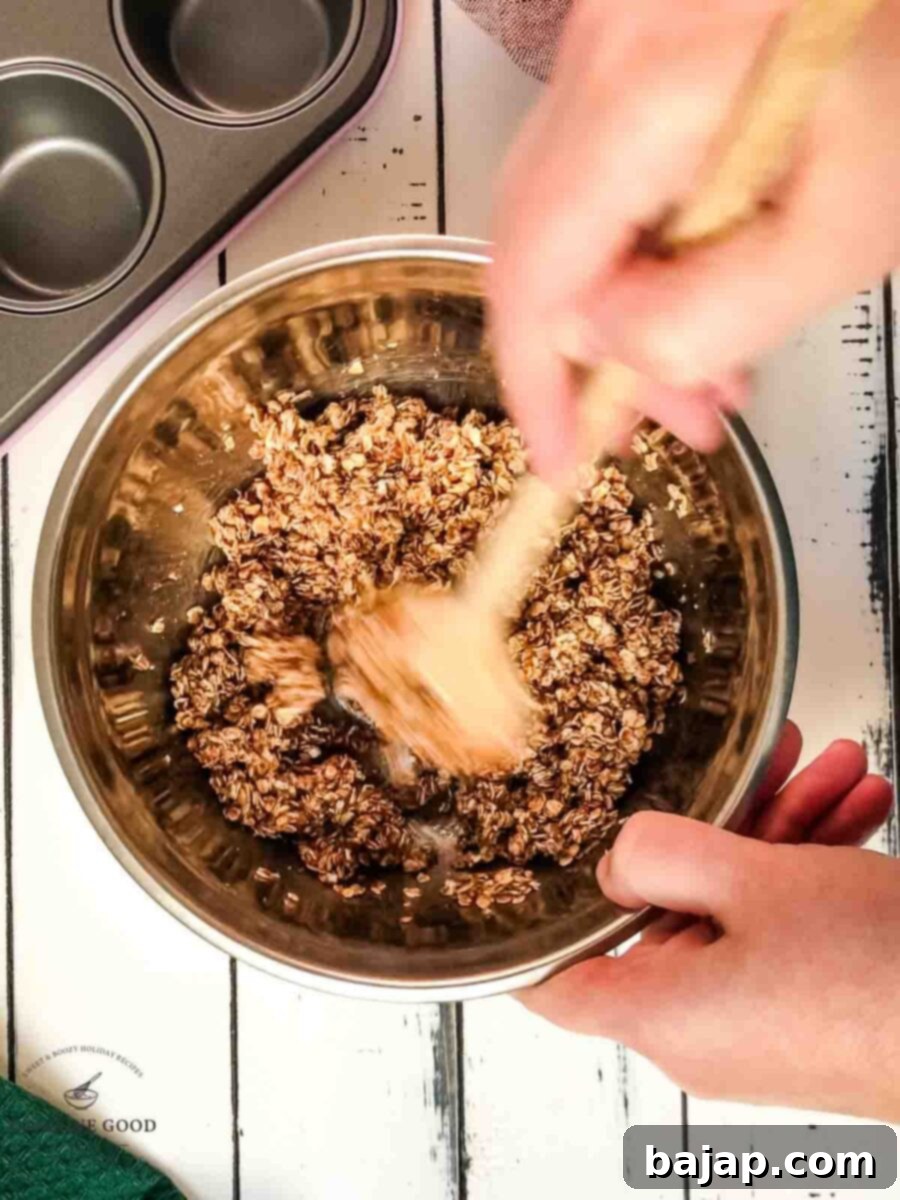
Step 4: Form the Granola Cups. Using a tablespoon, divide the granola mixture evenly among the prepared muffin cups. This recipe typically yields about 6-8 cups, depending on how generously you fill them. Once divided, use the back of the spoon, your fingers, or even a small glass to firmly press the mixture into each cup, creating a distinct bowl shape with higher edges. This is crucial for holding your delicious fillings later.
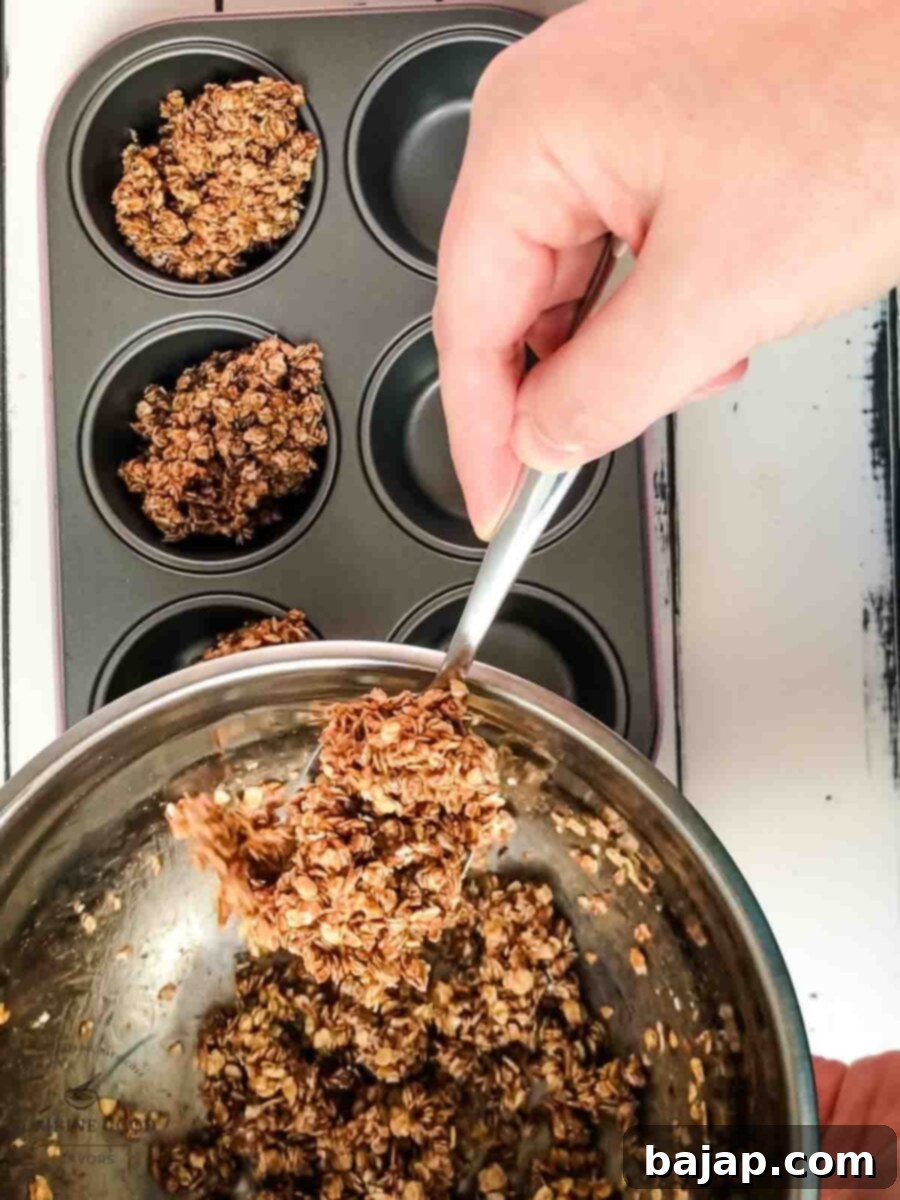
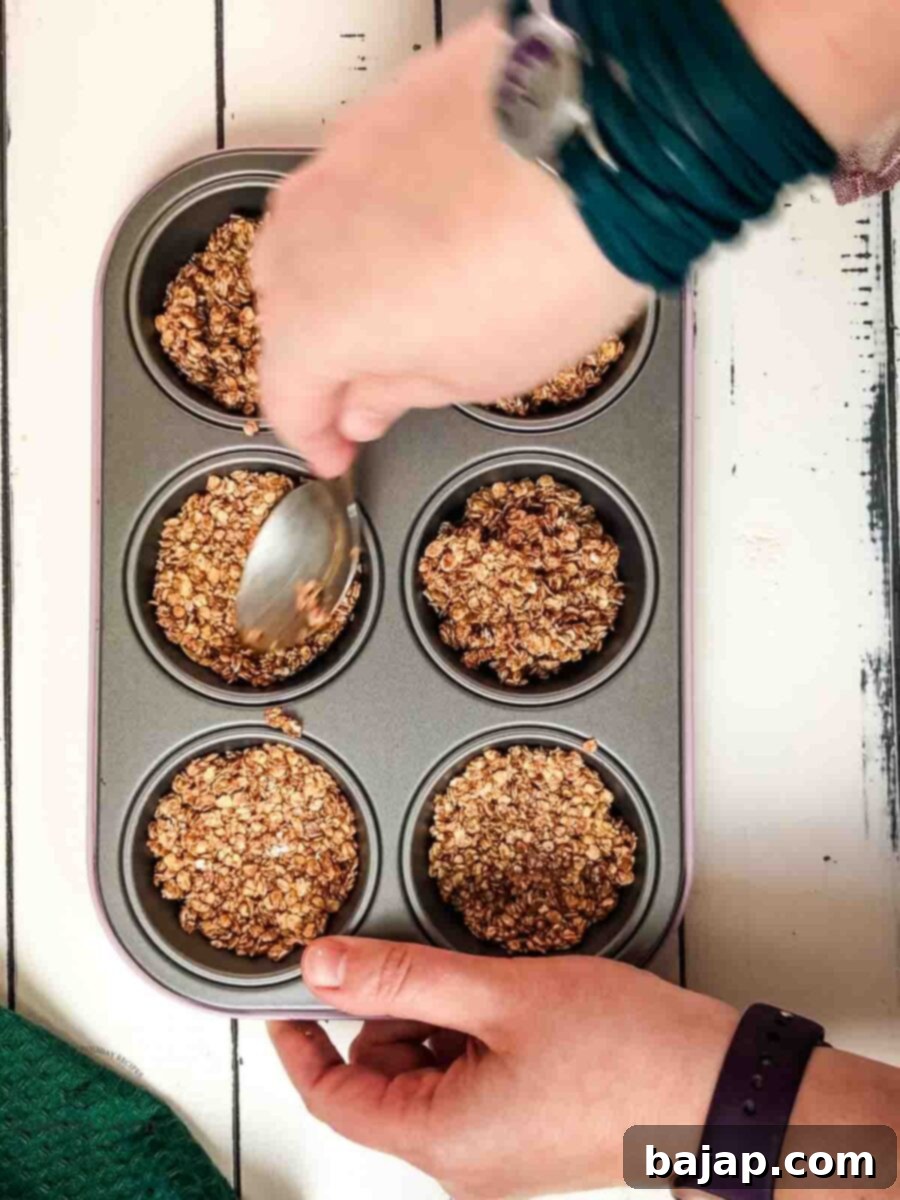
Step 5: Bake to Golden Perfection. Place the muffin tin with your granola cups onto the middle rack of your preheated oven. Bake for approximately 15-20 minutes, or until the edges are golden brown and the cups feel firm and crisp. Keep an eye on them, as oven temperatures can vary.
Step 6: Cool Completely. Once baked, remove the muffin tin from the oven and allow the granola cups to cool completely within their silicone molds. This step is vital for achieving that desirable crisp texture and for easy removal. Luckily, due to their smaller size, they cool down fairly quickly!
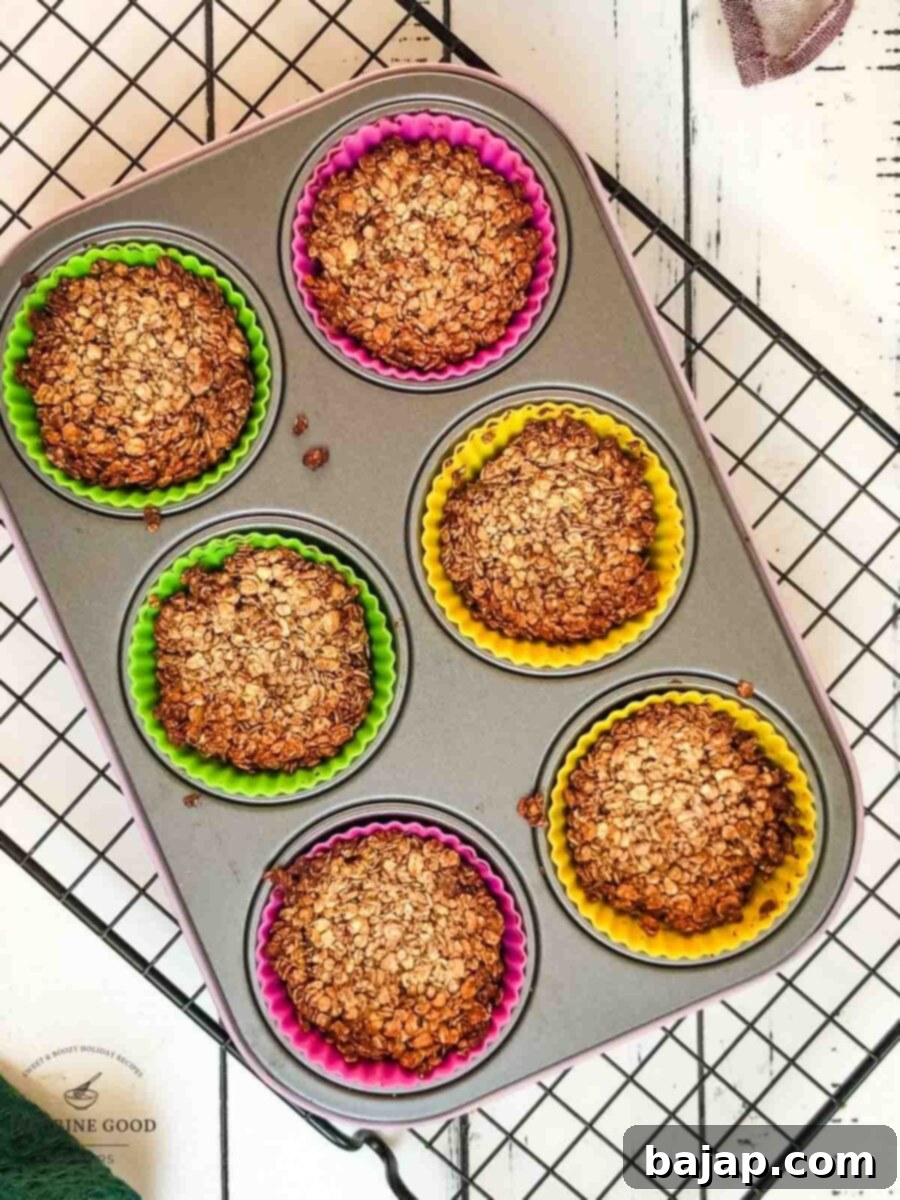
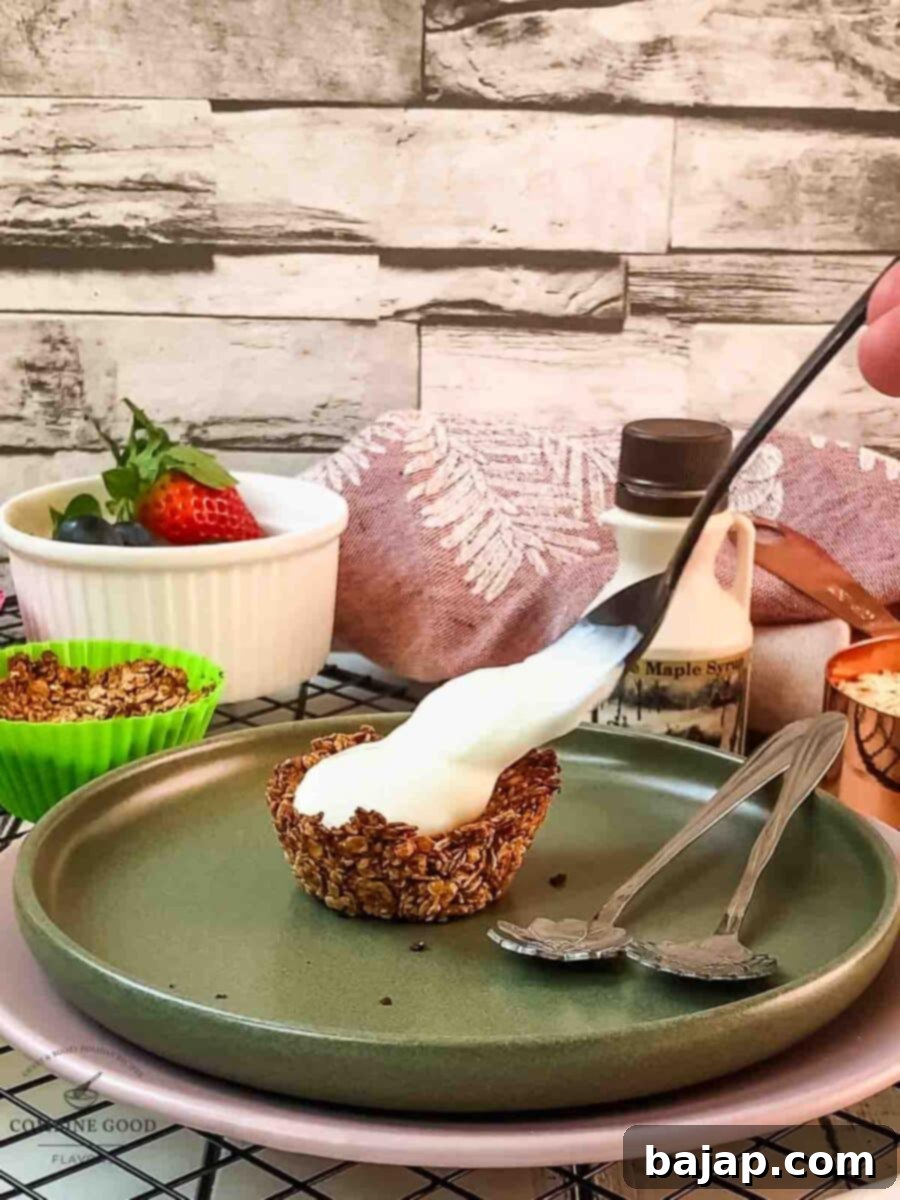
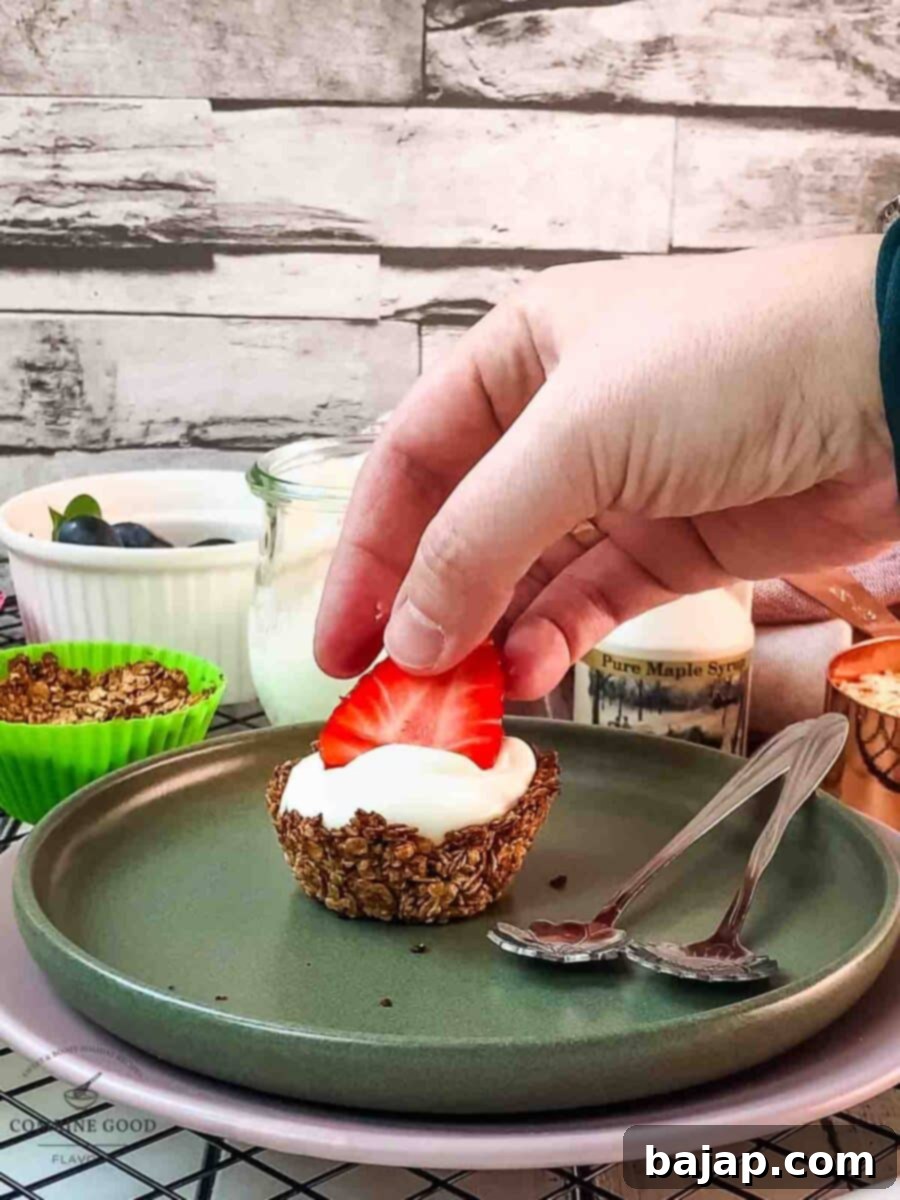
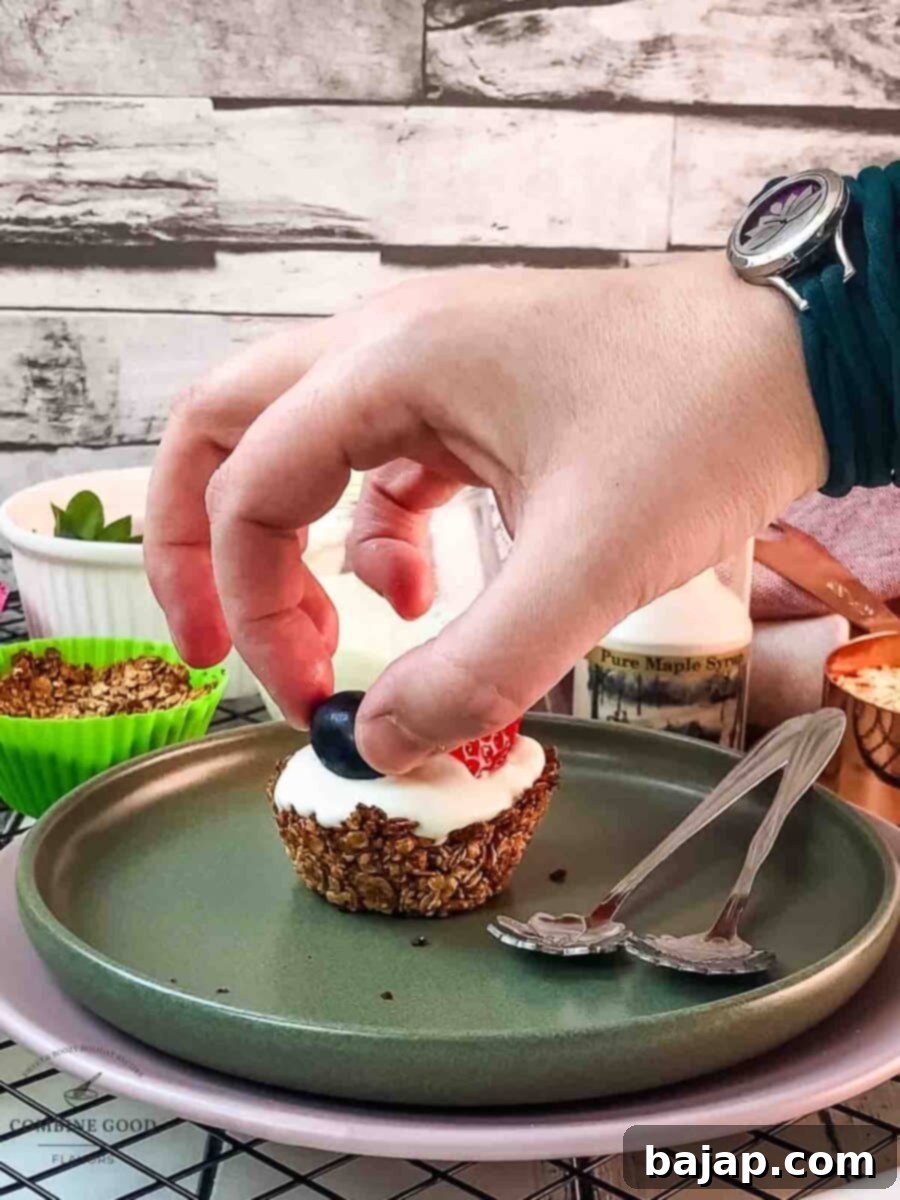
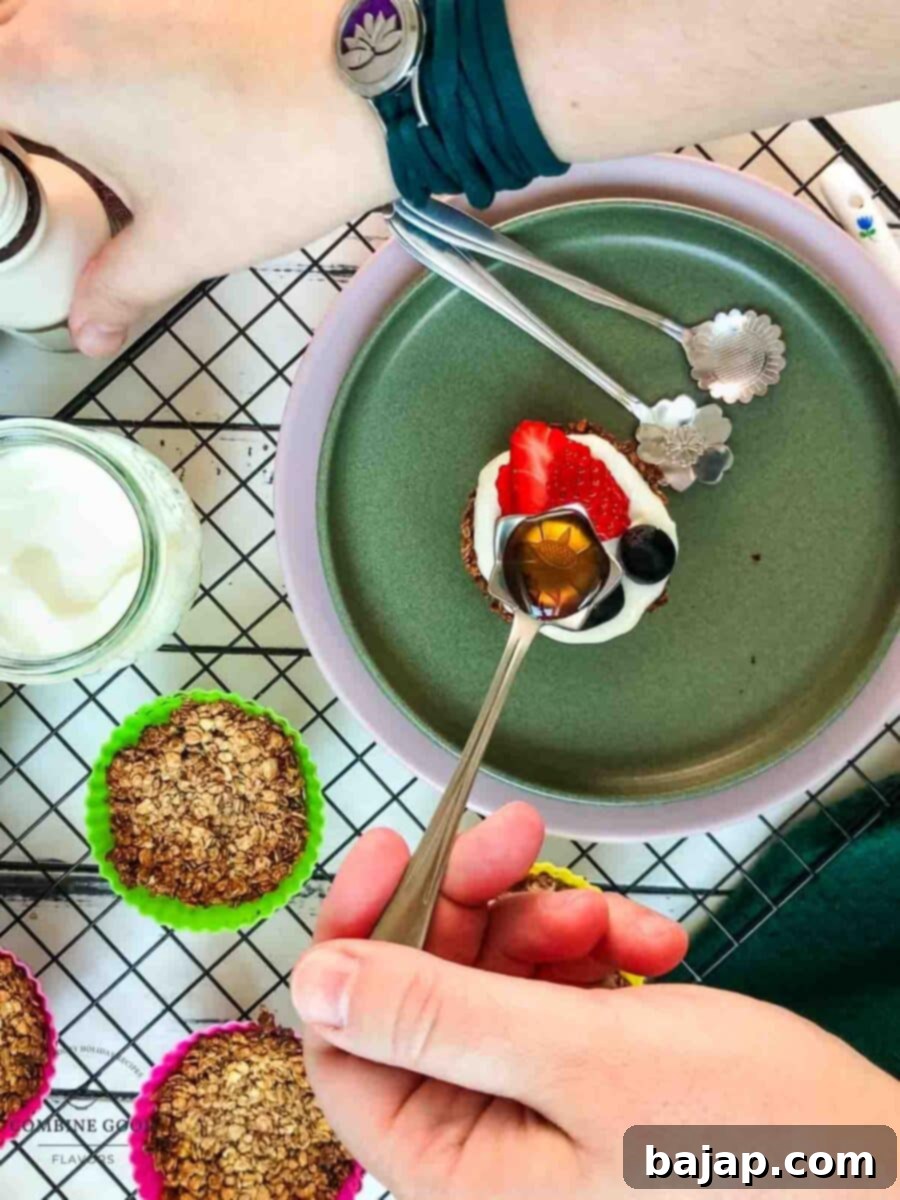
Step 7: Fill and Serve. Once cooled, gently remove the granola cups from their silicone molds and place them on a serving plate. Fill each cup with 1-2 generous spoonfuls of your chosen natural yogurt. Then, artfully arrange your favorite fresh fruit on top – in this recipe, we’re using fresh strawberries and sweet blue grapes. For the grand finale, finish with a delightful drizzle of maple syrup. Enjoy your delicious and beautifully presented homemade granola cups! 😊
Why You’ll Love These Granola Cups: Key Benefits
These homemade granola cups aren’t just delicious; they come with a host of benefits that make them a standout choice for any meal:
- Quick & Easy: From start to finish, you can have these ready in just 30 minutes. Perfect for those busy weekdays or when you need a quick, satisfying snack.
- Healthy & Wholesome: Packed with fiber from oats, protein from yogurt (especially Greek yogurt), and essential vitamins from fresh fruit, these cups offer a balanced start to your day. They are a healthier alternative to many store-bought breakfast options.
- Incredibly Customizable: The base granola cup recipe is a blank canvas! You can truly make it your own by experimenting with different yogurts, fruits, nut butters, and various add-ins.
- Perfect for Meal Prep: The baked granola cups can be made ahead of time and stored, allowing for quick assembly on demand. This is a game-changer for meal planning and ensuring healthy options are always available.
- Kid-Friendly: Their fun, individual cup format makes them appealing to children, and the ability to customize toppings allows even picky eaters to find a combination they love.
- Versatile: Ideal for breakfast, a post-workout snack, a healthy dessert, or even a light lunch. They are suitable for various occasions and cravings.
💕 Variations: Get Creative with Your Granola Cups!
What I absolutely love about these granola cups is their incredible adaptability! They are designed for you to get as creative as you want, tailoring them perfectly to your cravings, dietary preferences, or simply whatever delicious ingredients you happen to have in your fridge and pantry. The possibilities are truly endless, making every batch a new adventure!
Yogurt Adventures
Let’s start with the creamy filling. While natural yogurt offers a classic, tangy base, don’t hesitate to go wild! Plain Greek yogurt provides extra protein and thickness, while a good quality fruit yogurt can add an instant flavor boost. Craving something indulgent? Try chocolate or vanilla-flavored yogurt. And if you’re looking for a dairy-free option, plant-based yogurts like almond, coconut, or soy yogurt work beautifully, providing a rich and creamy texture that’s just as satisfying. These little cups are the perfect base for all kinds of deliciousness, whether you stick to classic dairy or explore vegan alternatives.
Fruitful Pairings
The fruit toppings are where you can really let your imagination soar! Go traditional and comforting with thinly sliced apples and a sprinkle of raisins, evoking a classic autumnal feel. For a more exotic and vibrant twist, try sweet physalis and juicy mango chunks, transporting your taste buds to a tropical paradise. Berry lovers are in luck, as virtually all berries work wonderfully: fresh strawberries, plump raspberries, sweet blueberries, and dark blackberries all add beautiful color, flavor, and antioxidants. In the colder months, lightly sautéed pears or roasted stone fruits can also be a fantastic choice. And if you’re feeling extra indulgent, a sprinkle of dark chocolate shavings on top of your fruit never hurt anyone – it’s a match made in heaven!
Nut Butter & Crunch Boosters
But wait – it gets even better. You can also switch up the nut butters in the granola base, altering the flavor profile of the cup itself. Try rich and creamy peanut butter for a classic, nutty, and slightly salty flavor that pairs wonderfully with bananas. Opt for a delicate cashew butter for a hint of sweetness and a less intense nutty taste. Or, if you’re dreaming of tropical vibes, a smooth coconut butter will infuse your granola with a subtle, exotic aroma. Want an extra crunch after baking? Toss in a handful of chopped nuts (almonds, walnuts, pecans) or some earthy cacao nibs before mixing, or sprinkle them on top with your fruit.
Seriously, the possibilities are endless, and that’s what makes these homemade granola cups so much fun to make and eat! What’s your favorite combo? Let me know – I’m always up for new breakfast inspiration! 😊
Storage and Make-Ahead Tips
These granola cups are fantastic for meal prepping! Here’s how to store them to keep them fresh and crispy:
- Storing Baked Granola Cups: Once the granola cups have cooled completely, store them in an airtight container at room temperature for up to 5-7 days. To maintain maximum crispness, you can also store them in the refrigerator, but let them come to room temperature for a few minutes before filling.
- Freezing Granola Cups: For longer storage, you can freeze the baked granola cups. Place them in a single layer on a baking sheet and freeze until solid, then transfer them to a freezer-safe bag or container. They can be stored for up to 2-3 months. Thaw at room temperature or re-crisp in a low oven if desired.
- Filling Fresh: Always add the yogurt and fresh fruit just before serving. This prevents the granola cups from becoming soggy and ensures the fruit remains fresh and vibrant.
Frequently Asked Questions (FAQ)
- Q: Can I make these granola cups gluten-free?
- A: Yes! Rolled oats are naturally gluten-free, but it’s important to choose certified gluten-free oats to avoid cross-contamination if you have a severe sensitivity or allergy.
- Q: Can I make these granola cups vegan?
- A: Absolutely! This recipe is already very vegan-friendly. Simply ensure your almond butter (or other nut butter) and agave syrup are vegan. For the filling, use a plant-based yogurt (almond, soy, coconut, or oat yogurt) and maple syrup for drizzling.
- Q: How do I prevent the granola cups from sticking to the muffin tin?
- A: The key is using silicone muffin molds, as mentioned in the instructions. If you don’t have silicone molds, generously grease a regular muffin tin with cooking spray or oil, and ensure the cups are completely cool before attempting to remove them.
- Q: Can I use a different sweetener instead of agave syrup?
- A: Yes, you can substitute agave syrup with other liquid sweeteners like maple syrup, honey (if not vegan), or date syrup. Adjust the quantity slightly based on your sweetness preference and the viscosity of the alternative sweetener.
- Q: What if I don’t have a muffin tin?
- A: While a muffin tin helps create the cup shape, you can still enjoy the granola. Instead, press the mixture into a parchment-lined baking dish to make granola bars, or crumble it onto a baking sheet for loose granola that you can serve in a bowl.
🍽 Equipment You’ll Need
Gathering the right tools makes the process even smoother:
- Muffin Tin: Standard 12-cup size.
- Silicone Muffin Molds: Highly recommended for easy release!
- Mixing Bowl: A large bowl to comfortably combine ingredients.
- Wooden Spoon: Or a sturdy spatula for mixing.
- Tablespoons: For measuring and portioning.
- Cutting Board & Sharp Knife: For preparing your fresh fruit toppings.
Other Delicious Breakfast Recipes for You to Try
If you loved these granola cups, you might enjoy exploring some of our other fantastic breakfast and brunch recipes:
- Brown Sugar Banana Bread: A moist and flavorful classic.
- Banana Oatmeal Muffins (3 Ingredients): Incredibly simple and healthy muffins.
- Pistachio Rolls: A unique and delicious twist on classic rolls.
- Mini Cinnamon Rolls: Perfect bite-sized treats for any occasion.
- Apple Yogurt Breakfast Granola: Another great way to enjoy granola and fruit.
- Dried Apricot Muffins: Sweet and tangy muffins with a delightful texture.
- Fruit Cake Muffins: A festive and flavorful muffin option.
- Gluten-Free Cinnamon Granola: For those who prefer a loose granola mix.
- Easy Rice Pudding Recipe: A comforting and creamy classic.
- Easy Biscoff Granola Recipe: A crunchy, spiced granola that’s hard to resist.
If you give this recipe a try, I’d absolutely love to hear from you! Please let me know how you liked it by giving it a ★★★★★ star rating and leaving a comment below. Your feedback means the world to me and helps others discover these delicious recipes. You can also sign up for our Newsletter to get weekly recipe inspiration delivered straight to your inbox, or follow me on Pinterest or Instagram and share your culinary creation with me. Just tag me @combinegoodflavors and use the hashtag #combinegoodflavors, so I don’t miss seeing your masterpiece!
📖 Recipe Card: Homemade Granola Cups
Homemade Granola Cups
Nora
Save RecipeSaved!
Pin Recipe
Equipment
-
Muffin Tin
-
Silicone muffin molds
-
Mixing bowl
-
Wooden spoon
-
Tablespoons
-
Cutting board & Sharp knife
Nutrition values are estimates only, using online calculators. Please verify using your own data.

⛑️ Food Safety Tips
Ensuring food safety is paramount when preparing any meal. Follow these guidelines to keep your kitchen and food hygienic and safe:
- Maintain Proper Cooking Temperatures: Always cook foods to their minimum internal temperature to destroy harmful bacteria. For most cooked foods, this means reaching at least 165 °F (74 °C). While this recipe doesn’t involve raw meat, it’s a good general practice for any ingredient that requires cooking.
- Avoid Cross-Contamination: Never use the same utensils or cutting boards on cooked food that previously touched raw meat or unwashed produce. Always wash them thoroughly between uses.
- Hand Hygiene: Wash your hands thoroughly with soap and warm water before, during, and after handling food, especially after touching raw ingredients.
- Refrigerate Promptly: Do not leave perishable foods, especially those containing dairy like yogurt, sitting out at room temperature for extended periods. Refrigerate promptly to slow bacterial growth.
- Never Leave Cooking Unattended: Stay in the kitchen when cooking, particularly when using the oven or stovetop, to prevent accidents and ensure food cooks properly.
- Use High Smoking Point Oils: When cooking or baking, choose oils with a high smoking point to avoid producing harmful compounds that can occur when oil overheats.
- Ensure Good Ventilation: Always have good ventilation when using a gas stove or oven to prevent the buildup of harmful gases and maintain good air quality in your kitchen.
For further comprehensive information and guidelines on food safety, please check the official resources from the FDA’s Safe Food Handling practices.
