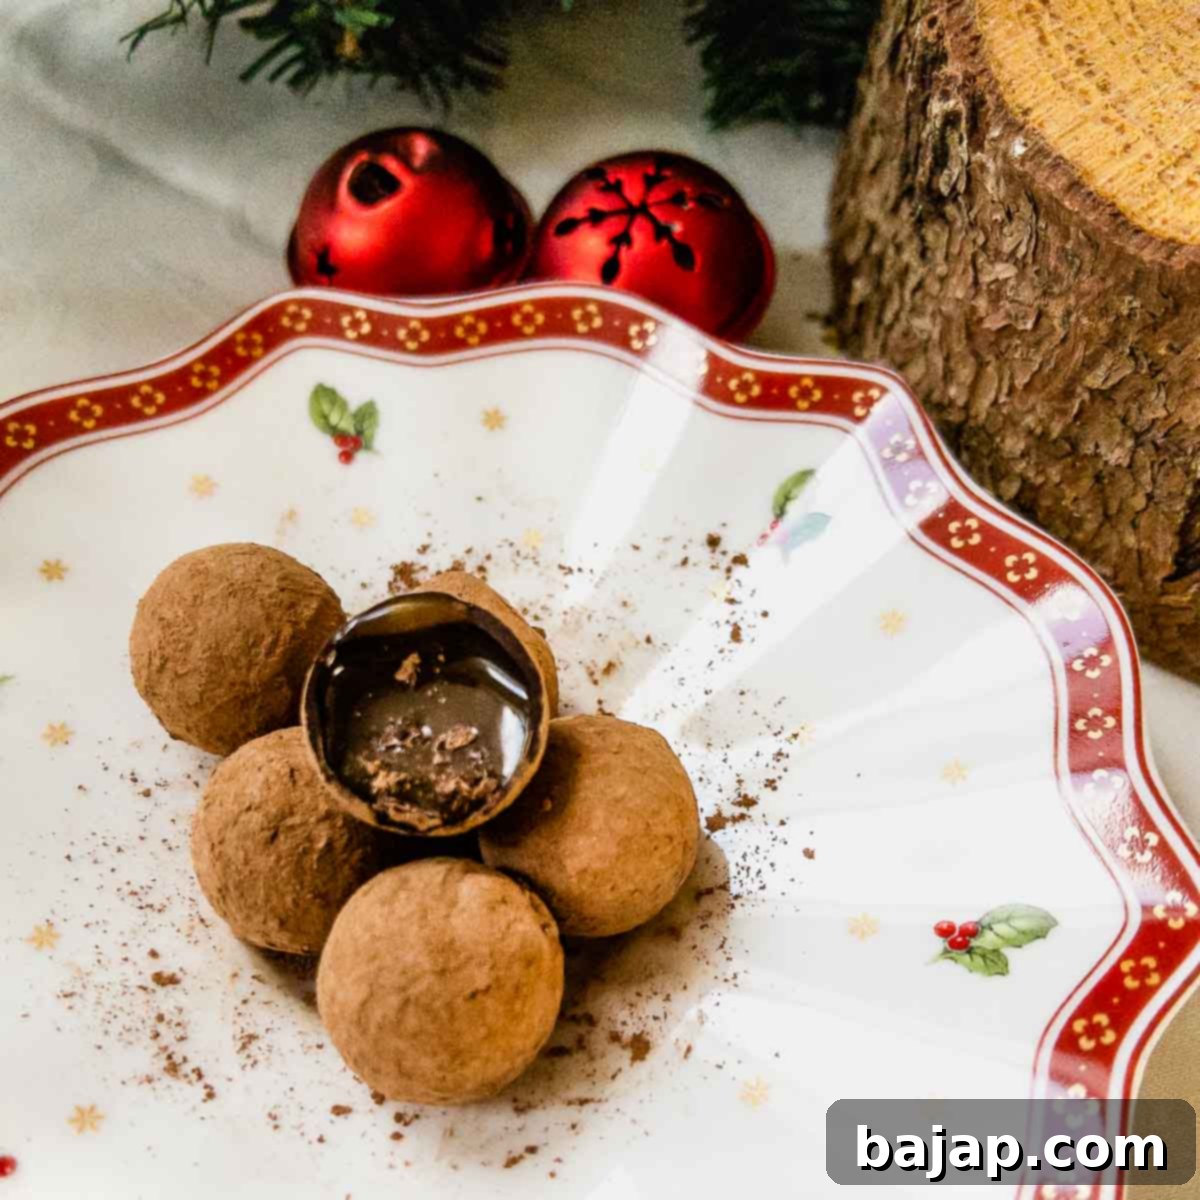
Irresistible Homemade Salted Caramel Truffles: Your Guide to Decadent Delight
Imagine a moment of pure bliss: a rich, liquid salted caramel core, perfectly enveloped in luxurious milk chocolate, and then delicately rolled in the finest Criollo cocoa powder. These aren’t just any truffles; they are an experience in gourmet indulgence, and the best part? You can easily craft these exquisite treats yourself right in your own kitchen with our straightforward, step-by-step recipe. Prepare to impress and delight!
These little drops of heaven are incredibly versatile, making them ideal for any occasion. Present them as a thoughtful hostess gift, offer them as a warm welcome to your guests, or simply enjoy them as a festive snack with your family during the holidays. Be warned, though: with their divine taste and melt-in-your-mouth texture, it’s going to be incredibly hard to stop at just one! Get ready to fall in love with homemade confectionery. 😀
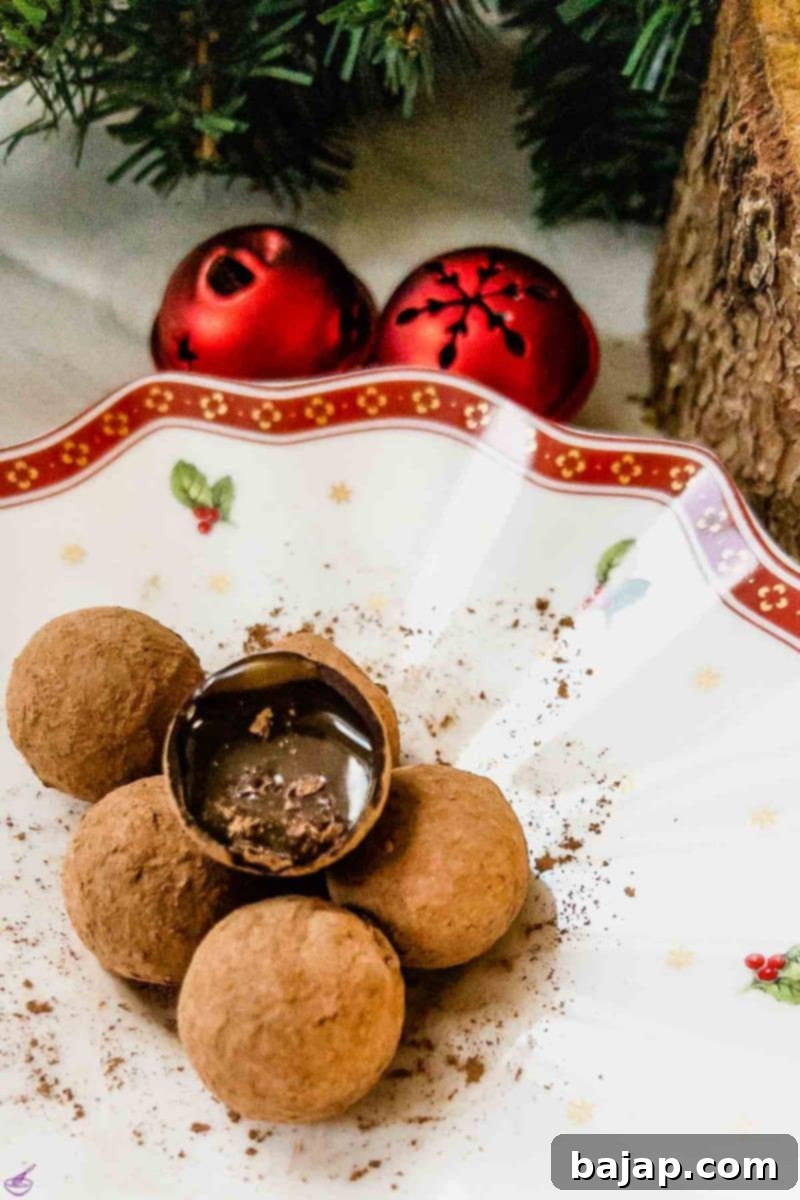
Beyond their heavenly taste and stunning appearance, these salted caramel chocolate truffles boast an additional benefit: they are both fructose-free and gluten-free! This makes them a wonderful option for those with dietary restrictions, ensuring that everyone can partake in the joy of these decadent chocolates.
What truly elevates this recipe is the incredibly simple process of making your own salted caramel. Forget about searching endlessly at the grocery store for the perfect caramel; our homemade version is not only deliciously superior but also significantly more cost-effective than any store-bought alternative. This particular recipe for homemade salted caramel is one of my all-time favorites, guaranteed to deliver a rich, buttery, and perfectly balanced caramel sauce every time.
If you’re planning a special occasion or simply want to offer a diverse array of homemade treats, consider preparing several types of truffles simultaneously. It’s a fantastic way to showcase your culinary skills and cater to different preferences. Here are some other delightful homemade candy recipes you might enjoy:
- Eggnog Truffles with White Chocolate Coating
- Eggnog Truffles Rolled in Cocoa Powder
- Orange Marmalade Chocolates with Rum
- Dark Chocolate Truffles with Cinnamon
- Matcha Chocolates
- Baileys Chocolates
- Biscoff Truffles
[feast_advanced_jump_to]
🥘 Essential Ingredients for Perfect Salted Caramel Truffles
To create these delectable salted caramel truffles, you’ll need a selection of high-quality ingredients. While you can opt for store-bought salted caramel, we highly recommend making your own for an unparalleled flavor and freshness.
- Salted Caramel: The star of our show, whether you choose to make it from scratch or purchase a good quality version.
- Granulated Sugar: Forms the base of our homemade caramel, transforming into a rich, golden liquid.
- Unsalted Butter: Adds a luxurious creaminess and depth of flavor to the caramel. Using unsalted butter gives you control over the final saltiness.
- Heavy Cream: Essential for achieving that smooth, velvety caramel consistency. Ensure it’s not boiling when added.
- Fleur de Sel (Coarse Sea Salt): This premium sea salt is crucial for the “salted” aspect, providing bursts of briny flavor that beautifully balance the sweetness of the caramel.
- Glucose: A key ingredient for a stable, professional-quality caramel that resists crystallization and ensures a longer shelf life. If unavailable, liquid honey can be used as a substitute.
- Optional: Rum: A tablespoon of good quality rum can add a delightful depth and sophisticated note to your caramel.
- Dark Hollow Spheres: These pre-made chocolate shells are your canvas for creating perfect, uniformly shaped truffles.
- Dark Chocolate Chips: Used for both sealing the truffle halves and creating the outer coating. Choose a high-quality dark chocolate (couverture) for the best taste and melting properties.
- Criollo Cocoa Powder: The ultimate finishing touch for rolling your truffles. Criollo cocoa is prized for its rich, complex flavor and less bitter notes, offering a superior coating.
For precise quantities and measurements, please refer to the detailed recipe card below.
Looking for high-quality chocolate hollow spheres? At PrimeChocolate, you can find these essential components and save 10% on your purchase with the coupon code ThankYouNora.
🔪 Crafting Your Salted Caramel Truffles: A Step-by-Step Guide
How to Make a Silky Homemade Salted Caramel Sauce
The heart of these truffles is the exquisite salted caramel sauce. Making it from scratch is simpler than you might think and yields a vastly superior result.
- Caramelize the Sugar: Begin by melting the granulated sugar in a large, heavy-bottomed saucepan over low to medium heat. This process requires patience, as it can take up to 20 minutes for the sugar to fully transform. Resist the urge to stir the sugar with any utensils during this initial phase. Instead, gently shake the pan occasionally to help the sugar melt evenly. The goal is a beautiful, light golden caramel. Be very careful not to let it get too dark, as burnt sugar will result in an unpleasant, bitter taste!
- Incorporate the Butter: Once your sugar has reached a lovely golden hue, remove the pan from the heat. Gradually add the unsalted butter, piece by piece, stirring constantly. The butter will melt into the caramel, creating a smooth, creamy sauce. Continue stirring until all the butter is fully incorporated.
- Add the Salt: Stir in two generous pinches of fleur de sel (coarse sea salt) into the caramel sauce. The salt provides that critical balance, cutting through the sweetness and enhancing the rich caramel flavor.
- Introduce the Cream: In a separate saucepan, gently heat the heavy cream until it’s warm to the touch but definitely not boiling. Slowly and carefully pour the warm cream into the caramel mixture, stirring continuously. Be cautious, as the mixture will bubble vigorously.
- Simmer and Add Glucose: Return the saucepan to low heat and let the caramel boil gently for just two minutes, allowing the flavors to meld. Then, stir in the glucose until it is completely dissolved. Glucose is key here for preventing crystallization and ensuring a smooth, stable caramel texture that will hold up beautifully inside your truffles.
- Cool the Caramel: Transfer the salted caramel sauce to a heatproof bowl and let it cool down to exactly 80.6 °F (27 °C). This precise temperature is crucial for the next steps, ensuring the caramel is the perfect consistency for filling the truffle shells.
Optional Rum Addition: If you desire a touch of sophisticated flavor, now is the perfect time to add rum. Once the caramel cream has cooled to the desired temperature, stir in the rum and mix it thoroughly for an extra layer of warmth and complexity.
Using Store-Bought Salted Caramel: For a quicker option, combine one cup of good quality store-bought salted caramel with five teaspoons of glucose in a microwave-safe bowl. Heat gently to a maximum of 89.6 °F (32 °C) to ensure the glucose dissolves completely. Allow the mixture to cool to 80.6 °F (27 °C) before adding rum (if desired) and transferring it to a piping bag.
Filling and Chilling Your Salted Caramel Truffles
Once your homemade (or prepared) salted caramel is at the correct temperature, it’s time to fill the chocolate shells.
- Fill the Hollow Spheres: Carefully pour the cooled caramel filling into a piping bag. Snip off a small tip from the bag. Gently fill each dark hollow chocolate sphere just below the rim. After filling a few, lightly swirl the tray of truffles back and forth. This helps to release any air bubbles and ensures the caramel settles evenly within the shells.
- Crystallization and Chilling: Double-check that all hollow spheres are filled uniformly. Then, transfer the filled truffles to the refrigerator. Allow them to crystallize and firm up for at least 12 hours, though ideally, 24 hours will yield the best, most stable results. This crucial chilling period ensures the caramel is perfectly set before the next steps.
Tempering the Chocolate Coating
As the chilling time for your truffles nears its end, begin the process of tempering your dark chocolate chips for the coating. Tempering is vital for achieving a beautiful, glossy finish, a satisfying snap, and preventing “bloom” (the dull, grayish streaks that can appear on untempered chocolate).
Water Bath Method: If you’re using a water bath (bain-marie) to melt your chocolate, you’ll need two pots of different sizes. Fill the larger pot with about 3-4 finger-widths of water and bring it to a gentle simmer. Place the smaller pot on top, ensuring its bottom does not touch the simmering water. Add your dark chocolate chips to the smaller pot and melt them slowly over the rising steam, stirring frequently with a rubber spatula. Monitor the temperature closely with a thermometer. For dark chocolate, melt to an initial temperature of 115-122°F (46-50°C), then cool down to 88-91°F (31-32°C) while continuing to stir. This “cooling” stage is crucial for forming stable crystals. Once at the working temperature, it’s ready for coating.
Tempering Unit Method: For a more controlled approach, use a dedicated chocolate tempering machine. Simply add your dark chocolate chips to the tempering unit and set it to the appropriate melting and tempering temperatures. For dark chocolate, melt at 122 °F (50 °C) and then cool to a working temperature of 88-91°F (31-32°C).
Remember, proper tempering ensures your truffles will have that professional, crisp exterior and a beautiful shine.
🍫 Unlock Chocolate Mastery: Download Your Free Chocolate Workbook!
Seal the Truffles: Creating a Secure Chocolate Base
Once your caramel is set and your chocolate is tempered, it’s time to seal the hollow spheres, securing the liquid caramel inside.
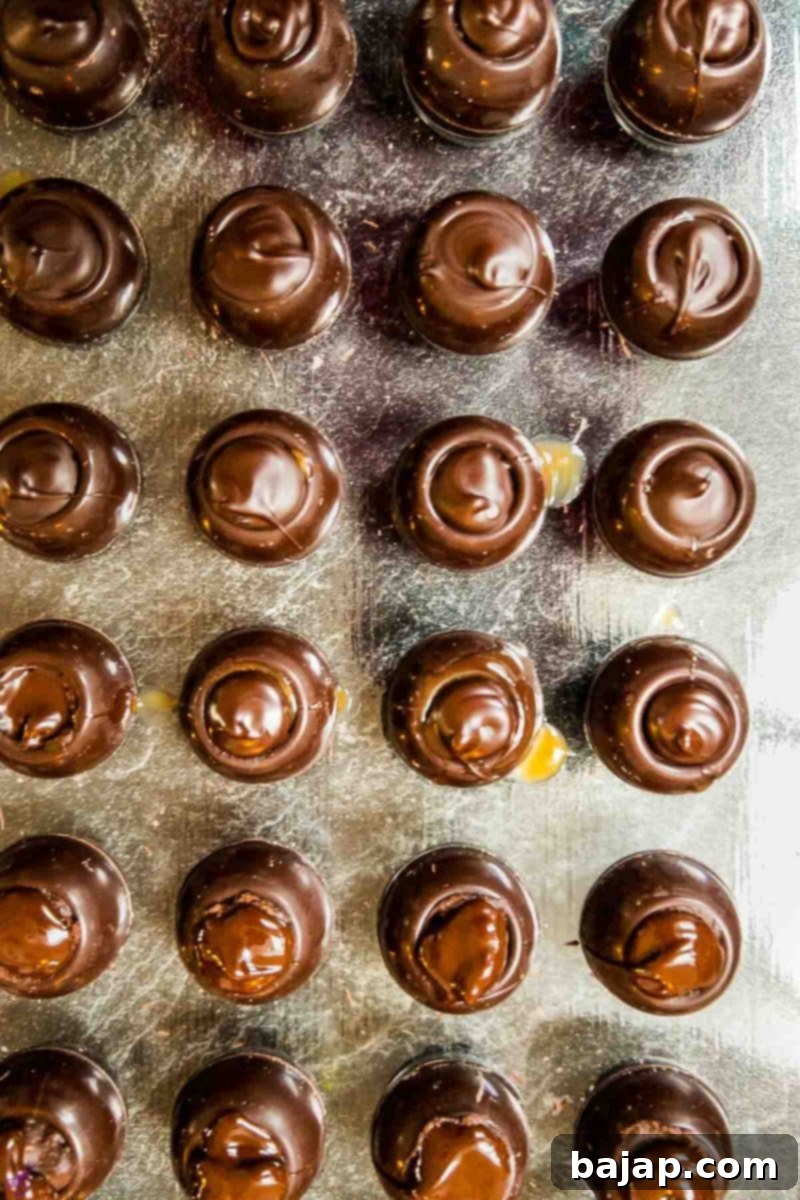
- Seal with Chocolate: Pour a small amount of your tempered dark chocolate into a squeeze bottle (a clean plastic condiment bottle works perfectly). Take each filled hollow sphere and apply a small dot of chocolate from the squeeze bottle to seal the opening. Gently shake the sphere a little to help the chocolate spread and form a thin, even seal across the opening.
- Chill to Set: Place the sealed chocolate truffles back into the refrigerator for approximately 15 minutes. This brief chill allows the newly applied chocolate seal to set firmly.
- Efficient Chocolate Management: To prevent any leftover tempered chocolate in your squeeze bottle from hardening prematurely, place the bottle (with its contents) directly into the refrigerator alongside the truffles. Once the chocolate in the bottle is solid, you can easily squeeze the bottle to release the hardened chocolate and add it back to your main batch of melted chocolate for re-tempering if needed, minimizing waste.
Coating the Caramel Truffles with Criollo Cocoa
This is where your truffles get their signature look and an extra layer of flavor from the rich cocoa powder.
- Prepare Your Rolling Station: Before you begin coating, prepare your workstation. Find a medium-sized bowl or a loaf pan and sift a generous amount of Criollo cocoa powder into it. This ensures a smooth, lump-free coating. Also, lay out 20 chocolate paper molds (mini cupcake liners) where you will place your finished truffles immediately after coating.
- Gloves On! We highly recommend wearing disposable gloves for this step. Not only does it keep your hands clean and prevents sticky fingers, but it also helps maintain the temperature of the chocolate and prevents fingerprints on your beautiful truffles.
- Enrobe the Truffles: Retrieve your sealed truffles from the fridge. Take 1-4 truffles in one hand. Dip the fingers of your other hand into the melted, tempered couverture. Using your chocolate-dipped hands, gently coat and roll the small balls until they are completely covered with an even layer of chocolate.
- Roll in Cocoa Powder: Once each truffle is nicely coated with couverture, immediately place it into the prepared bowl of Criollo cocoa powder. Swirl the bowl back and forth gently to ensure the truffle is evenly coated in the fine cocoa powder. The cocoa will adhere beautifully to the still-setting chocolate coating.
- Final Placement: After coating with cocoa, carefully pick up the truffle and place it directly into one of the prepared paper molds. If you prefer, you can also place them on a sheet of parchment paper.
- Repeat and Enjoy: Continue this process for all the remaining truffles. Congratulations! Your homemade salted caramel truffles are now complete and ready to be enjoyed!
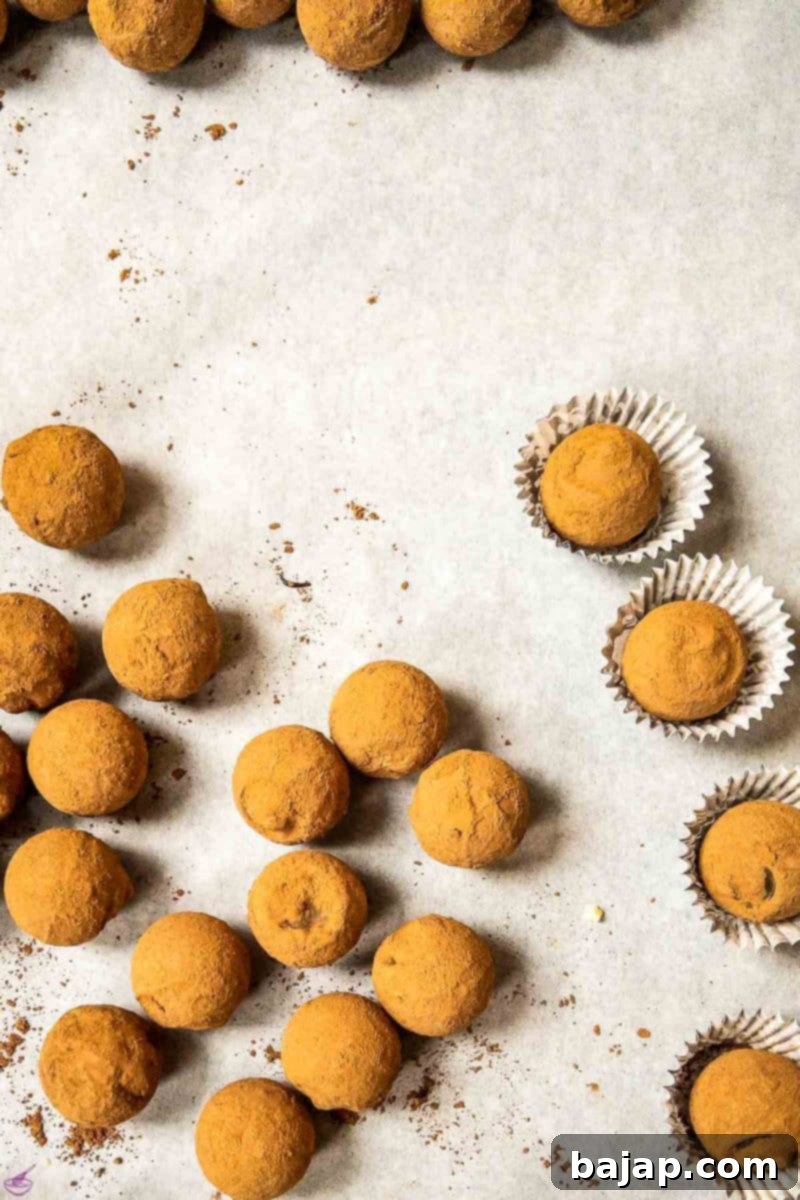
Store your finished truffles in a cool, dry place within an airtight container to maintain their freshness and exquisite texture.
If you’re planning to present these delightful confections as gifts, we highly recommend wrapping them in small, elegant praline bags. This not only enhances their presentation but also protects them, making for a truly thoughtful and gourmet present.
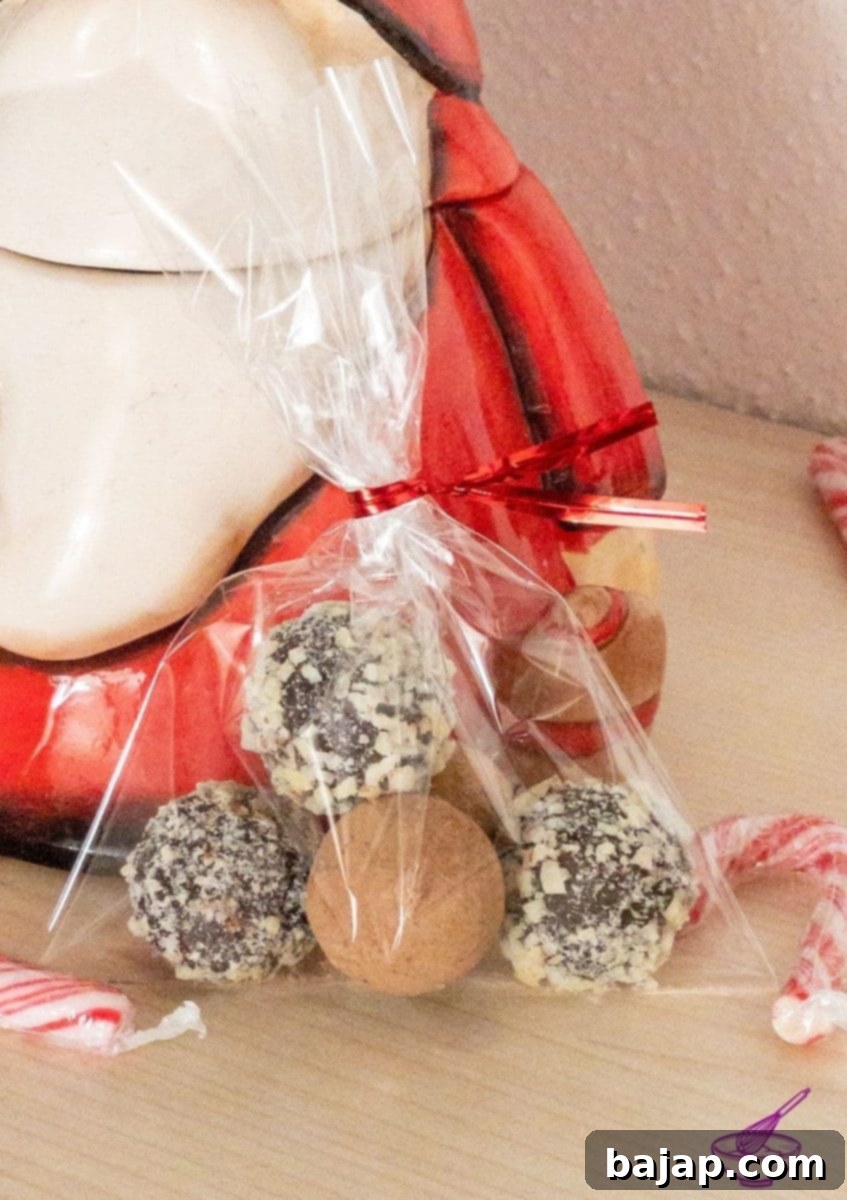
For another fantastic idea for a homemade Christmas candy gift, consider this authentic Torrone (Italian Christmas nougat with roasted nuts)! It’s a delightful and unique treat that’s sure to be appreciated.
🥜 Smart Substitutions for Your Truffle Recipe
While our recipe calls for specific ingredients for optimal results, we understand that sometimes substitutions are necessary. Here’s what you need to know:
- Glucose Replacement: Glucose is paramount for a stable caramel that resists crystallization. If you cannot find glucose, you can substitute it 1:1 with liquid honey. It’s crucial that the honey is in liquid form; otherwise, solid honey can cause crystals to form in your ganache or caramel, affecting its smooth texture.
- Avoid Organic Honey (for Stability): For best results in confectionery, particularly when using it as a glucose substitute, we advise against using organic honey. Industrial honey is often processed in a way that makes it more stable and less prone to causing mold or inconsistencies in caramel, which can sometimes occur with certain types of organic honey due to varying enzyme activities.
🍫 Master Chocolate Artistry: Get Your Free Chocolate Workbook!
🍽 Essential Equipment for Truffle Making
Having the right tools can make your truffle-making experience much smoother and more enjoyable. Here’s what you’ll need:
- Water bath (Bain-Marie) or Tempering Device: Essential for gently melting and tempering your chocolate to achieve a smooth, glossy coating. A tempering device offers more precision.
- Small Saucepan: For heating your heavy cream and for the caramelization process.
- Kitchen Scale: For accurate measurement of ingredients, especially butter and chocolate, which is crucial for confectionery.
- Thermometer: Absolutely vital for precise temperature control during caramel making and especially for tempering chocolate. An instant-read digital thermometer is highly recommended.
- Squeeze Bottle: Perfect for neatly sealing the hollow chocolate spheres with a small amount of melted chocolate.
- Piping Bag: Indispensable for cleanly and efficiently filling the hollow spheres with the liquid caramel.
- Small Sieve: Used for sifting the Criollo cocoa powder, ensuring a smooth, even, and clump-free coating for your truffles.
- Medium Bowl or Loaf Pan: This will be your station for rolling the chocolate-coated truffles in cocoa powder.
- Chocolate Paper Molds: Small paper cups or liners designed for truffles and pralines, perfect for presenting and storing your finished creations.
- Disposable Gloves: A must-have for a mess-free and hygienic coating process, preventing sticky fingers and fingerprints on your delicate truffles.
- Well-Sealed Box or Airtight Container: For proper storage of your finished truffles to maintain their freshness and prevent them from absorbing odors.
- Optional: Parchment Paper: Useful for lining trays or placing coated chocolates on if not using paper molds immediately.
🌡 Optimal Storage for Freshness and Longevity
Proper storage is key to preserving the exquisite taste and texture of your homemade salted caramel truffles. Follow these guidelines to keep them at their best:
- Cool and Airtight: Always store your truffles in a cool place and within an airtight container. This protects them from humidity, temperature fluctuations, and absorbing any unwanted odors from their surroundings.
- Ideal Temperature: Chocolates, especially delicate truffles, prefer a cool but not overly damp environment. The optimum storage temperature is around 62.6 °F (17 °C). At this temperature, your finished truffles can maintain their quality for up to three months.
- Room Temperature Shelf Life: If stored at average room temperature (typically 68-72°F or 20-22°C), the shelf life of your truffles will be reduced to about one week. The caramel may soften, and the chocolate coating could lose some of its snap.
- Refrigerator Option (If Necessary): While not ideal due to potential condensation and moisture, if you absolutely cannot find a suitable cool and dry place to store your truffles, placing the airtight container in the refrigerator is an option. However, be aware that this might slightly affect the texture and appearance (e.g., dulling the chocolate shine). If refrigerating, allow them to come to room temperature for about 15-20 minutes before serving to fully appreciate their flavors and texture.
💭 Expert Tips for Truffle Perfection
Achieving professional-quality truffles at home is easier with a few insider tips:
- The Magic of Glucose: Glucose is a staple in professional confectionery for a reason. Its inclusion in your caramel filling leads to a smoother, more stable result, significantly extending the shelf life of your truffles by preventing sugar crystallization. It’s a fantastic investment for any home chocolatier, as it has a very long shelf life and can be used in numerous other recipes. While this is the “professional” approach, you can still make delicious truffles without it, though they may have a slightly shorter shelf life and be more prone to crystallization.
- Removing Excess Cocoa Powder: After rolling your truffles in cocoa powder, you might find some have an excessive coating. For a cleaner, more refined finish, we recommend gently swirling the truffles briefly in a fine-mesh sieve. This simple step helps to remove any loose or excess cocoa powder, ensuring a perfect presentation before placing them into their praline molds.
- Chocolate Quality Matters: Always use high-quality chocolate couverture for your truffles. Better quality chocolate melts more smoothly, tempers more easily, and provides a superior flavor and texture for your coating.
- Patience with Caramel: Caramelization requires a watchful eye but minimal interference. Don’t rush the process, and avoid stirring the sugar until the butter is added. Even heat distribution is key to preventing burnt spots.
🙋🏻 Frequently Asked Questions About Truffles
Criollo cocoa is a highly prized variety of cacao, originating primarily from Venezuela. It is known as one of the finest and rarest cocoa types in the world. Its delicate nature makes it challenging to cultivate, which also contributes to its higher cost. Unlike more common, robust cocoa varieties, Criollo cocoa is characterized by its exceptionally mild, barely bitter taste, low acidity, and a complex profile rich in pronounced secondary aromas, often described as fruity, nutty, or floral. This makes it ideal for a dusting powder where its nuanced flavors can truly shine without being overwhelmed.
Yes, most homemade truffles can be frozen! To do so, arrange them in a single layer on a parchment-lined baking sheet and freeze until solid. Once frozen, transfer them to an airtight freezer-safe container, separating layers with parchment paper to prevent sticking. They can be stored in the freezer for up to 2-3 months. When you’re ready to enjoy them, thaw the truffles in the refrigerator overnight, then bring them to room temperature for about 15-30 minutes before serving for the best texture and flavor.
For the best possible results, especially for the coating, we highly recommend using high-quality chocolate couverture. Couverture chocolate contains a higher percentage of cocoa butter, which allows it to melt more smoothly, temper beautifully, and provide a thin, crisp, and glossy finish. While standard baking chocolate can be used, couverture will elevate the texture and flavor significantly. We personally favor brands like Felchlin for its exceptional quality, and Callebaut is also a very popular and reliable choice among chocolatiers for its consistent results.
Tempering chocolate is a crucial step that involves carefully heating and cooling chocolate to specific temperatures to stabilize the cocoa butter crystals. This process ensures that the chocolate coating on your truffles will have a beautiful, shiny appearance, a satisfying crisp “snap” when bitten into, and a smooth texture that melts evenly in your mouth. Untempered chocolate, on the other hand, will often appear dull or streaky (known as “bloom”), have a soft or crumbly texture, and may melt too quickly. Taking the time to temper correctly makes a significant difference in the final quality and shelf appeal of your homemade truffles.
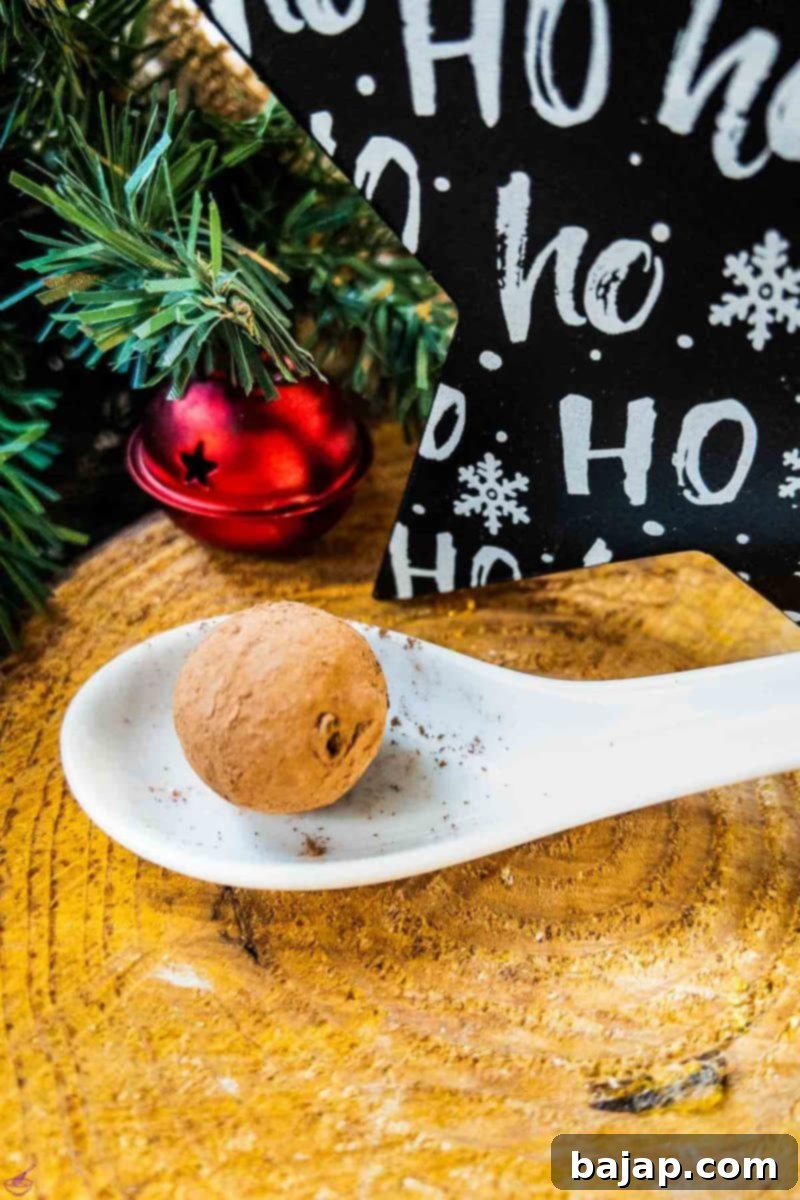
If you find yourself utterly captivated by the magic of caramel, just as I am, you absolutely must try this incredibly delicious Leche Flan! It’s another caramel-centric dessert that promises to delight your taste buds.
More Decadent Chocolate Candy Recipes to Explore
If you’ve enjoyed making these salted caramel truffles and are eager to dive deeper into the world of homemade chocolates and candies, we have a variety of other recipes that are sure to inspire you. From crunchy clusters to creamy truffles, there’s a treat for every palate and occasion.
- No Bake Cornflake Clusters with Dark Chocolate
- The Essential Chocolate Making Tools Every Home Chocolatier Needs
- Easy Peppermint Bark Recipe with White and Dark Chocolate
- White Chocolate Coconut Truffles
If you try this recipe, I’d absolutely love to hear how you liked it! Please share your experience by giving it a ★★★★★ star rating and leaving a comment below. Your feedback is truly invaluable! You can also stay connected and never miss a delicious homemade recipe by signing up for our Newsletter. Don’t forget to follow me on Pinterest or Instagram and share your amazing creations with me. Just tag me @combinegoodflavors and use the hashtag #combinegoodflavors, so I don’t miss seeing your culinary masterpieces!
📖 Recipe
Easy Salted Caramel Truffles
Nora
Prevent your screen from going dark
Save Recipe
Saved!
Pin Recipe
1 hour
12 hours
13 hours
Dessert, Snack
European
20 Truffles
149 kcal
Equipment
-
Water bath or tempering device for melting the chocolate
-
Small Saucepan
-
Kitchen scale
-
Thermometer for tempering the chocolate
-
Squeeze Bottle for sealing the hollow balls
-
Piping bag for filling the hollow spheres
-
Small Sieve for sieving the cocoa
-
Medium bowl or loaf pan for rolling the chocolates
-
Chocolate paper molds
-
Disposable gloves
-
Well-sealed box
-
Parchment Paper optional
Ingredients
Homemade Salted Caramel
- 1 cup Granulated sugar
- 3.53 oz Unsalted butter
- ¾ cup Heavy cream
- 2 pinch Fleur de sel coarse sea salt
-
5 teaspoon
Glucose
- 20 Dark hollow spheres
- ¾ cup Dark chocolate chips for sealing and coating
- Criollo Cocoa powder for final rolling of the chocolates
Optional
- 1 tablespoon Rum
Instructions
Salted caramel sauce
-
Melt the sugar in a large saucepan over low/medium heat until a nice light golden caramel has formed. This process can take up to 20 minutes. During this time, don’t touch the sugar with any objects. Make sure the caramel doesn’t get too dark during preparation, or it will taste not very pleasant!!!!!1 cup Granulated sugar
-
Once a beautiful caramel has formed, stir in the butter in small pieces until a creamy caramel sauce has formed.3.53 oz Unsalted butter
-
Then add two pinches of sea salt.2 pinch Fleur de sel
-
In the meantime, heat the cream (please do not boil it!) and stir it carefully into the caramel.¾ cup Heavy cream
-
Let the caramel boil for two minutes. Then stir in the glucose and dissolve it in the hot caramel cream.5 teaspoon Glucose
-
Let the salted caramel sauce cool to 80.6 °F // 27 °C.
-
If you want to add rum to the mixture, now is the time to do it. Stir the rum into the cream after it has cooled, and mix the two well together.1 tablespoon Rum
-
Now pour the caramel filling into a piping bag and fill up the hollow spheres below the rim.20 Dark hollow spheres
-
Let them chill in the refrigerator for 12 hours (ideally 24 hours).
-
At the end of the cooling time, start melting the chocolate coating.¾ cup Dark chocolate chips
Seal the chocolates
-
To do this, pour a small amount of the melted chocolate into a squeeze bottle and seal the opening with the chocolate with a small dot. Shake a little so that the chocolate can spread.
-
Place the sealed chocolate truffles in the refrigerator for 15 minutes to allow the chocolate to set.
-
Prepare a bowl or loaf pan for rolling the chocolates. Sift the cocoa into the bowl and set aside.Criollo Cocoa powder
-
In addition, prepare 20 chocolate paper molds so you can place the coated caramel truffles in the molds right away.
-
Get your sealed chocolates out of the fridge and take 1-4 chocolates in one hand. Dip the fingers of your other hand into the melted couverture and use your chocolate-dipped hands to coat and roll those small balls.
-
Once you have your caramel truffles nicely coated with couverture, place them in the prepared bowl of cocoa powder.
-
Swirl the bowl back and forth to roll the chocolates with cocoa evenly.
-
After covering the truffles with cocoa, place them directly into the paper molds. Keep doing this process for the remaining truffles.
-
Store them in a cool place in an airtight container.
Never miss a recipe!
Sign up and let me spoil you weekly with a delicious homemade recipe!
caramel truffles, chocolate caramel truffles, easy salted caramel sauce, homemade chocolates, salted caramel truffles, sea salt caramel truffles
Like this recipe?
Mention @combinegoodflavors or tag #combinegoodflavors!
Nutrition values are estimates only, using online calculators. Please verify using your own data.
Serving:
1
Truffle
|
Calories:
149
kcal
|
Carbohydrates:
15
g
|
Protein:
1
g
|
Fat:
9
g
|
Saturated Fat:
7
g
|
Polyunsaturated Fat:
0.3
g
|
Monounsaturated Fat:
2
g
|
Trans Fat:
0.2
g
|
Cholesterol:
21
mg
|
Sodium:
16
mg
|
Potassium:
53
mg
|
Fiber:
0.3
g
|
Sugar:
13
g
|
Vitamin A:
257
IU
|
Vitamin C:
0.1
mg
|
Calcium:
28
mg
|
Iron:
0.1
mg

🤎 You Might Also Like These Decadent Treats
If you’re still craving more homemade sweets, these related recipes are perfect for expanding your repertoire and satisfying your sweet tooth:
- Boozy Marzipan Candy
- Homemade Caramel Truffles
- Boozy Eggnog Truffles with Cocoa Powder Coating
- Biscoff Truffles without Cream Cheese
⛑️ Important Food Safety Guidelines
Ensuring food safety is paramount when preparing any recipe. Please follow these essential guidelines to prevent foodborne illness and ensure a safe culinary experience:
- Minimum Cooking Temperatures: Always cook foods, especially those involving dairy or eggs, to a minimum internal temperature of 165 °F (74 °C) to eliminate harmful bacteria. While this recipe involves less direct “cooking” of ingredients like the caramel, ensure all heating steps are properly executed.
- Cross-Contamination Prevention: Avoid using the same utensils or cutting boards on cooked food that previously touched raw ingredients, particularly raw meat, to prevent cross-contamination.
- Hand Hygiene: Always wash your hands thoroughly with soap and warm water before handling food, and especially after touching raw meat or other potential contaminants.
- Temperature Danger Zone: Do not leave perishable food sitting out at room temperature for extended periods. Bacteria multiply rapidly between 40 °F (4 °C) and 140 °F (60 °C). Promptly refrigerate or cool ingredients as instructed.
- Never Leave Cooking Unattended: Always supervise food when it is cooking on the stovetop or in the oven to prevent burning or other hazards.
- High Smoke Point Oils: When cooking with oil, choose those with a high smoking point to avoid producing harmful compounds.
- Ventilation: Always ensure good ventilation in your kitchen, especially when using a gas stove, to prevent the buildup of fumes.
For further comprehensive information on safe food handling practices, please refer to the official guidelines provided by the FDA (Food and Drug Administration).
