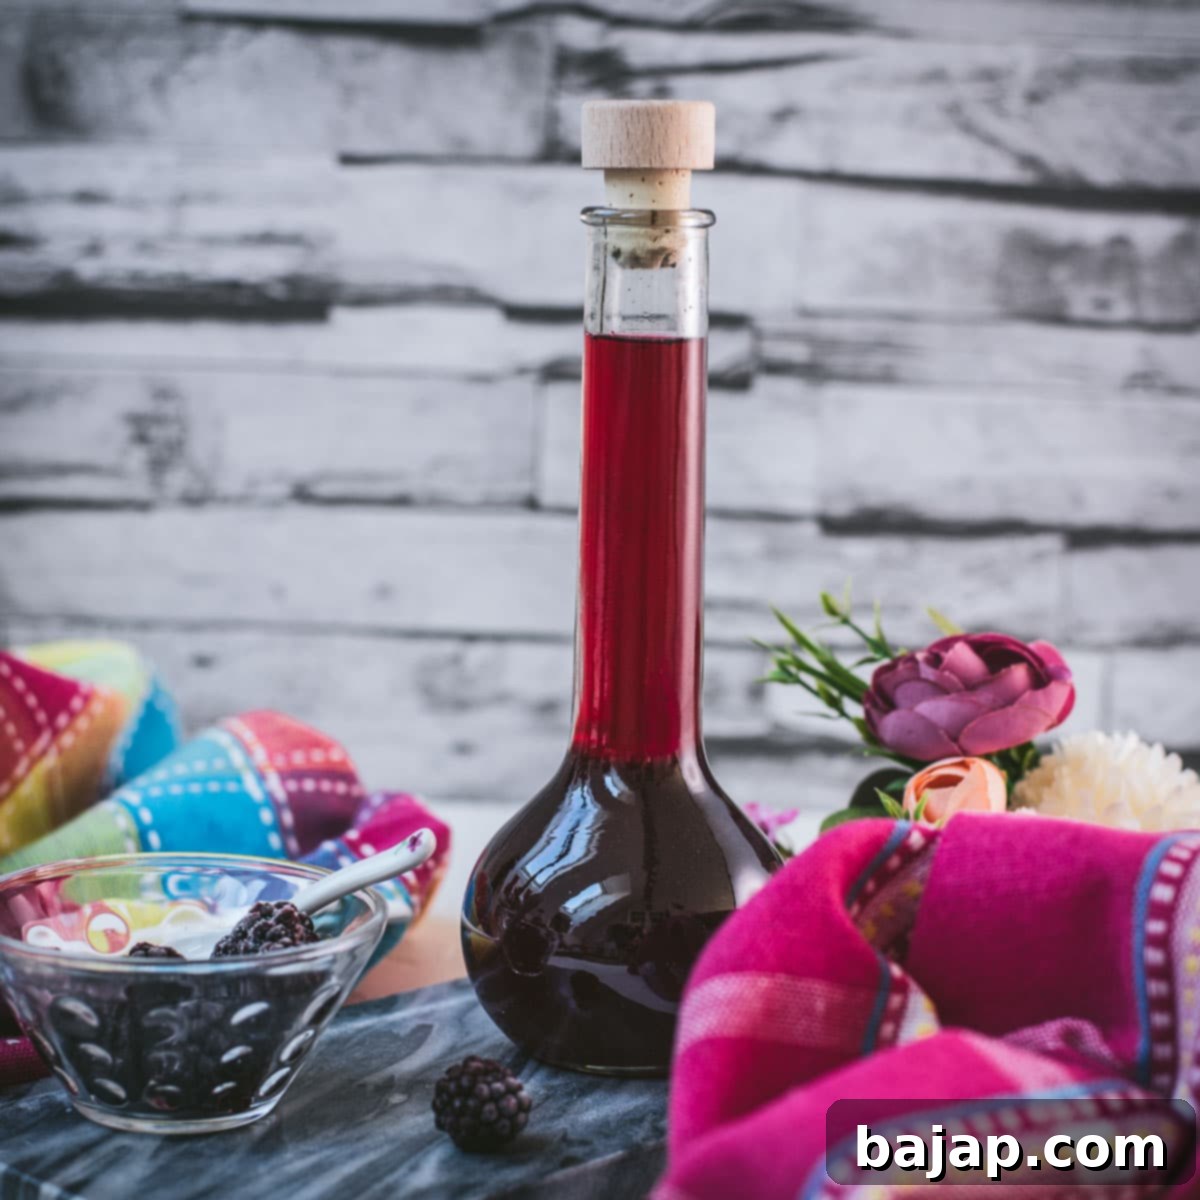
Homemade Chambord-Style Liqueur: Craft Your Own Delicious Blackberry & Raspberry Spirit at Home
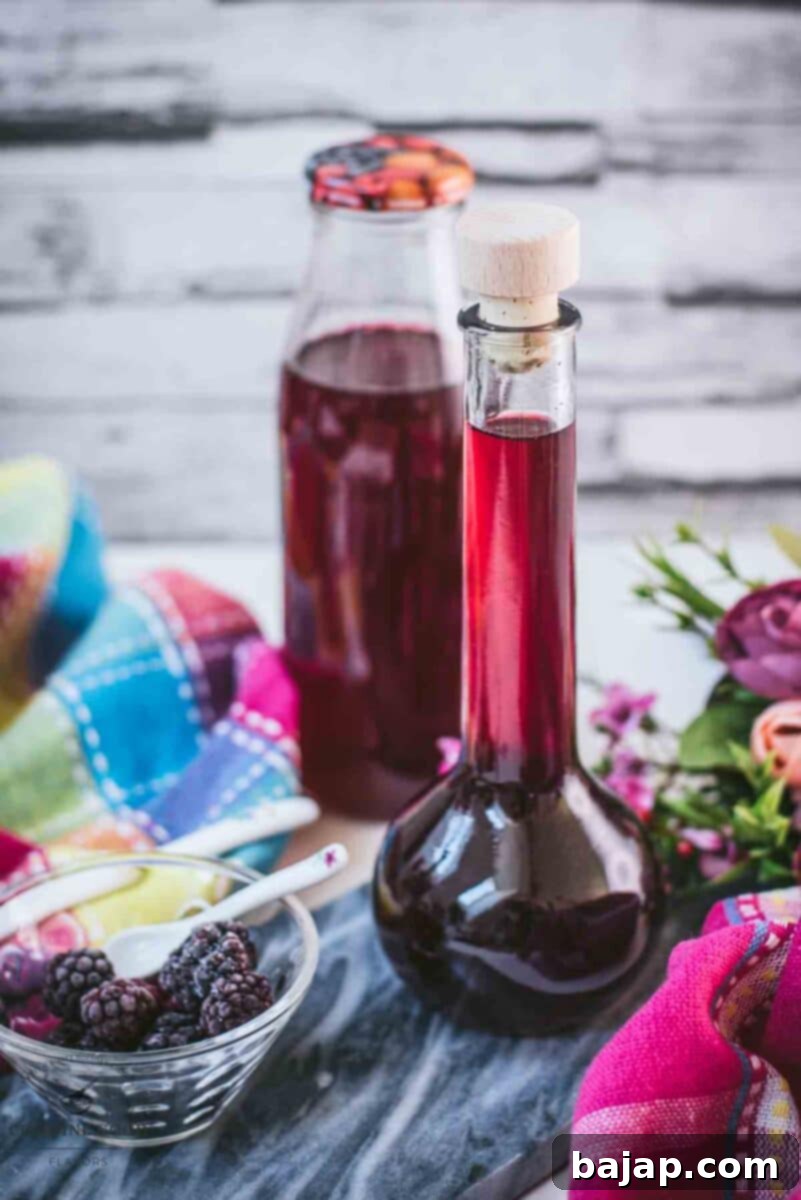
There’s an undeniable allure to Chambord. Its deep, jewel-toned purple hue instantly elevates any drink, making every cocktail feel a little more sophisticated. But beyond its stunning appearance, it’s the captivating flavor that truly wins hearts: a rich, velvety blend of succulent blackberries, vibrant raspberries, and a delicate kiss of warm vanilla. It’s the kind of exquisite liqueur you envision gracing your home bar, ready for spontaneous cocktail evenings, elegant celebratory toasts, or simply to add a luxurious touch to your favorite desserts.
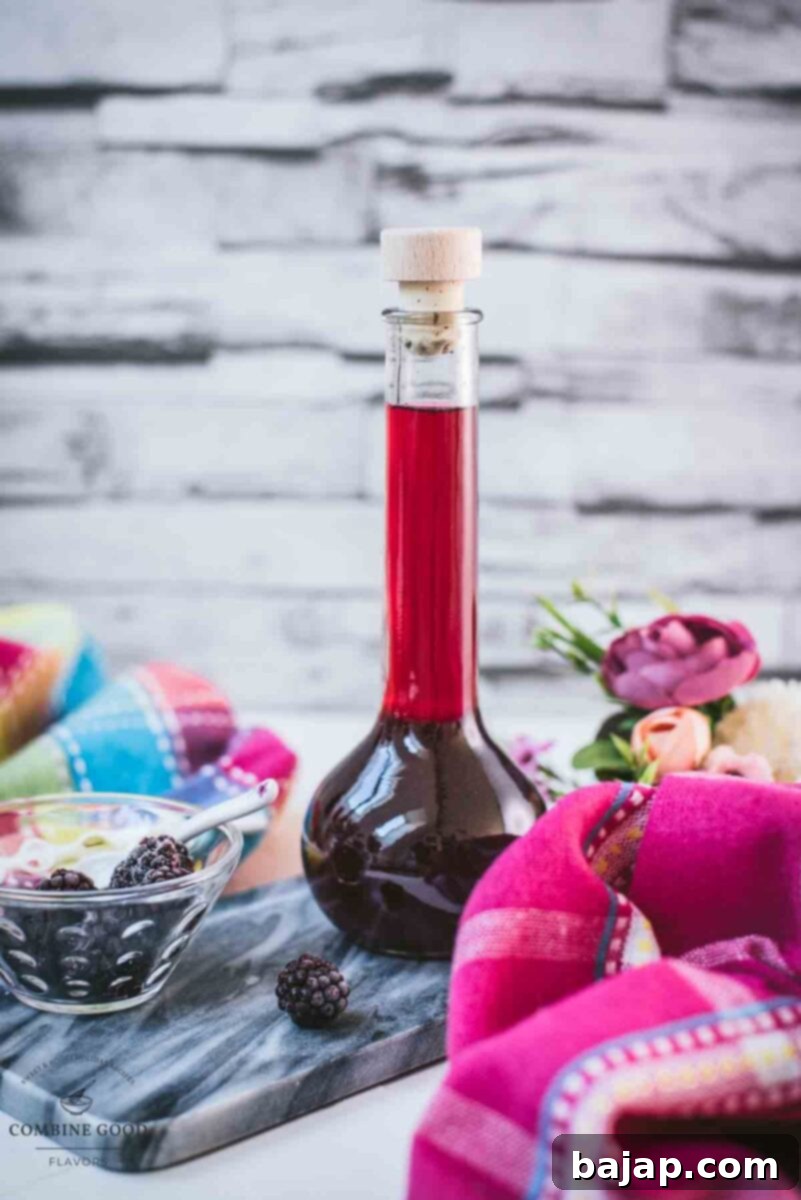
However, what happens when your local liquor store runs out of stock, or that premium price tag makes your wallet wince? Don’t let a missing bottle of your favorite berry liqueur spoil your plans. There’s a delightful and surprisingly simple solution!
That’s precisely where the magic of this homemade recipe comes in. Today, I’m thrilled to share with you an incredibly easy and utterly delicious recipe for a homemade blackberry and raspberry liqueur. This isn’t just a substitute; it’s a vibrant, bursting-with-fruit, vanilla-infused DIY Chambord-style treat that offers a truly exceptional flavor experience. It captures the essence of the classic, but with the added satisfaction and fresh taste that only a homemade creation can provide.
The best part? You can craft this luxurious berry liqueur with just a handful of readily available ingredients and a touch of patience. While infusion takes time, the active prep work is minimal, making this a rewarding project for any home enthusiast. Imagine the possibilities of a handcrafted liqueur, made with love and tailored to your taste!
Now, let’s be clear: while this recipe offers a remarkably similar flavor profile and rich consistency, it’s not an exact chemical duplicate of the commercial Chambord. However, I can promise you it is exceptionally delicious, versatile, and guaranteed to elevate your cocktails to new heights! Whether you’re stirring up a sophisticated French Martini, adding a sparkling splash to your champagne flute, or perhaps drizzling a generous amount over a scoop of creamy vanilla ice cream (a personal recommendation you absolutely must try), this homemade berry liqueur is poised to become your new favorite secret ingredient and a staple in your home bar.
Ready to embark on this flavorful journey? Let’s dive in and create some liqueur magic together! ✨
🥘 Essential Ingredients for Your Homemade Berry Liqueur
Crafting your own Chambord-style liqueur requires a select group of fresh, high-quality ingredients that combine to create that signature deep berry and vanilla flavor. The beauty of making it yourself is the control you have over the freshness and quality.
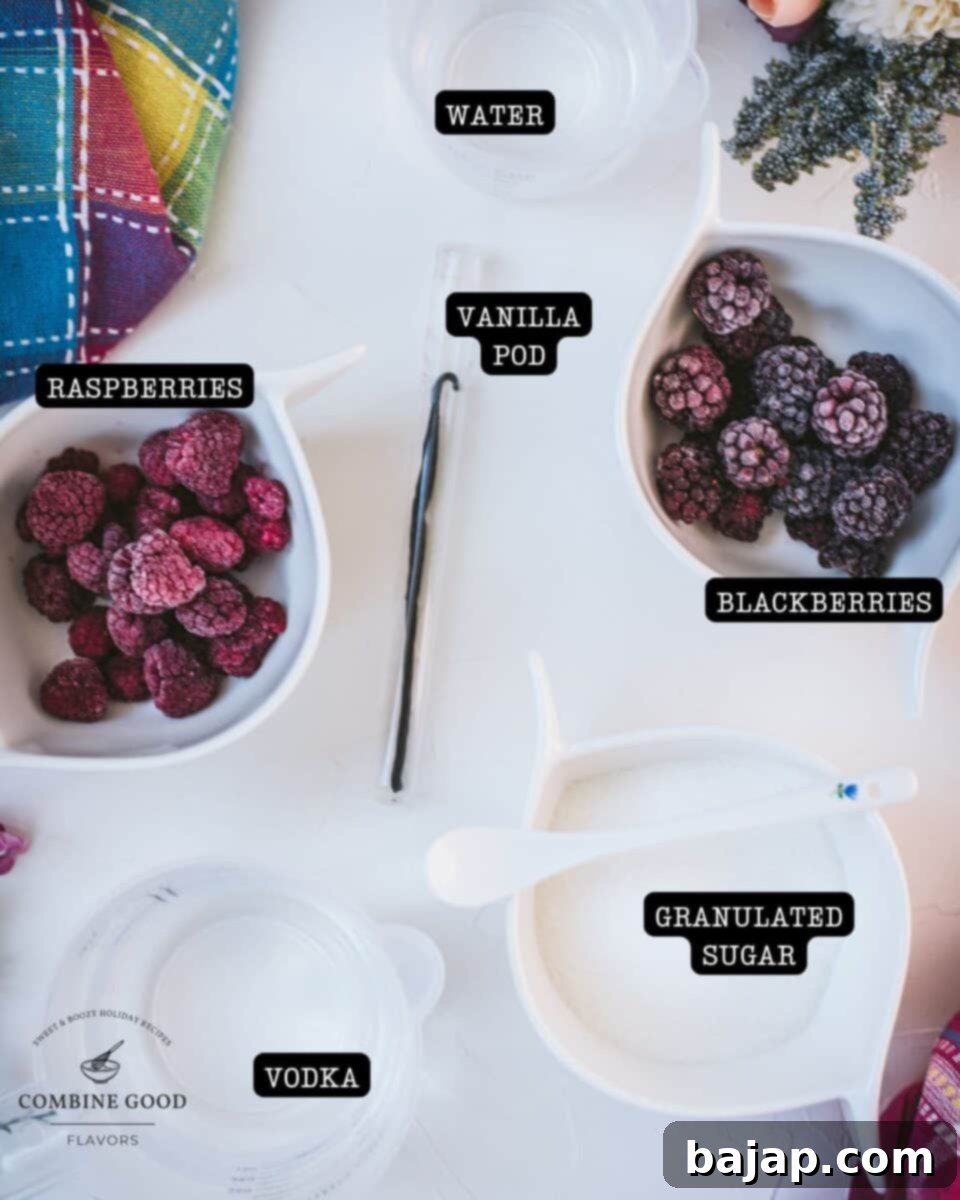
- Blackberries (fresh or frozen): These are the backbone of the liqueur, providing a rich, dark fruit flavor and gorgeous deep color. Both fresh and frozen work wonderfully; if using frozen, there’s no need to thaw them first.
- Raspberries (fresh or frozen): Raspberries add a brighter, slightly tart note that complements the deeper blackberry flavor beautifully. They are crucial for that complex berry profile.
- Vodka, unflavored (or white rum for a smoother taste): A good quality, unflavored vodka serves as the neutral base, allowing the fruit and vanilla flavors to shine. If you prefer a slightly softer, rounder finish, white rum can be an excellent alternative, adding subtle molasses notes.
- Granulated sugar: This provides the essential sweetness and contributes to the liqueur’s syrupy consistency. Adjust to your preferred sweetness level.
- Water: Used in conjunction with sugar to create a simple syrup, which then sweetens the infused spirit.
- Vanilla pod: The star secret ingredient! A real vanilla bean imparts that classic warm, luxurious vanilla undertone that defines Chambord. Don’t skip this for the authentic flavor.
For precise measurements and detailed quantities, please refer to the comprehensive recipe card below.
🔪 Step-by-Step Guide to Making Homemade Chambord
Creating your own blackberry and raspberry liqueur is a straightforward process, primarily involving infusion and a simple syrup. Follow these steps for a delicious result:
Step 1: Prepare the Vanilla Pod
Begin by taking one vanilla pod and carefully slicing it lengthwise with a sharp knife. Gently scrape out the tiny, fragrant seeds. Both the seeds and the empty pod are packed with flavor and will be used in the infusion process. This initial step ensures maximum vanilla extraction.
Step 2: Initiate the Flavor Infusion
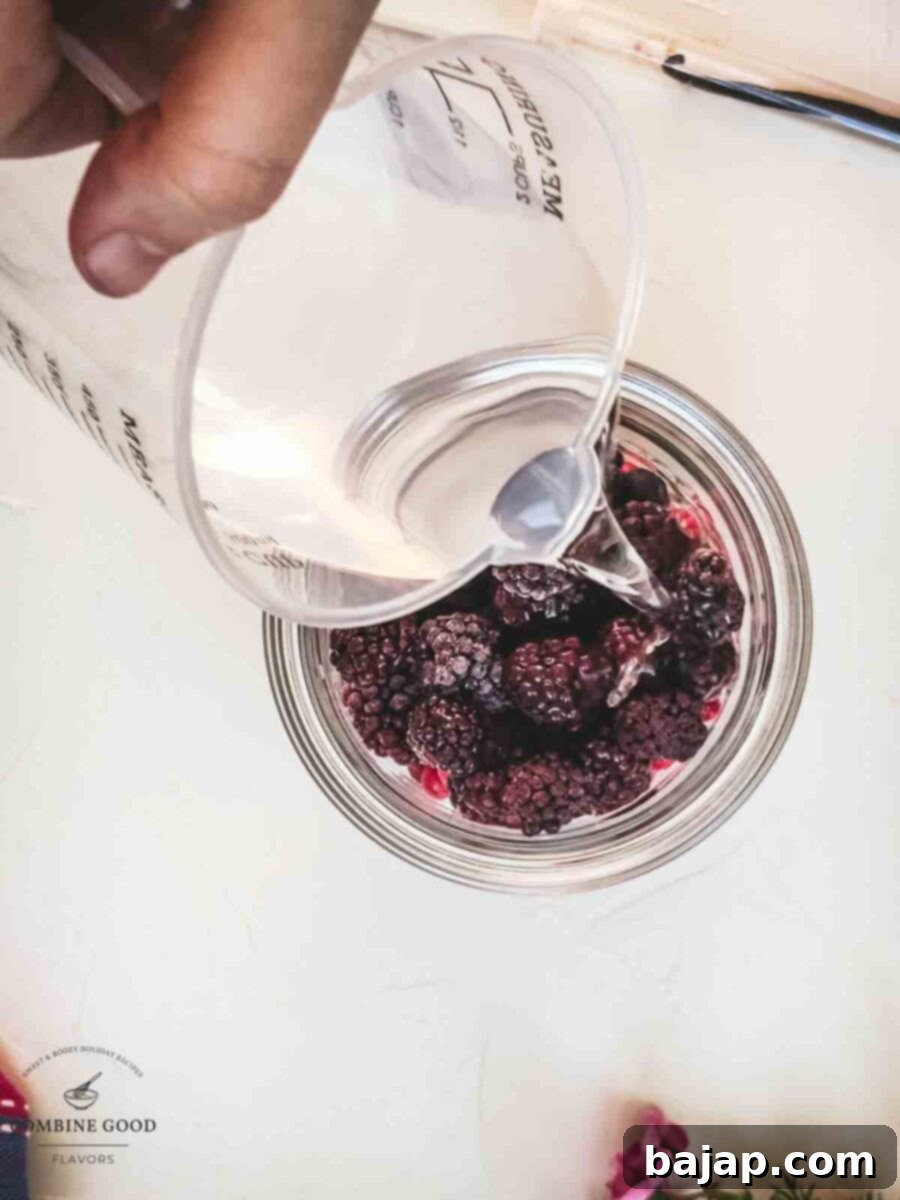
Carefully place the scraped vanilla seeds and the split vanilla pod into a clean, airtight preserving jar. Add your chosen spirit (vodka or white rum) along with the fresh or frozen blackberries and raspberries. Seal the jar tightly. This mixture will now steep for an essential 1-2 weeks. During this time, the alcohol will slowly extract the vibrant fruit flavors and the rich vanilla essence. Remember to give the jar a good shake every few days – this helps to distribute the ingredients and encourages a more thorough mingling of flavors.
Step 3: Craft the Simple Syrup
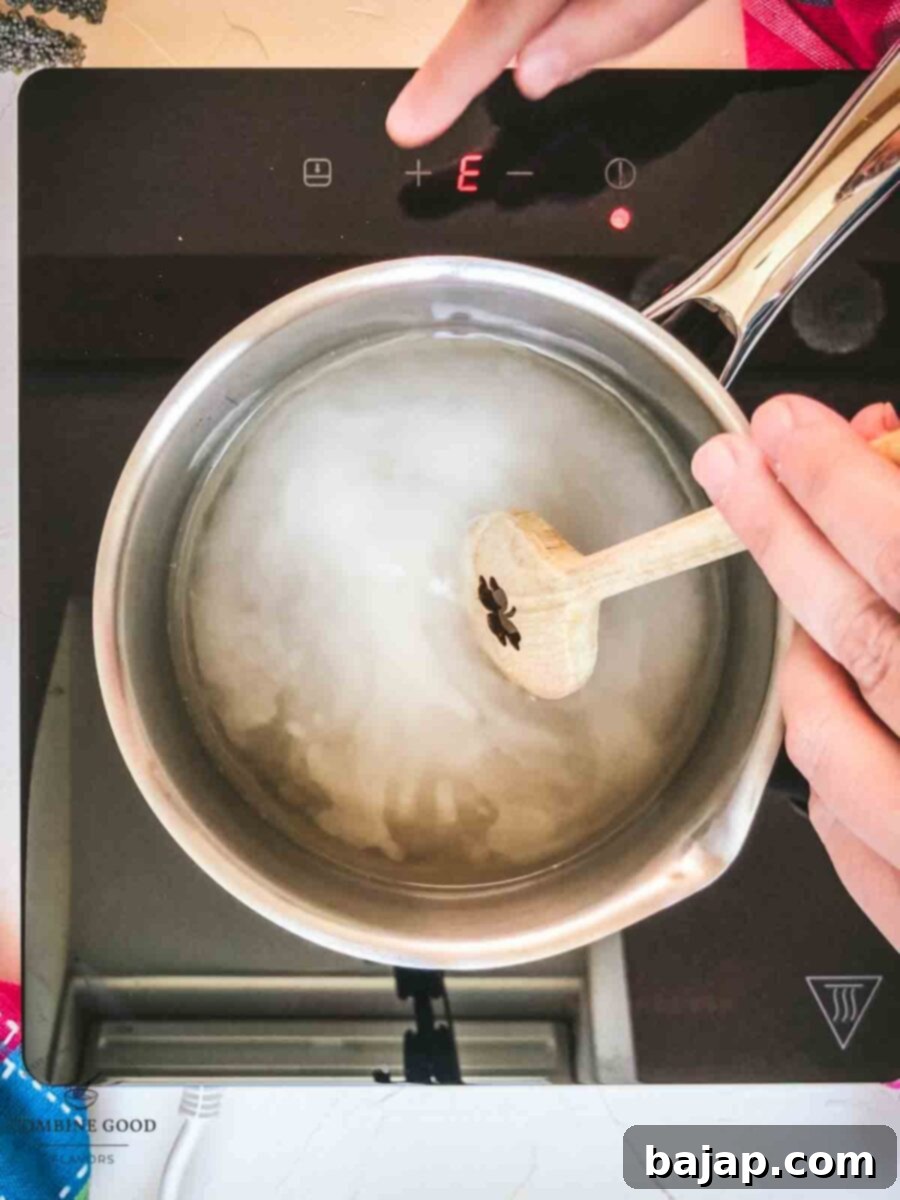
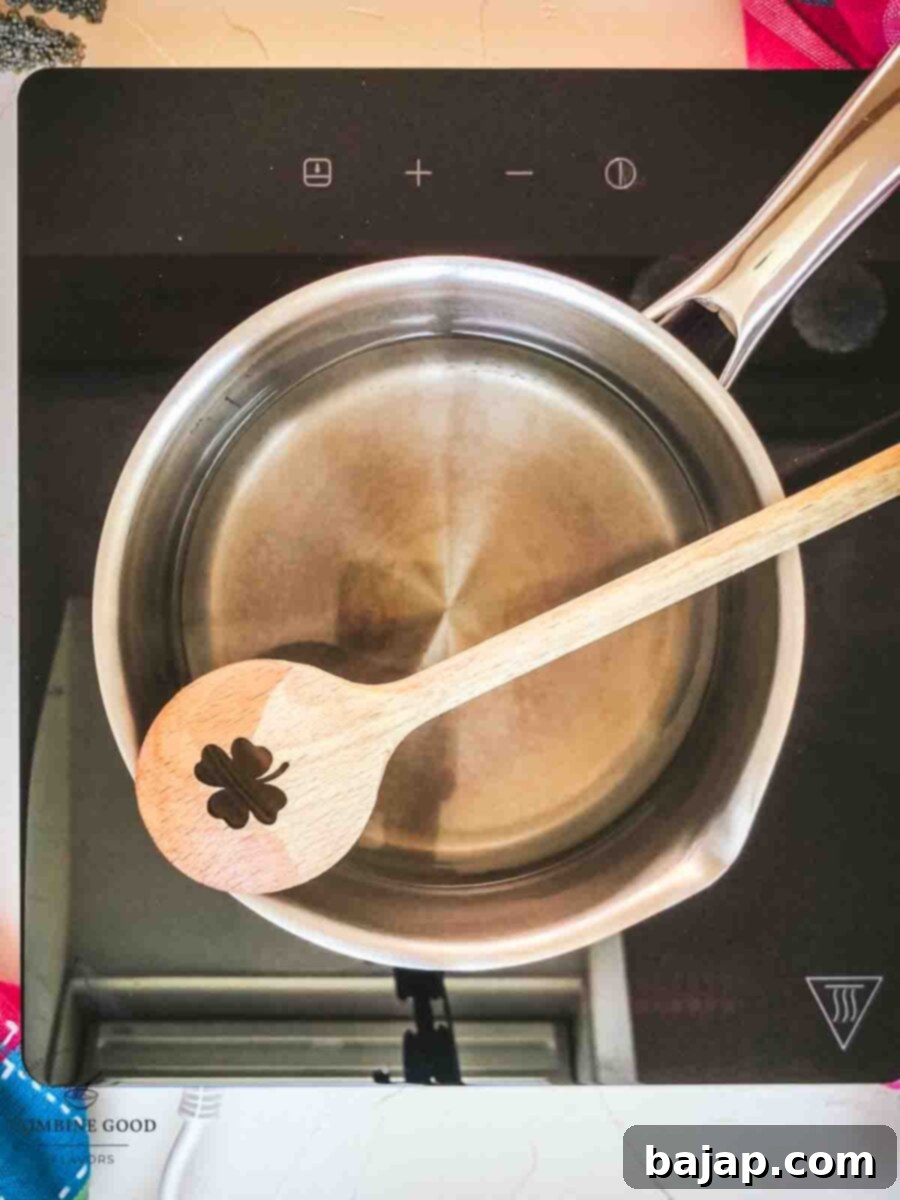
Once the berry and vanilla infusion period is complete, it’s time to prepare the sweet component of your liqueur. In a saucepan, combine the granulated sugar and water. Place the saucepan over medium heat and stir continuously until all the sugar crystals are completely dissolved, creating a clear syrup. This process should only take a few minutes. Once dissolved, remove the syrup from the heat and allow it to cool completely to room temperature. It’s crucial that the syrup is cool before mixing it with your infused spirit to maintain the desired flavor profile and prevent any unwanted changes.
Step 4: Strain Out the Fruit Solids
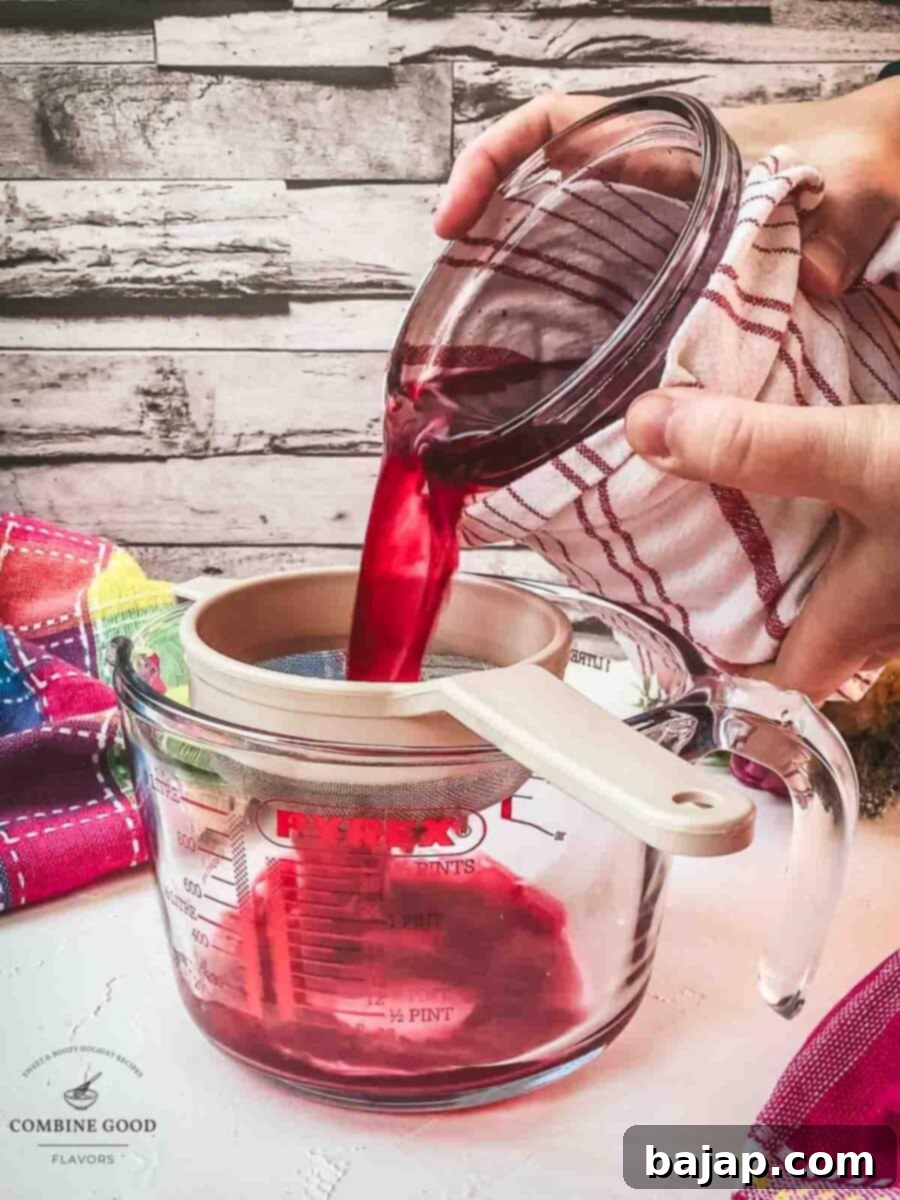
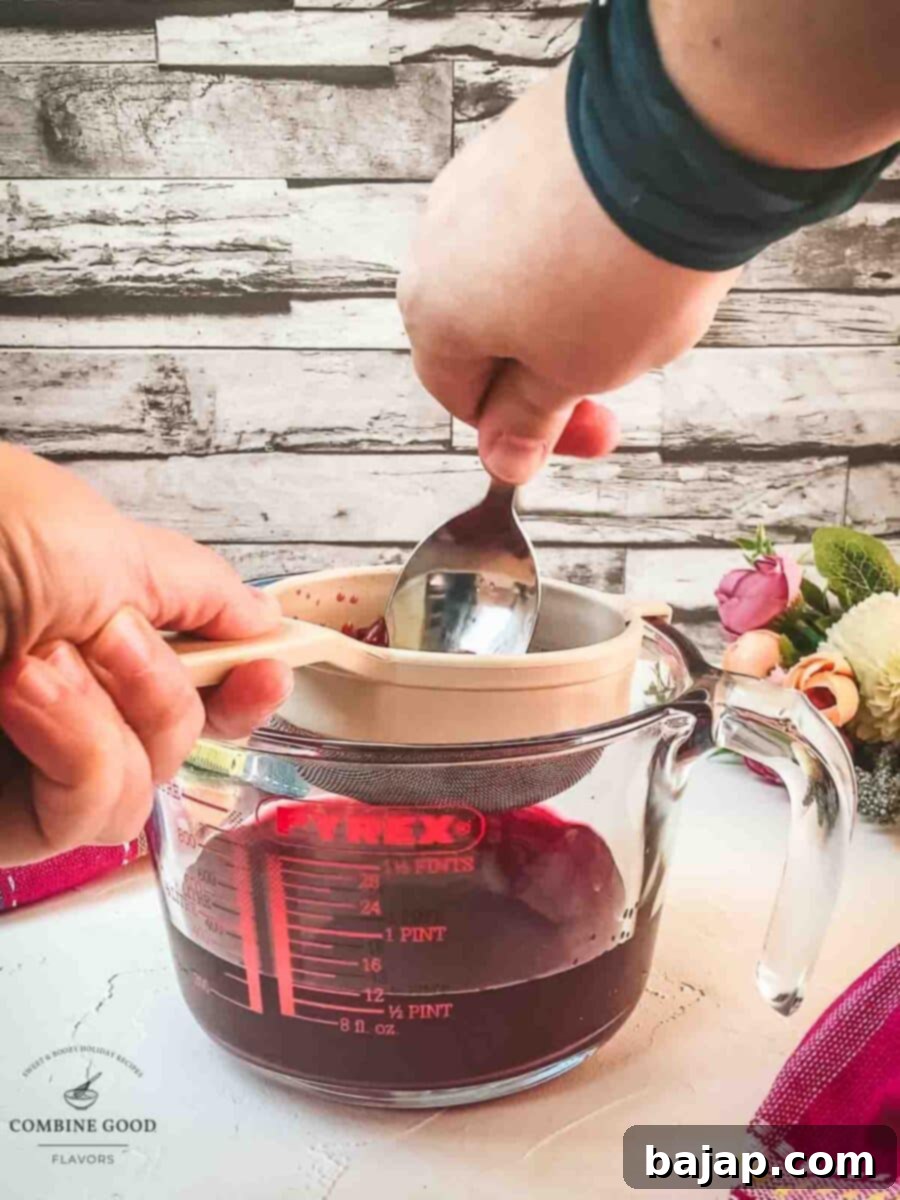
Now, it’s time to separate the liquid gold from the solids. Place a fine mesh sieve (or a sieve lined with cheesecloth for extra clarity) over a large bowl or jug. Carefully pour the berry-infused vodka through the sieve, allowing the liquid to collect below. To ensure you extract every last drop of precious flavor, gently press the soaked berries against the sieve with the back of a spoon. This step is crucial for achieving a smooth, clear liqueur, free from any pulp or seeds.
Step 5: Combine and Bottle Your Liqueur
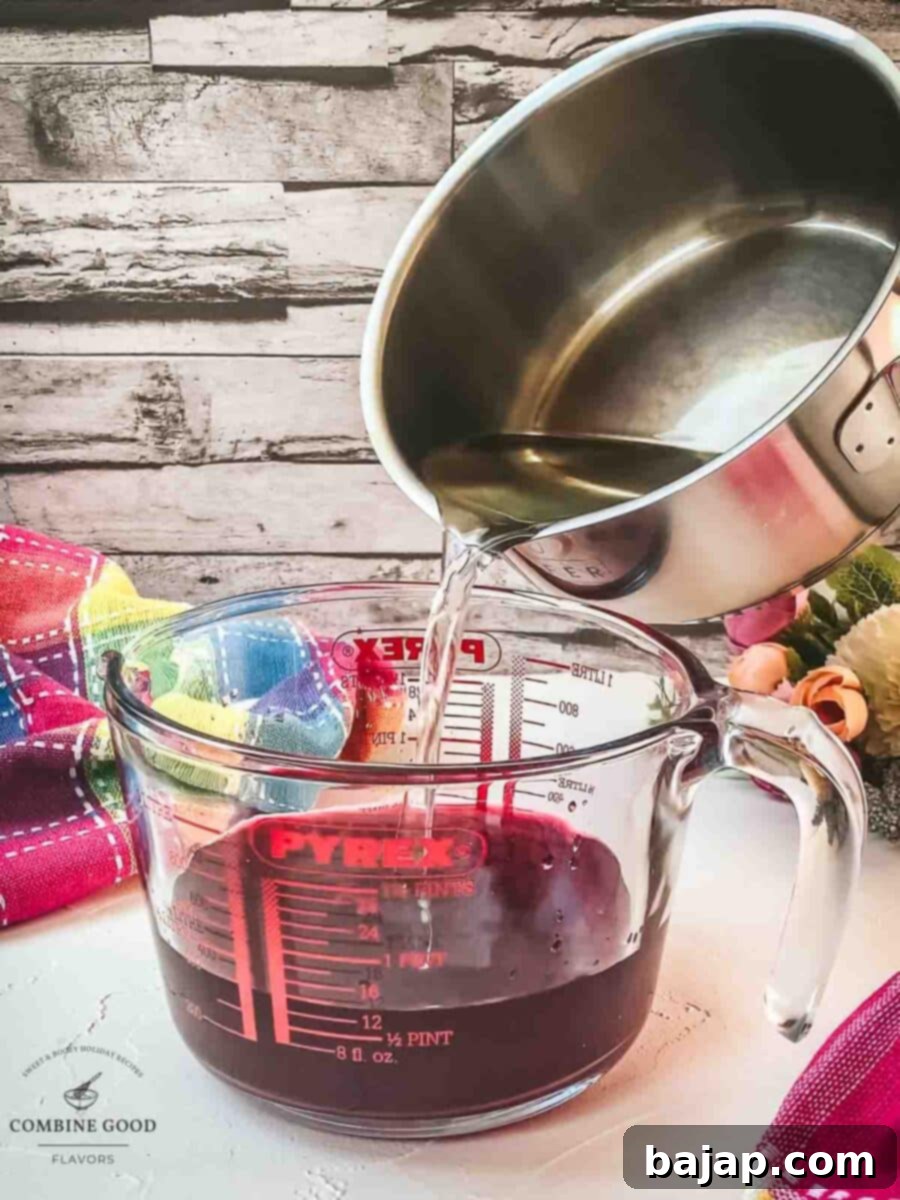
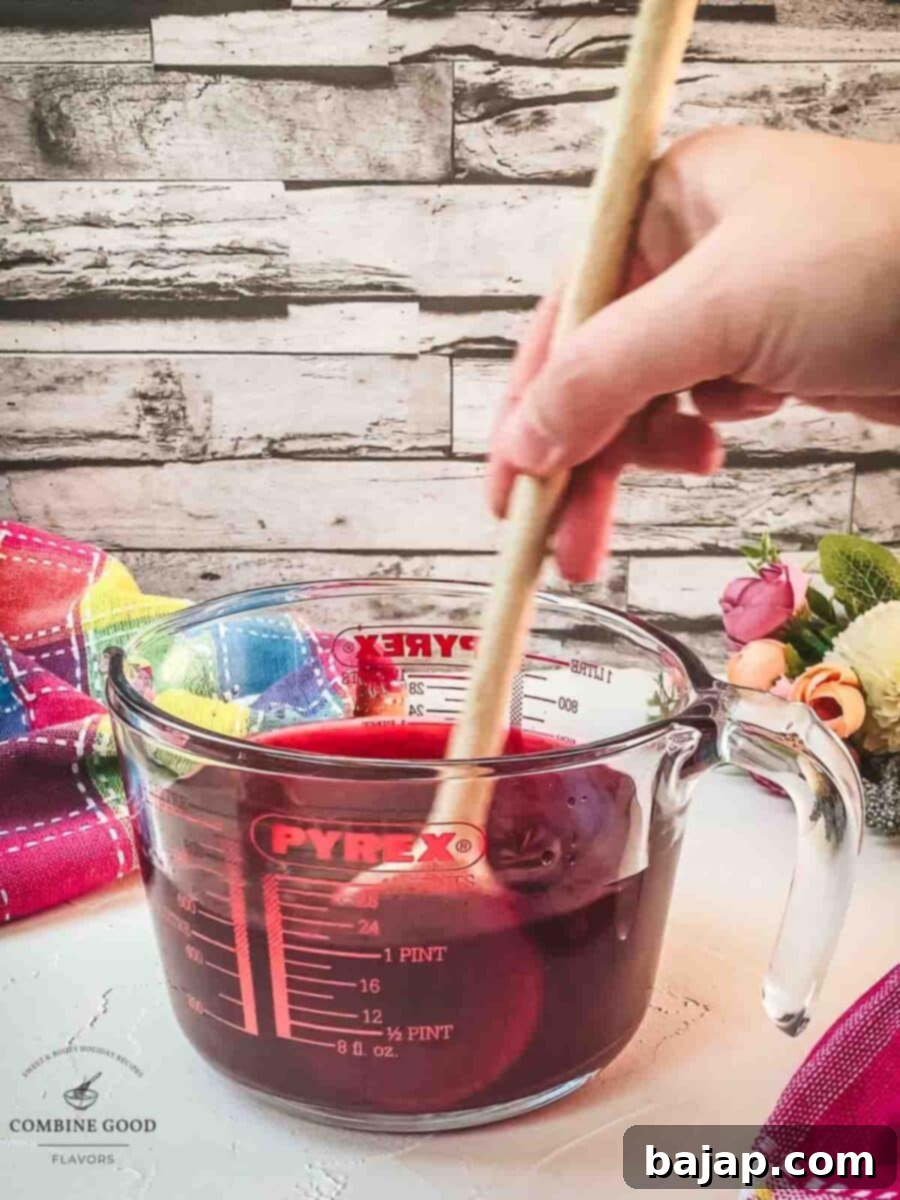
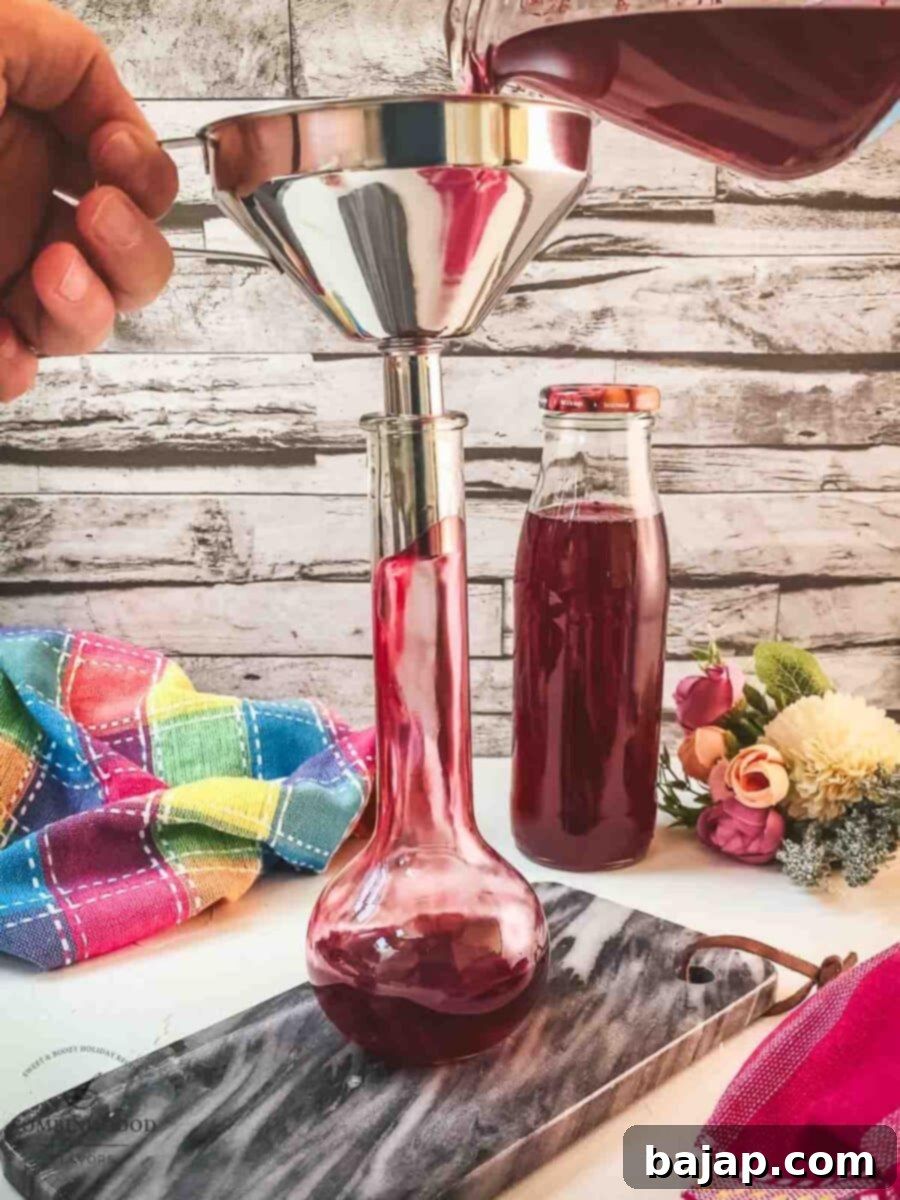
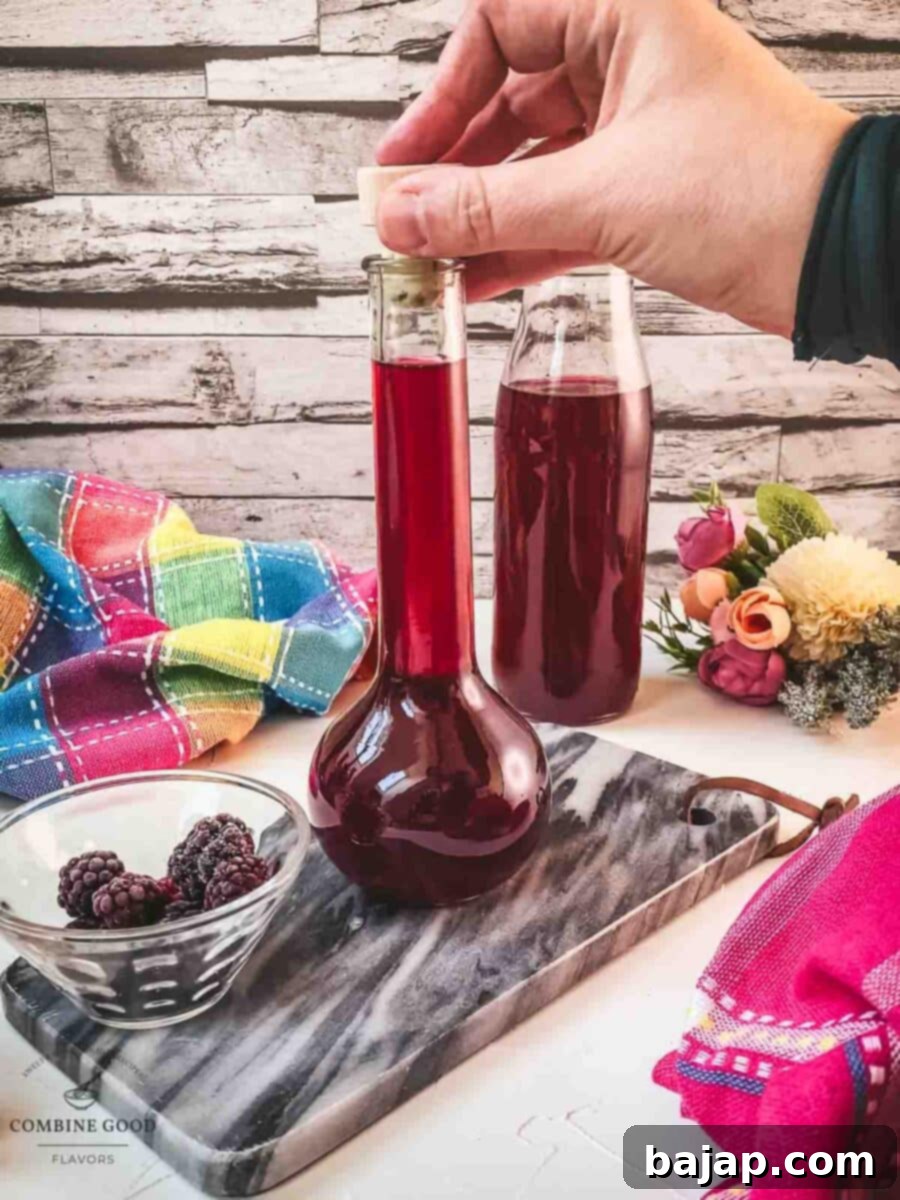
With your infused spirit strained and your simple syrup cooled, it’s time to bring them together. Pour the cooled simple syrup into the strained, berry-infused vodka. Stir thoroughly to ensure the sugar is evenly incorporated throughout the liquid. Once combined, carefully transfer your freshly made Chambord-style liqueur into a clean, sterilized bottle or jar. A funnel can be very helpful here to prevent spills and ensure a smooth transfer.
Step 6: Allow Your Liqueur to Rest (Highly Recommended!)
While your homemade berry liqueur is ready to enjoy immediately, allowing it to rest for an additional week or two can significantly enhance its depth and smoothness. This optional resting period gives the flavors more time to meld and mature, resulting in a more complex and well-rounded profile. Store it in a cool, dark place during this time. After the rest, your homemade Chambord-style liqueur will be absolutely perfect for mixing into cocktails, drizzling over desserts, or simply savoring on its own. Enjoy your handcrafted creation!
🍽 Essential Equipment for Liqueur Making
Gathering the right tools before you begin will make the process of crafting your homemade Chambord-style liqueur much smoother and more enjoyable. Here’s what you’ll need:
- Preserving jar: A large, airtight jar (ideally 750 ml to 1 liter / 25-34 oz) is essential for the initial infusion process. For larger batches, a 1.5-liter (50 oz) jar is recommended.
- Cutting board & sharp knife: For preparing the vanilla pod.
- Saucepan: To create your simple syrup on the stovetop.
- Wooden spoon: For stirring the simple syrup until the sugar is fully dissolved.
- Close meshed sieve or cheesecloth: Crucial for straining out the fruit solids and ensuring a clear, smooth liqueur. Cheesecloth provides an extra layer of filtration for a very fine finish.
- Preserving bottle: For storing your finished homemade liqueur. Opt for attractive bottles if you plan to give it as a gift.
- Funnel: Extremely useful for cleanly transferring the liquid from the straining jug into your preserving bottle without spills.
Other Delightful Homemade Beverage Recipes for You to Try
If you’ve enjoyed crafting this blackberry and raspberry liqueur, you might love exploring other homemade drink recipes to expand your mixology skills and home bar offerings. Here are some fantastic options:
- Bramble Cocktail: A refreshing gin-based cocktail often made with blackberry liqueur.
- Refreshing Watermelon Syrup: A versatile syrup perfect for summer drinks and cocktails.
- How to make Simple Syrup: A fundamental ingredient for many cocktails, easy to master.
- Homemade Raspberry Syrup {no cooking}: Another easy berry syrup, great for drinks and desserts.
- The Joy of Homemade Raspberry Syrup: More inspiration for using fresh raspberries in your drinks.
- No Fuss Homemade Strawberry Simple Syrup: A vibrant syrup for seasonal cocktails and lemonades.
- How to make a delicious homemade Advocaat egg liqueur: A rich and creamy Dutch classic.
- Homemade Lavender Extract {2 Ingredients}: Add a floral note to your baking or cocktails.
- Homemade Vanilla Vodka: A versatile infused spirit to have on hand.
- How to Make Sour Milk at Home: (Likely a contextual link from original site, may not directly relate to liqueurs but kept as per instruction to preserve structure)
- How to make Candied Violets: (Another contextual link)
If you create this delightful homemade Chambord-style liqueur, I would absolutely love to hear about your experience! Please let me know how much you enjoyed it by giving it a ★★★★★ star rating and leaving a comment below. Your feedback is truly awesome and helps others discover this recipe! You can also sign up for our Newsletter to receive weekly delicious homemade recipes, or follow me on Pinterest or Instagram and share your amazing creation with me. Just tag me @combinegoodflavors and use the hashtag #combinegoodflavors so I don’t miss seeing your beautiful work!
📖 Recipe: Homemade Blackberry Raspberry Liqueur (Chambord Style)
Homemade Blackberry Raspberry Liqueur
By Nora
Save RecipeSaved!
Pin Recipe
Equipment
-
Preserving Jar (750 ml to 1 liter (25-34 oz)) or for a larger batch (1.5-liter (50 oz))
-
Cutting board & Sharp knife
-
Saucepan
-
Wooden spoon
-
Close meshed sieve or cheesecloth
-
Preserving bottle
-
Funnel
Ingredients
- 1 Vanilla pod
- 1 cup Blackberries fresh or frozen
- 1 cup Raspberries fresh or frozen
- 1 ½ cup Vodka unflavored (or white rum for a smoother taste)
- ¾ cup Granulated sugar
- ¾ cup Water
Instructions
-
Slice 1 Vanilla pod lengthwise and carefully scrape out the fragrant seeds. Set both the seeds and the empty pod aside.1 Vanilla pod
-
In a clean preserving jar, combine the vanilla seeds, the empty vanilla pod, 1 ½ cup Vodka (or white rum), 1 cup Raspberries, and 1 cup Blackberries. Seal the jar tightly and allow it to steep in a cool, dark place for approximately 1-2 weeks. Remember to give the jar a gentle shake every few days to aid in the flavor extraction.1 cup Blackberries, 1 cup Raspberries, 1 ½ cup Vodka
-
Prepare the simple syrup: In a saucepan, heat ¾ cup Granulated sugar and ¾ cup Water over medium heat. Stir continuously until the sugar is completely dissolved and the mixture is clear. Remove from heat and let the syrup cool down completely to room temperature before proceeding.¾ cup Granulated sugar, ¾ cup Water
-
Once the infusion period is over, place a fine mesh sieve (or a sieve lined with cheesecloth for extra clarity) over a clean bowl or jug. Pour the infused vodka through the sieve to separate the liquid from the fruit solids. Gently press the soaked berries with the back of a spoon to extract all the flavorful liquid, ensuring no precious drops are wasted.
-
Now, combine your creations! Stir the fully cooled simple syrup into the strained, infused vodka. Mix well to ensure the sweetness is evenly distributed. Using a funnel, pour your finished homemade berry liqueur into a clean, sterilized bottle or jar for storage.
-
For an even smoother, more developed, and richer flavor profile, consider letting your freshly bottled liqueur rest for another week or two in a cool, dark place. This optional step allows the flavors to truly meld and deepen, resulting in a more refined and enjoyable homemade Chambord-style experience. After this additional rest, your exquisite liqueur is ready to be enjoyed in cocktails or on its own.
Nutrition values are estimates only, using online calculators. Please verify using your own data.

⛑️ Important Food Safety Considerations
When preparing any homemade food or beverage, especially those involving alcohol and fresh ingredients, practicing good food safety is paramount. Here are essential guidelines to ensure your homemade Chambord-style liqueur is not only delicious but also safe for consumption:
- Ensure proper sanitation: Always use clean, sterilized jars and bottles for infusion and storage. This prevents the growth of unwanted bacteria or mold.
- Handle fresh produce carefully: Wash all fresh berries thoroughly before use, even if they appear clean.
- Maintain consistent temperatures: While infusing, store the jar in a cool, dark place to maintain stability and optimal flavor development.
- Cool simple syrup completely: Ensure the simple syrup is at room temperature before mixing it with the infused alcohol. Adding warm syrup to cold alcohol can affect the clarity and flavor.
- Never leave cooking food unattended: If you are making the simple syrup on the stove, ensure you are always present to stir and prevent burning.
- Store correctly: Once bottled, homemade liqueurs should be stored in a cool, dark place. While alcohol acts as a preservative, proper storage helps maintain quality and extends shelf life.
- Label your bottles: Clearly label your homemade liqueur with the date it was made and its ingredients.
For further comprehensive information on safe food handling practices, always consult reliable sources like the FDA’s Safe Food Handling guidelines.
