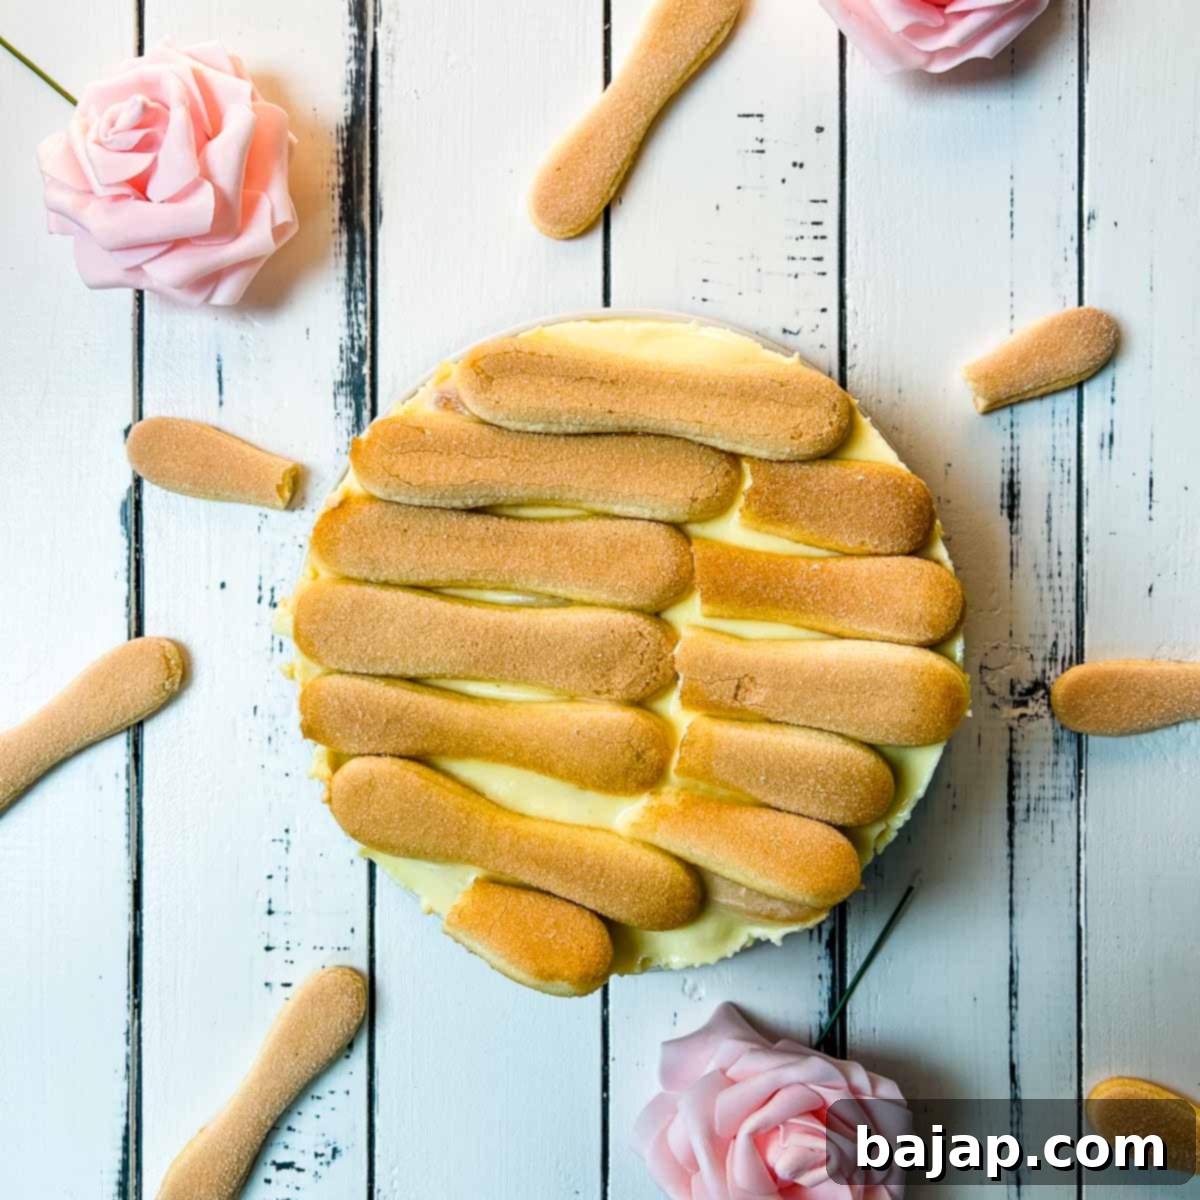
Irresistible No-Bake Eggnog Layered Pudding Dessert with Ladyfingers & Espresso
Prepare to be enchanted by this utterly scrumptious layered pudding dessert, a true masterpiece of flavors and textures that comes together with surprising ease. This delightful no-bake treat features delicate espresso-dipped ladyfingers nestled between layers of velvety vanilla pudding and rich, festive
The star of this dessert is undoubtedly the luscious
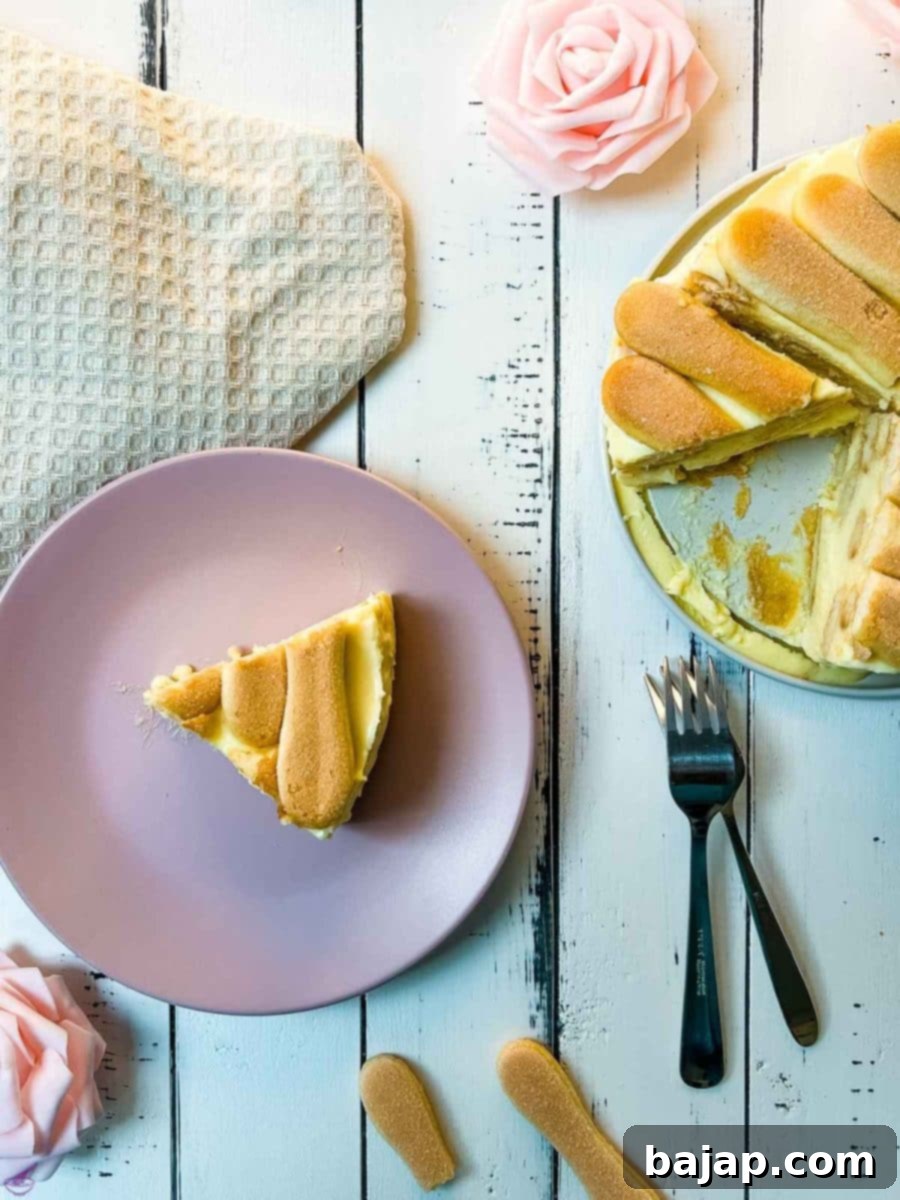
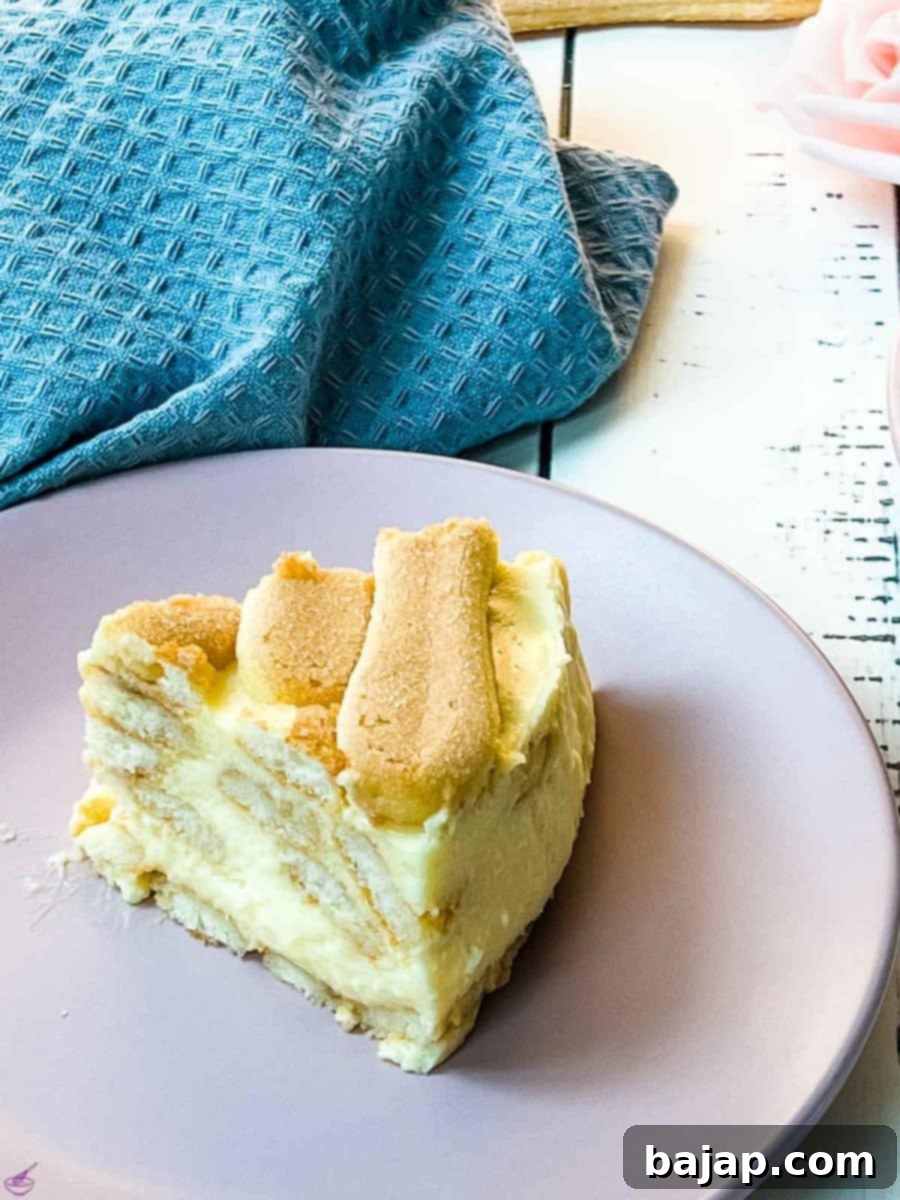
Beyond its exquisite taste, this dessert boasts an amazing consistency. It’s wonderfully creamy, soft, and delicately wobbly, melting in your mouth with every bite. The lovely yellow colored layers, alternating between the rich pudding and the biscuit base, create an appealing presentation that makes it perfect for dinner parties, holiday gatherings, or simply a special weekend treat. It’s a truly indulgent experience without the hassle of baking, making it a go-to recipe for any dessert enthusiast seeking both flavor and convenience.
Whether you’re a seasoned baker or a novice in the kitchen, this easy no-bake recipe is designed for success. Its straightforward steps and simple ingredients ensure a delicious outcome every time. So, get ready to dive into the world of effortless elegance and create a dessert that will be remembered long after the last slice is savored. This is more than just a pudding; it’s a celebration in a springform pan!
🎥 Watch the Recipe Video!
For a visual guide to making this delightful no-bake layered pudding dessert, be sure to watch our step-by-step video. It walks you through each stage, ensuring you achieve perfect creamy layers and a stunning finish. Perfect for those who prefer to see the process in action!
🥘 Key Ingredients for Your No-Bake Delight
Crafting this elegant no-bake pudding dessert requires a few simple yet essential ingredients. Each component plays a vital role in achieving the perfect balance of flavor, texture, and visual appeal. Here’s what you’ll need:
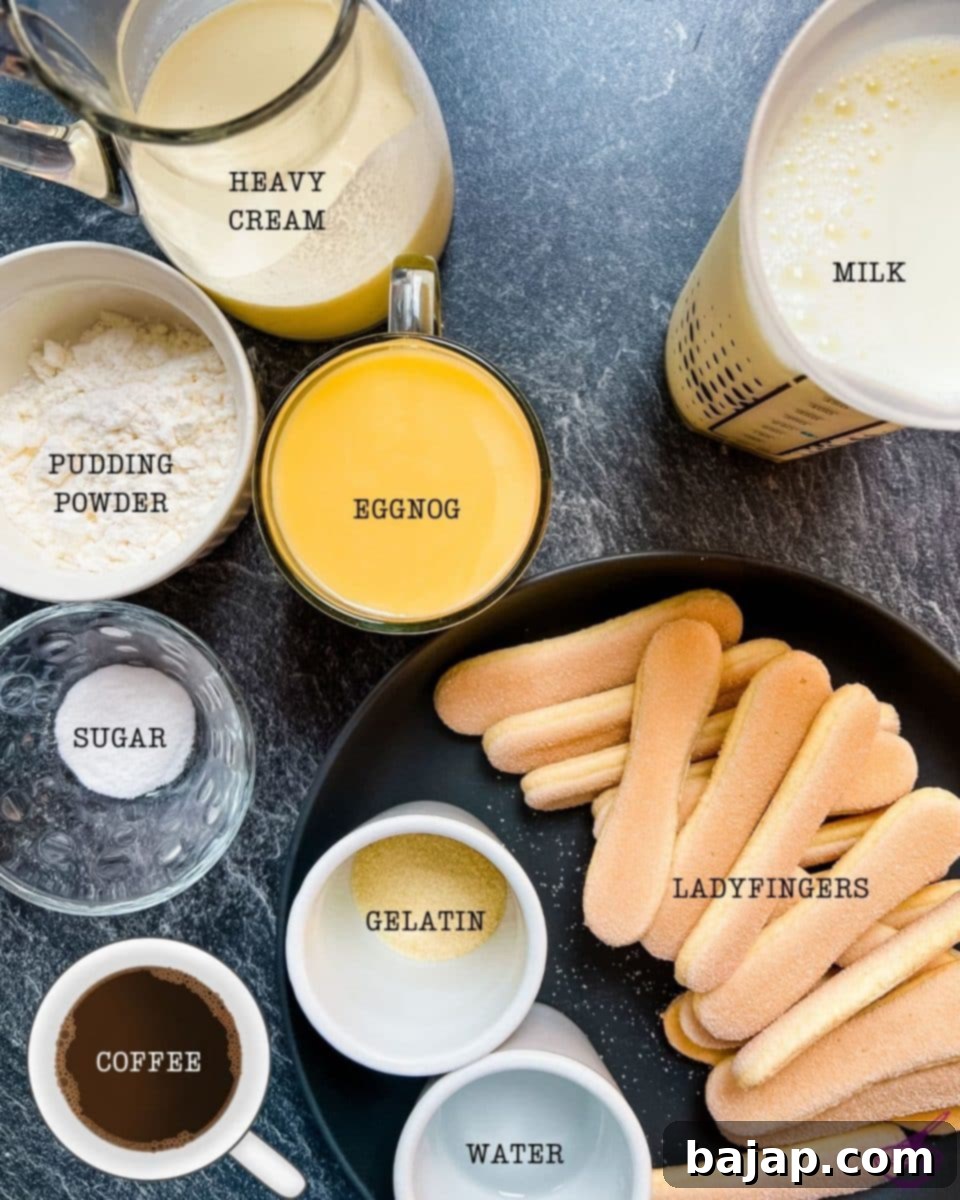
- Ladyfingers: These delicate, sponge-like biscuits are crucial for the structure of your dessert. They form both the sturdy base and the delightful intermediate layers, soaking up the espresso beautifully.
- Espresso: Strongly brewed espresso infuses the ladyfingers with a rich, aromatic coffee flavor that perfectly complements the sweet pudding. You can either quickly dip the ladyfingers or baste them lightly. Make sure it’s cooled to avoid making the ladyfingers too soggy too quickly.
- Gelatin: This is the secret to a perfectly set, yet wobbly and creamy pudding. Gelatin gives the pudding a stable consistency, ensuring your dessert holds its shape when sliced.
- Cold Water: Essential for blooming the gelatin, allowing it to soften and dissolve evenly into the pudding mixture.
- Whole Milk: The base for your creamy vanilla pudding. Whole milk provides richness and a smooth texture.
- Granulated Sugar: Adds just the right amount of sweetness to the pudding, balancing the strong flavors of espresso and eggnog.
- Vanilla Pudding Powder: This forms the foundational creamy element of our dessert. A good quality vanilla pudding powder ensures a smooth, flavorful custard.
- Eggnog (Egg Liqueur): The star flavor! Best results come from using homemade eggnog for an unparalleled depth of flavor. However, high-quality store-bought eggnog (also known as Advocaat) works perfectly fine for convenience. This ingredient provides that distinctive, boozy, and creamy goodness.
- Whipped Cream: Lightly folded into the
eggnog pudding cream, whipped cream enhances its richness and gives it an irresistibly silky, airy texture.
For exact quantities and detailed measurements, please refer to the comprehensive recipe card below.
🔪 Step-by-Step Instructions: Crafting Your Layered Masterpiece
Creating this stunning no-bake layered pudding dessert is a straightforward and enjoyable process. Follow these detailed steps to ensure a perfect, mouth-watering result every time.
Step 1: Prepare the Espresso & Pudding Base
Begin by brewing two strong double espressos. Pour them into a metal pitcher or a heat-safe bowl and set aside to cool. It’s crucial for the espresso to be cool when you dip the ladyfingers to prevent them from becoming overly soggy.
Next, prepare your gelatin according to the package directions. Typically, this involves mixing it with three times its amount of cold water and letting it swell for about 10 minutes. This process, known as “blooming,” ensures the gelatin dissolves smoothly and effectively sets your pudding.
While the gelatin is blooming, start on your vanilla pudding. In a small mixing bowl, whisk together eight tablespoons of cold milk with the vanilla pudding powder until you have a smooth, lump-free paste. This slurry prevents lumps when added to the hot milk.
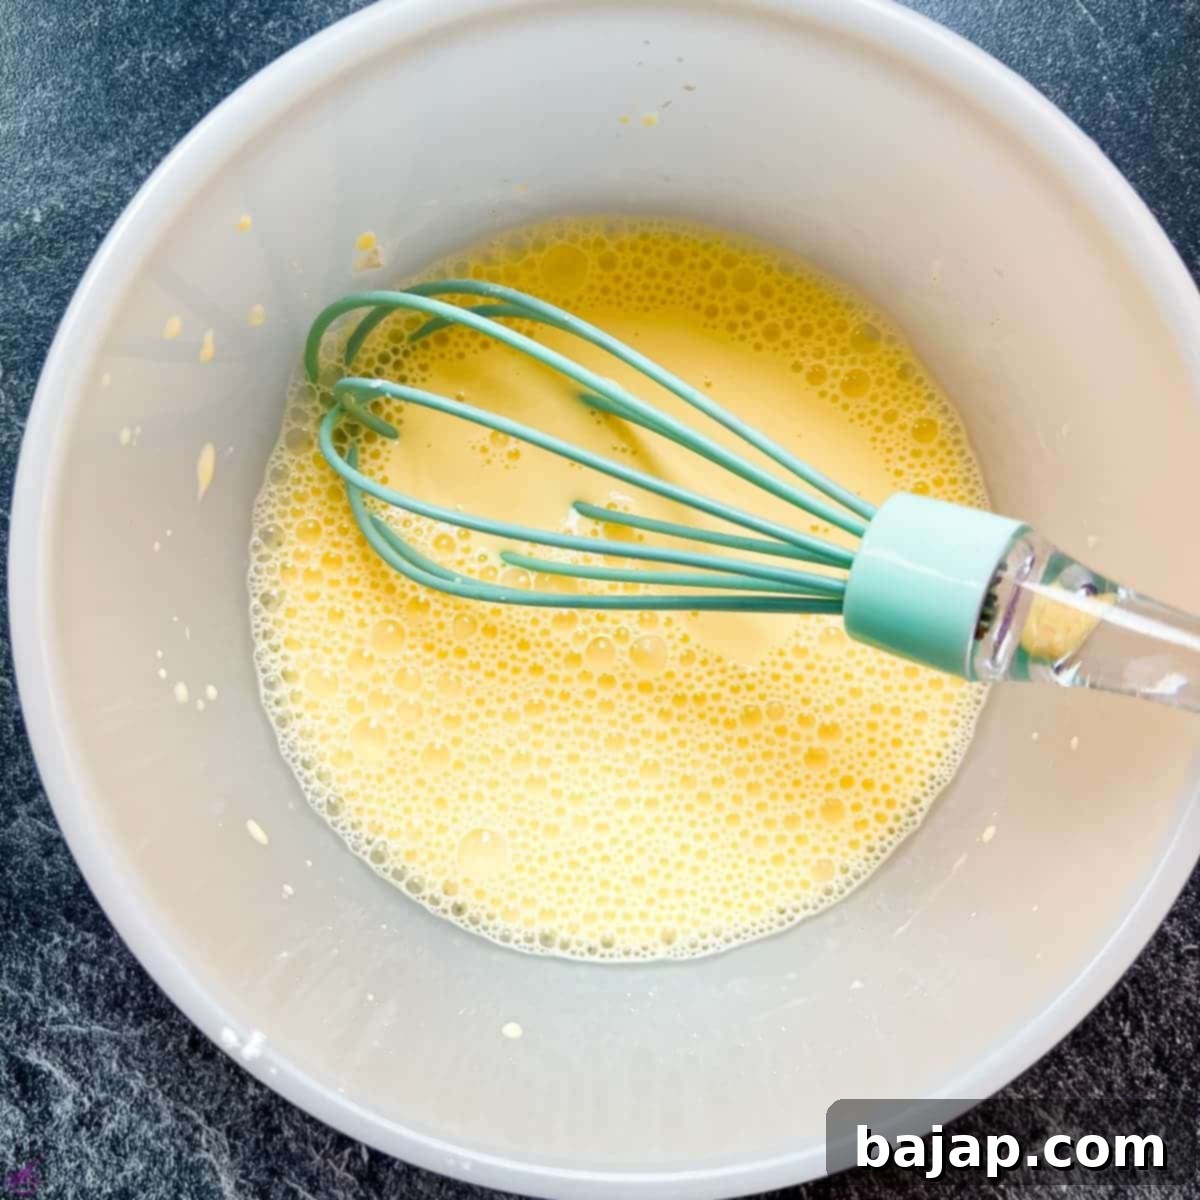
Simultaneously, in a small saucepan, bring the remaining whole milk to a gentle boil with the granulated sugar, stirring occasionally to dissolve the sugar. Once boiling, remove the saucepan from the heat immediately and stir in your prepared vanilla pudding mixture. Return it to the heat briefly, bringing it back to a boil while stirring constantly, then remove it from the heat once more.
While the pudding cools slightly, whip your heavy cream until it forms very stiff peaks using a kitchen machine or hand mixer. This stiff cream will give your eggnog pudding a wonderful airy texture.
Finally, to the slightly cooled vanilla pudding, stir in the
Step 2: Layering Your Pudding Perfection
Now comes the exciting part: assembling your delicious layered pudding dessert! Take an 8-inch round springform pan. Arrange a single layer of ladyfingers closely together at the bottom of the pan. These will form the crucial base of your dessert.
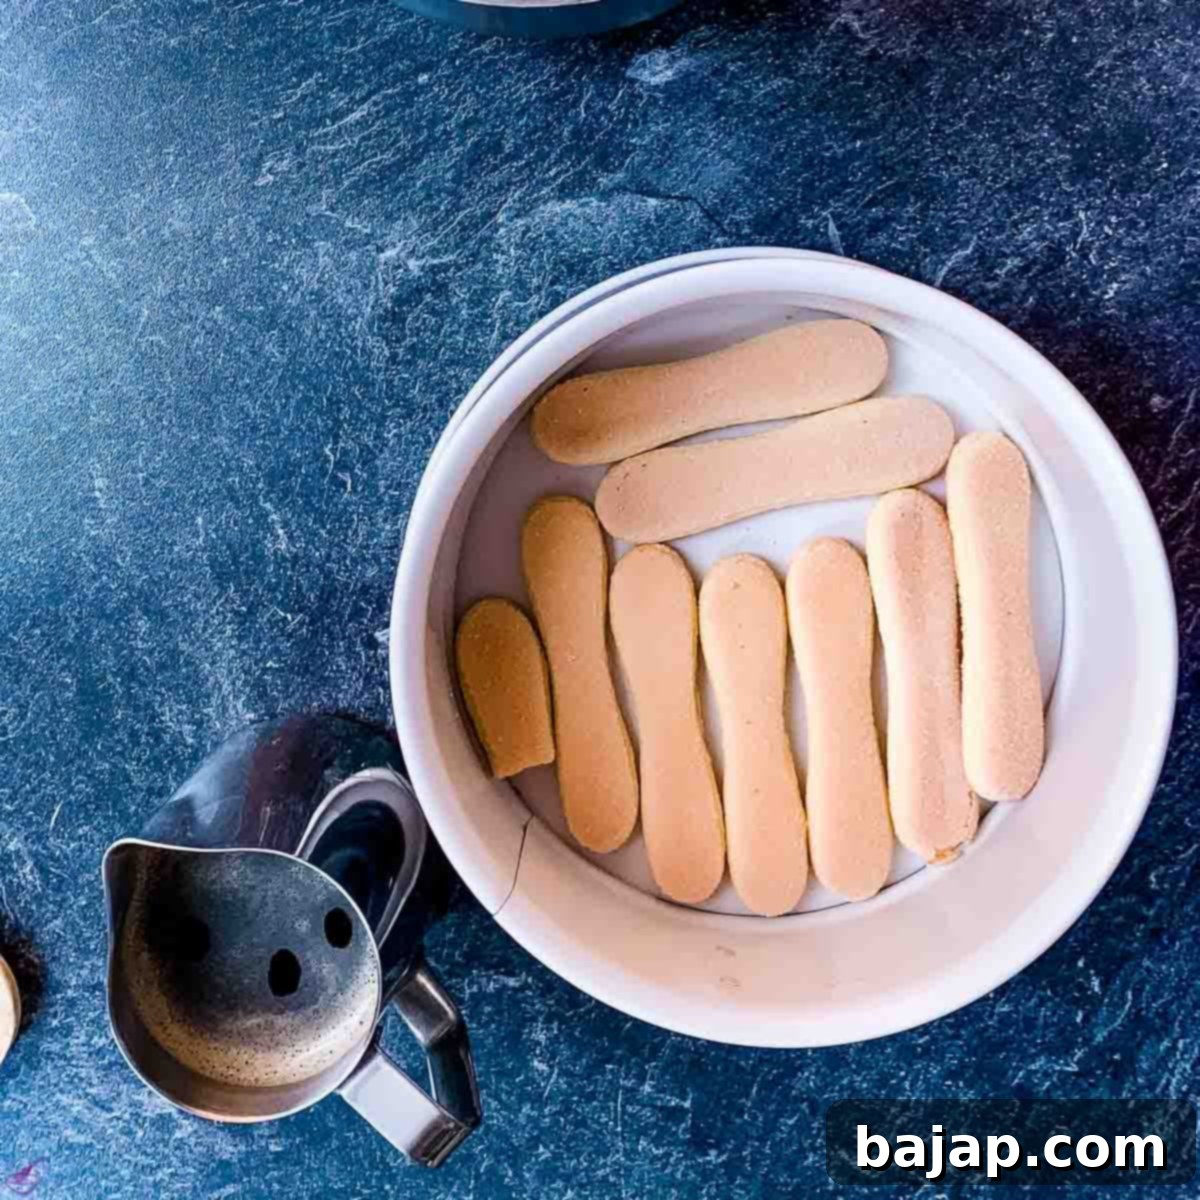
Ensure ladyfingers are placed snugly together for a solid foundation.
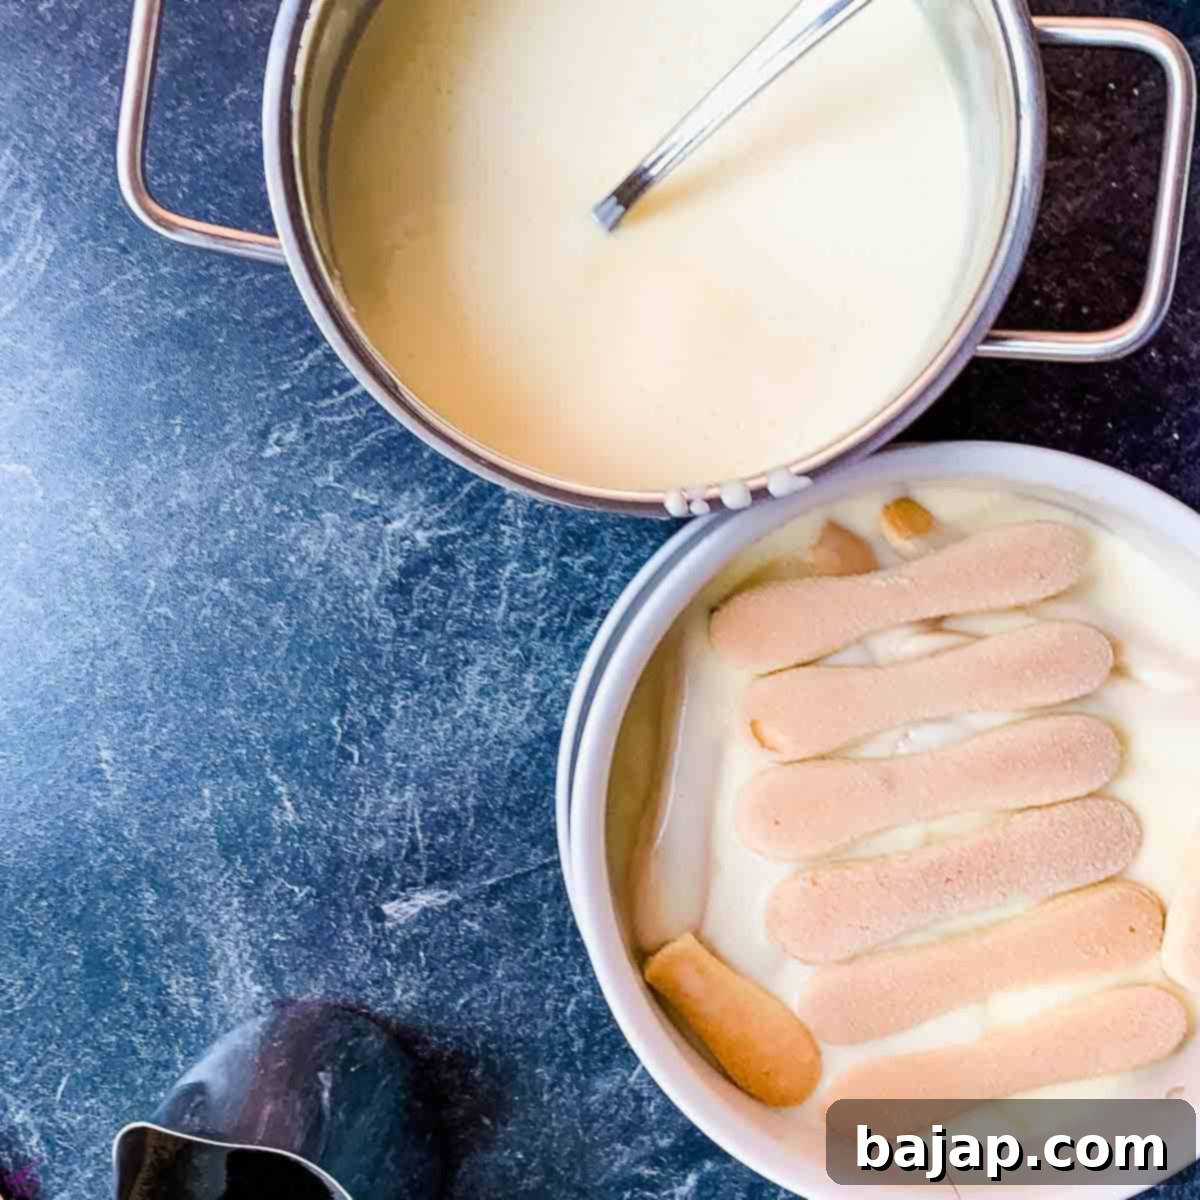
Another layer of ladyfingers helps build the stunning multi-layer effect.
Evenly drizzle the ladyfingers with some of the cooled espresso. Be careful not to over-saturate them; a gentle drizzle or a quick dip is all that’s needed to infuse flavor without making them mushy. Follow this with about five ladles of the creamy
Now, place the next layer of ladyfingers on top of the pudding cream. Again, you have the option to lightly dip them in the espresso before placing them, or drizzle them with coffee after they are in the pan. The choice is yours, based on your preference for coffee intensity and biscuit texture.
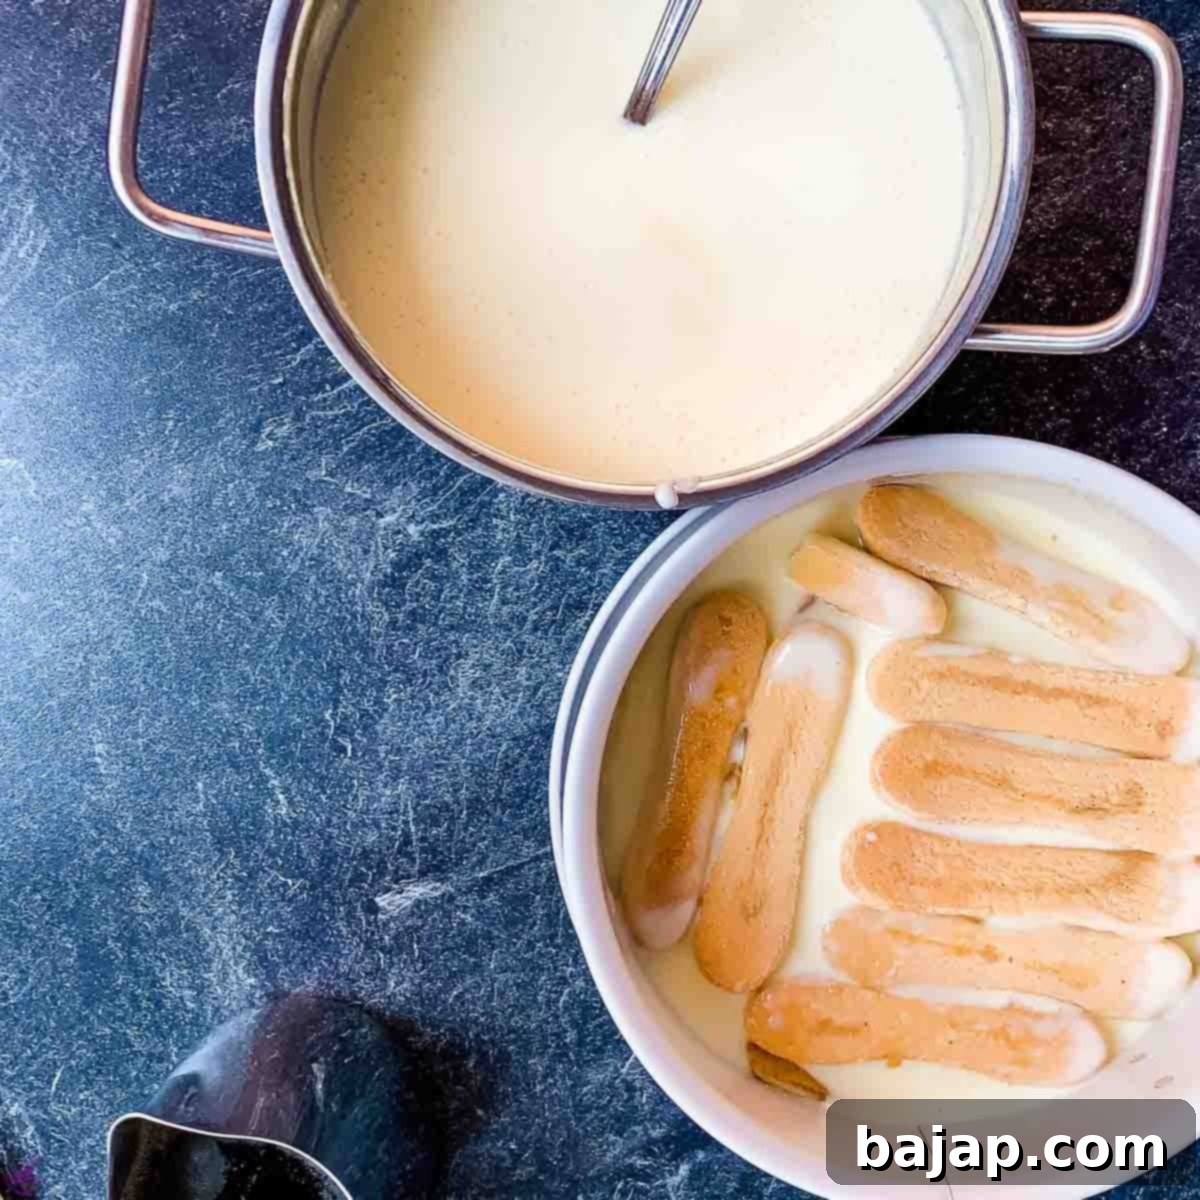
A gentle drizzle of espresso enhances the flavor profile of the ladyfingers.
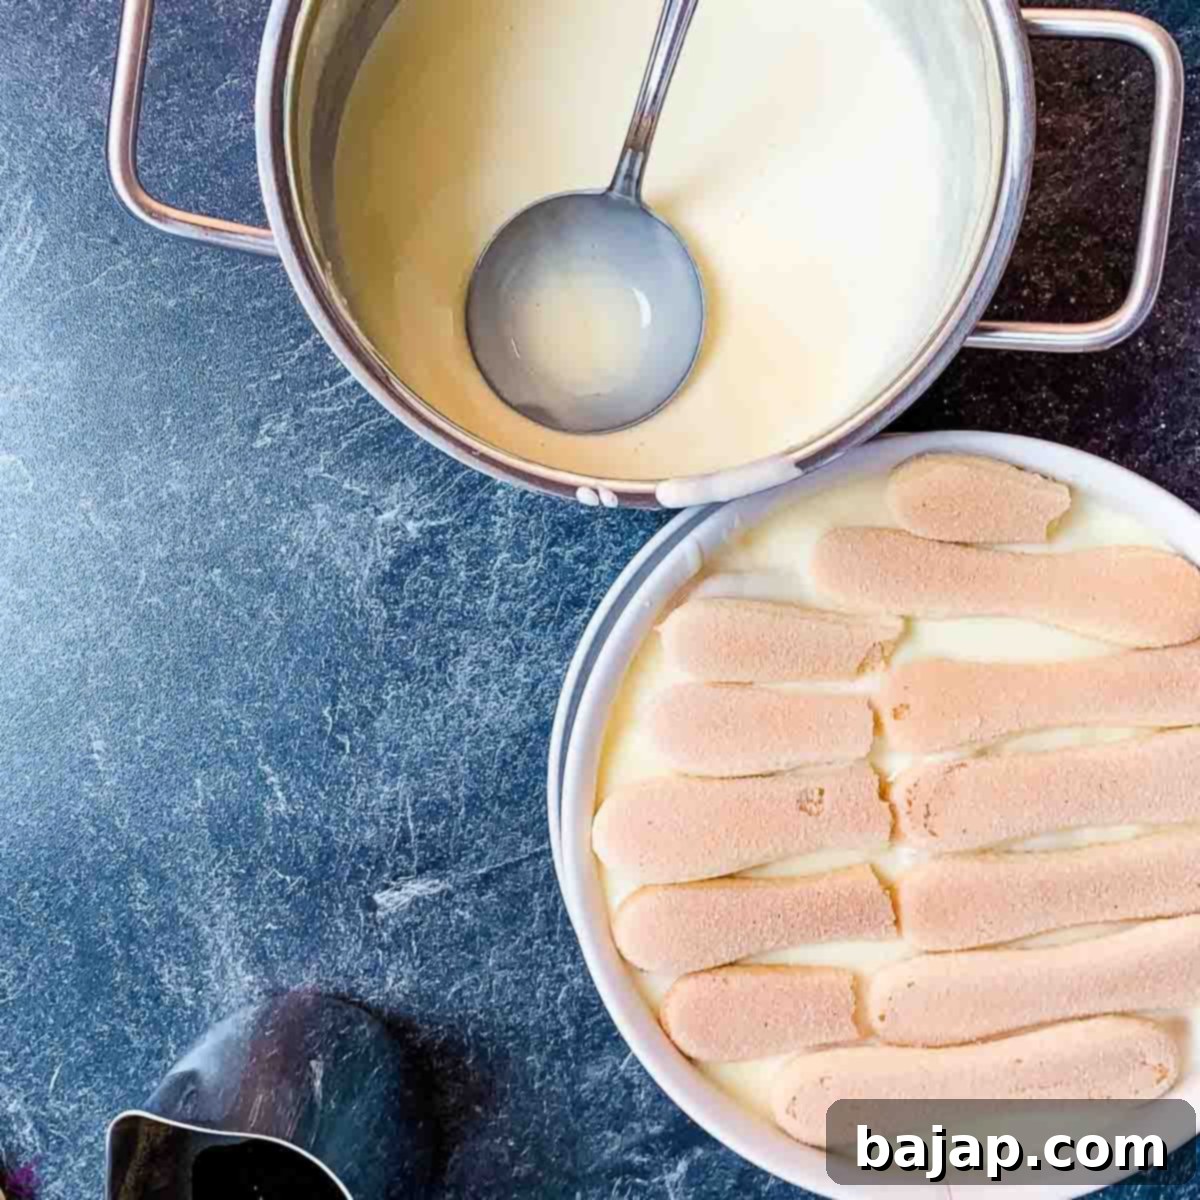
Finishing with a layer of ladyfingers creates a refined and appetizing top.
Continue this layering process, alternating between espresso-drizzled ladyfingers and approximately five ladles of pudding cream, until your springform pan is nearly full. It’s recommended to finish the dessert with a final layer of ladyfingers, as this creates a polished, more appealing visual presentation than a top layer of cream.
Once all layers are beautifully arranged, carefully cover the springform pan with a plate or plastic wrap. This prevents the dessert from absorbing refrigerator odors and helps maintain its moisture. Refrigerate the layered pudding for at least eight hours, or ideally, overnight. This crucial chilling time allows the gelatin to fully set and the flavors to meld beautifully, resulting in that irresistible creamy, soft, and wobbly consistency.
Step 3: Serve and Enjoy Your Masterpiece!
After the extensive chilling period, remove the springform pan from the refrigerator. Before opening the pan, carefully run a thin knife along the inner edge. This simple step helps to release the cream from the sides, ensuring a clean and perfect slice.
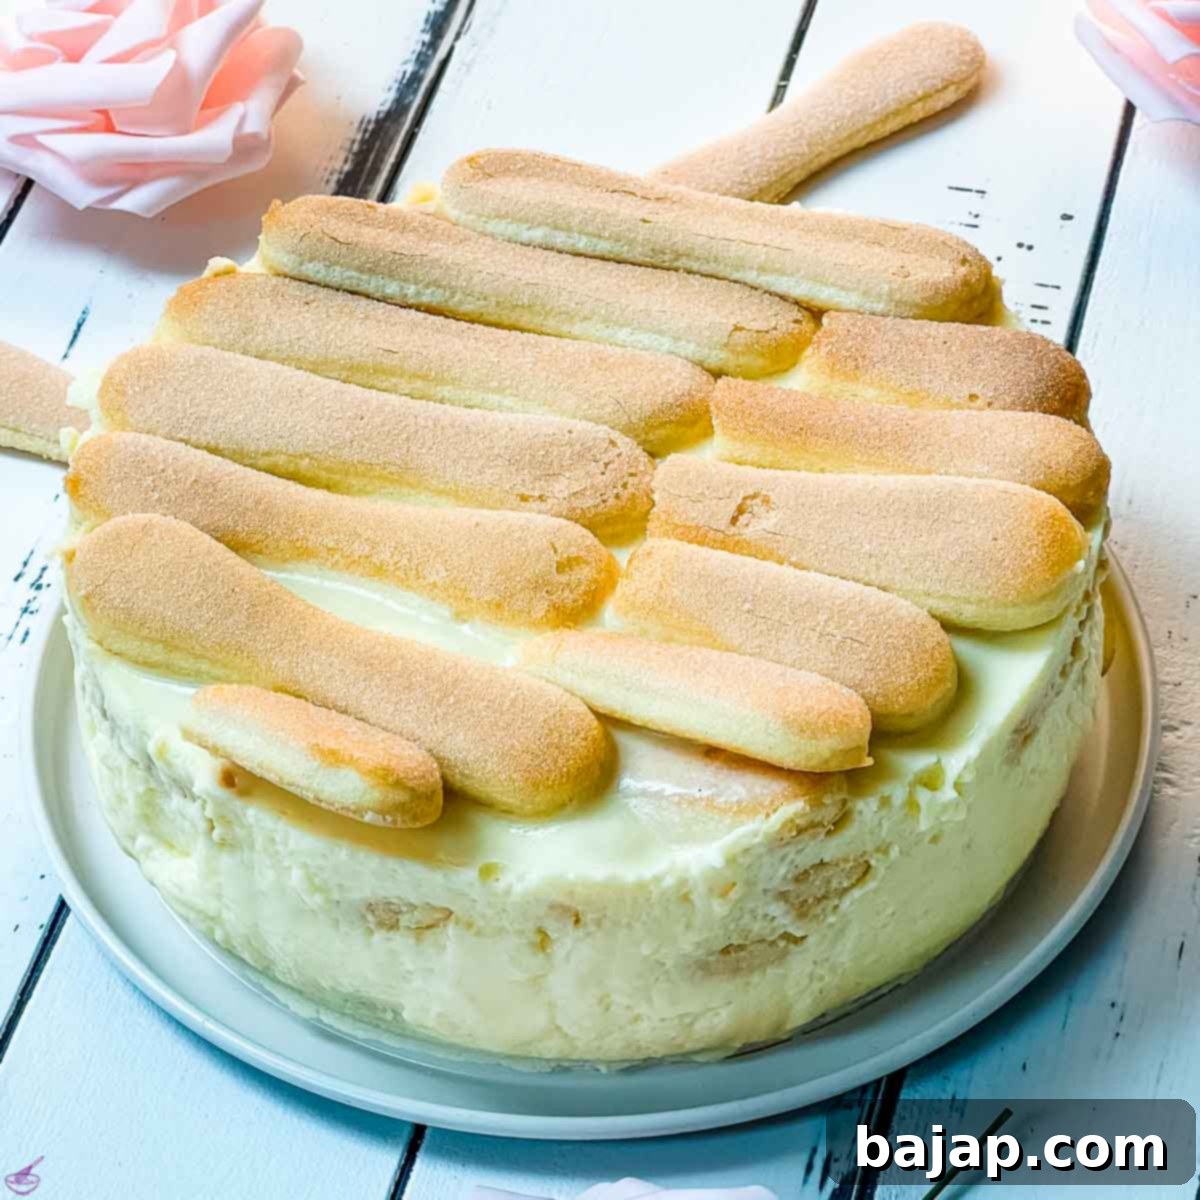
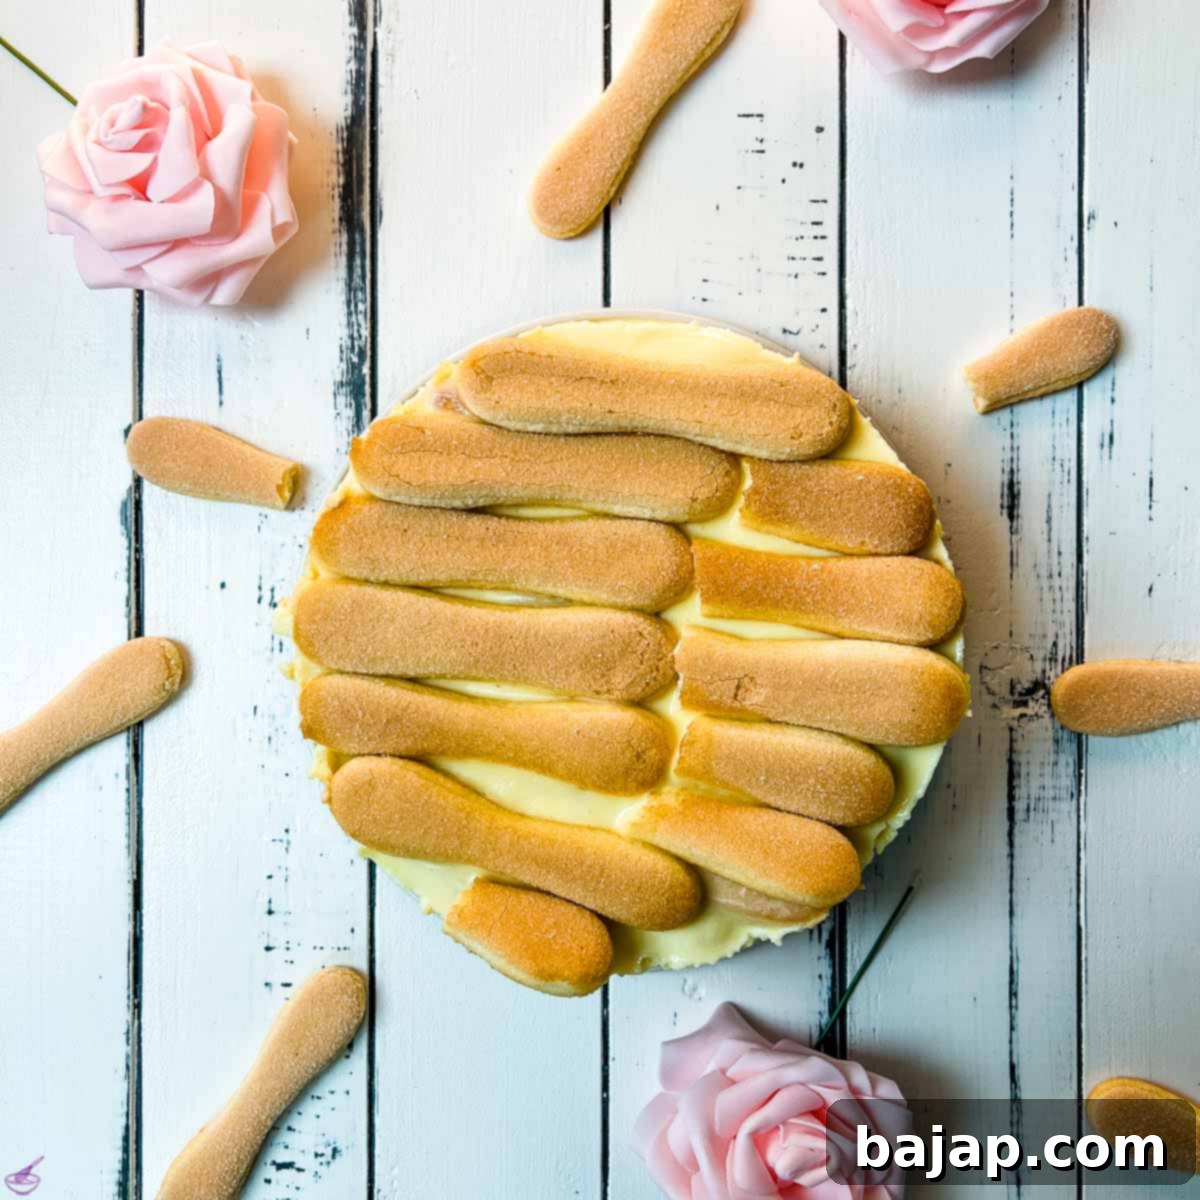
Gently remove the sides of the springform pan. Now, your exquisite no-bake eggnog layered pudding dessert is ready to be served! Cut it into neat slices and present it immediately to your eager guests. Each slice reveals the beautiful alternating layers of rich eggnog cream and espresso-infused ladyfingers, promising a delightful culinary experience. Enjoy every moment of this easy, elegant, and utterly delicious treat!
More Delicious No-Bake & Layered Recipes You’ll Love to Try
If you’re a fan of easy, impressive desserts, especially those that don’t require an oven, you’re in the right place! Here are a few more delightful recipes that promise similar satisfaction and ease of preparation:
- Creamy Eggnog Cheesecake with a Zesty Ginger Spiced Crust
- Elegant Linzer Cookies with a Hint of Egg Liqueur
- How to Make a Refreshing Snowball Cocktail
- Decadent Homemade Eggnog Truffles
- The Best No-Bake Chocolate Ricotta Cheesecake
- Festive No-Bake Candy Cane Oreo Cake Pops
- Charming Fig Cheesecake in a Jar
And for a truly tropical twist, be sure to try this delicious Pina Colada Layer Cake – a perfect change of pace for warmer weather or a themed party!
🥜 Creative Substitutions for Your Pudding Dessert
While this eggnog layered pudding dessert is perfect as is, you can easily customize it to suit your taste preferences or available ingredients. Here are some fantastic substitution ideas:
- Pudding Flavor: For a delightful change, replace the vanilla pudding powder with chocolate pudding powder. This creates a richer, more intense chocolate-flavored cream layer.
- Liqueur Variations: If you opt for chocolate pudding, consider pairing it with other complementary liqueurs instead of eggnog.
Baileys Irish Cream would add a decadent creamy coffee note, while Kahlua would enhance the coffee and chocolate profile. For a non-alcoholic option with chocolate pudding, a good quality chocolate cordial or even a strong hazelnut syrup could work wonders. If keeping the vanilla pudding, other creamy liqueurs like Amaretto (for an almond twist) or Frangelico (for a hazelnut flavor) could also be interesting alternatives to eggnog. - Espresso Alternatives: If you’re not a coffee fan or prefer a non-caffeinated option, you can dip the ladyfingers in strong cocoa milk, orange juice, or even a light fruit syrup for a different flavor dimension.
Don’t hesitate to experiment with these ideas to create your unique version of this amazing layered dessert!
🍽 Essential Equipment for Easy Preparation
Making this no-bake layered pudding dessert requires only a few standard kitchen tools, making it accessible even for beginners. Here’s a list of what you’ll need:
- Springform Pan (Round, 8-inch): This type of pan is indispensable for layered desserts as its removable sides allow for easy unmolding and a perfect presentation without disturbing the delicate layers.
- Small Saucepan: For boiling the milk and preparing the pudding base.
- Whisk: Essential for mixing the pudding powder smoothly and combining ingredients.
- Wooden Spoon: Useful for stirring and folding the creamy mixtures.
- Mixing Bowls: You’ll need at least two – one for the pudding mixture and one for whipping the cream.
- Hand Mixer or Food Processor with a Whisk Attachment: For efficiently whipping the heavy cream to stiff peaks.
- Metal Pitcher: Ideal for brewing and cooling the espresso.
- Ladle: For neatly transferring and spreading the pudding cream between the ladyfinger layers.
🌡 Storage Tips for Your Layered Dessert
One of the many benefits of this no-bake layered pudding dessert is that it’s an excellent make-ahead option, and it stores beautifully. Properly stored, your dessert will remain fresh and delicious for several days:
- Refrigerator Storage: Keep the dessert covered in the springform pan (or transferred to an airtight container once unmolded) in the refrigerator. It will maintain its creamy texture and fresh flavors for up to three to four days.
- Serving Temperature: This dessert is best enjoyed chilled, directly from the refrigerator.
- Freezing: While technically possible, freezing is generally not recommended as it can alter the delicate texture of the ladyfingers and the creamy consistency of the pudding upon thawing.
💭 Nora’s Top Tip for a Perfect Finish
To truly elevate the presentation of your no-bake layered pudding dessert, always aim to finish the last layer with ladyfingers. This small detail makes a significant difference. A topping of ladyfingers provides a clean, structured, and elegant visual appeal that is far more impressive than a simple
🙋🏻 Frequently Asked Questions (FAQ)
Here are some common questions about ladyfingers and this delicious layered dessert:
Ladyfingers are delightful, light sponge biscuits known for their slightly sweet, delicate vanilla flavor. Their characteristic coarse, slightly crunchy surface offers an interesting textural contrast, especially when dipped or drizzled. They are mild enough to absorb other flavors beautifully, making them perfect for layered desserts.
When you purchase ladyfingers, they should always be crunchy and firm. This crisp texture is what allows them to absorb liquids without immediately turning into a soggy mess, providing a pleasant consistency in layered desserts. If you find ladyfingers that are already soft or mushy in the package, it indicates they have been stored incorrectly or are stale. In such cases, it’s best to return them and request a refund to ensure the quality of your dessert.
Absolutely! Ladyfingers are lovely to nibble on all by themselves. In Austria, for example, they hold a special place in New Year’s Eve traditions. They are often shaped like fish and called “lucky fish.” These charming biscuits are shared among friends and relatives at midnight as a symbol of good fortune for the coming year. An important part of this tradition is to eat the tail of the fish first, which is believed to make the fish (and your luck) swim upwards! It’s a fun and delicious way to enjoy them.
If you try this delightful recipe, please let me know how you liked it by giving it a ★★★★★ star rating and leaving a comment below. Your feedback means a lot! You can also sign up for our Newsletter to receive weekly delicious homemade recipes. Don’t forget to follow me on Pinterest or Instagram and share your creation with me. Just tag me @combinegoodflavors and hashtag #combinegoodflavors so I don’t miss it!
📖 Recipe Card
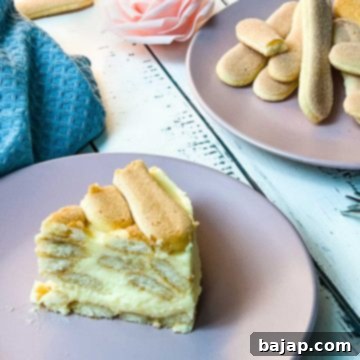
Layered Vanilla Pudding Dessert with Ladyfingers and Eggnog
Nora
Save RecipeSaved!
Pin Recipe
Equipment
-
Springform pan 8 inch
-
Small Saucepan
-
Whisk
-
Wooden spoon
-
Mixing bowls
-
Hand mixer or food processor with a whisk attachment
-
Metal pitcher
-
Ladle
Ingredients
- 40 Ladyfingers
- 2 shots Espresso
- 3 teaspoon Gelatin
- 9 teaspoon Cold water
- 4 cups Whole milk
- ¼ cup Granulated sugar
- 1.5 oz Vanilla pudding powder
- 1 cup Egg liqueur
- 1 cup Whipped cream
Instructions
-
Brew two double espressos in a metal pitcher and set aside to cool completely.2 shots Espresso
-
Prepare the gelatin according to the package instructions (usually mixing with three times the amount of cold water and letting it swell for 10 minutes).3 teaspoon Gelatin, 9 teaspoon Cold water
-
In a small mixing bowl, combine eight tablespoons of cold milk with the pudding powder and whisk until smooth and lump-free.4 cups Whole milk
-
Meanwhile, bring the remaining milk to a boil in a small saucepan along with the granulated sugar, stirring until the sugar dissolves.4 cups Whole milk, ¼ cup Granulated sugar
-
Simultaneously, whip the whipped cream in your kitchen machine until it forms very stiff peaks.1 cup Whipped cream
-
Once the sweetened milk is boiling, remove it from the heat and stir in the vanilla pudding mixture.1.5 oz Vanilla pudding powder
-
Return to a brief boil while stirring constantly. Remove from heat and stir in the egg liqueur and the prepared, bloomed gelatin until dissolved.1 cup Egg liqueur
-
Gently fold the very stiffly whipped cream into the eggnog pudding mix until just combined, creating a smooth and airy cream. Set aside.
-
Take an 8-inch springform pan and arrange a single layer of ladyfingers closely together at the bottom to form the base.40 Ladyfingers
-
Drizzle the ladyfingers generously with some of the cooled espresso, or quickly dip them if preferred.2 shots Espresso
-
Follow with about five ladles of the eggnog pudding cream, spreading it evenly to completely cover the biscuits.
-
Place another layer of ladyfingers on top of the pudding cream. Again, drizzle with espresso after layering, or dip them beforehand if you choose.
-
Add five more ladles of the pudding mix for the next creamy layer.
-
Repeat the layering process until the springform pan is filled to the top, ensuring even layers.
-
Always finish with a final layer of ladyfingers for a beautiful, structured, and visually appealing top.
-
Cover the filled springform pan with a plate or plastic wrap and refrigerate for a minimum of eight hours, preferably overnight, to allow it to cool and set completely.
-
Once chilled, remove the pan from the refrigerator. Run a thin knife around the edge of the dessert before opening the springform pan to ensure a clean release.
-
Remove the springform ring and serve the dessert immediately in neat, elegant slices. Enjoy!
Nutrition values are estimates only, using online calculators. Please verify using your own data.

🤎 You Might Also Like
- Firecracker Bundt Cake for the 4th of July
- Limoncello Ricotta Cake
- Limoncello Cheesecake No Bake
- Easter Cookie Bars
⛑️ Food Safety Guidelines
Ensuring food safety is paramount when preparing any recipe. Please keep these important guidelines in mind to protect yourself and your loved ones:
- Minimum Cooking Temperature: Always cook foods, especially those with eggs or dairy, to a minimum internal temperature of 165 °F (74 °C) to eliminate harmful bacteria. Although this is a no-bake dessert, the pudding base involves heating milk and pudding powder, so ensure it reaches a safe temperature.
- Cross-Contamination: Never use the same utensils, cutting boards, or dishes on cooked food that previously touched raw meat, poultry, or seafood, even if it’s not part of this specific recipe. This prevents cross-contamination.
- Hand Washing: Wash your hands thoroughly with soap and warm water for at least 20 seconds after handling any raw ingredients, especially raw meat or eggs.
- Temperature Control: Do not leave perishable foods, such as this pudding dessert, sitting out at room temperature for extended periods (generally no more than two hours). Promptly refrigerate any leftovers.
- Unattended Cooking: Never leave cooking food unattended on the stovetop or in the oven. Always be present to monitor the cooking process.
- High Smoking Point Oils: When cooking with oils (not applicable to this no-bake recipe, but a general safety tip), use those with high smoking points to avoid the production of harmful compounds.
- Ventilation: Always ensure good ventilation in your kitchen, especially when using a gas stove, to prevent the buildup of fumes.
For further comprehensive information on safe food handling practices, please refer to the guidelines provided by the U.S. Food and Drug Administration (FDA).
