Homemade Vanilla Sauce: The Ultimate Guide to Creamy Perfection
A true classic in both Austrian cuisine and around the globe, vanilla sauce is a beloved accompaniment that effortlessly elevates a wide array of desserts. Its rich, velvety texture and comforting aroma make it an indispensable side dish, transforming simple treats into extraordinary culinary experiences. This versatile sauce is surprisingly quick and easy to prepare, making it a favorite for home cooks of all skill levels. Whether you’re serving a formal dinner or a casual family meal, a batch of homemade vanilla sauce is always a welcome addition. The best part? This recipe is easily adaptable for everyone at the table, with an optional touch of rum for adult palates, ensuring that even the littlest foodies can enjoy its delightful flavor without any alcohol.
The beauty of a well-made vanilla sauce lies in its perfect balance. Its luxuriously thick consistency is ideal for dunking and coating, creating a delightful mouthfeel with every spoonful. Yet, its flavor profile is wonderfully accommodating; it enhances and flatters your dessert without ever overwhelming it. The delicate, sweet notes of vanilla provide a harmonious complement to almost any sweet treat, adding depth and a touch of elegance. This makes it a go-to sauce for many, a testament to its enduring appeal and culinary adaptability. Get ready to master this fundamental dessert component and impress your guests with a sauce that tastes as incredible as it looks.

This delectable homemade vanilla sauce recipe is a must-try with a variety of traditional Austrian desserts, bringing an authentic taste of Europe right into your home. Imagine pairing its creamy warmth with fluffy Buchteln (oven-baked yeast dumplings), allowing the sauce to seep into every soft crevice. It’s also an exquisite complement to delicate Palatschinken (pancakes), creating a truly comforting experience. Beyond these, consider serving it with a rich Topfenstrudel (curd cheese strudel), where its sweetness perfectly balances the tang of the cheese, or the beloved Apfelstrudel (apple strudel), enhancing the spiced apple filling. And of course, it’s the ideal partner for wonderful Germknödel (yeast dumplings), traditionally dusted with poppy seeds and sugar, creating a delightful contrast in textures and flavors. But don’t stop there! This versatile vanilla sauce also pairs beautifully with fresh fruit tarts, bread puddings, chocolate cakes, or simply poured over a bowl of fresh berries for a lighter, yet equally satisfying, dessert.
🥘 Key Ingredients for Your Perfect Vanilla Sauce
Crafting the perfect vanilla sauce starts with selecting quality ingredients. While the list is simple, each component plays a crucial role in achieving that rich, smooth, and aromatic custard. For best results, use fresh, high-quality dairy and eggs. Here’s what you’ll need to gather:
- Milk: Full-fat milk is recommended for the richest and creamiest sauce, but you can use lower-fat options if preferred, though the texture might be slightly lighter.
- Sugar: Granulated sugar provides the sweetness. Adjust the quantity to your taste.
- Vanilla Pudding Powder: This is a key thickening agent and flavor enhancer. It often contains cornstarch and artificial or natural vanilla flavoring. If you don’t have pudding powder, you can substitute with cornstarch and a high-quality vanilla extract or vanilla bean.
- Egg Yolk: Egg yolks contribute to the sauce’s golden color, richness, and help with thickening, adding a luxurious mouthfeel.
- Rum (Optional): A splash of rum adds a wonderful depth and warmth, particularly for adult-friendly versions. Dark or light rum works well, or you can use a vanilla-flavored liqueur for an extra aromatic kick.
For precise quantities and detailed measurements, please refer to the comprehensive recipe card below.
🔪 Step-by-Step Instructions to Make Vanilla Sauce
Making this delightful vanilla sauce is straightforward, but careful attention to each step will ensure a smooth, creamy, and perfectly thickened result. Follow these instructions closely for a flawless homemade custard every time.
Step 1: Prepare Your Ingredients (Mise en Place)
Before you even turn on the stove, it’s crucial to prepare all your ingredients. This practice, known as “mise en place,” ensures a smooth cooking process and prevents any last-minute scrambling that could lead to burnt or unusable sauce. Start by carefully separating your eggs. The yolks are essential for this recipe, providing richness and color. As for the leftover egg whites, don’t let them go to waste! If you don’t plan to use them within one to two days in the refrigerator, I highly recommend freezing them for future baking projects. This is an excellent way to prevent food waste and keep a valuable ingredient on hand. Once the yolks are separated, measure out your milk, sugar, vanilla pudding powder, and have your rum ready if you’re including it. Having everything prepped means you’re ready to proceed without interruption.
Step 2: Cook the Custard Base to Perfection
Begin by pouring half of your measured milk and all of the sugar into a small saucepan. Place the saucepan over medium heat and bring the mixture to a gentle boil, stirring occasionally to ensure the sugar fully dissolves. While this milk-sugar mixture is heating, take the remaining half of the milk and combine it in a separate bowl with the vanilla pudding powder and the reserved egg yolks. Whisk this mixture vigorously until it’s completely smooth and free of any lumps. This creates your crucial custard slurry.
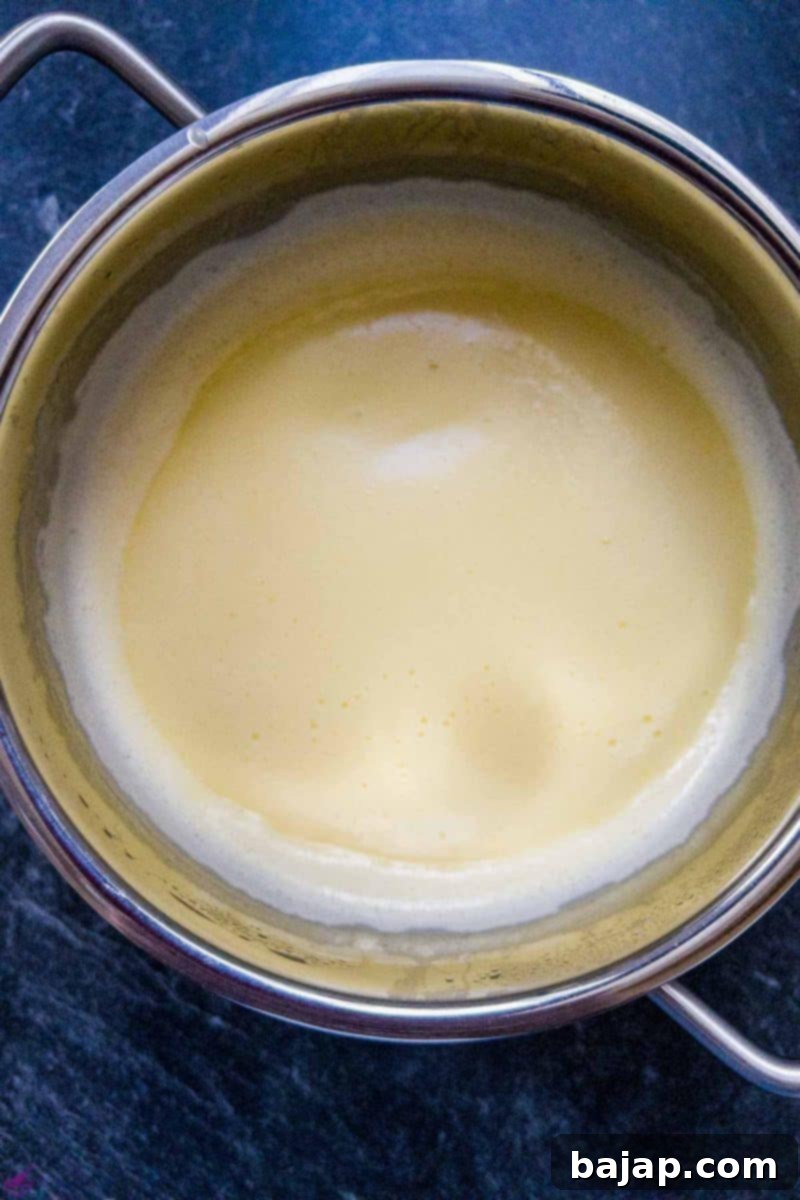
Once the milk and sugar in the saucepan reach a boil, it’s time to incorporate your custard mixture. Slowly pour the egg yolk-pudding mixture into the boiling milk, continuously stirring with a whisk. This constant agitation is vital to prevent the eggs from scrambling and to ensure the sauce thickens evenly without lumps. Continue cooking over low heat, stirring constantly, until the entire mixture returns to a boil. As soon as it boils and you notice it thickening, immediately turn off the heat and remove the pot from the hot plate. Continue whisking for another minute or two off the heat; the residual warmth will help it reach its final thick, creamy consistency.

Step 3: Finish and Serve Your Creamy Creation
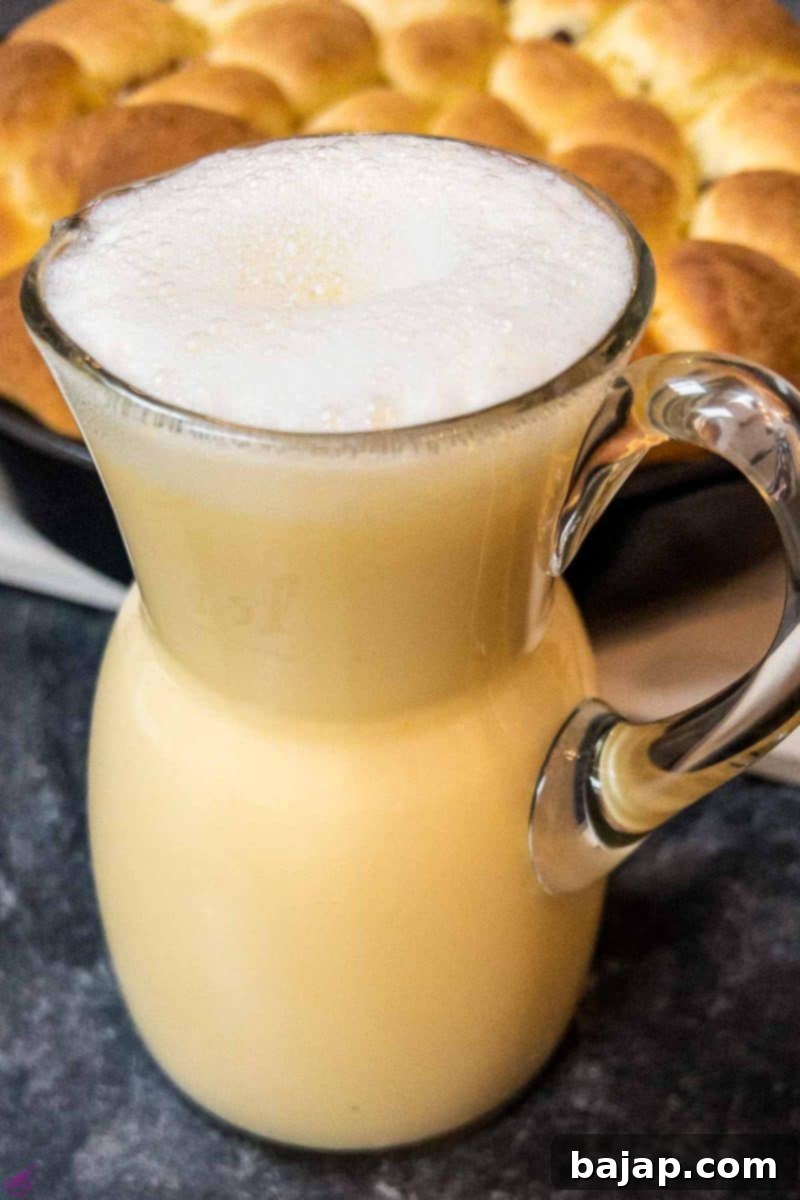
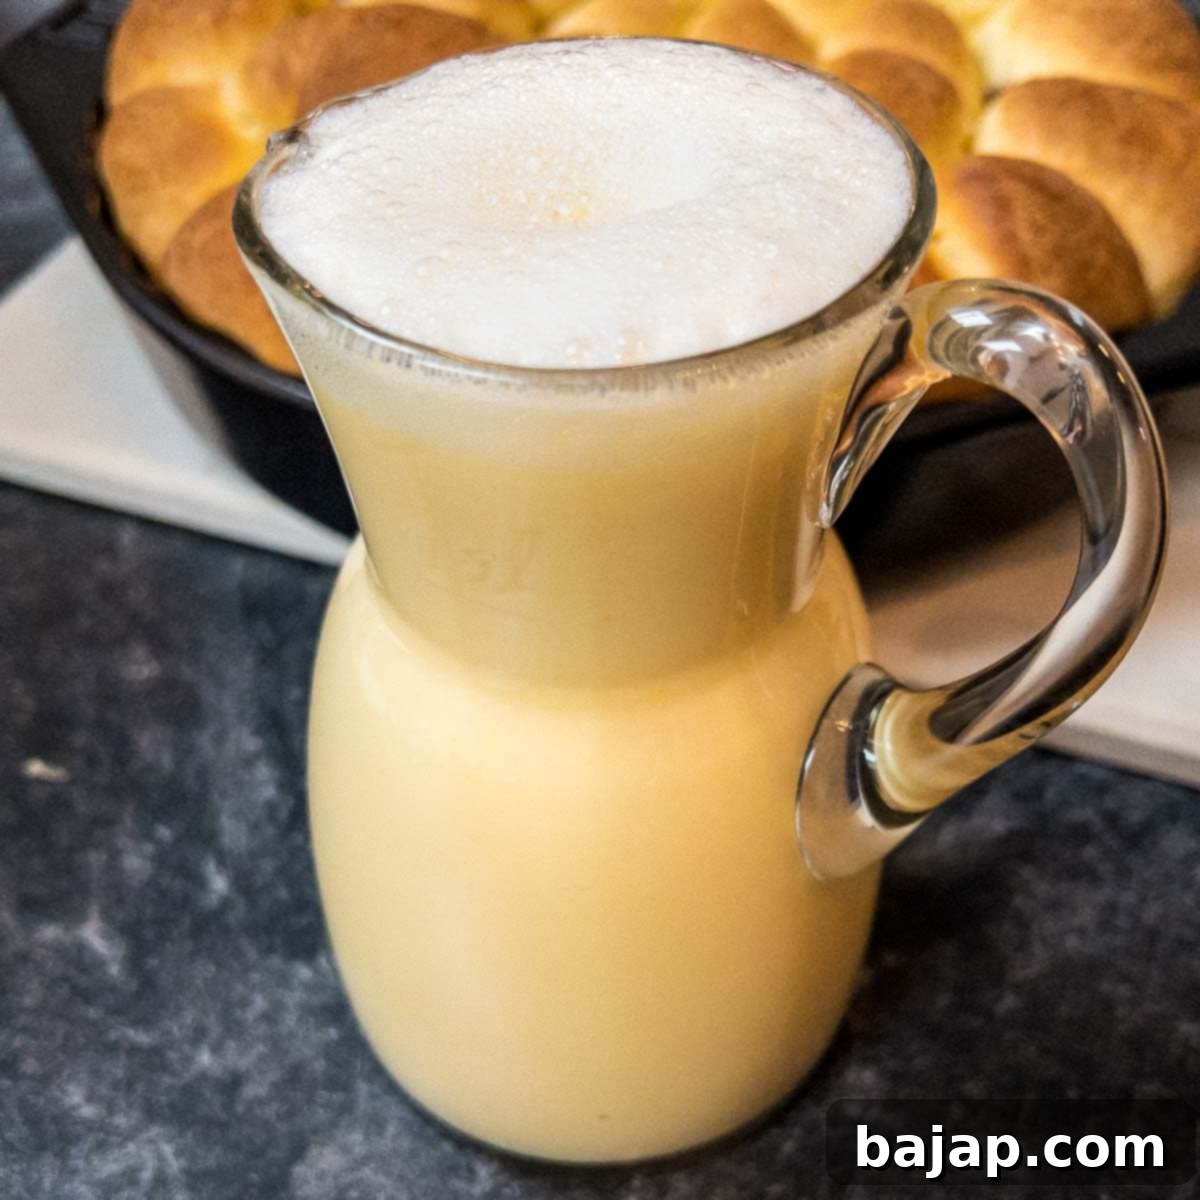
At this point, your vanilla sauce is thick, creamy, and ready to enjoy if you’re making an alcohol-free version. If you prefer to add a touch of warmth and complexity, now is the time to stir in the rum. Add it to taste, starting with a small amount and increasing if desired. Give the sauce a final stir or two to fully incorporate the rum, then pour the warm, fragrant sauce into a carafe or a serving bowl. This sauce is best served warm, as its consistency is most luxurious straight from the pot. Enjoy this delightful homemade vanilla sauce immediately with your favorite desserts, and prepare for rave reviews!
🥜 Creative Substitutions & Variations
This vanilla sauce recipe is wonderfully adaptable, allowing for various substitutions to suit dietary needs or simply to experiment with different flavor profiles. Don’t be afraid to get creative!
- For an Even Creamier Sauce: To achieve an extra-rich and decadent vanilla sauce, replace half of the milk quantity with coffee cream or heavy cream. This will add significant fat content, resulting in a more luxurious and thicker consistency.
- Dairy-Free Option: For a plant-based alternative, you can substitute regular milk with almond milk, soy milk, or oat milk. Keep in mind that the consistency might be slightly different, and you may need to adjust the amount of pudding powder or cornstarch for the desired thickness. Coconut milk can also be used for a richer, subtly tropical flavor.
- Vanilla Flavor Enhancements: While vanilla pudding powder provides a convenient vanilla flavor, for a truly gourmet sauce, consider using a real vanilla bean. Split a vanilla bean lengthwise, scrape out the seeds, and simmer both the pod and seeds with the milk in Step 2. Remove the pod before adding the custard mixture. Alternatively, high-quality vanilla extract or vanilla bean paste can be added at the very end, along with the rum.
- Sugar Alternatives: If you’re looking to reduce refined sugar, honey or maple syrup can be used as substitutes, though they will impart their own distinct flavor. Start with a smaller amount and taste as you go.
- Alcohol-Free Rum Substitute: If you’re skipping the rum but still want a hint of warmth, a few drops of rum extract or even an extra dash of vanilla extract can be used. For a different adult twist, a tablespoon of brandy, Grand Marnier, or even a coffee liqueur can add an interesting layer of flavor.
- Spice It Up: A pinch of cinnamon, nutmeg, or cardamom can be added to the milk while heating for a more aromatic and spiced vanilla sauce, especially lovely during the colder months.
🍽 Essential Equipment
Making a smooth and lump-free vanilla sauce requires a few basic kitchen tools. Ensure you have these items on hand before you begin cooking:
- Small Saucepan: For heating the milk and sugar. A heavy-bottomed saucepan helps prevent scorching.
- Whisk: Absolutely essential for thoroughly mixing ingredients and continuously stirring the sauce to prevent lumps and ensure even thickening. We recommend a sturdy whisk for best results.
- Measuring Cups and Spoons: For accurately measuring all your ingredients.
- Mixing Bowl: For combining the remaining milk, pudding powder, and egg yolks. A medium-sized bowl will suffice.
- Two Containers: Specifically for separating and holding the egg yolks and egg whites.
- Tablespoon: For general use and for adding rum or other flavorings.
- Carafe or Gravy Boat: For elegantly serving the finished custard.
🌡 Storage & Reheating Tips
For the absolute best experience, we highly recommend serving your homemade vanilla custard warm, immediately after preparation. Its consistency is at its prime when freshly made, offering that luxurious, pourable texture.
However, if you happen to have leftovers or prefer to prepare it slightly in advance, storing it properly is key. We generally do not recommend storing it in the refrigerator for extended periods, as the texture can significantly change. The sauce tends to thicken considerably and can become quite stiff when chilled. If you must store it, transfer the sauce to an airtight container and place a piece of plastic wrap directly on the surface of the sauce to prevent a skin from forming. Refrigerate for no more than 1-2 days.
To reheat, gently warm the sauce in a small saucepan over low heat, stirring constantly. You may need to whisk in a splash of milk or cream to bring it back to a pourable consistency. Avoid high heat, as this can cause the sauce to separate or become lumpy. Reheat until just warm through, then serve. Please note that the texture may not be quite as smooth as freshly made, but it will still be delicious.
💭 Top Tip: Don’t Waste Those Egg Whites!
One of the most common dilemmas when making a recipe that calls for only egg yolks is what to do with the leftover egg whites. Since fresh egg whites have a short shelf life of only 1-2 days in the refrigerator, we strongly recommend freezing them for a later date. Freezing them is incredibly easy and ensures you always have them on hand for future culinary adventures.
An ice cube tray is an excellent tool for freezing egg whites. Simply pour one egg white into each compartment, or measure out two tablespoons of egg white per compartment (as two teaspoons of egg whites generally equal one large egg white). Once frozen solid, pop the egg white cubes out and store them in a freezer-safe bag or container for up to several months. This method helps you avoid mixing up the quantities when you need them later.
Since you’ll have egg whites left over from this vanilla sauce recipe (and perhaps others!), here are some fantastic recipes where you can repurpose them and create more delicious treats:
- Two egg whites: Perfect for delicate Walnut meringue cookies – light, crisp, and utterly delightful.
- Four egg whites: Whip up an impressive Pavlova, a beautiful meringue dessert with a crisp crust and soft, marshmallowy interior.
- Six egg whites: Indulge in a rich and moist Chocolate egg white cake, known for its tender crumb and intense flavor.
- Six egg whites: Bake a batch of chewy and sweet Coconut cookies “Kokosbusserl” – a delightful Austrian specialty.
If you try this delightful homemade vanilla sauce recipe, please let me know how much you enjoyed it by leaving a ★★★★★ star rating and a comment below. Your feedback is truly awesome and helps others discover great recipes! You can also sign up for our Newsletter to receive weekly delicious homemade recipes directly in your inbox. And don’t forget to follow me on Pinterest or Instagram and share your culinary creations with me. Just tag me @combinegoodflavors and use the hashtag #combinegoodflavors so I don’t miss out on your amazing dishes!
📖 Recipe: Homemade Vanilla Sauce

Homemade Vanilla Sauce
By Nora
Prevent your screen from going dark
❤️Save Recipe
Saved!
📌Pin Recipe
5 minutes
10 minutes
15 minutes
Side Dish
European
5 Servings
177 kcal
Equipment
-
Small Saucepan
-
Whisk
-
Measuring cup
-
Mixing bowl
-
Two containers for egg yolk and egg white
-
Tablespoon
-
Carafe for the finished custard
Ingredients
- 2 ⅛ cups Milk
- ½ cup Sugar
- 2 ½ tablespoon Vanilla pudding powder
- 2 Egg yolk
- Rum (optional, to taste)
Instructions
-
First, separate the eggs, carefully placing the yolks aside in a bowl. Store or freeze the egg whites for another recipe.2 Egg yolks
-
In a small saucepan, combine half of the measured milk with all of the sugar. Heat this mixture over medium heat, stirring occasionally, until it comes to a gentle boil and the sugar is fully dissolved.2 ⅛ cups Milk, ½ cup Sugar
-
While the milk-sugar mixture is heating, take the second half of the milk and whisk it thoroughly with the vanilla pudding powder and the egg yolks in a separate bowl until smooth and lump-free.2 ⅛ cups Milk, 2 ½ tablespoon Vanilla pudding powder
-
Once the milk-sugar mixture in the saucepan boils, slowly pour in the prepared custard mixture (milk, pudding powder, egg yolks). Continue to whisk constantly and vigorously over low heat until the entire mixture comes to a boil again and visibly thickens.
-
Immediately turn off the heat and remove the pot from the hot burner. Continue stirring with the whisk for another minute or two off the heat until a perfectly thick, smooth mixture is formed. This ensures a beautifully creamy sauce without any lumps.
-
Your vanilla sauce is now ready if you prefer it without alcohol. For an adult version, add rum to taste, stirring twice to fully incorporate. Pour the warm sauce into a carafe or serving dish and enjoy immediately with your favorite desserts.Rum (optional)
Never miss a recipe!
Sign up and let me spoil you weekly with a delicious homemade recipe!
custard, easy custard recipe, vanilla custard, vanilla sauce, homemade vanilla sauce, dessert sauce, Austrian dessert sauce
Like this recipe?
Mention @combinegoodflavors or tag #combinegoodflavors!
Nutrition values are estimates only, using online calculators. Please verify using your own data.
Serving: 1Serving
|
Calories: 177kcal
|
Carbohydrates: 29g
|
Protein: 5g
|
Fat: 5g
|
Saturated Fat: 3g
|
Polyunsaturated Fat: 0.4g
|
Monounsaturated Fat: 2g
|
Cholesterol: 90mg
|
Sodium: 68mg
|
Potassium: 164mg
|
Fiber: 0.02g
|
Sugar: 28g
|
Vitamin A: 271IU
|
Calcium: 137mg
|
Iron: 0.2mg

🤎 You Might Also Like These Sweet Treats
If you loved making this creamy vanilla sauce, you’ll surely enjoy exploring more delightful dessert recipes that pair wonderfully with it or offer similar comforting flavors. Here are some of our other popular sweet creations you might want to try next:
- Austrian Kaiserschmarrn {torn pancakes}
- Vanilla Bean Ice Cream Pancakes {Palatschinken}
- Homemade Vanilla Ice Cream Recipe
- Mini Blueberry Pavlova
⛑️ Important Food Safety Guidelines
Ensuring food safety is paramount when preparing any meal, especially those involving eggs and dairy. Please follow these essential guidelines to prevent foodborne illness and ensure your homemade vanilla sauce is not only delicious but also safe to enjoy:
- Proper Cooking Temperature: Always cook your sauce to a minimum internal temperature of 165 °F (74 °C). This is crucial for safely cooking the egg yolks and ensuring any potential bacteria are eliminated. Using a food thermometer can help confirm this.
- Prevent Cross-Contamination: While this recipe doesn’t involve raw meat, always be mindful of cross-contamination. Use separate utensils and cutting boards for different food types to avoid transferring any unwanted bacteria.
- Hand Washing: Wash your hands thoroughly with soap and warm water before, during, and after handling food, especially after touching raw ingredients like eggs.
- Temperature Danger Zone: Do not leave food sitting out at room temperature for extended periods. Bacteria multiply rapidly between 40 °F (4 °C) and 140 °F (60 °C). Serve your sauce warm, or chill it quickly if storing.
- Never Leave Cooking Unattended: Stay in the kitchen and pay close attention while your sauce is cooking, especially when bringing milk to a boil and thickening the custard. This prevents scorching and ensures proper consistency.
- Ventilation: Always ensure good ventilation in your kitchen when using a gas stove to disperse any cooking fumes and maintain air quality.
For further comprehensive information and detailed guidelines on safe food handling practices, please refer to authoritative sources such as the Safe Food Handling – FDA website. Your health and safety are always the top priority!
