Decadent Homemade Milk Chocolate Salted Caramel Truffles: An Easy Recipe Guide
There’s something truly magical about the combination of sweet and salty, especially when it comes in the form of rich, creamy chocolate. As a passionate fan of salted caramel and the art of homemade chocolates, I knew exactly what I wanted to create last Christmas: the most exquisite salted caramel pralines. These aren’t just any chocolates; they are a celebration of flavor, a delightful blend of smooth milk chocolate encasing a luscious, homemade salted caramel cream. Imagine biting into a delicate shell of chocolate, only to be met with a cascade of sweet, buttery, and perfectly salted caramel – it’s an experience that truly melts in your mouth.
In this comprehensive recipe guide, I am thrilled to share with you my step-by-step process for crafting these incredible homemade salted caramel truffles. We’ll start by making our very own velvety salted caramel cream, ensuring that every spoonful is infused with that irresistible sweet-and-salty balance. Then, we’ll transform this decadent cream into elegant milk chocolate pralines, perfect for any occasion. Whether you’re looking for a thoughtful, personalized Christmas gift, a delightful treat to share with loved ones, or simply a moment of pure indulgence for yourself, these truffles are an absolute dream come true. Plus, for those with dietary considerations, these little delicacies are naturally fructose-free, making them accessible to even more sweet-tooth enthusiasts. Prepare to impress and delight with these homemade treasures!
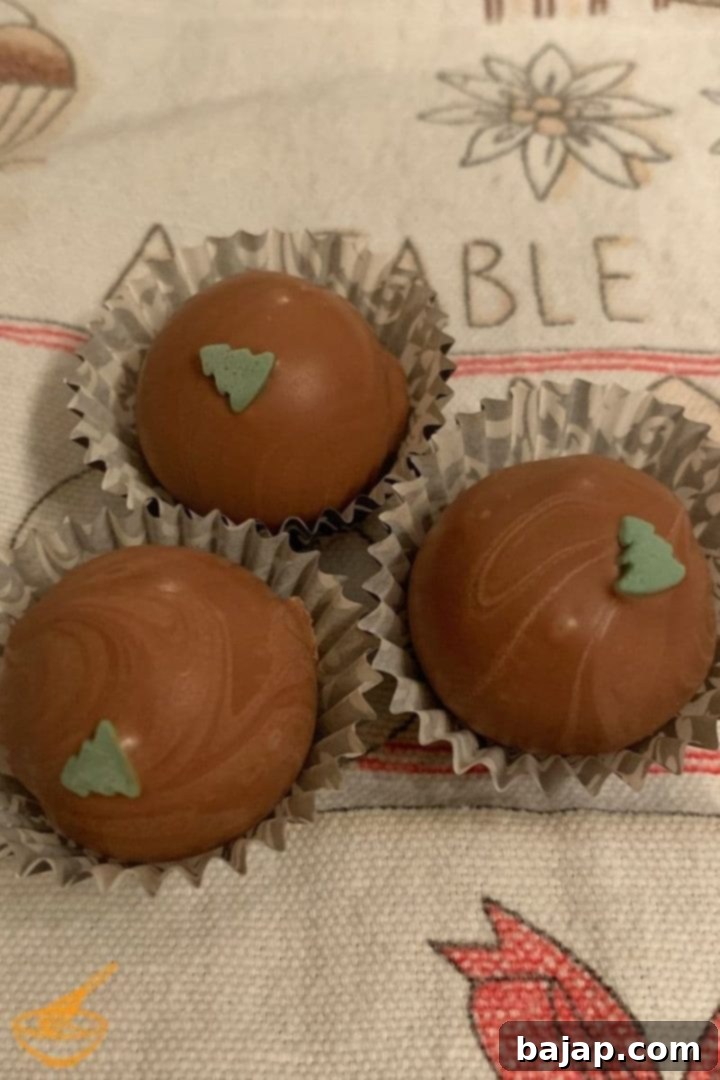
The flavor combination in these homemade milk chocolate salted caramel truffles is simply superb. The sweetness of the milk chocolate perfectly complements the rich, slightly salty caramel, creating a harmonious and utterly addictive experience. Being fructose-free, they offer a wonderful option for many. These delightful treats are not only a joy to make but also serve as exquisite small Christmas gifts or a luxurious personal indulgence. Every bite is a testament to the magic of crafting confections in your own kitchen.
[feast_advanced_jump_to]
Essential Ingredients for Your Salted Caramel Truffles
To create these heavenly milk chocolate salted caramel truffles, you’ll need a selection of high-quality ingredients. Each component plays a crucial role in achieving the perfect texture and flavor profile, from the rich caramel to the smooth chocolate coating. We’ll break down the ingredients into two main sections: those for the irresistible salted caramel cream and those for the decadent milk chocolate truffle shells.
For the Silky Salted Caramel Cream
- Granulated Sugar: This is the foundation of our homemade caramel. Using granulated sugar allows for a beautiful, even caramelization process.
- Unsalted Butter: Crucial for adding richness, smoothness, and stopping the caramel from cooking further. Unsalted butter gives you control over the overall saltiness when combined with fleur de sel. Ensure it’s cold and cut into small pieces for easy incorporation.
- Heavy Cream: This ingredient provides the luxurious, creamy texture of our caramel. It needs to be warmed slightly before adding to prevent the caramel from seizing.
- Fleur de Sel: This delicate sea salt is paramount for achieving that signature salted caramel flavor. Its flaky texture and nuanced saltiness elevate the caramel beyond ordinary sweetness. Don’t substitute with regular table salt if you can help it; the flavor difference is notable.
For the Velvety Milk Chocolate Truffles
- Pre-made Milk Chocolate Hollow Spheres: These ready-to-fill chocolate shells save a lot of time and effort, making the truffle-making process much simpler. They provide the perfect structure for our creamy filling.
- Milk Chocolate Couverture: This high-quality chocolate, with a higher cocoa butter content, is ideal for coating and sealing. It melts smoothly and sets with a beautiful shine, providing that professional finish.
- Mini Sugar Christmas Trees Sprinkles: (Optional) These festive sprinkles are perfect for decorating your homemade truffles, adding a touch of holiday cheer. Feel free to use other sprinkles, chopped nuts, cocoa powder, or a drizzle of contrasting chocolate.
Tools for Truffle Making Success
Having the right tools can make all the difference in the success and enjoyment of your truffle-making adventure. While some items are essential, others can simply make the process more efficient and give your homemade treats a professional touch. Here’s what you’ll need:
- Waterbath (Double Boiler): Essential for gently melting the chocolate couverture without scorching. The indirect heat ensures the chocolate maintains its smooth texture and temper. Alternatively, a Candy Melts Pot can offer precise temperature control.
- Cooling Rack: Provides an elevated surface for the coated truffles to dry, allowing air circulation from all sides and preventing flat bottoms.
- Chocolate Making Tools: Invest in a good chocolate lifter or dipping fork. These specialized tools make dipping and handling the truffles much easier and result in a cleaner finish. Small spatulas can also be helpful.
- Squeeze Bottle: Invaluable for neatly and precisely filling the hollow chocolate spheres with the caramel cream, minimizing mess and ensuring an even fill.
- Large Saucepan: For making the caramel. A large pan provides more surface area for the sugar to melt evenly and reduces the risk of boiling over when the cream is added.
- Small Cooking Pot: For gently heating the heavy cream before adding it to the caramel.
- Baking Paper (Parchment Paper or Wax Paper): Use this to line your cooling rack or work surface to catch any drips and prevent the chocolates from sticking, making cleanup a breeze.
- Kitchen Thermometer: Absolutely essential for monitoring the temperature of the caramel and the chocolate couverture, ensuring optimal texture and temper.
Step-by-Step Instructions: Crafting Your Salted Caramel Truffles
Creating these decadent milk chocolate salted caramel truffles is a rewarding process, bringing together the art of caramel making and chocolate tempering. Follow these detailed instructions to ensure your homemade treats are nothing short of perfect.
Mastering the Salted Caramel Cream
The secret to incredible salted caramel truffles begins with a perfectly made caramel cream. Patience is key here!
In a large, heavy-bottomed saucepan, spread the granulated sugar evenly across the bottom. Place the pan over low to medium heat. Allow the sugar to melt slowly without stirring. This “dry method” of caramelization takes time – sometimes up to 20 minutes – as the sugar crystals gradually liquefy and begin to turn amber. You can gently shake or swirl the pan occasionally to even out the melting, but resist the urge to stir with any utensil, as this can cause crystallization. Keep a close eye on the color: we’re looking for a beautiful, light golden hue. If the caramel becomes too dark, it will develop a bitter taste, which can ruin the delicate balance of your truffles. Once the sugar has completely melted and reached that beautiful amber color, immediately proceed to the next step.
With the caramel formed, remove the pan from the heat. Carefully stir in the unsalted butter, adding it in small, cold pieces. The caramel will bubble vigorously at this stage, so be cautious. Continue stirring until the butter is fully incorporated and the mixture is smooth and creamy. Next, add two generous pinches of fleur de sel. Stir well to ensure the salt is evenly distributed, creating that signature sweet and salty balance. The aroma alone will be intoxicating!
Now, gently heat the heavy cream in a separate small pot or microwave until it’s warm but not boiling. Boiling the cream can cause it to curdle or react too aggressively with the hot caramel. Slowly and carefully pour the warmed cream into the caramel mixture, stirring continuously. Again, expect some bubbling and steam. Continue to cook the caramel cream over low heat for about two minutes, stirring constantly until it is completely smooth and slightly thickened. This brief simmer ensures everything is well combined and reaches the perfect consistency. Immediately transfer the hot caramel cream into squeeze bottles. This simple prearrangement will significantly streamline the process of filling your chocolate hollow spheres later on, allowing for neat and controlled dispensing.
Crucially, to prevent your delicate chocolate hollow spheres from melting or cracking when filled, the salted caramel cream must be allowed to cool significantly. Let it reach approximately 77°F (25°C). You can check this with a kitchen thermometer. Rushing this step will compromise the integrity of your truffles.
Expertly Filling Your Milk Chocolate Salted Caramel Truffles
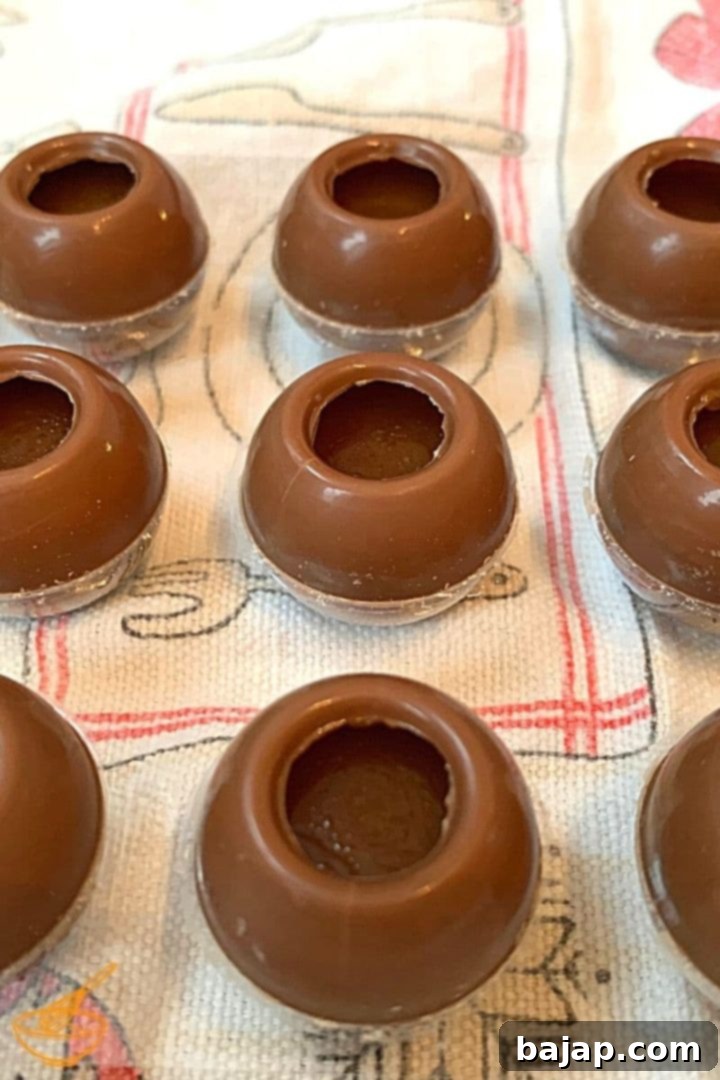
Once your salted caramel cream has cooled to the appropriate temperature, it’s time to fill the truffle shells. Arrange your pre-made milk chocolate hollow spheres on a clean kitchen table or a tray lined with baking paper. Using your squeeze bottle filled with the caramel, carefully dispense the cream into each hollow sphere. Fill them almost to the brim, leaving just a tiny space at the very top for the sealing chocolate. This precision ensures a neat finish and proper closure.
After filling, gently tap the tray on the counter a few times to settle the caramel and release any air bubbles. This also helps create a flat surface for sealing. Place the filled spheres into the refrigerator for several hours, ideally around 8 hours, or even overnight. This extended chilling period is crucial for the caramel to fully set and firm up, preventing it from oozing out during the sealing and coating steps. As with all my praline recipes, I find it best to plan ahead, allowing the chocolates to chill overnight so they are perfectly firm and ready for the next day’s work.
Sealing the Chocolate Hollow Spheres with Precision
Now that your caramel-filled truffles are thoroughly chilled and firm, it’s time to seal them. While there are specialized tools like a “closure plate” designed for this, you can absolutely achieve excellent results without one. I’ve personally used a disposable syringe for precise application when a sealing plate wasn’t available. A small dropper, a fine-tipped squeeze bottle, or even a small pastry bag with a very fine tip can work perfectly to apply the melted chocolate couverture.
Melt your milk chocolate couverture in a water bath (double boiler) or a dedicated chocolate melting pot. Pay close attention to the temperature. For milk chocolate, the melting temperature is around 113°F (45°C). Once melted, it’s crucial to let it cool slightly to the working temperature (tempering temperature) of approximately 84.2-86°F (29-30°C). This ensures a stable, shiny, and snap-able chocolate coating.
Take the cooled, filled hollow spheres directly from the fridge. Using your chosen sealing tool, apply a small dab of the tempered milk chocolate couverture to the opening of each sphere. The goal is to create a thin, even seal that perfectly closes off the caramel filling. Work relatively quickly but carefully, ensuring each truffle is properly sealed. Once sealed, place the chocolates back into the refrigerator for about half an hour. This will allow the sealing chocolate to firm up completely before proceeding to the final coating stage.
Coating and Decorating Your Salted Caramel Delights
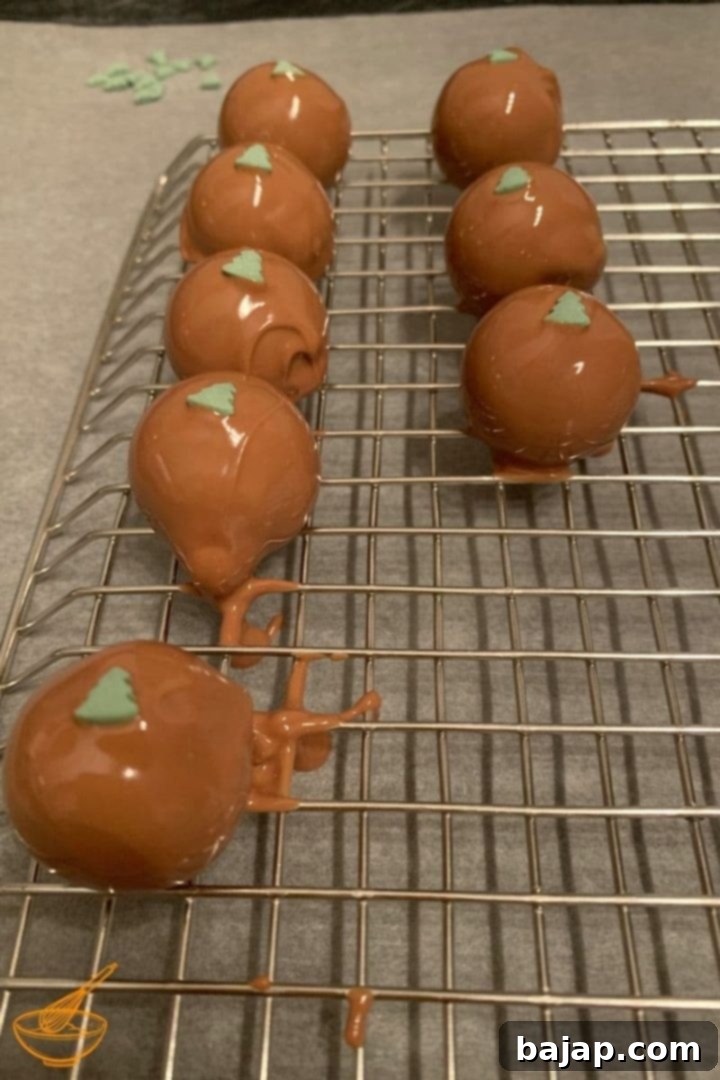
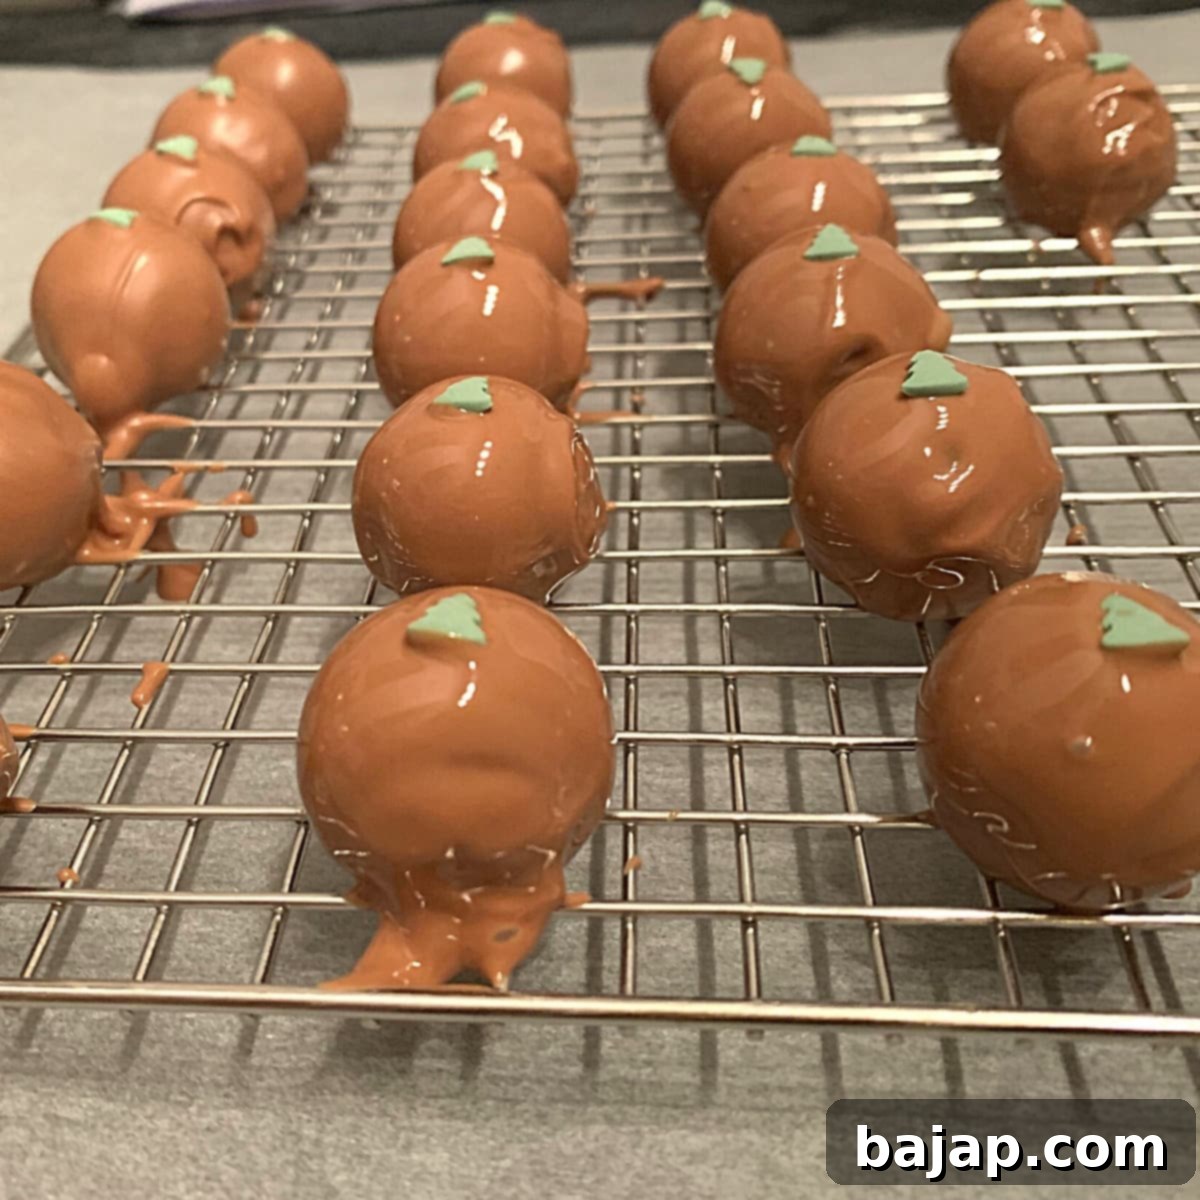
For the final, show-stopping touch, we’ll coat and decorate our truffles. Ideally, you should have enough melted and tempered milk chocolate couverture leftover from the sealing process. However, it’s always a good idea to have a bit extra on hand, just in case you need to melt more. Maintaining the correct chocolate temperature is vital for a smooth, glossy, and professional-looking finish. For milk chocolate, aim for a working temperature of 84.2-86°F (29-30°C) after melting it at 113°F (45°C) and then cooling it down. A chocolate melter (like a Wilton Candy Melts Pot) is fantastic for holding chocolate at the perfect working temperature, making the coating process much quicker and more consistent than relying solely on a water bath.
Before you begin coating, set up your workspace efficiently. Place a cooling grid over a sheet of parchment paper or wax paper. This setup will catch any excess chocolate drips, minimizing mess and making cleanup incredibly easy. If you don’t have a cooling grid, simply place the coated truffles directly onto wax paper after dipping. The parchment underneath ensures your countertop stays clean and tidy.
Now, one by one, carefully take each sealed truffle from the refrigerator. Using a chocolate lifter or a dipping fork, submerge the truffle entirely into the tempered milk chocolate coating. Lift it out, allowing any excess chocolate to drip off briefly back into the pot. A quick, gentle tap against the side of the pot can help remove extra chocolate, ensuring a thin, even coating. Carefully place the freshly coated truffle onto the prepared cooling grid.
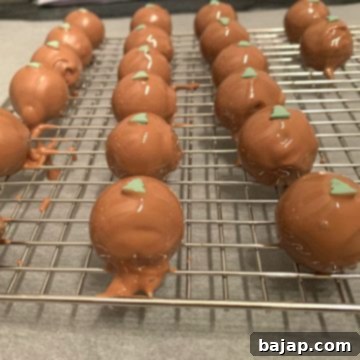
Once you’ve coated a few truffles, and while the chocolate coating is still soft and moist, it’s the perfect time to add your decorations. Sprinkle your Mini Sugar Christmas Trees, or any other preferred embellishments like finely chopped nuts, cocoa powder, or a contrasting chocolate drizzle, onto the wet chocolate. The warm coating will allow the sprinkles to adhere beautifully. Repeat this process for all your truffles, working in batches if necessary to ensure the chocolate doesn’t set before you can decorate. Once the chocolate coating has fully solidified – which will happen quickly if tempered correctly and placed on a cooling rack – your exquisite homemade salted caramel pralines are complete and ready to be enjoyed or gifted.
🍫 Download Your Free Chocolate Workbook
Mastering chocolate can be tricky, especially when it comes to tempering. If you’ve ever struggled with dull or streaky chocolate coatings, our Free Chocolate Workbook is here to help! This comprehensive guide will teach you the secrets to properly melting and tempering chocolate, ensuring your homemade treats always have that perfect snap and glossy finish. Say goodbye to gray chocolate and hello to professional-looking confections!
Storing Your Delicious Salted Caramel Truffles
To keep your homemade milk chocolate salted caramel truffles fresh and delicious for as long as possible, proper storage is key. The best way to store these delicate confections is in an airtight container in the refrigerator. This helps maintain their structure and prevents the chocolate from melting or the caramel from becoming too soft. Stored correctly, they can last for up to two weeks, though they are often devoured much quicker!
For the best flavor and texture experience, allow the truffles to come to room temperature for about 15-30 minutes before serving. This softens the chocolate slightly and allows the salted caramel filling to become wonderfully gooey and flavorful. Enjoy your delicious chocolates, perhaps with some good Christmas music playing in the background and a warm cup of your favorite holiday drink. It’s the perfect way to savor the fruits of your labor!
Looking for more delightful homemade treats? Be sure to explore some of our other cherished recipes: try the festive Linzer Cookies with homemade Egg Liqueur, the crispy Walnut Meringue Cookies, the spirited Advocaat Egg Liqueur Bites, classic Walnut Cookies (perfect for using leftover egg yolks), the light and airy Coconut Meringue Cookies, and for a quick and easy treat, our No-Bake Roasted Almond Slivers with Chocolate.
If you embark on this delicious recipe, I would absolutely love to hear about your experience! Please let me know how you liked it by giving it a ★★★★★ star rating and leaving a comment below. Your feedback is truly awesome and appreciated! You can also stay updated with our latest creations by signing up for our Newsletter, or by following me on Pinterest or Instagram. Don’t forget to share your amazing creations with me by tagging @combinegoodflavors and using the hashtag #combinegoodflavors, so I don’t miss out on your culinary masterpieces!
📖 Recipe Card: Milk Chocolate Salted Caramel Truffles
Milk Chocolate Salted Caramel Truffles
Nora
Save RecipeSaved!
Pin Recipe
Equipment
-
Water bath
-
Cooking Pot
-
Cooling Rack
-
Dipping Tools
-
Squeeze Bottle
-
Mixing bowl
-
Frying Pan
Ingredients
Salted Caramel Cream
- 1 cup Granulated Sugar
- ½ cup Butter unsalted
- ⅔ cup Heavy Cream
- 2 Pinches Fleur de sel
Milk Chocolate Pralines
- 21 pieces Hollowed Milk Chocolate Spheres
- ¾ cup Milk Chocolate Couverture
Decoration
- Mini Sugar Christmas Trees
Instructions
Salted Caramel Cream
-
In a large saucepan, melt 1 cup Granulated Sugar over low/medium heat until a nice light golden caramel is formed. (Can take up to 20 minutes).1 cup Granulated Sugar
-
During this time, the sugar should not be touched with any objects. (Don’t stir, only shake the pan if necessary).
-
Once a beautiful caramel has formed, stir in ½ cup Butter (already cut into small pieces) until a creamy caramel is formed. Then add 2 Pinches Fleur de sel.½ cup Butter, 2 Pinches Fleur de sel
-
Now heat up ⅔ cup Heavy Cream (please do not boil!) and stir it carefully into the caramel.⅔ cup Heavy Cream
-
Let the caramel cream simmer for two minutes, and then fill it immediately into the squeeze bottles.
-
Let the caramel cool down to 77 °F // 25 °C
Filling up the milk chocolate salted caramel truffles
-
Place the 21 pieces Hollowed Milk Chocolate Spheres on the kitchen table and fill them up with the salted caramel cream just below the rim.21 pieces Hollowed Milk Chocolate Spheres
-
Put them for several hours (about 8 hours) into the fridge to settle.
Sealing the truffles
-
Melt ¾ cup Milk Chocolate Couverture in a water bath.¾ cup Milk Chocolate Couverture
-
Take the cooled hollow spheres out of the fridge and seal them with your chosen sealing tool.
-
Then place the sealed chocolates in the refrigerator for half an hour until firm.
Coating and decorating
-
There should be enough melted chocolate leftover from sealing to coat the chocolates.
-
Prepare a cooling grid to place the chocolates to dry. Place parchment paper beneath to reduce the mess.
-
Now, one by one, take the chocolates, dip them into the tempered chocolate coating and then carefully lift them out.
-
Let the excess chocolate drip off briefly and place them carefully on the cooling grid. Do so for each chocolate.
-
While the chocolate coating is still soft and moist, you can decorate your salted caramel pralines with Mini Sugar Christmas Trees.Mini Sugar Christmas Trees
Nutrition values are estimates only, using online calculators. Please verify using your own data.

🤎 Explore More Irresistible Sweet Treats
If you loved making these milk chocolate salted caramel truffles, you’re in for a treat with our other dessert recipes. We have a variety of confections perfect for holidays, gifts, or simply satisfying your sweet cravings.
- The Perfect Holiday Treat – Homemade Eggnog Truffles
- Delicious Linzer Cookies with Egg Liqueur
- How to bake cookies from leftover egg yolks
- Homemade Dark Chocolate Cinnamon Truffles
⛑️ Food Safety Guidelines
When preparing any food, especially homemade confections, food safety is paramount. Following these guidelines will help ensure your delicious salted caramel truffles are not only tasty but also safe to eat and share:
- Cook to a minimum safe temperature: Ensure all ingredients that require cooking reach their minimum safe internal temperature, typically 165°F (74°C). This is especially important if any part of your caramel recipe includes ingredients like eggs.
- Prevent cross-contamination: Always use separate utensils, cutting boards, and dishes for raw foods (if applicable) and cooked foods. Wash all items thoroughly between uses to avoid transferring bacteria.
- Wash hands frequently: Always wash your hands with soap and warm water before handling food, after touching raw ingredients, and after any interruptions (like using the restroom or handling pets).
- Mind the temperature danger zone: Do not leave perishable food sitting out at room temperature for extended periods. Bacteria multiply rapidly between 40°F (4°C) and 140°F (60°C). Refrigerate your truffles promptly after they have cooled and set.
- Never leave cooking food unattended: Especially when making caramel, which can burn quickly, always stay by the stove and keep a watchful eye.
- Use appropriate oils/fats: When melting or cooking, use oils or fats with a high smoking point to avoid producing harmful compounds. For chocolate, precise temperature control (tempering) is crucial.
- Ensure good ventilation: Always work in a well-ventilated area, especially when using a gas stove, to prevent the buildup of fumes.
For further comprehensive information on safe food handling practices, please consult official resources like Safe Food Handling – FDA.
