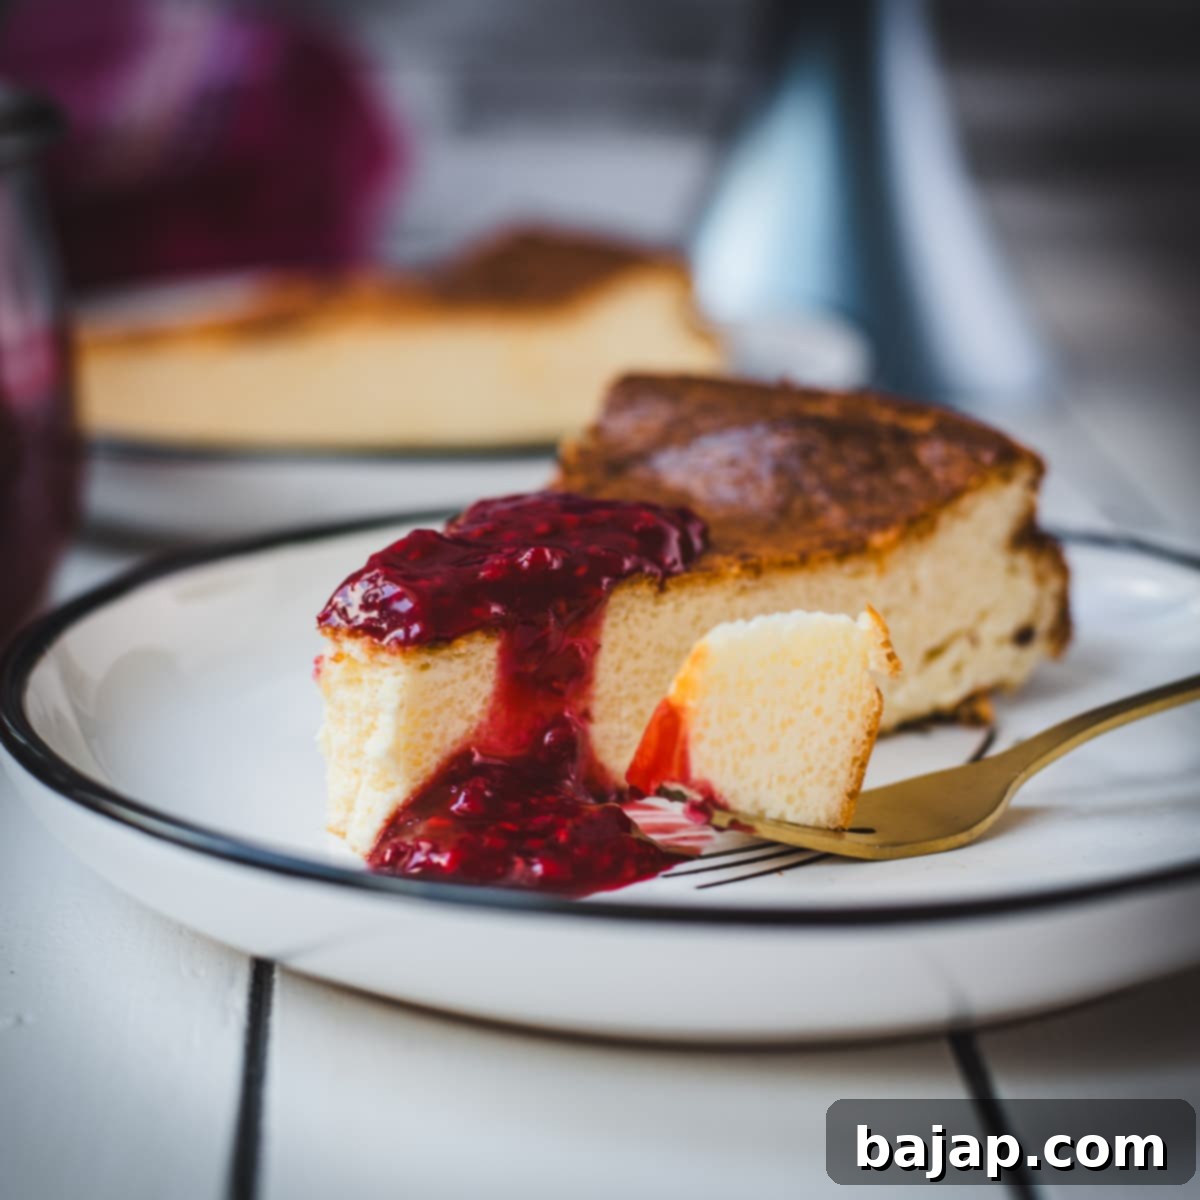
Creamy Baked Semolina Cheesecake with Luscious Homemade Raspberry Topping
Prepare to tantalize your taste buds with this utterly delightful baked semolina cheesecake, crowned with a vibrant and luscious homemade raspberry topping. This incredibly easy-to-make dessert, crafted with a harmonious blend of tangy curd cheese and creamy Philadelphia, offers a unique and refreshing twist on classic cheesecake. It’s a perfect treat for family gatherings, special occasions, or simply to satisfy a sweet craving. Forget complicated recipes – this one promises a smooth process and even smoother results!
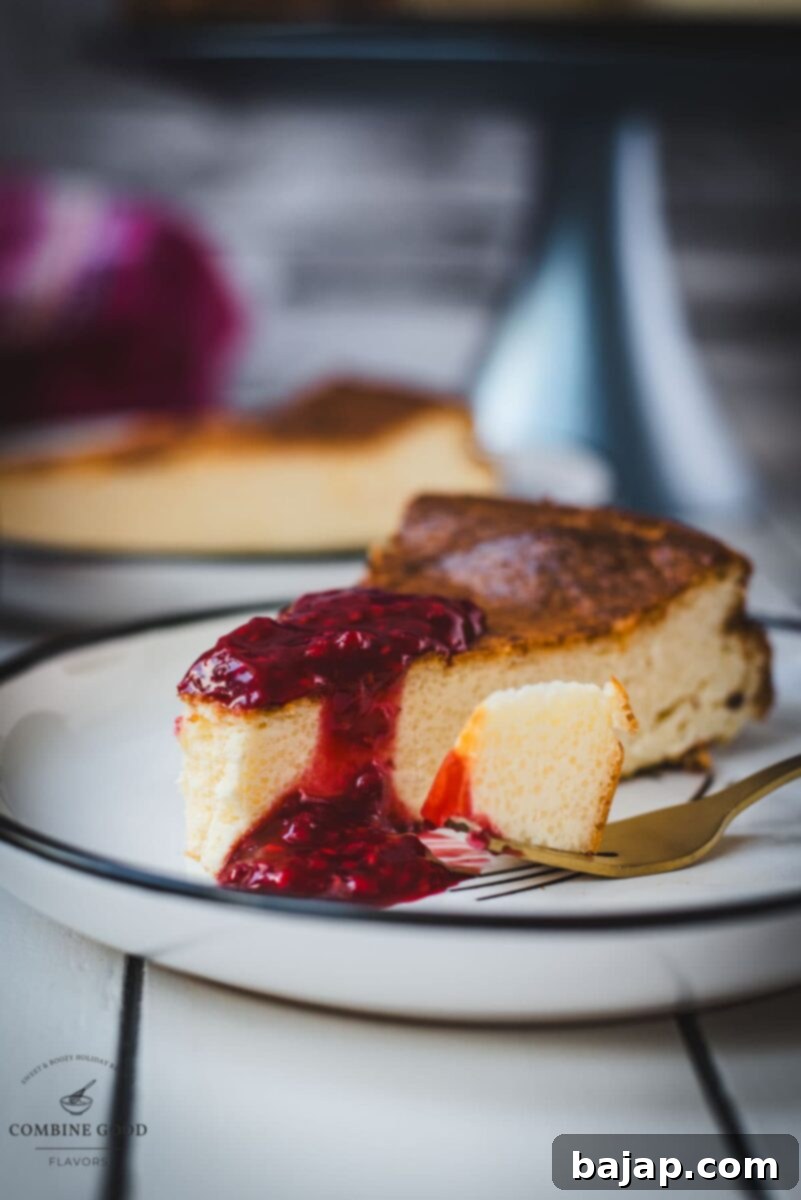
This baked cheesecake stands out from its no-bake counterparts with its wonderfully firm yet custardy texture. The clever addition of semolina provides a subtle, appealing graininess that beautifully contrasts with the smooth, rich cheese mixture, a hallmark of traditional European cheesecakes. Unlike many desserts that can feel heavy, the use of low-fat curd cheese keeps this recipe surprisingly light and incredibly refreshing. When paired with the bright, slightly tart homemade raspberry sauce, it creates a symphony of flavors and textures that will leave everyone asking for more. Get ready to bake a dessert that feels both comforting and elegantly refined, ideal for any time of the year!
🥘 Essential Ingredients for Your Delicious Semolina Cheesecake
Crafting a truly exceptional cheesecake begins with understanding the role of each ingredient. Here’s a detailed look at what makes this semolina cheesecake so special:
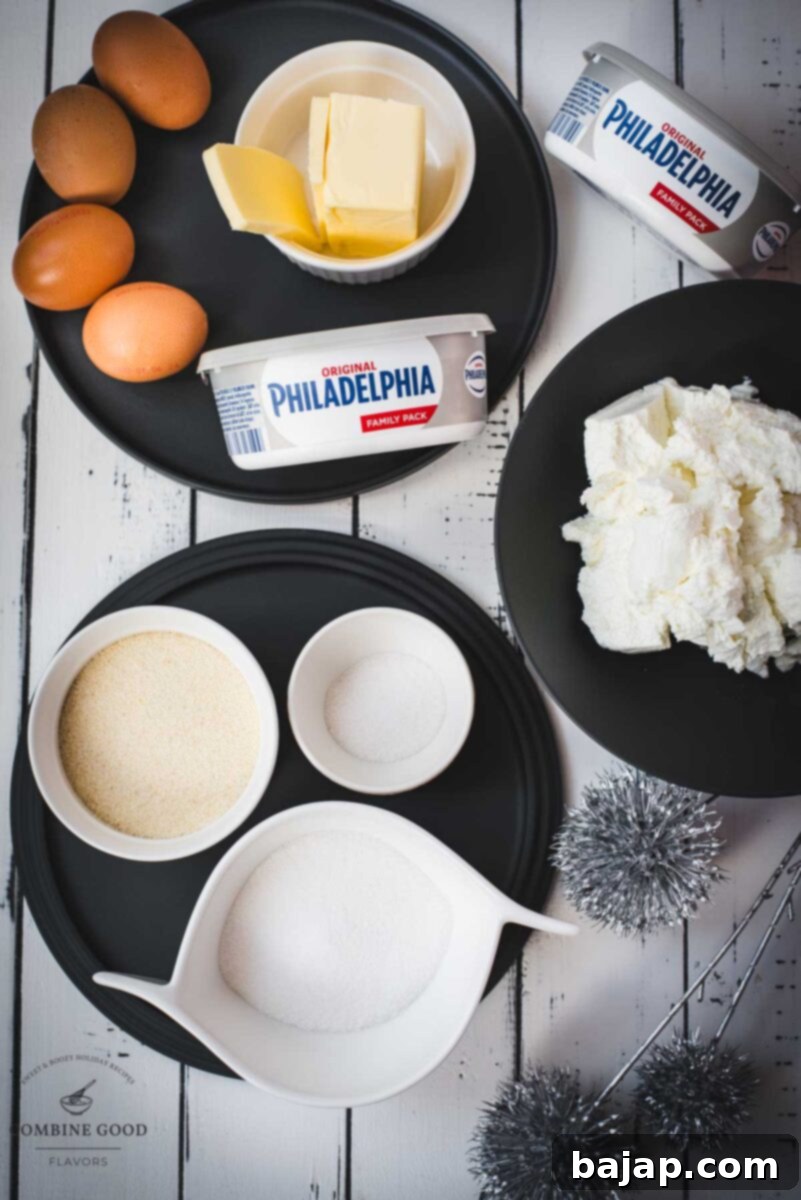
- Butter, soft: For a flawlessly smooth cheesecake batter, ensure your butter is at room temperature and beautifully soft. This allows it to cream effortlessly with the sugar, incorporating air and creating a light, airy base for the filling. Using high-quality butter will significantly enhance the overall flavor and richness of your baked cheesecake.
- Sugar: Granulated sugar provides the perfect level of sweetness, expertly balancing the inherent tanginess of the curd cheese and Philadelphia. It also contributes to the cheesecake’s tender crumb, helps in achieving a lovely golden-brown finish, and ensures a moist interior.
- Eggs: Eggs are crucial for both structure and richness in this baked dessert. They act as a natural binder, helping the cheesecake set beautifully, and impart a luxurious, creamy texture that melts in your mouth. Using medium-sized eggs ensures the right moisture balance and contributes to the classic cheesecake consistency.
- Vanilla sugar: Elevate your cheesecake with a truly aromatic touch by using vanilla sugar. While store-bought works, we highly recommend trying our easy recipe for making vanilla sugar at home. The natural vanilla flavor infuses the cheesecake with a warm, comforting essence that artificial extracts simply can’t match. If you don’t have vanilla sugar, a good quality vanilla extract (about 1 teaspoon for every 2 teaspoons of vanilla sugar) can be used as a convenient substitute.
- Semolina: This unique ingredient is what truly sets our semolina cheesecake apart from other cheesecake recipes. It introduces a delightful, slightly grainy texture that beautifully contrasts with the smooth, creamy cheese filling, adding an interesting depth and traditional European character. Semolina, coarsely ground durum wheat, is a staple in many European baking traditions for its distinct texture and ability to absorb moisture, creating a firm yet tender bake.
- Curd cheese, low fat: To keep this cheesecake wonderfully light and refreshing, we use low-fat curd cheese. It provides a distinct tangy flavor profile that brightens the entire dessert and prevents it from being overly rich or heavy, making each bite a guilt-free indulgence. This ingredient is common in many Central and Eastern European cheesecakes and contributes to their signature light, airy texture.
- Philadelphia Cream Cheese: The inclusion of Philadelphia cream cheese brings that classic, irresistibly creamy, and slightly tangy richness that everyone loves in a cheesecake. Its smooth consistency helps to bind the other ingredients, ensuring a perfectly uniform and luxurious filling that holds its shape beautifully after baking.
- Raspberry Topping: While the baked semolina cheesecake is divine on its own, a fresh, vibrant topping truly makes it sing. Our delicious homemade raspberry topping is the perfect complement, adding a burst of fruity flavor and a beautiful contrasting color. The combination of creamy cheesecake with the bright, sweet-tartness of raspberries is truly a divine culinary experience!
For precise measurements and a detailed step-by-step guide, please refer to the recipe card located further down the page.
🔪 Step-by-Step Instructions: Crafting Your Perfect Semolina Cheesecake
Creating this delicious semolina cheesecake is simpler than you might think. Follow these clear and detailed steps for a perfect bake every time, ensuring a smooth process from start to finish.
Cheesecake Preparation: Crafting the Creamy Base
- Step 1: Prepare Your Oven. Begin by preheating your oven to 356°F (180°C) using the top/bottom heat setting. This ensures the oven is at the correct, consistent temperature for even baking from the moment your cheesecake goes in, which is crucial for preventing cracks and ensuring a uniform texture.
- Step 2: Prepare Your Pan. Take a 10-inch (26 cm) springform pan and generously grease it with butter. Make sure to cover the bottom and sides thoroughly. This crucial step prevents the cheesecake from sticking and allows for easy release after baking, ensuring a clean and beautiful presentation without any breakage.
- Step 3: Cream Butter and Sugar. In a food processor equipped with a whisk attachment (or using an electric stand mixer with a paddle attachment), combine the softened butter and granulated sugar. Beat them together on medium-high speed until the mixture is light, fluffy, and pale in color, usually 3-5 minutes. This creaming process incorporates air, which contributes to the cheesecake’s delicate and tender texture.
- Step 4: Incorporate Eggs Gradually. Gradually add the eggs to the butter and sugar mixture, one at a time, mixing well after each addition until just combined. Be sure to scrape down the sides of the bowl with a spatula periodically to ensure all ingredients are fully incorporated and the batter remains smooth. This step adds richness and helps create a stable emulsion for the creamy filling.
- Step 5: Add Remaining Filling Ingredients. Now, gently stir in the vanilla sugar, semolina, low-fat curd cheese, and Philadelphia cream cheese. Mix on low speed until the mixture is just combined and smooth. Be careful not to overmix at this stage, as overmixing can introduce too much air into the batter, which might lead to cracks or a dense texture in your baked cheesecake. A smooth, homogeneous mixture is what you’re aiming for.
- Step 6: Fill the Springform Pan. Carefully pour the prepared semolina cheesecake mixture into the greased springform pan. Use a spatula to gently spread the mixture evenly across the pan, ensuring a level surface for baking. This promotes even cooking and a beautiful top.
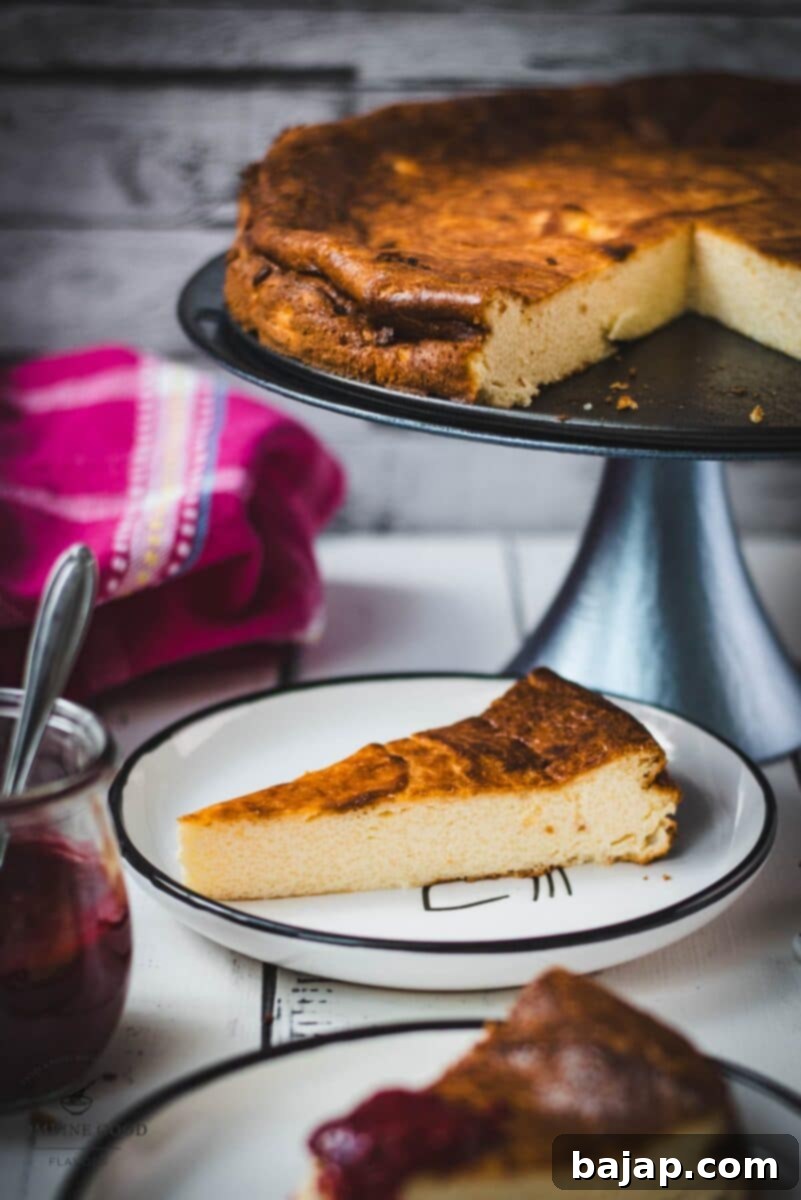
- Step 7: Bake to Golden Perfection. Place the springform pan in the middle rack of your preheated oven and bake for approximately 55 to 65 minutes. The cheesecake is done when the edges are set and lightly golden, but the very center still has a slight wobble when gently shaken. This delicate wobble indicates a perfectly creamy and custardy interior. Avoid overbaking, as this can result in a dry texture and cracks.
- Step 8: Cool Completely with Patience. Once baked, carefully remove the cheesecake from the oven and place it on a wire rack to cool completely at room temperature. Do not attempt to remove it from the tin while it’s warm or even lukewarm, as it will be too delicate and could crack or fall apart. Cooling slowly and gradually helps prevent cracking and ensures the cheesecake sets properly, achieving that desirable firm-yet-creamy consistency. Patience is indeed key for a flawless finish!
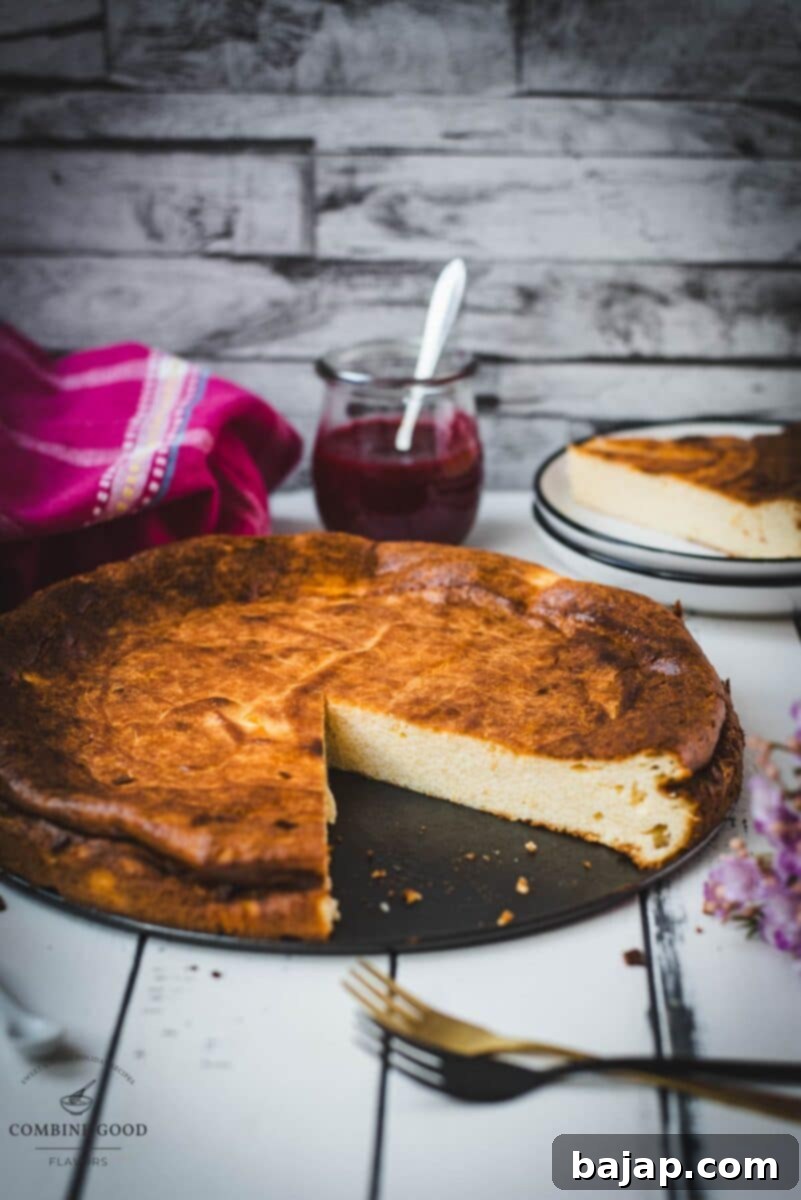
While this semolina cheesecake offers a delightful European-inspired experience, if you’re keen to explore other baked cheesecake varieties, you might enjoy trying a delicious ube Basque cheesecake for a unique “burnt” and custardy twist, offering a completely different but equally delicious profile!
Raspberry Sauce Preparation: The Perfect Sweet-Tart Companion
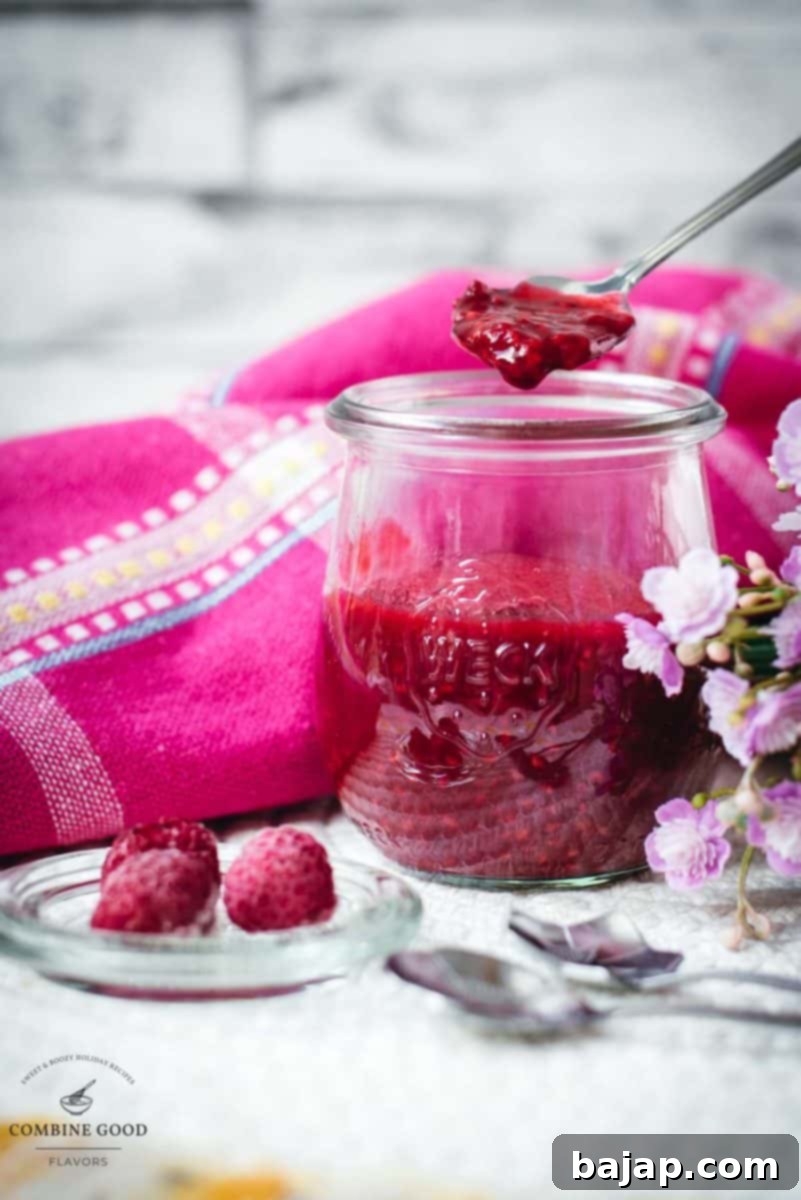
No semolina cheesecake is truly complete without a bright, fresh, and flavorful topping. Our homemade raspberry sauce is the ideal complement, adding a burst of color and a delightful sweet-tart flavor that perfectly cuts through the richness of the cheesecake.
- Step 1: Timing is Everything. It’s best to prepare your raspberry sauce while the cheesecake is cooling. This allows both components to be ready at the perfect temperature for serving (chilled cheesecake with a slightly warm or fully chilled sauce).
- Step 2: Simmer Raspberries and Sugar. Thoroughly wash your fresh raspberries, or if using frozen, simply add them directly to the saucepan – there’s no need to thaw them beforehand. Place the raspberries and granulated sugar in a medium saucepan over medium heat. As the raspberries warm, they will naturally release their juices, creating a delicious, vibrant base for your sauce. Stir occasionally to prevent sticking and ensure even heating.
- Step 3: Texture Control. As the berries simmer and soften, use a fork or a potato masher to gently break apart some of the raspberries. This creates a lovely textured sauce with a pleasing mix of smooth fruit puree and delightful, juicy whole berry pieces. Adjust the amount of mashing based on your preference for chunkiness – a more rustic sauce with plenty of whole berries or a smoother, more refined coulis.
- Step 4: Create a Cornstarch Slurry. In a small separate bowl, whisk together the water and cornstarch until completely smooth and free of any lumps. This slurry is your secret to a beautifully thickened sauce without any undesirable starchy taste or texture.
- Step 5: Thicken the Raspberry Sauce. Slowly pour the cornstarch slurry into the simmering raspberry mixture in the saucepan while continuously stirring. Continue stirring gently but consistently until the sauce begins to thicken to your desired consistency. It should be thick enough to coat the back of a spoon. This process usually takes only a few minutes.
- Step 6: Add a Citrus Brightness. Once the sauce starts to thicken, stir in the fresh lemon juice. The lemon juice not only adds a lovely bright, tart note that enhances the natural sweetness and flavor of the raspberries, but it also helps to preserve the sauce’s vibrant color.
- Step 7: Final Simmer and Serve. Allow the sauce to simmer gently for another 2-3 minutes after adding the lemon juice. This ensures the cornstarch is fully cooked, eliminating any starchy taste, and allows all the flavors to meld beautifully. Then, remove it from the heat. Let it cool slightly before serving for a warm fruit topping, or chill it completely in the refrigerator for a refreshing cold sauce.
🌡️ Storage and Longevity for Your Baked Semolina Cheesecake
Proper storage is essential to maintain the freshness, flavor, and delightful texture of your delicious baked semolina cheesecake. Following these guidelines will allow you to enjoy your dessert for days to come, or even longer if you choose to freeze it.
- Cooling and Initial Storage:
- Cool Completely: After baking, it’s absolutely crucial to allow the cheesecake to cool completely on a wire rack at room temperature. Rushing this step by refrigerating it while still warm can lead to condensation, which affects the texture, and can also contribute to unwanted cracks.
- Cover Properly: Once the cheesecake has fully cooled to room temperature, cover it tightly to protect its delicate surface and prevent it from drying out. You can use plastic wrap directly over the surface of the cheesecake, ensuring it doesn’t stick. For extra protection, especially if still in its springform base, wrap the entire cheesecake with plastic wrap followed by a layer of aluminum foil.
- Refrigerate Promptly: Once properly covered, transfer the cheesecake to the refrigerator promptly. Cheesecakes are best served chilled, and immediate refrigeration after cooling ensures food safety and optimal texture.
- Refrigeration:
- Shelf Life: Your baked semolina cheesecake can be safely stored in the refrigerator for up to 5 days. While it might still be safe to consume beyond this period, its peak quality in terms of flavor and texture will start to decline.
- Airtight Container is Key: For optimal freshness and to prevent the cheesecake from absorbing any strong odors present in your fridge (such as onions or garlic), store it in an airtight container. If you don’t have a container large enough, ensuring it’s tightly wrapped in several layers of plastic wrap and foil (as described above) is an effective alternative.
- Separate Topping Storage: Always store the homemade raspberry sauce separately in its own airtight container in the refrigerator. This preserves its vibrant color and fresh taste, and crucially prevents it from making the cheesecake soggy over time.
- Freezing for Longer Storage:
- Preparation for Freezing: If you wish to store the cheesecake for a longer period, freezing is an excellent option. Ensure the cheesecake is completely cooled before freezing. For best results, either freeze individual slices (which makes thawing and serving easier) or the entire cheesecake (without the topping). Wrap it tightly first in plastic wrap, ensuring no air pockets, and then in a layer of heavy-duty aluminum foil. This double layer provides maximum protection against freezer burn.
- Freezer-Safe Container: For an added layer of protection and to maintain its shape, place the wrapped cheesecake in a freezer-safe bag or an airtight container. This helps prevent any moisture loss and shields it from other freezer smells.
- Freezer Duration: Properly wrapped and stored, the semolina cheesecake can be frozen for up to 2 months. Beyond this, it may still be safe to eat, but the texture and flavor quality may begin to diminish.
- Thawing Frozen Cheesecake:
- Gradual Thawing is Best: To thaw, always transfer the frozen cheesecake from the freezer to the refrigerator. This slow, gradual thawing process is crucial for maintaining the cheesecake’s creamy texture and preventing it from becoming watery or developing an unpleasant consistency.
- Adequate Thawing Time: Allow it to thaw overnight, or for at least 6-8 hours, before serving. Do not attempt to thaw at room temperature, as this can compromise both food safety and the cheesecake’s delicate texture.
- Thaw Raspberry Sauce Separately: Remember to thaw the raspberry sauce separately in the refrigerator as well, if it was also frozen.
- Serving Best Practices:
- Serve Chilled: Always serve the semolina cheesecake chilled. The cool temperature enhances its firm yet creamy texture and allows the complex flavors to truly shine.
- Add Topping Just Before Serving: To maintain the freshness, vibrant color, and distinct textures, always add the raspberry sauce (or any other desired topping) just before serving each individual slice.
By diligently following these detailed storage tips, you can significantly extend the enjoyment of this delightful baked semolina cheesecake and savor its exquisite taste for many days to come!
🍽 Essential Equipment for Baking Success
Having the right tools at hand makes all the difference in ensuring a smooth and enjoyable baking experience, leading to a perfectly executed semolina cheesecake. Here’s what you’ll need:
- 10-inch Springform Pan: This is absolutely essential for cheesecakes! The removable sides allow for incredibly easy release of your beautifully baked dessert without any risk of damaging its delicate structure, making it perfect for presentation.
- Kitchen Machine with Whisk Attachment: A stand mixer (or a powerful hand mixer) greatly simplifies the creaming of butter and sugar and ensures a smooth, lump-free batter for your cheesecake filling. The whisk attachment helps incorporate air for a lighter texture.
- Cooling Rack: Crucial for allowing the cheesecake to cool evenly after baking. Placing the hot pan on a wire rack ensures air circulation around the entire cake, preventing condensation buildup on the bottom and helping to avoid cracks on the top surface.
- Saucepan: A medium-sized saucepan will be perfect for preparing the delightful homemade raspberry topping, allowing you to simmer the berries and thicken the sauce effectively.
- Small Mixing Bowl: Ideal for whisking together the cornstarch slurry for the raspberry sauce. Using a separate small bowl ensures the slurry is completely smooth before it’s added to the hot berries, preventing any lumps in your finished sauce.
- Fork: A simple yet effective tool for mashing some of the raspberries directly in the saucepan to achieve your desired sauce texture – whether you prefer a chunkier or slightly smoother consistency.
- Lemon Squeezer: To efficiently extract fresh lemon juice for the raspberry sauce. Fresh lemon juice adds that essential bright, tart flavor that perfectly balances the sweetness of the raspberries and cheesecake.
🙋🏻 Frequently Asked Questions (FAQ) About Baked Semolina Cheesecake
Here are some common questions and helpful answers to ensure your baked semolina cheesecake turns out perfectly every time:
While semolina lends a unique, slightly grainy texture that is characteristic of this particular European-style baked cheesecake, you can substitute it. If you don’t have semolina, you can use an equal amount of all-purpose flour or cornstarch. However, be aware that the overall texture of your cheesecake might be smoother and less distinct, as the semolina contributes a specific, appealing coarseness not found in other flours. The semolina is part of what gives this cheesecake its unique charm.
Cracks are a common occurrence in baked cheesecakes and usually don’t affect the taste! They often happen due to overbaking, overmixing (which incorporates too much air into the batter), or a rapid change in temperature during cooling. To minimize cracking, avoid opening the oven door frequently, and allow the cheesecake to cool very gradually on a wire rack, away from any drafts. Remember, your luscious raspberry topping will beautifully cover any imperfections, so don’t stress too much!
Absolutely! Frozen raspberries work wonderfully for the topping and are often more convenient. There’s no need to thaw them beforehand; simply add them to the saucepan with sugar as you would fresh berries. They will release their juices readily as they heat up, creating a rich and flavorful sauce that’s just as delicious as one made with fresh berries.
Yes, this baked semolina cheesecake is an excellent make-ahead dessert! You can bake the cheesecake 1-2 days in advance and store it, properly covered, in the refrigerator. Prepare the raspberry topping separately and keep it chilled in an airtight container. Assemble and top the cheesecake just before serving for the freshest appearance and best taste.
Certainly! While the raspberry topping is a perfect match, the creamy semolina base is quite versatile, and you can get creative with other options. Consider a vibrant blueberry compote, a fresh strawberry salsa, a rich chocolate ganache drizzle, a simple dollop of freshly whipped cream with a sprinkle of toasted almonds, or a sprig of fresh mint for garnish. Choose a topping that complements your personal taste and the occasion!
Explore More Delicious Cheesecake Recipes for Every Craving
If you’ve enjoyed baking and tasting this unique semolina cheesecake, you’ll love exploring our other irresistible cheesecake creations. Our collection features a wide variety of recipes, from creamy no-bake delights perfect for summer to rich, decadent baked treats ideal for cooler weather and festive holiday celebrations. Whether you’re looking for something classic, adventurous, or quick and easy, there’s a cheesecake for every occasion and every palate. Dive in and find your next favorite dessert to impress your family and friends!
- No-bake Chocolate Ricotta Cheesecake
- No-bake Pumpkin Cheesecake
- No-bake White Chocolate Raspberry Cheesecake {Halloween}
- No-bake Fig Cheesecake in a Jar
- No-bake Eggnog Cheesecake
- No-bake Mint Chocolate Cheesecake
- No-bake Patriotic Cheesecake
- No-bake Strawberry Cheesecake
- No-bake Oreo Cheesecake
- No-bake Lemon Cheesecake with Blueberry Topping
- No-bake Biscoff Cheesecake
- No-Bake Raspberry Cheesecake {Valentine’s Day}
- No-bake Lime Cheesecake in a Jar
We absolutely love seeing your culinary creations and hearing about your baking adventures! If you whip up this delightful baked semolina cheesecake with raspberry topping, please let us know how much you loved it by giving it a ★★★★★ star rating and leaving a comment below. Your feedback is truly invaluable and helps our community of food lovers discover new favorites! You can also sign up for our Newsletter to receive weekly delicious homemade recipes directly in your inbox. For daily inspiration and to share your amazing baked goods, follow us on Pinterest or Instagram. Don’t forget to tag us @combinegoodflavors and use the hashtag #combinegoodflavors, so we don’t miss your masterpieces!
📖 Recipe Card: Creamy Semolina Cheesecake with Fresh Raspberry Sauce
Creamy Semolina Cheesecake with Fresh Raspberry Sauce
Recipe by Nora
Save RecipeSaved!
Pin Recipe
Equipment
-
10-inch Springform pan
-
Kitchen machine with whisk attachment
-
Cooling Rack
-
Saucepan
-
Small Mixing Bowl
-
Fork
-
Lemon squeezer
